
This guide will walk you through the steps to embed an Engage Survey into the Qualtrics environment. To view an example project of Engage integrated within Qualtrics, paste the following link into a new browser:
https://fdu.co1.qualtrics.com/jfe/form/SV_6WFGBnIVyE66X5A?participantId=random-test-id-of-your-choice . Make sure to replace "random-test-id-of-your-choice" with any identifier.Login to Engage
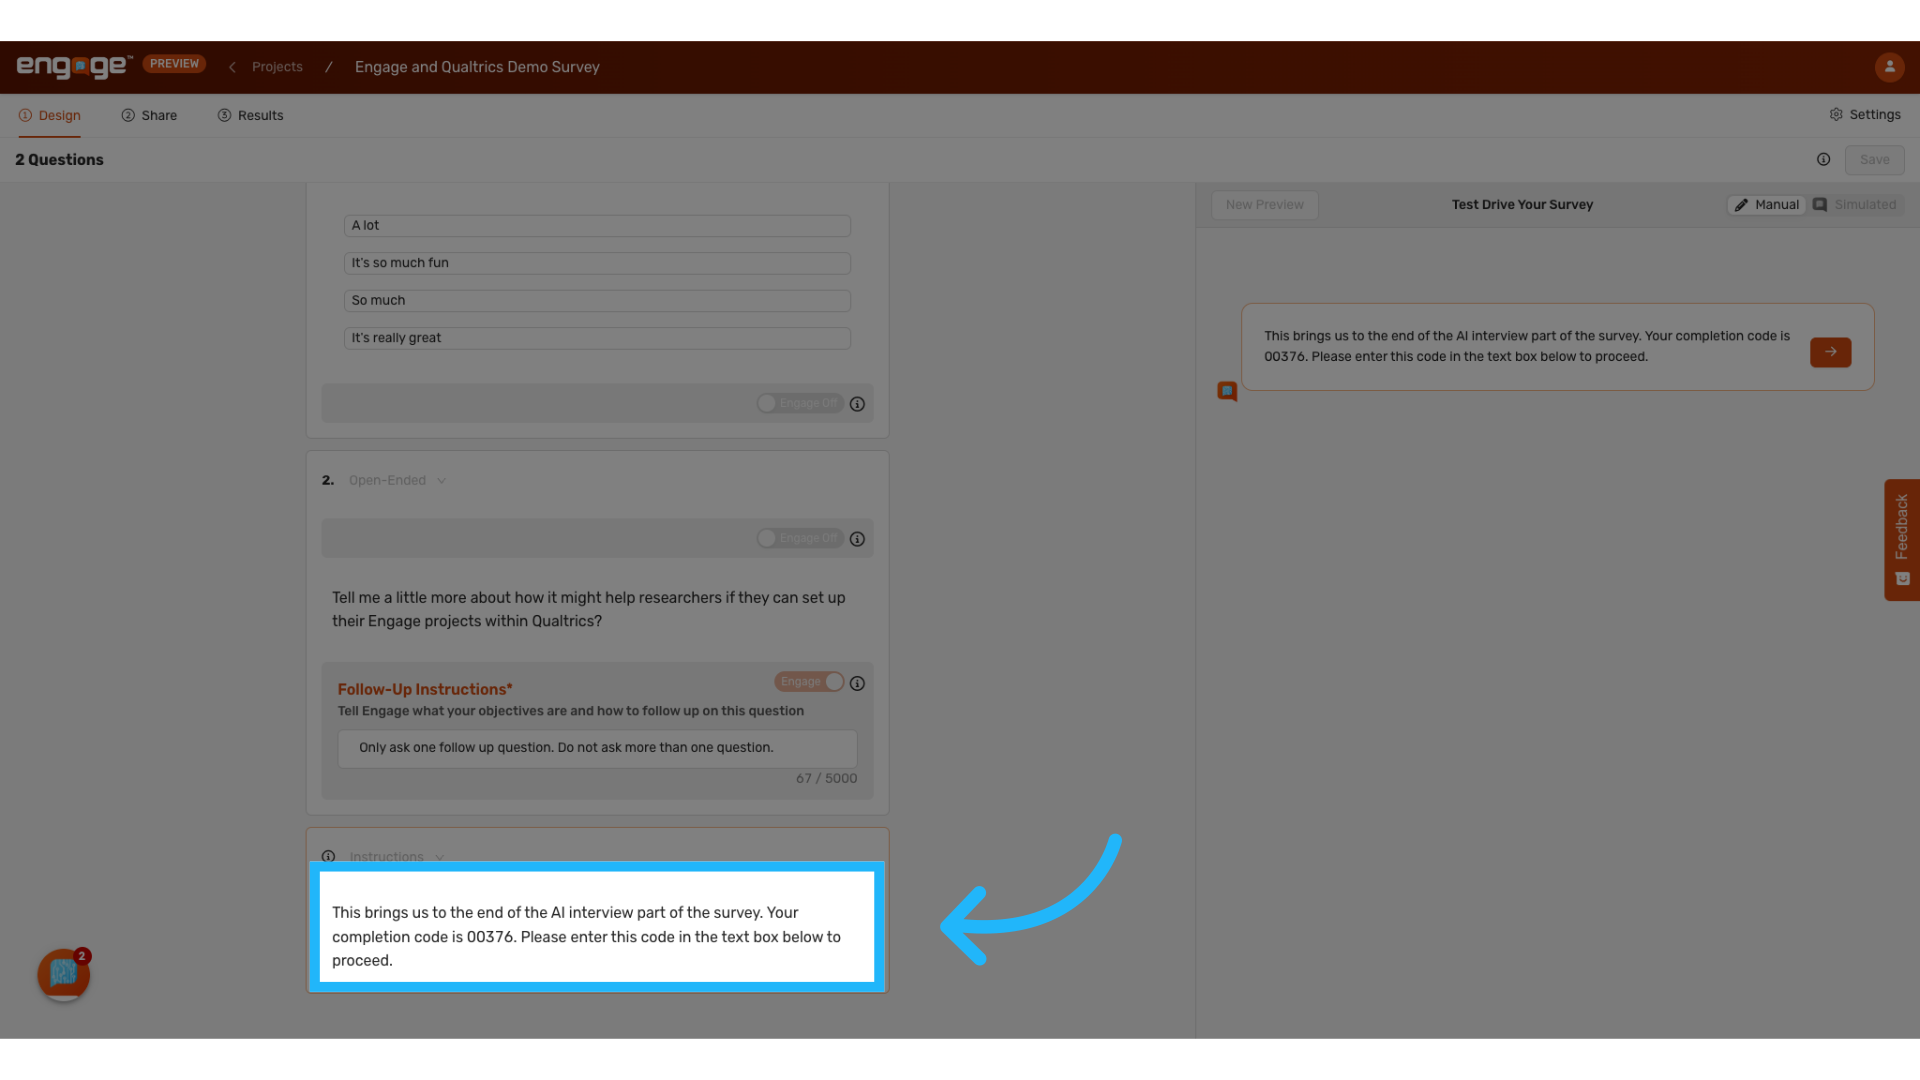
1. Set a completion code at the end of the survey
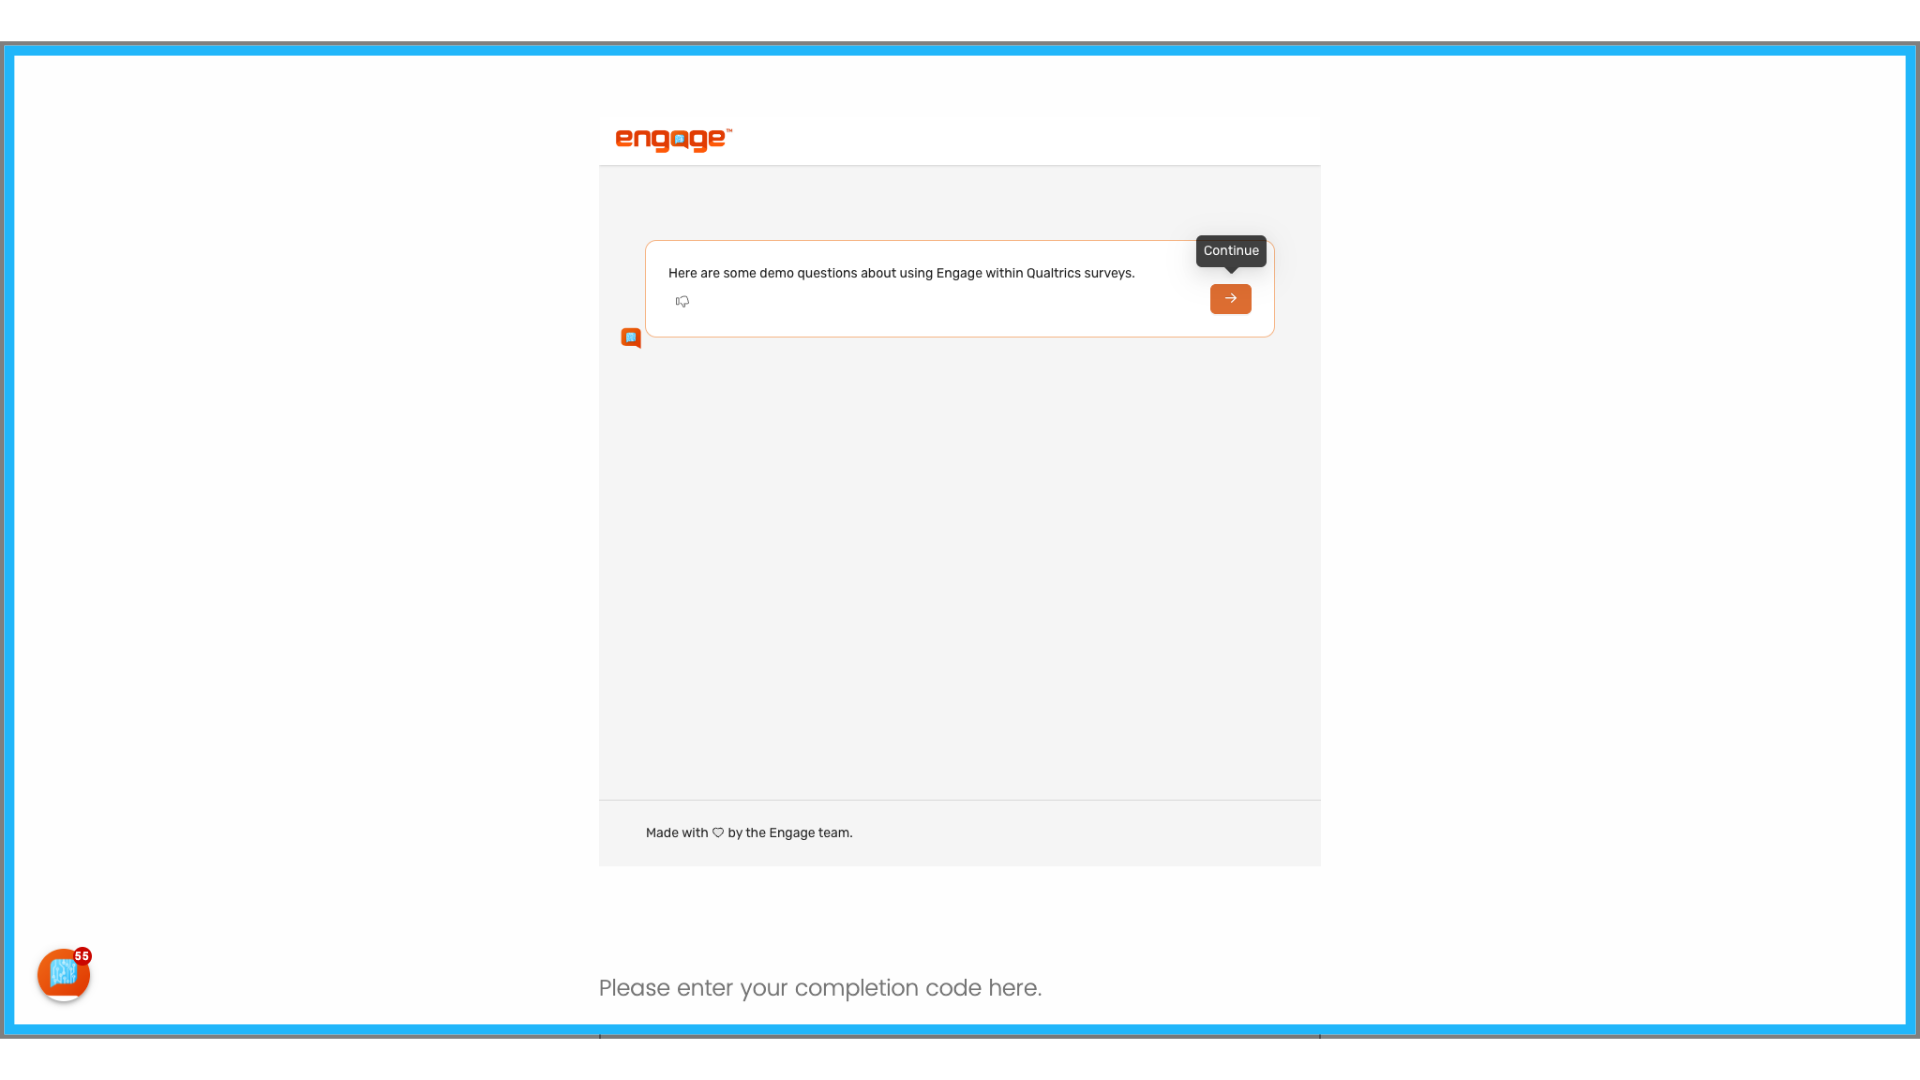
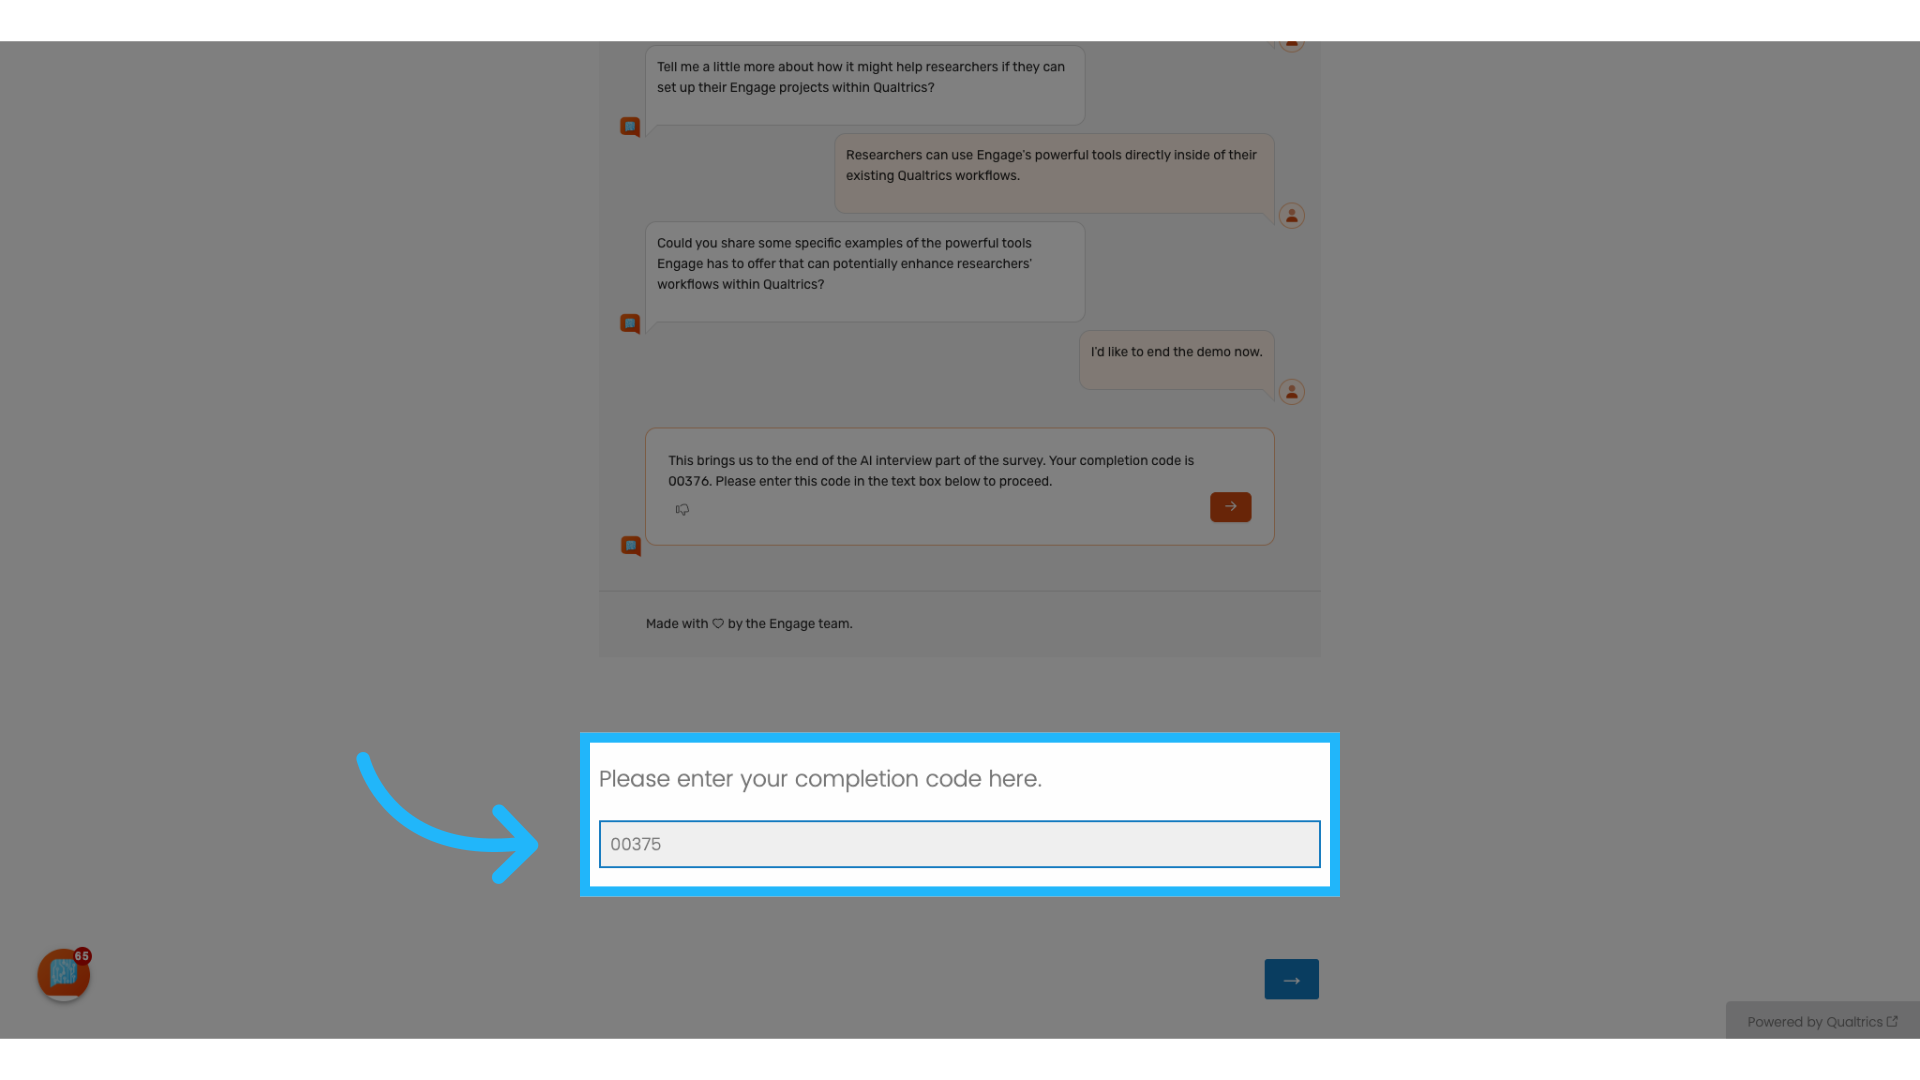
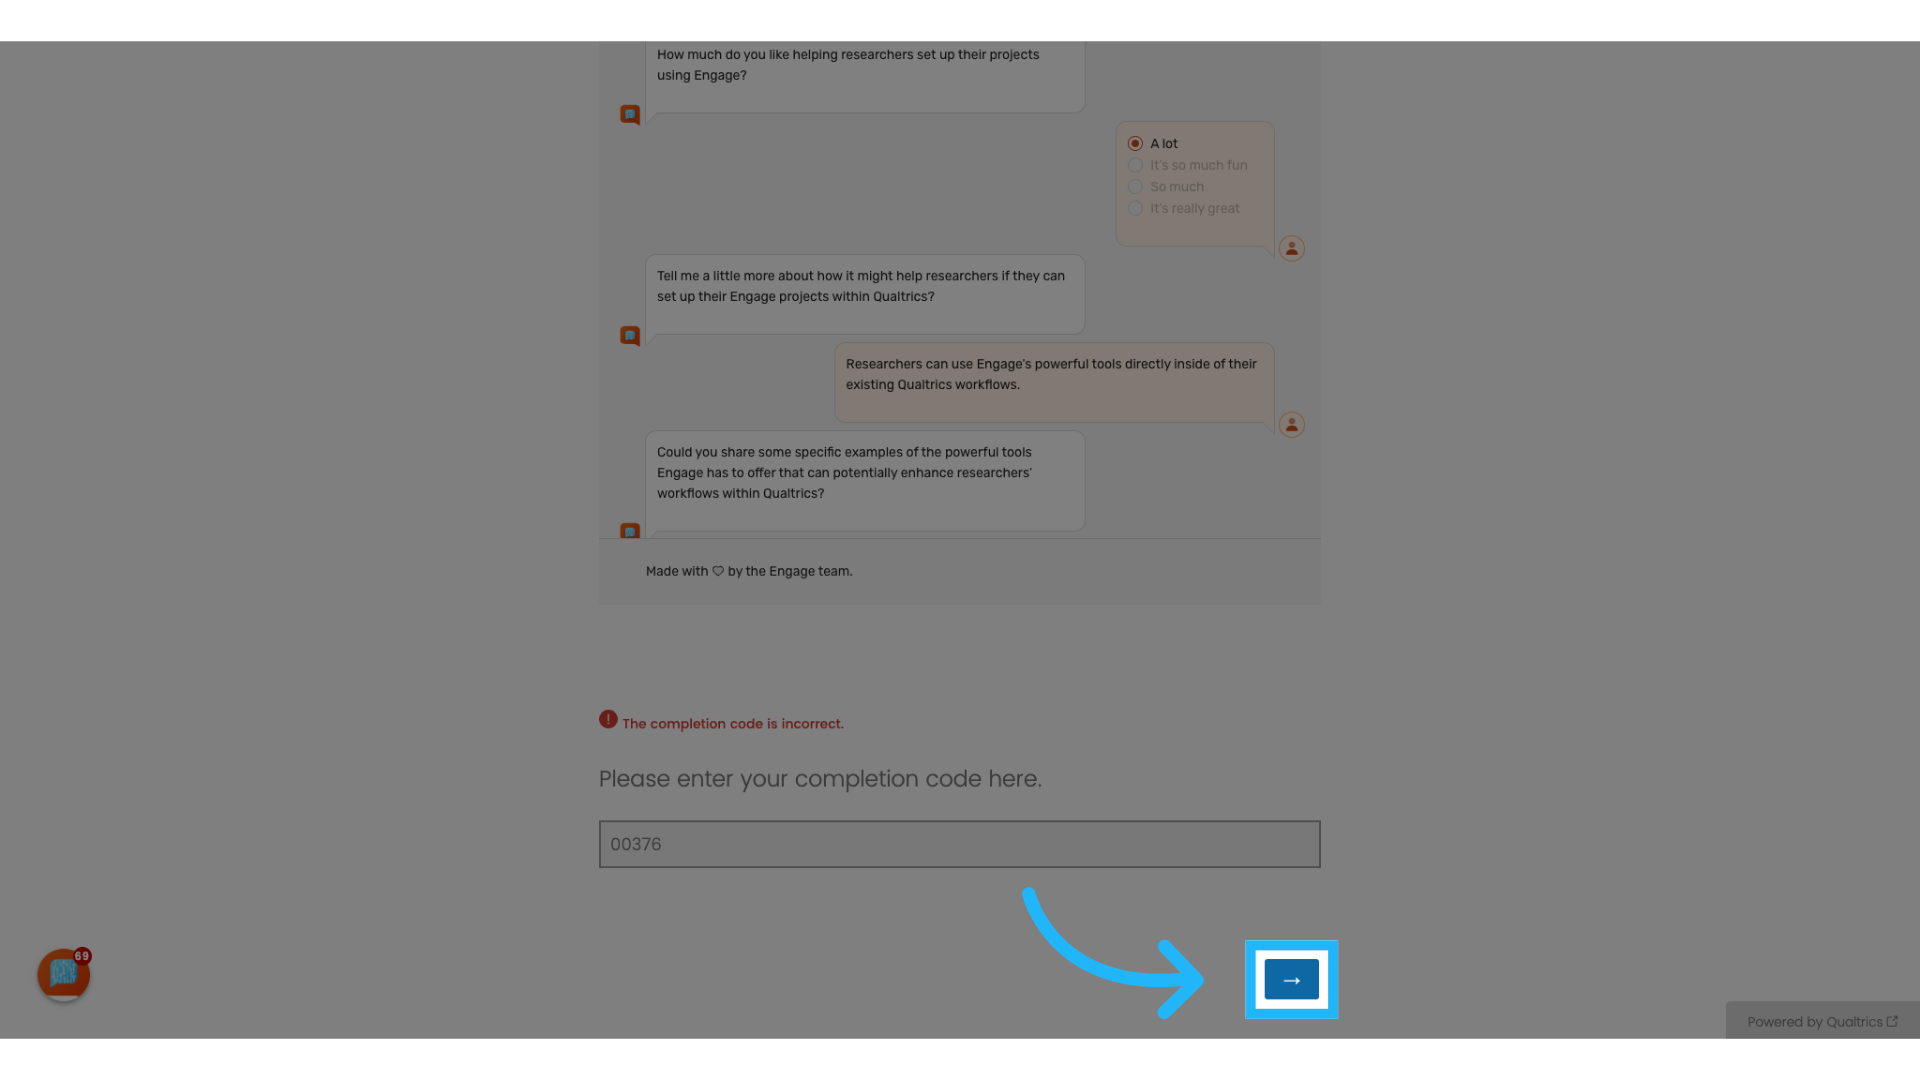
Ensure that the instructions text within Engage concludes with a completion code. For example, in this demonstration, the completion code is set to 00376. This code is critical for preventing respondents from advancing in your Qualtrics survey until they have fully completed the Engage component.
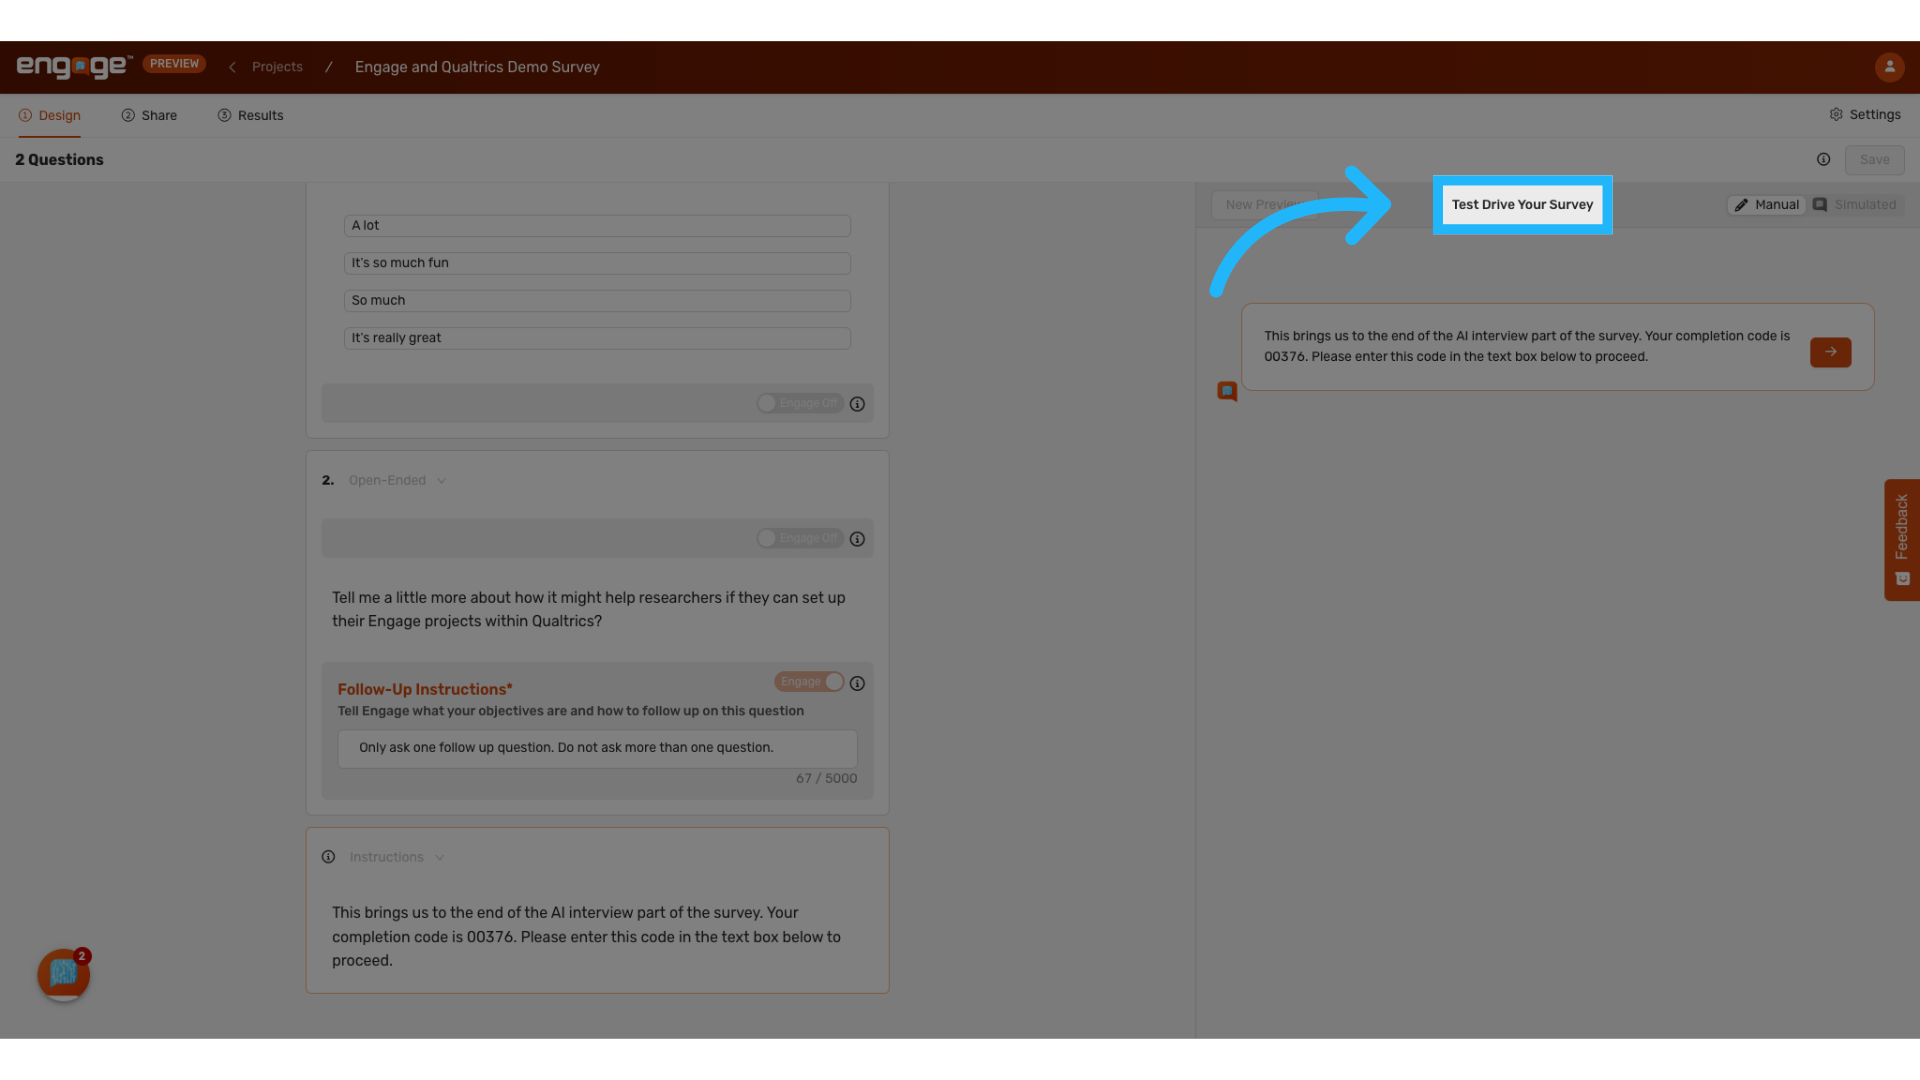
2. Test Your Engage Survey
Before deploying your Engage project in Qualtrics, it is crucial to thoroughly test your setup in Engage. Once deployed, you will not be able to make edits.
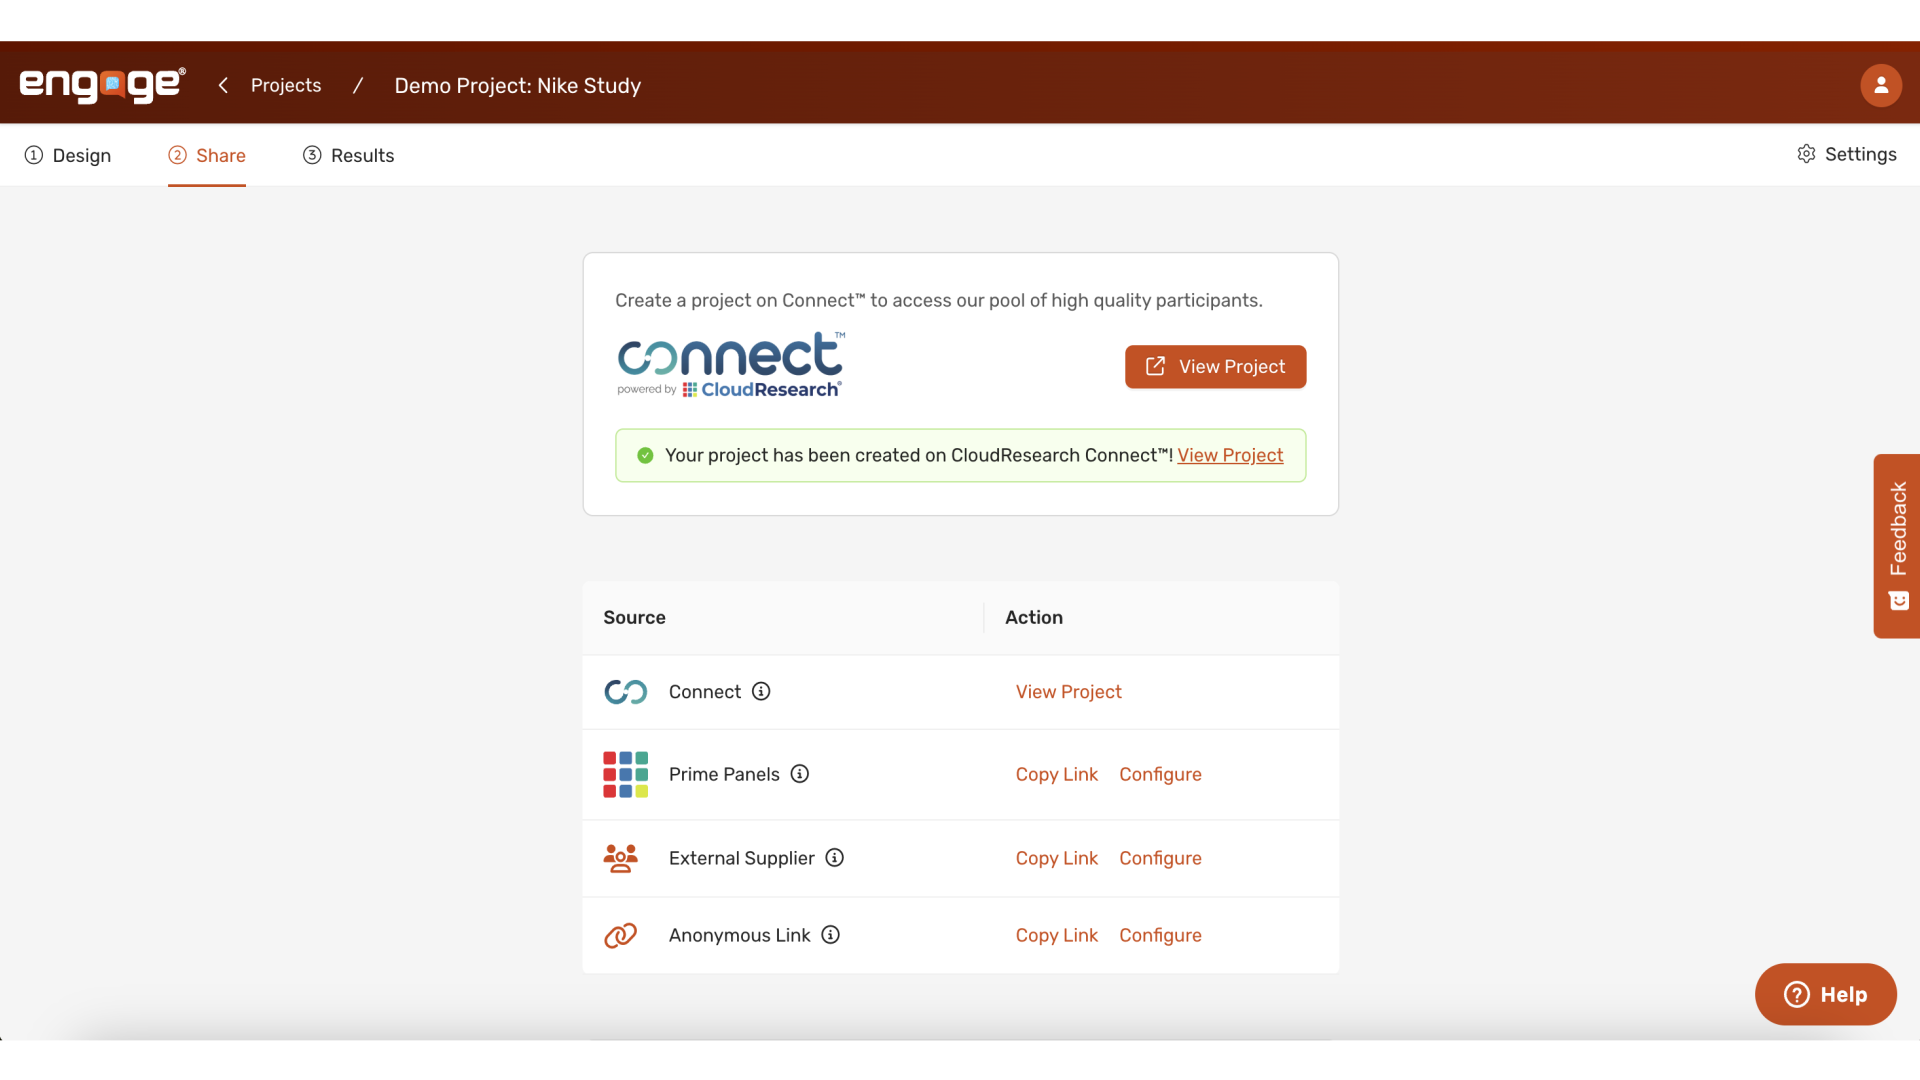
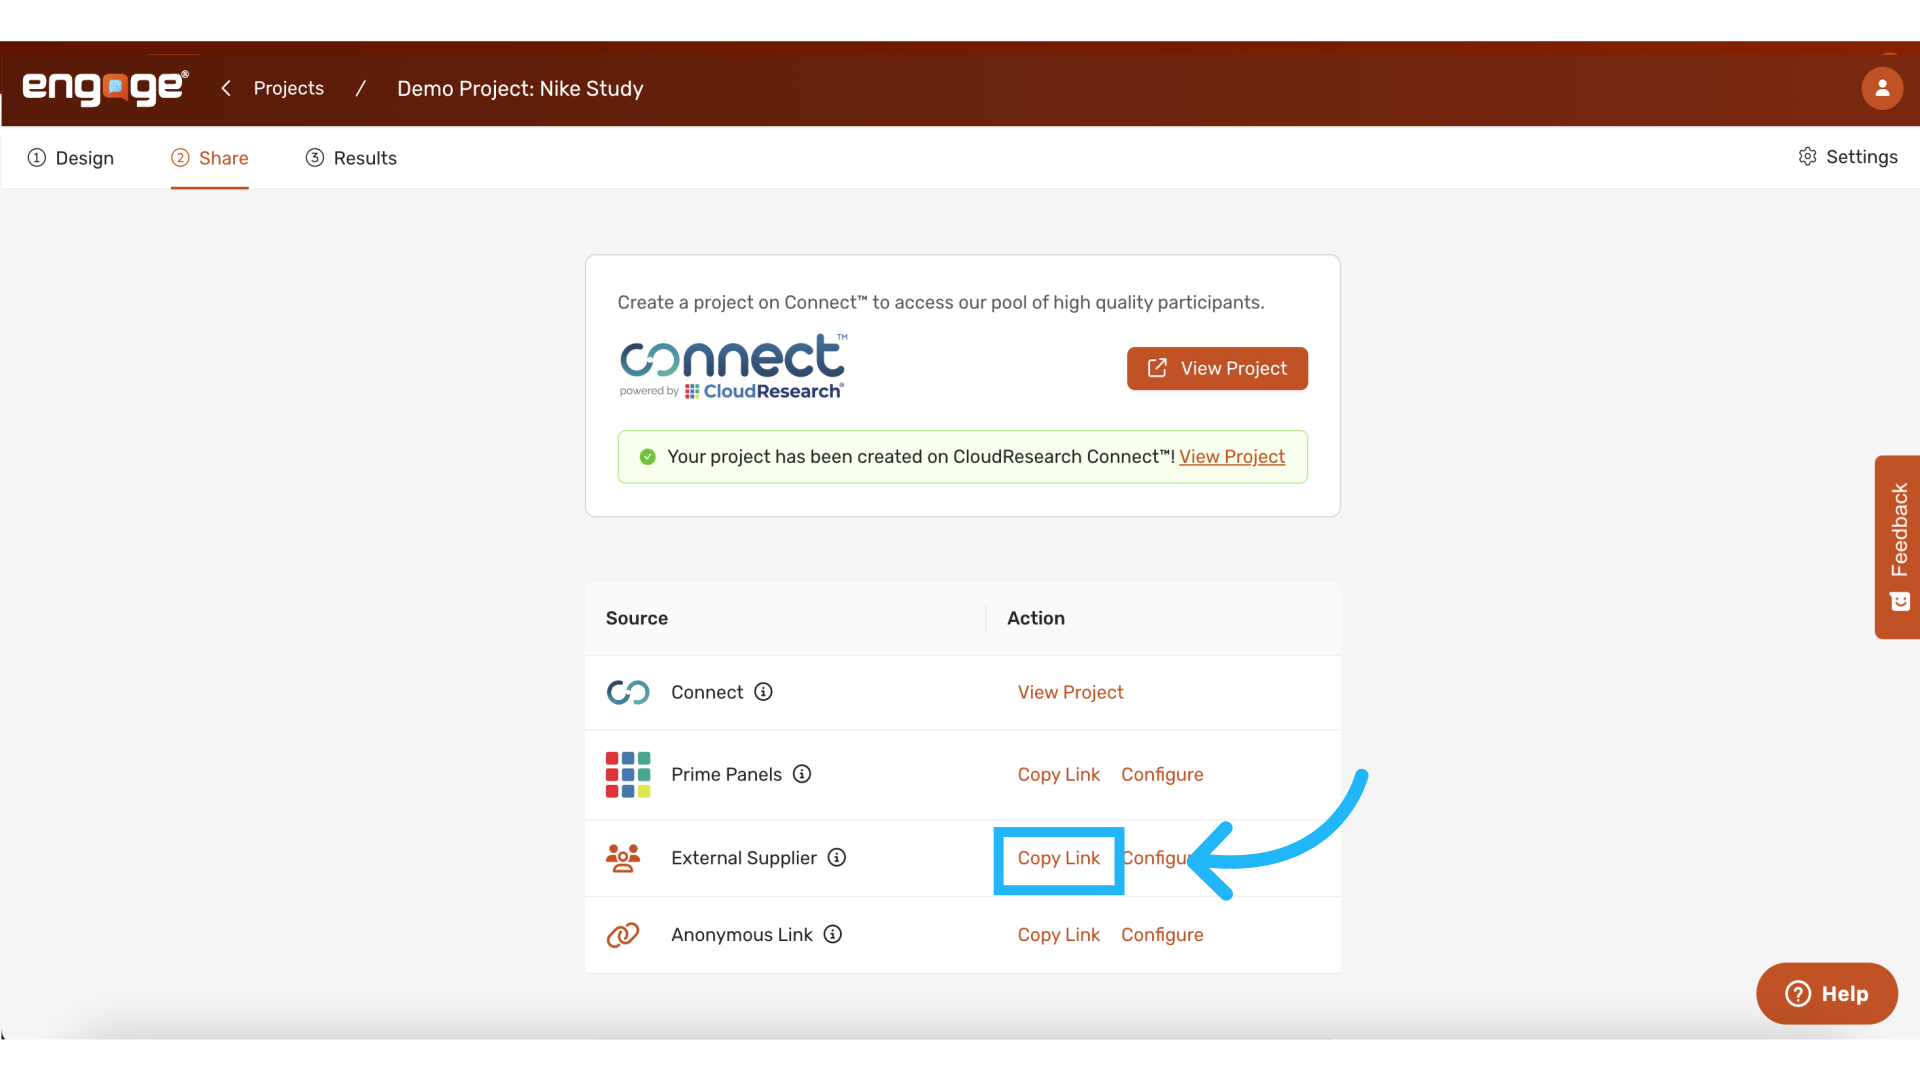
3. Contact us to enable external suppliers
Contact us to enable external suppliers and engage.
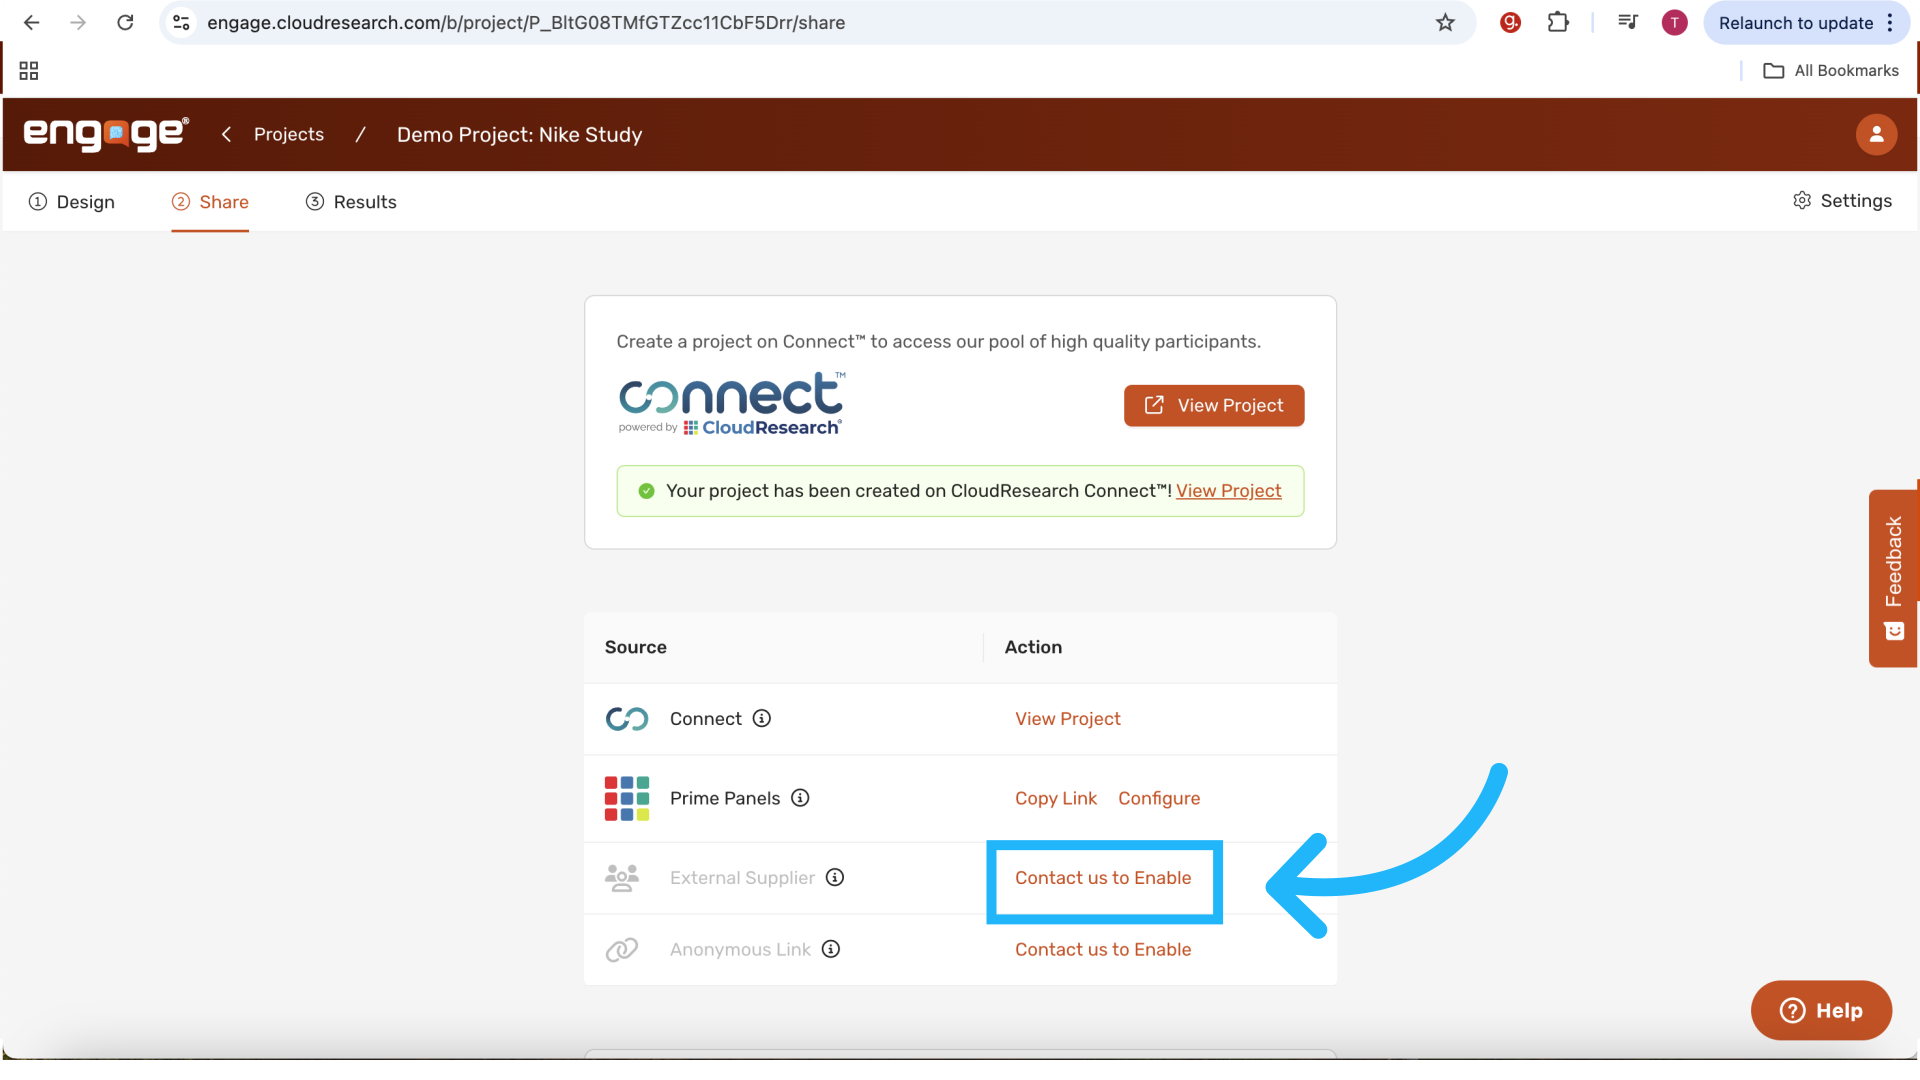
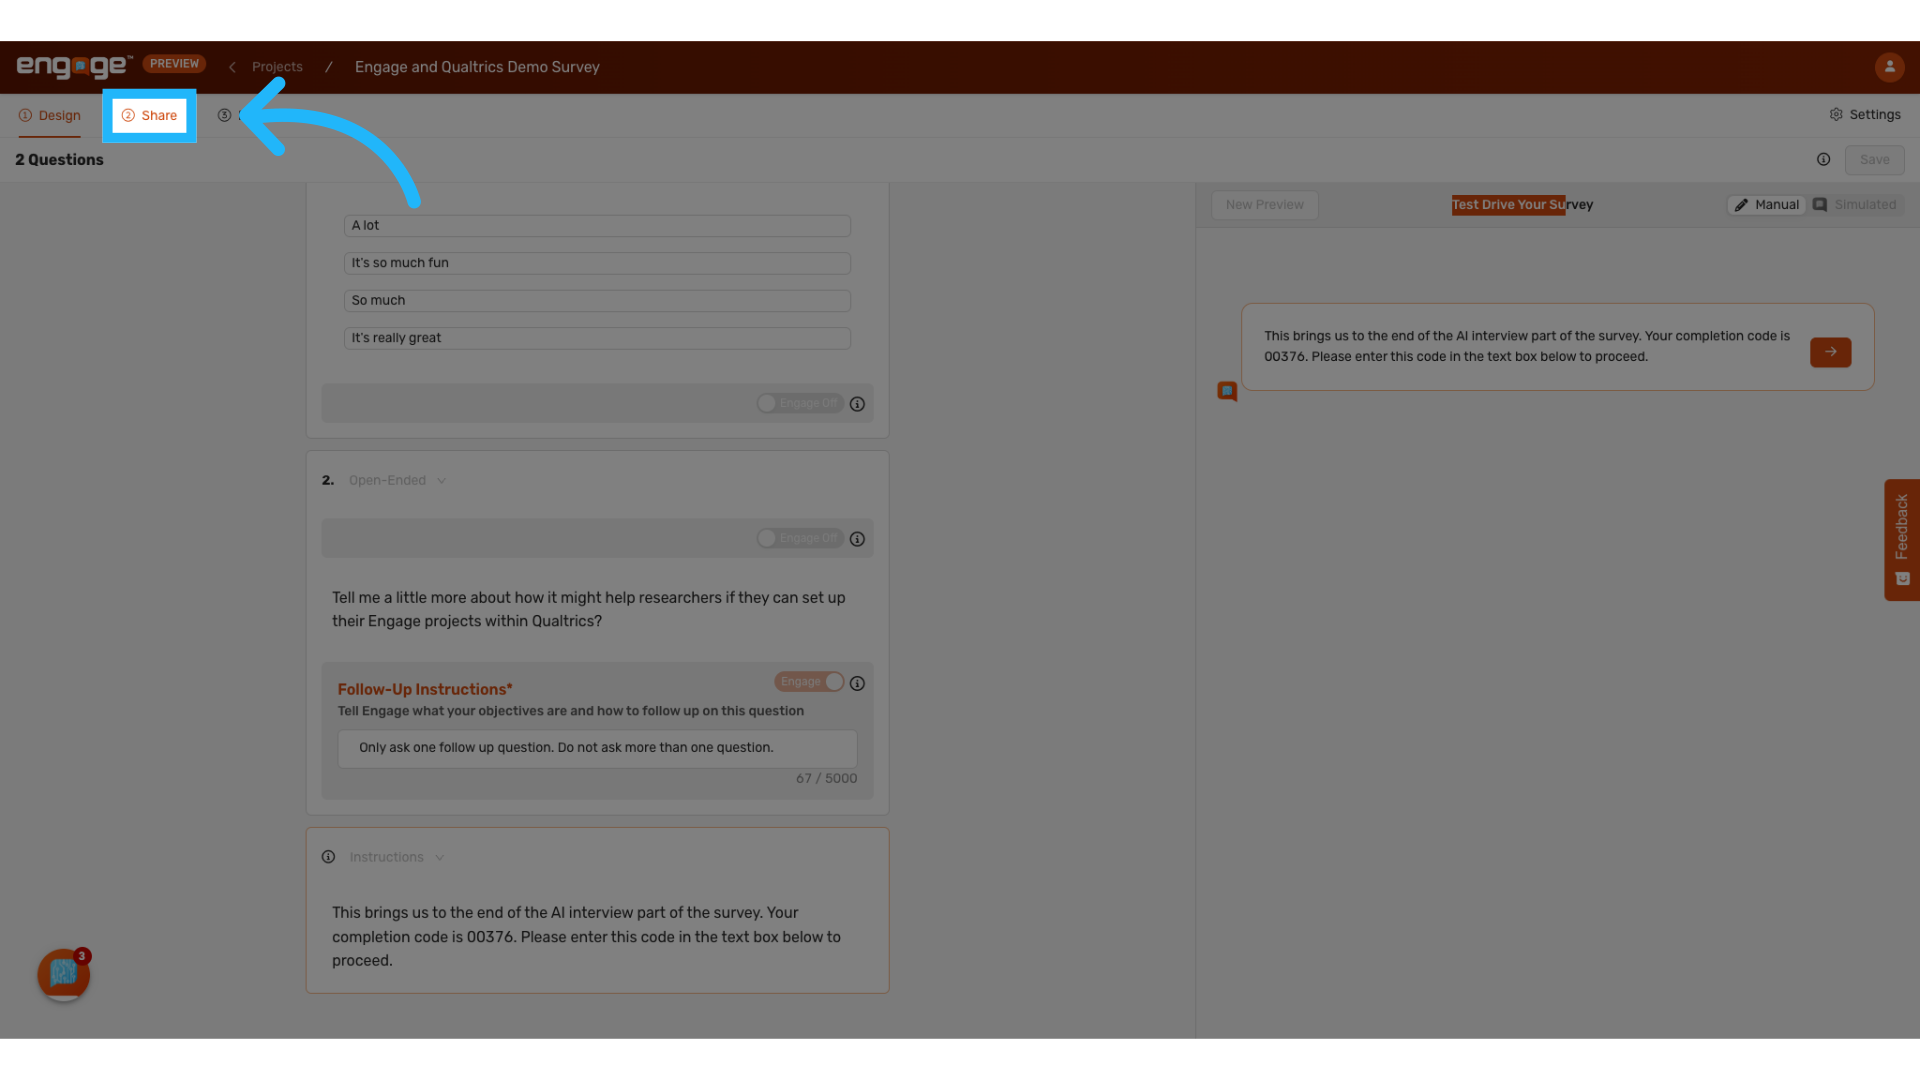
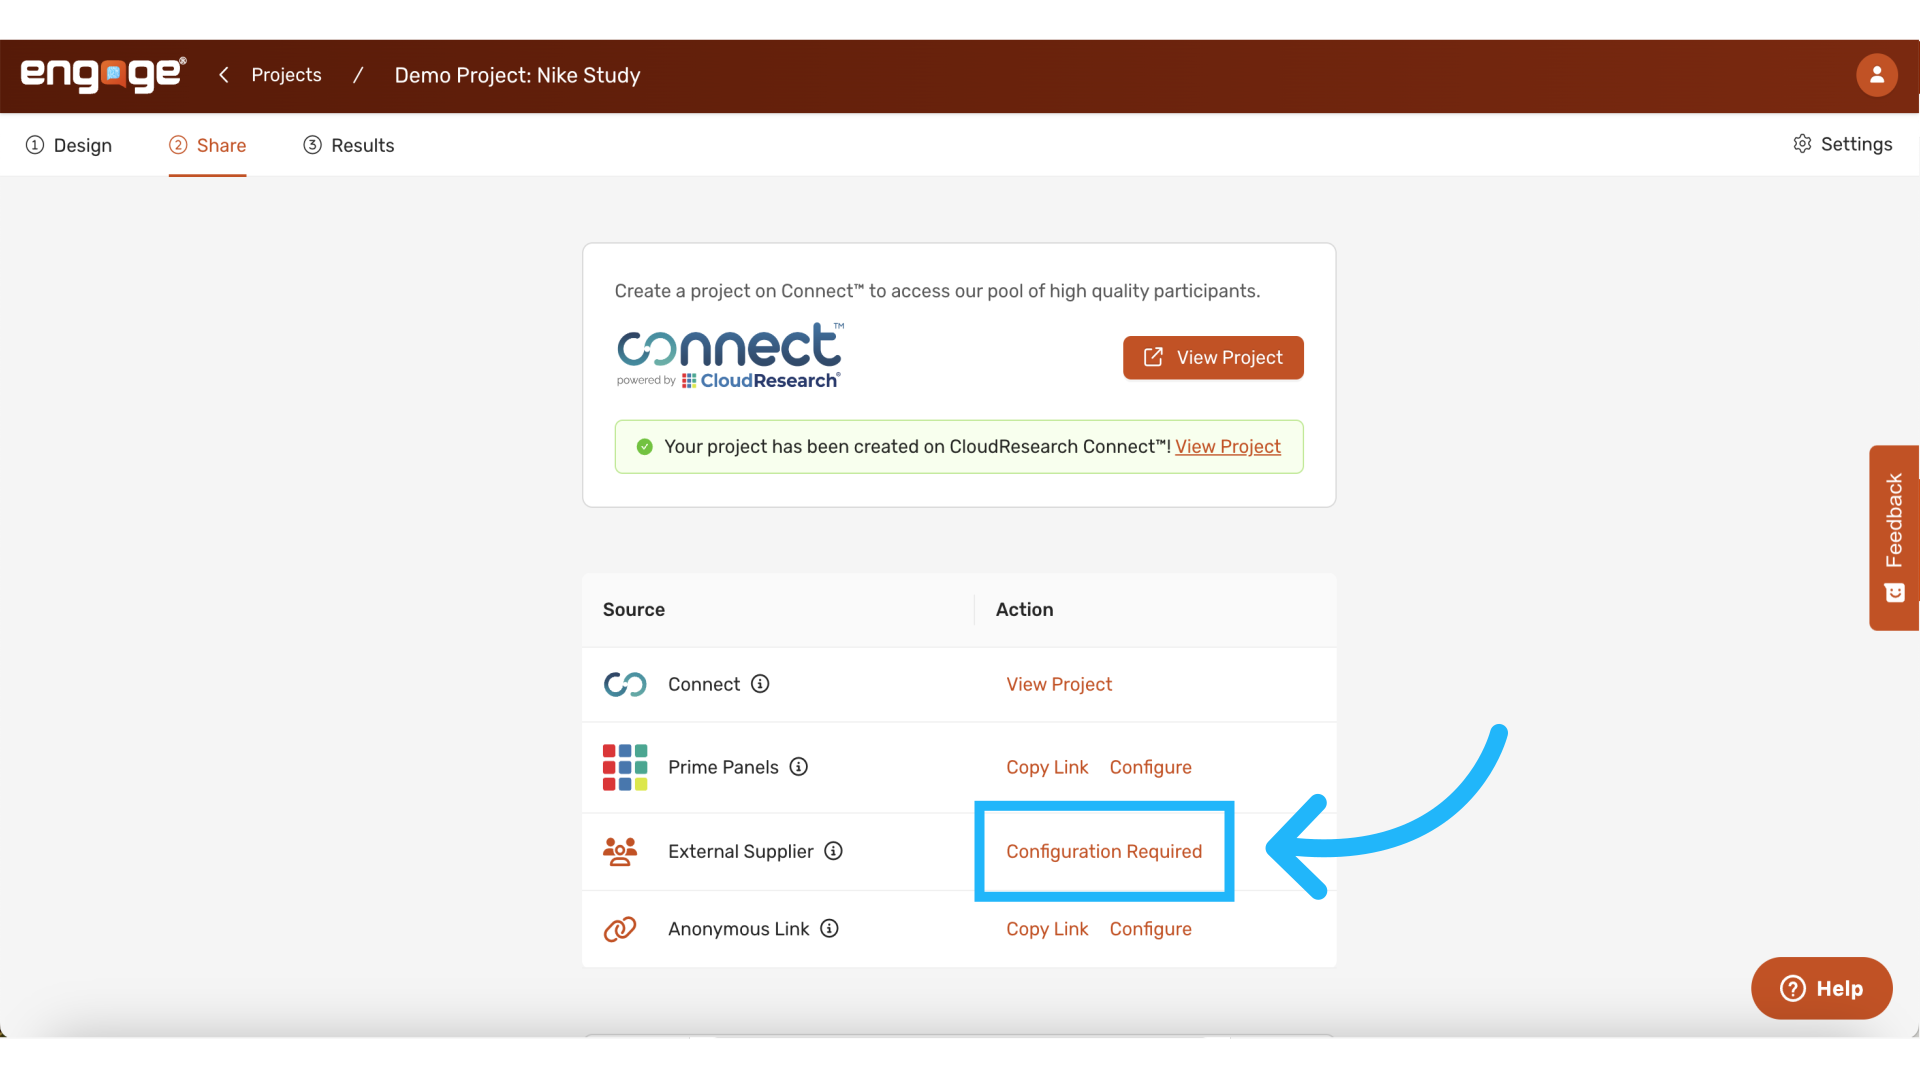
8. Locate the "Share" tab
The external supplier section is located within the "Share" tab.
9. Select "Configuration Required"
After completing these steps, select "Configuration Required" which will now be available.
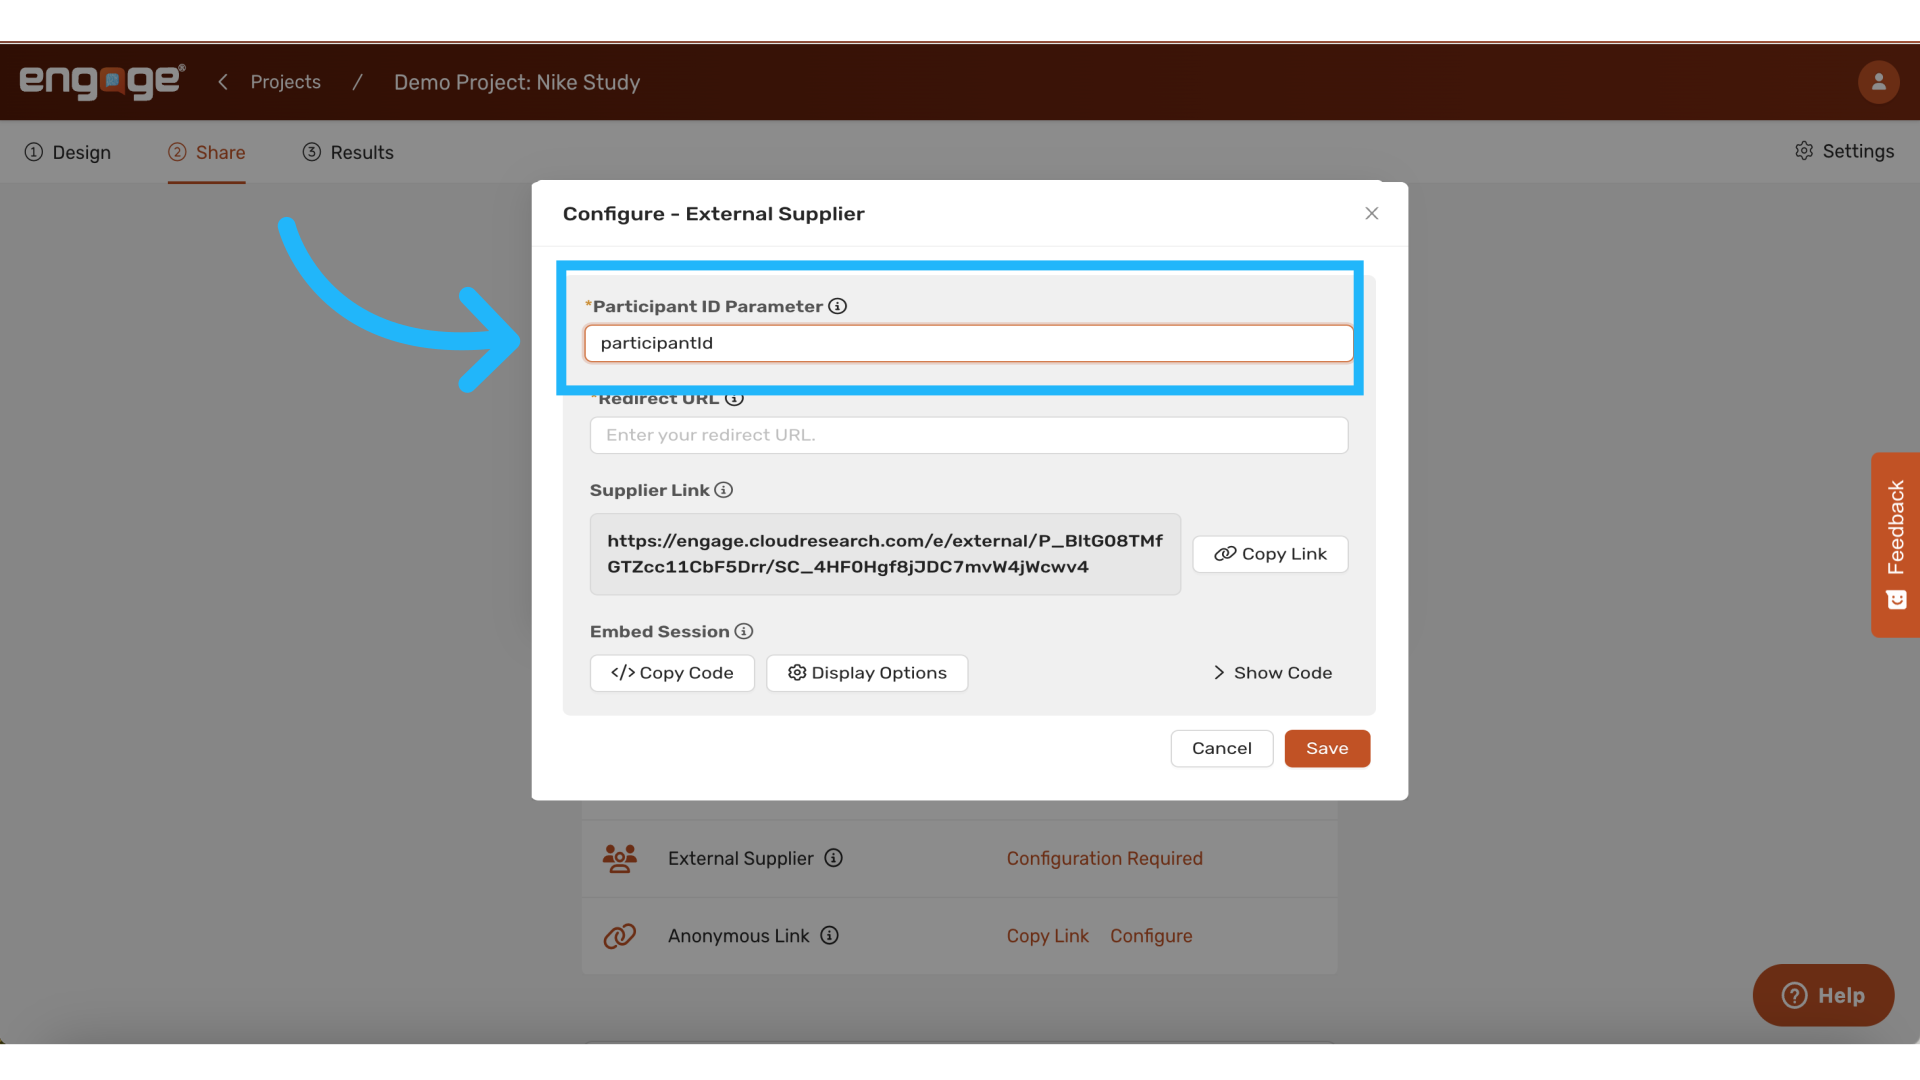
10. Set the Participant Id to "participantId"
Particpant ID and Redirect URL fields will appear in the pop-up window. Set the "Participant ID Parameter" field to "participantID". Note that this parameter is case sensitive. So it needs to be entered accurately.
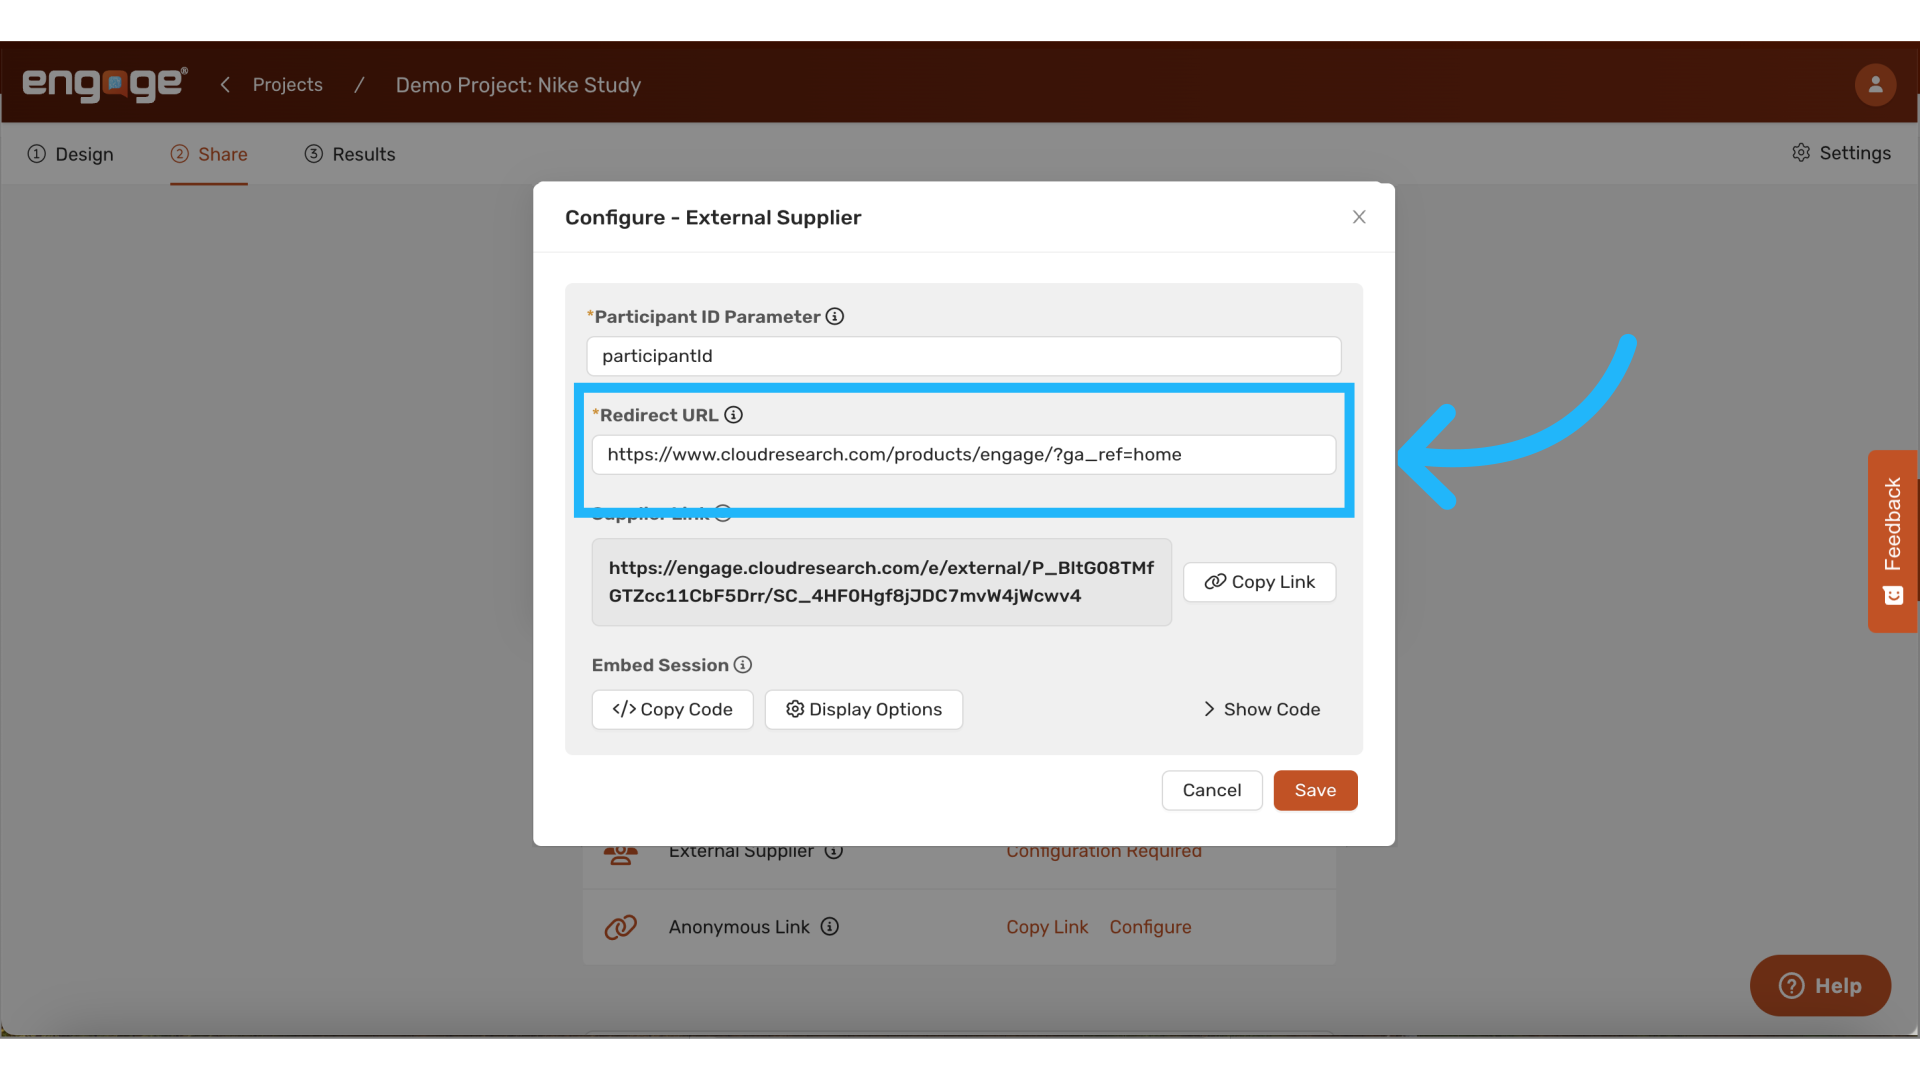
11. Set a redirect url
Additionally, add a completion link. This URL can be any link, as it is required solely for setup purposes when using Engage within Qualtrics.
7. Switch over to your Qualtrics survey
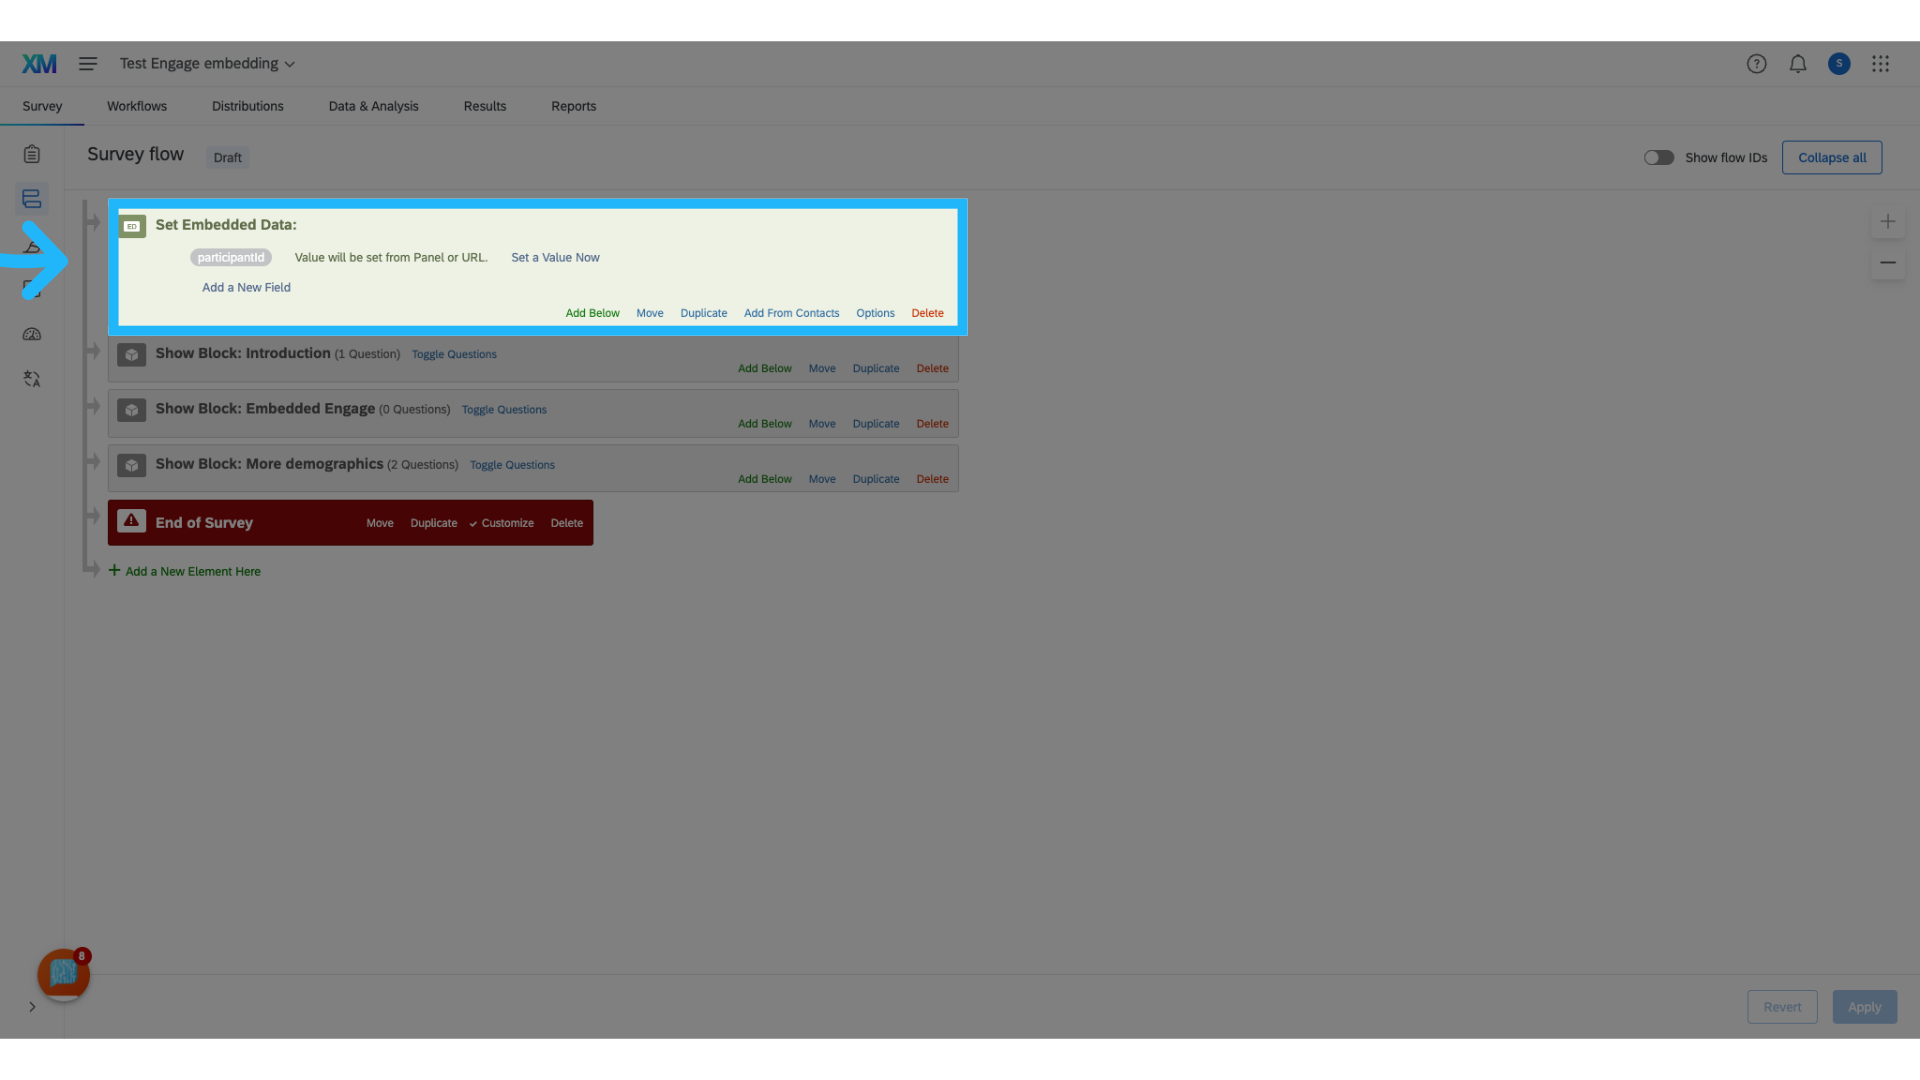
8. Navigate to the Survey Flow tab
9. Ensure Participant ID is being captured
To capture the participant ID parameter using embedded data, please follow the detailed instructions provided in our guide on the Connect knowledge base.
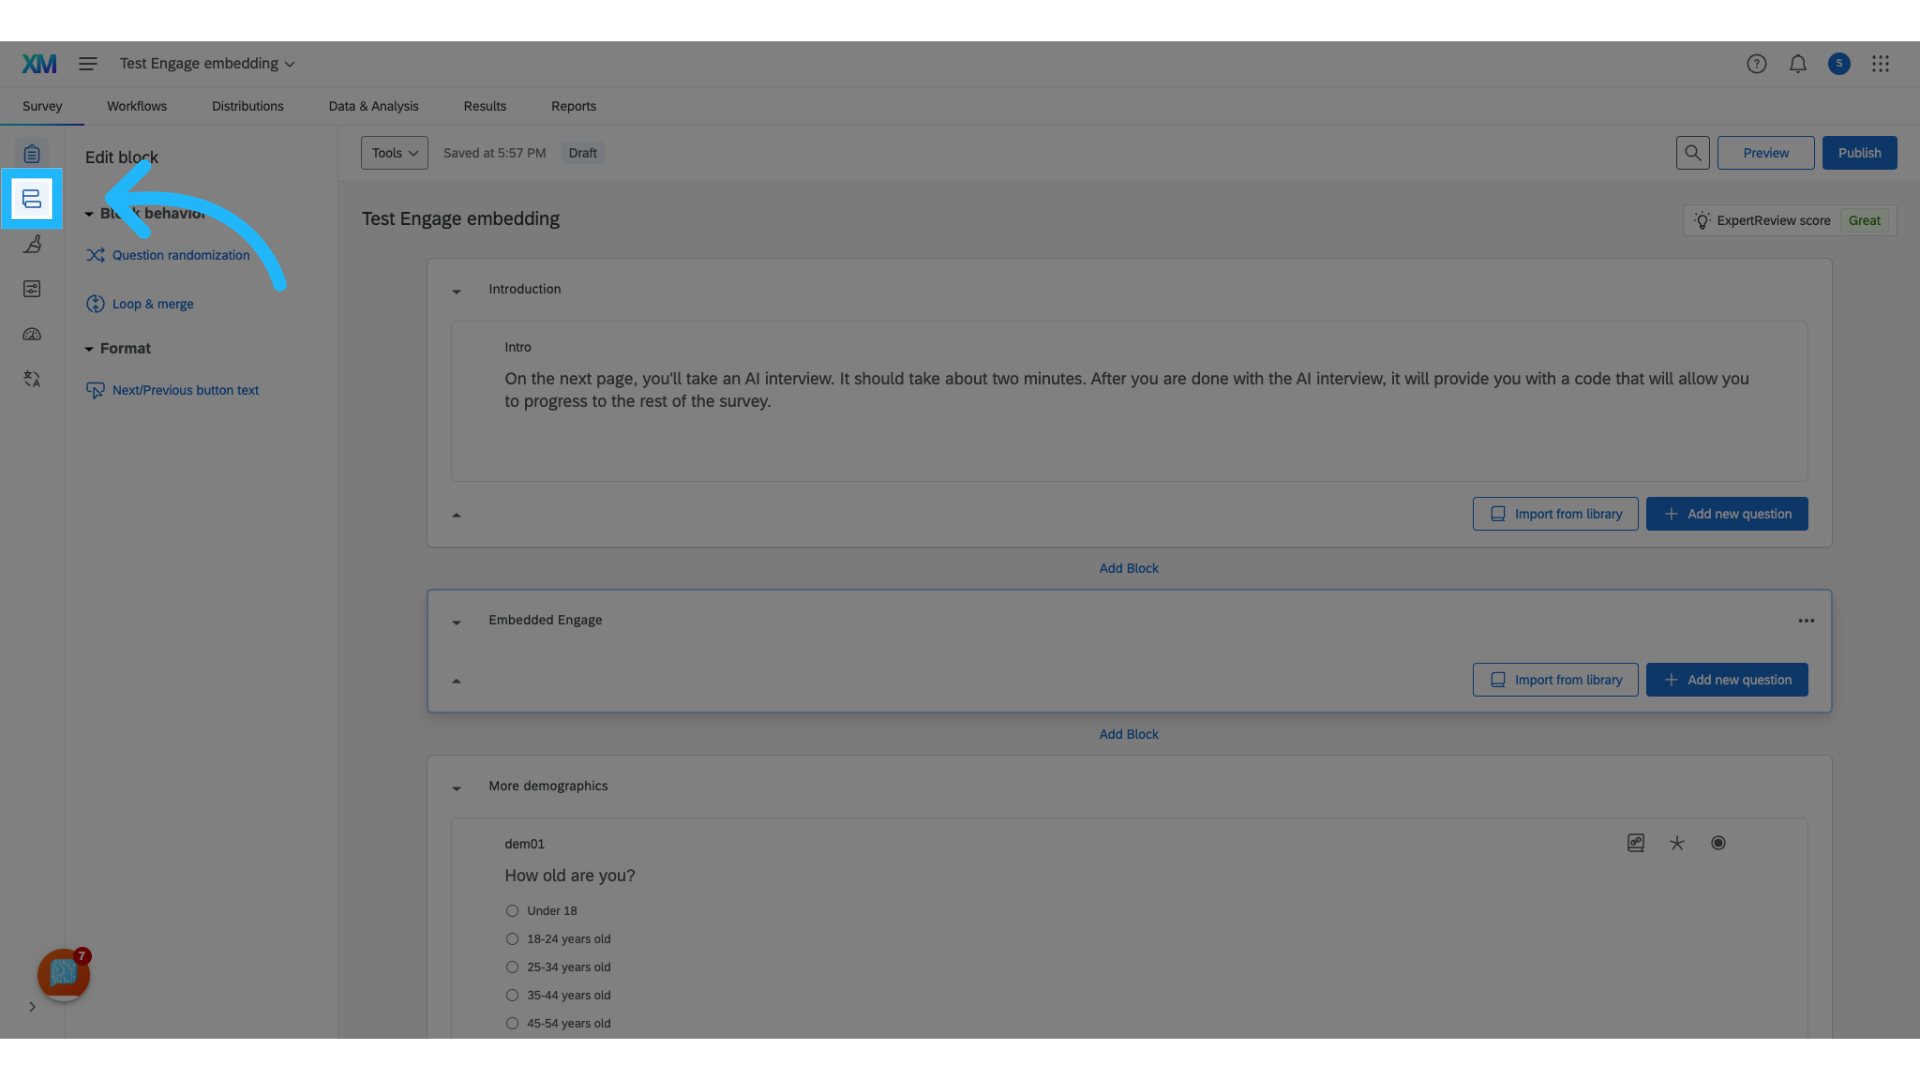
10. Navigate back to the Survey Builder tab
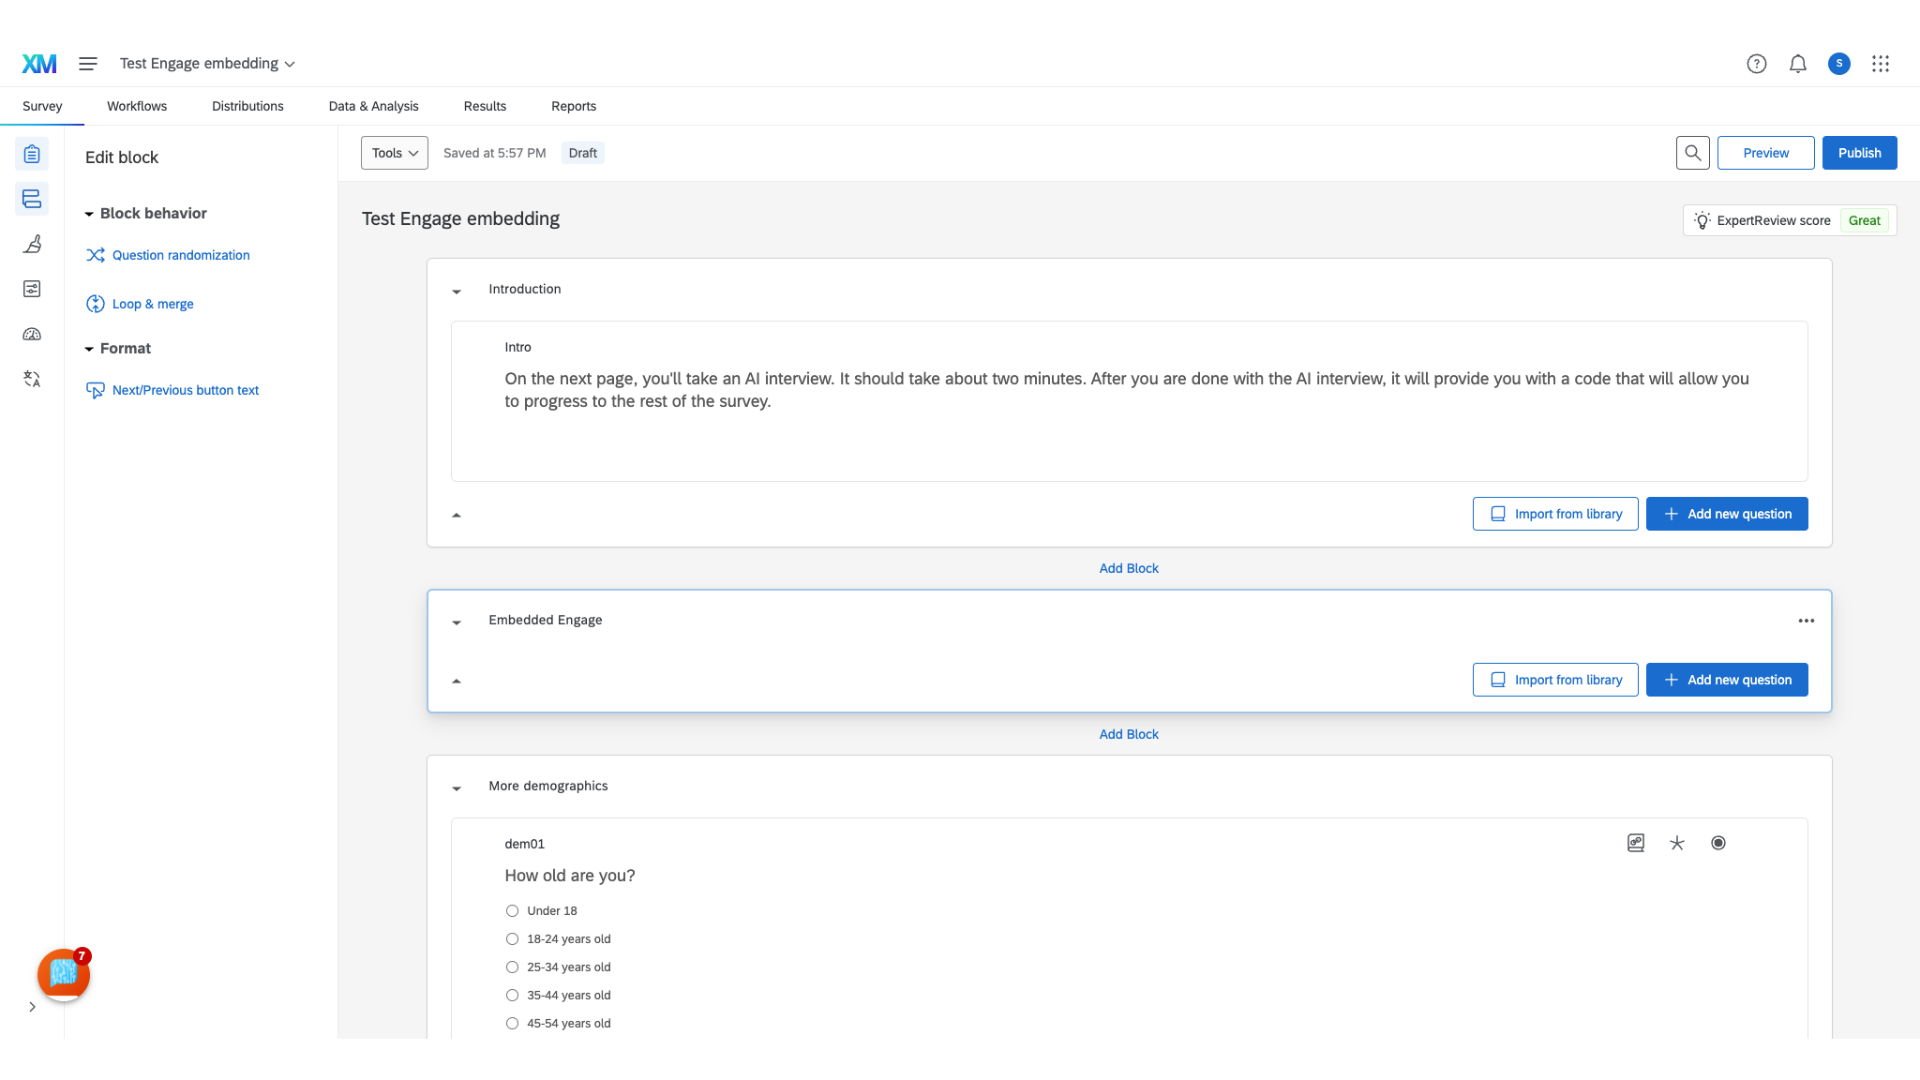
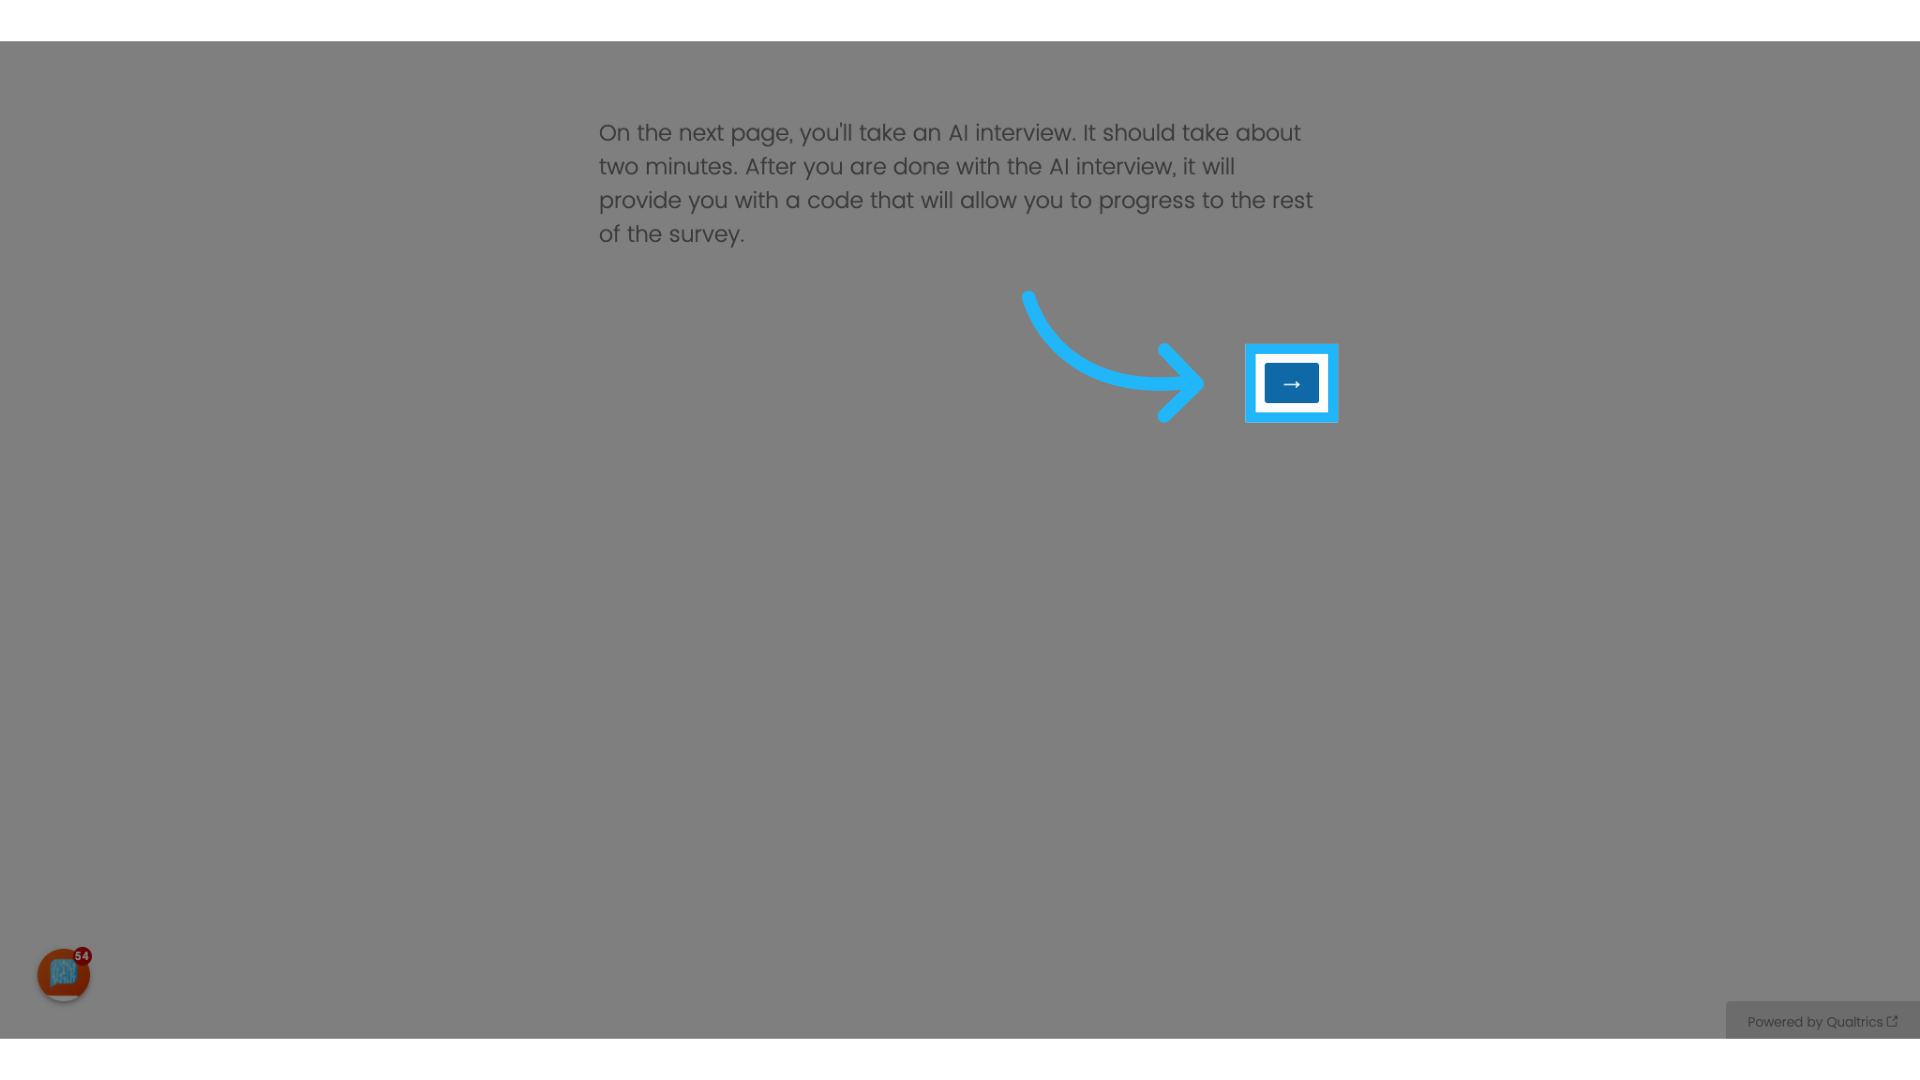
11. Add a new question where you want Participants to begin the Engage survey.
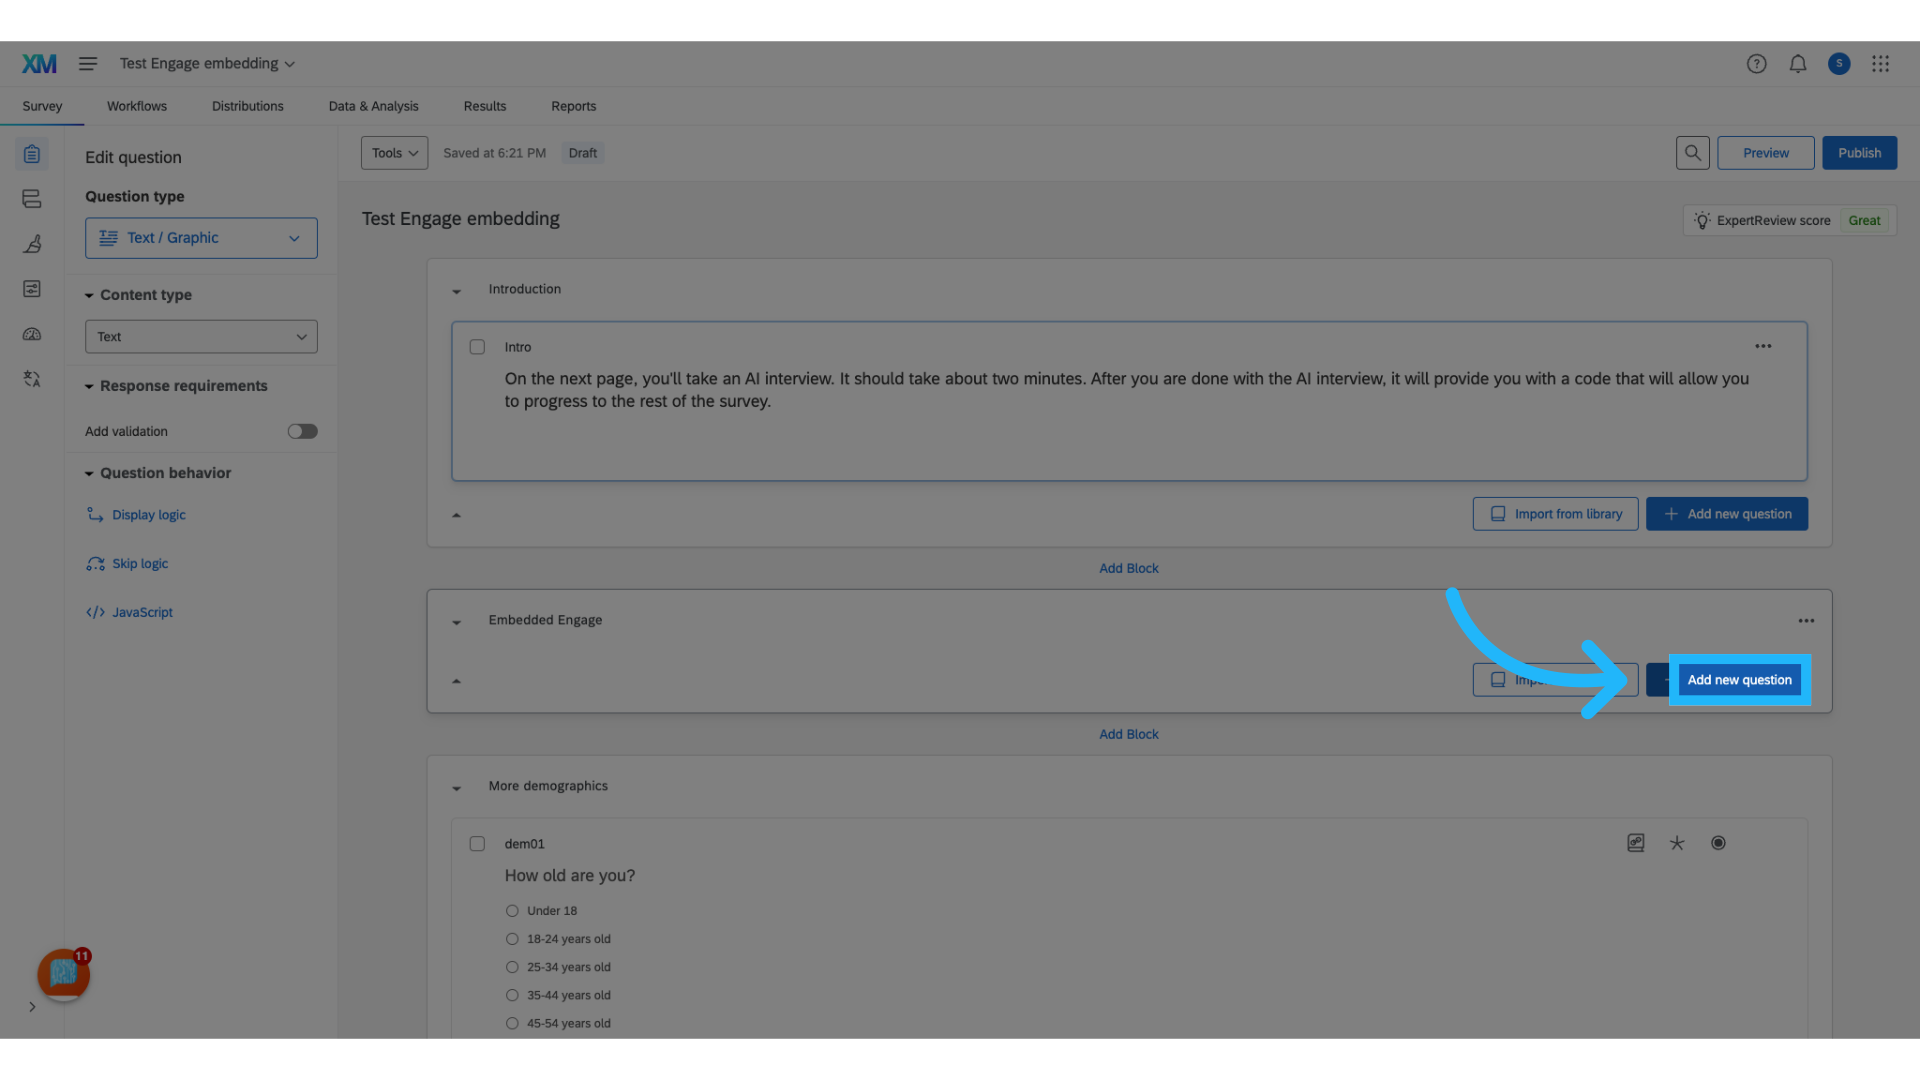
12. Select "Text / Graphic"
Choose "Text/ Graphic" as the question type.

13. Delete the placeholder text
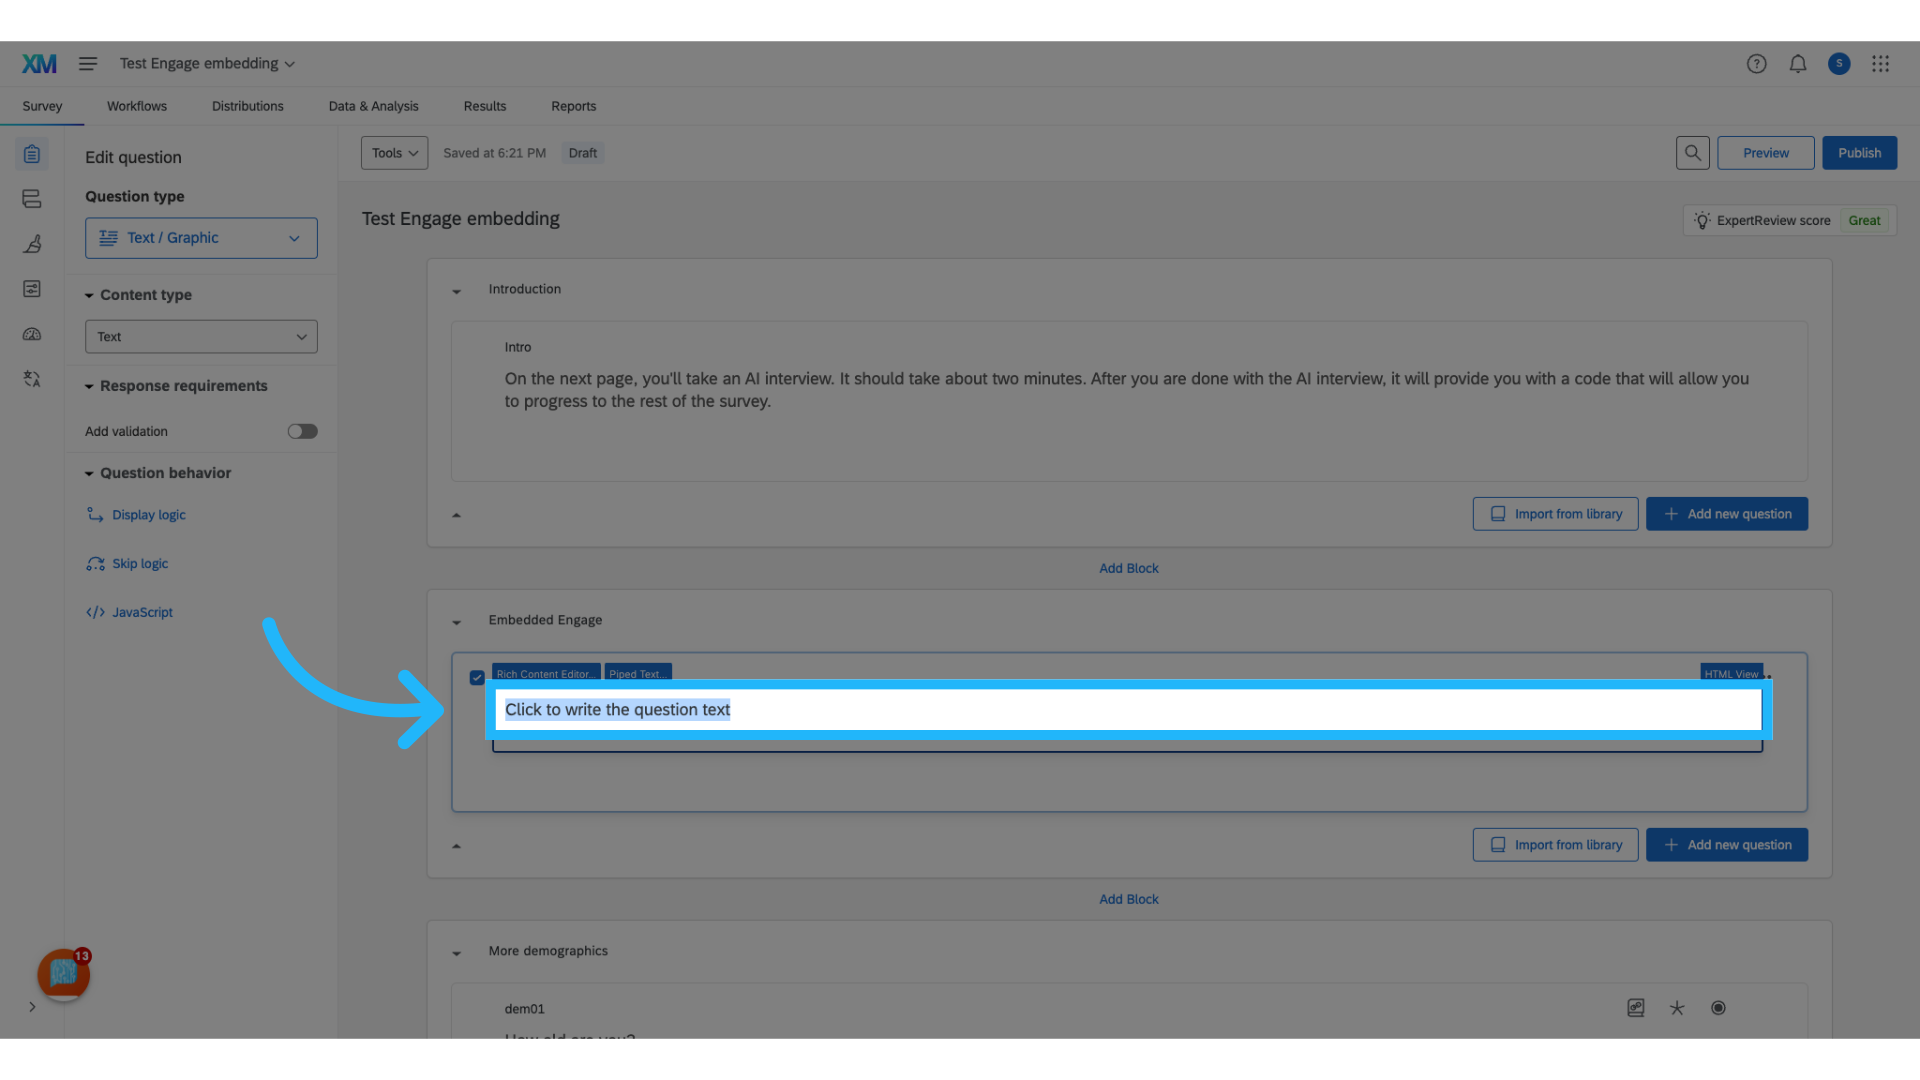
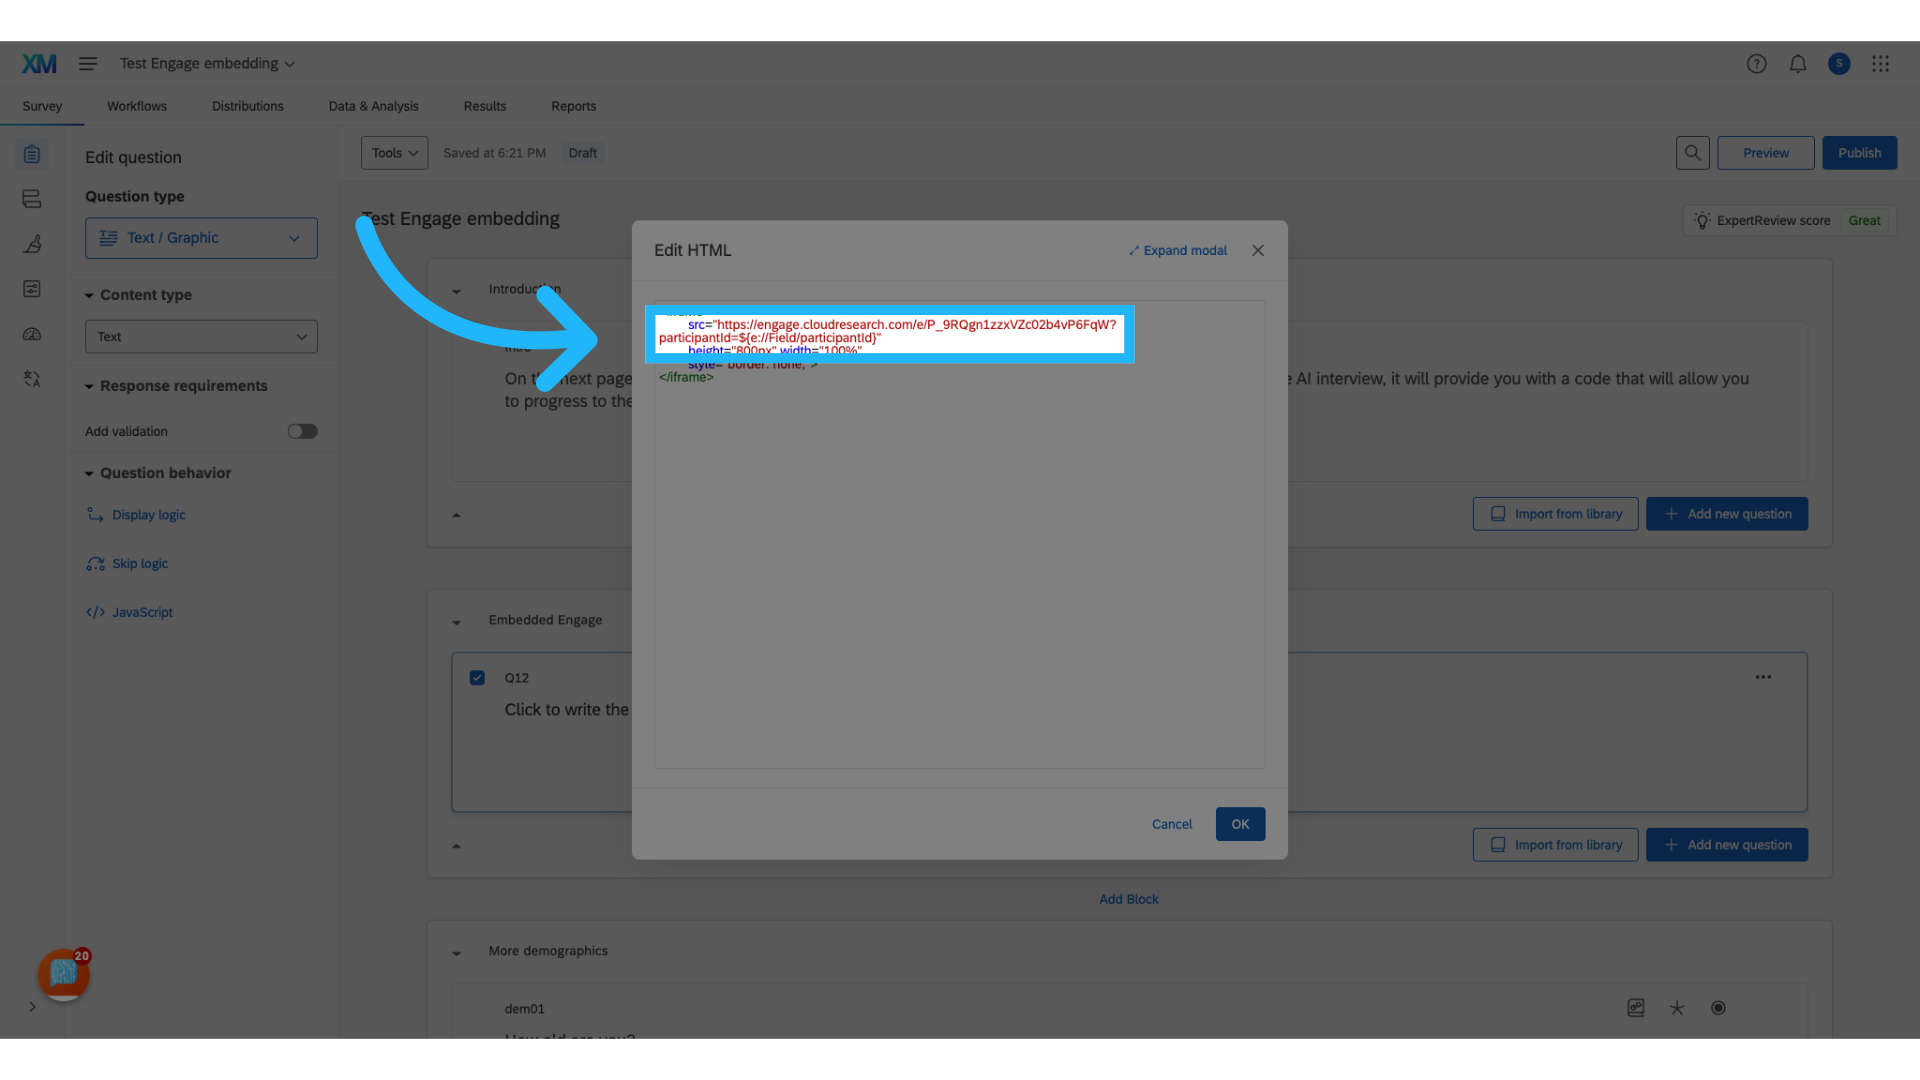
14. Switch to "HTML View"
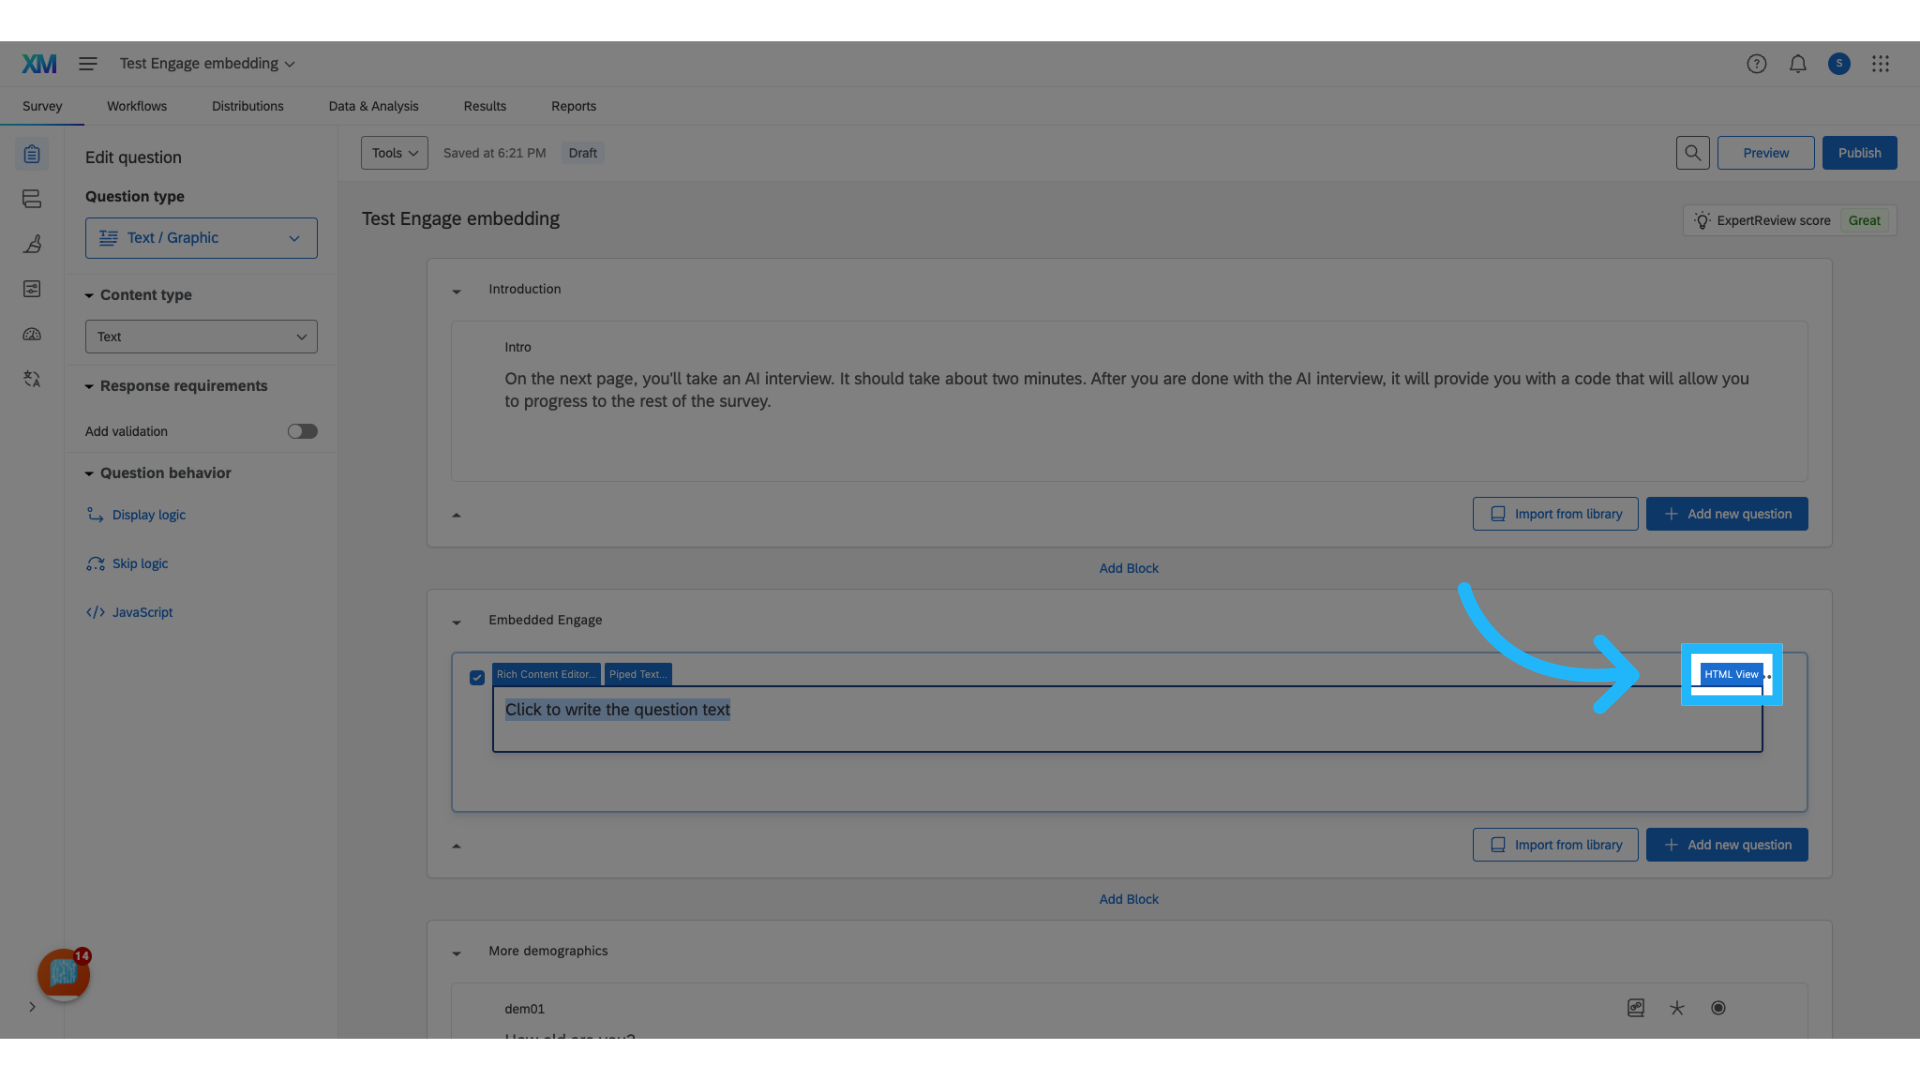
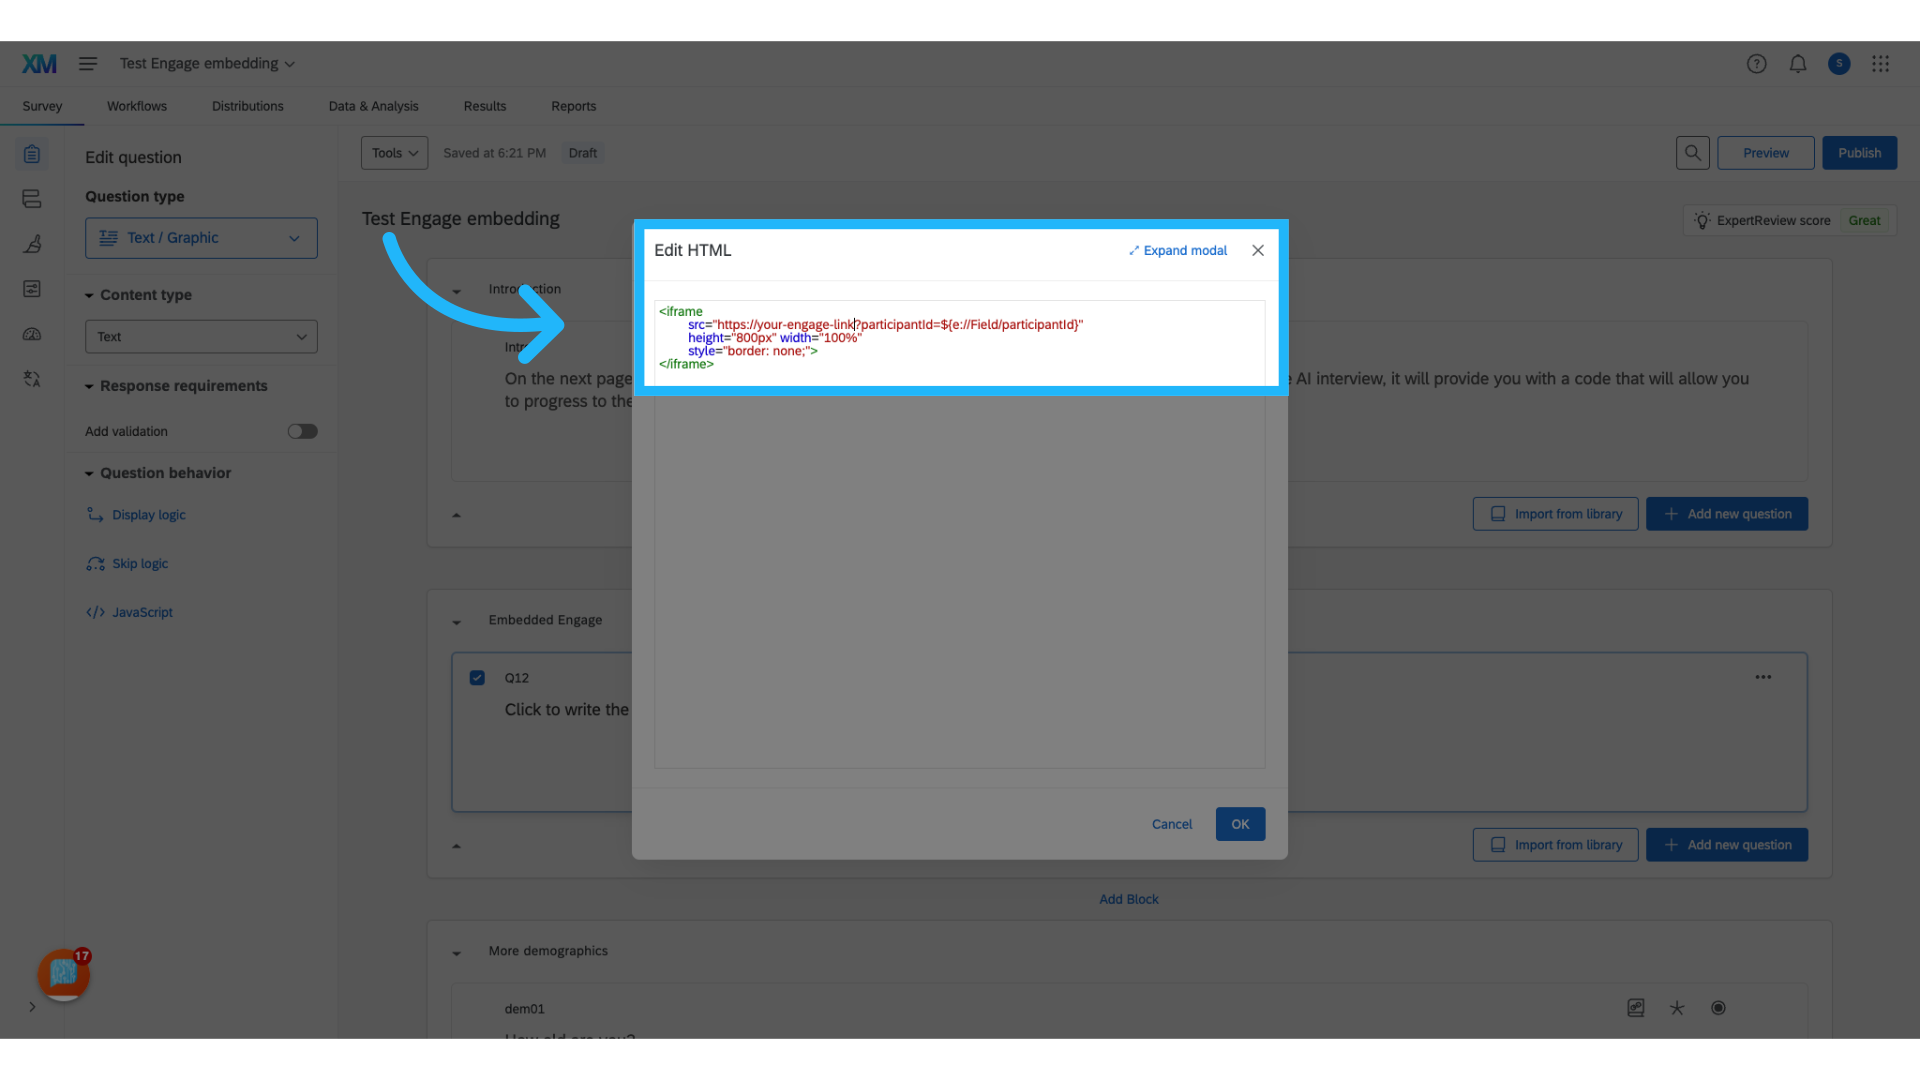
15. Paste in HTML code
A blank text box will appear. Copy and paste the provided HTML code into this text box. Once the code is pasted, replace the generic survey link with the specific link to your Engage survey.
    <iframe style="border: none; margin: 0; padding: 0;" src="https://your-survey-link?participantId=${e://Field/participantId}"
    width="100%" height="800px"> </iframe>
16. Return to Engage
17. Copy the project link
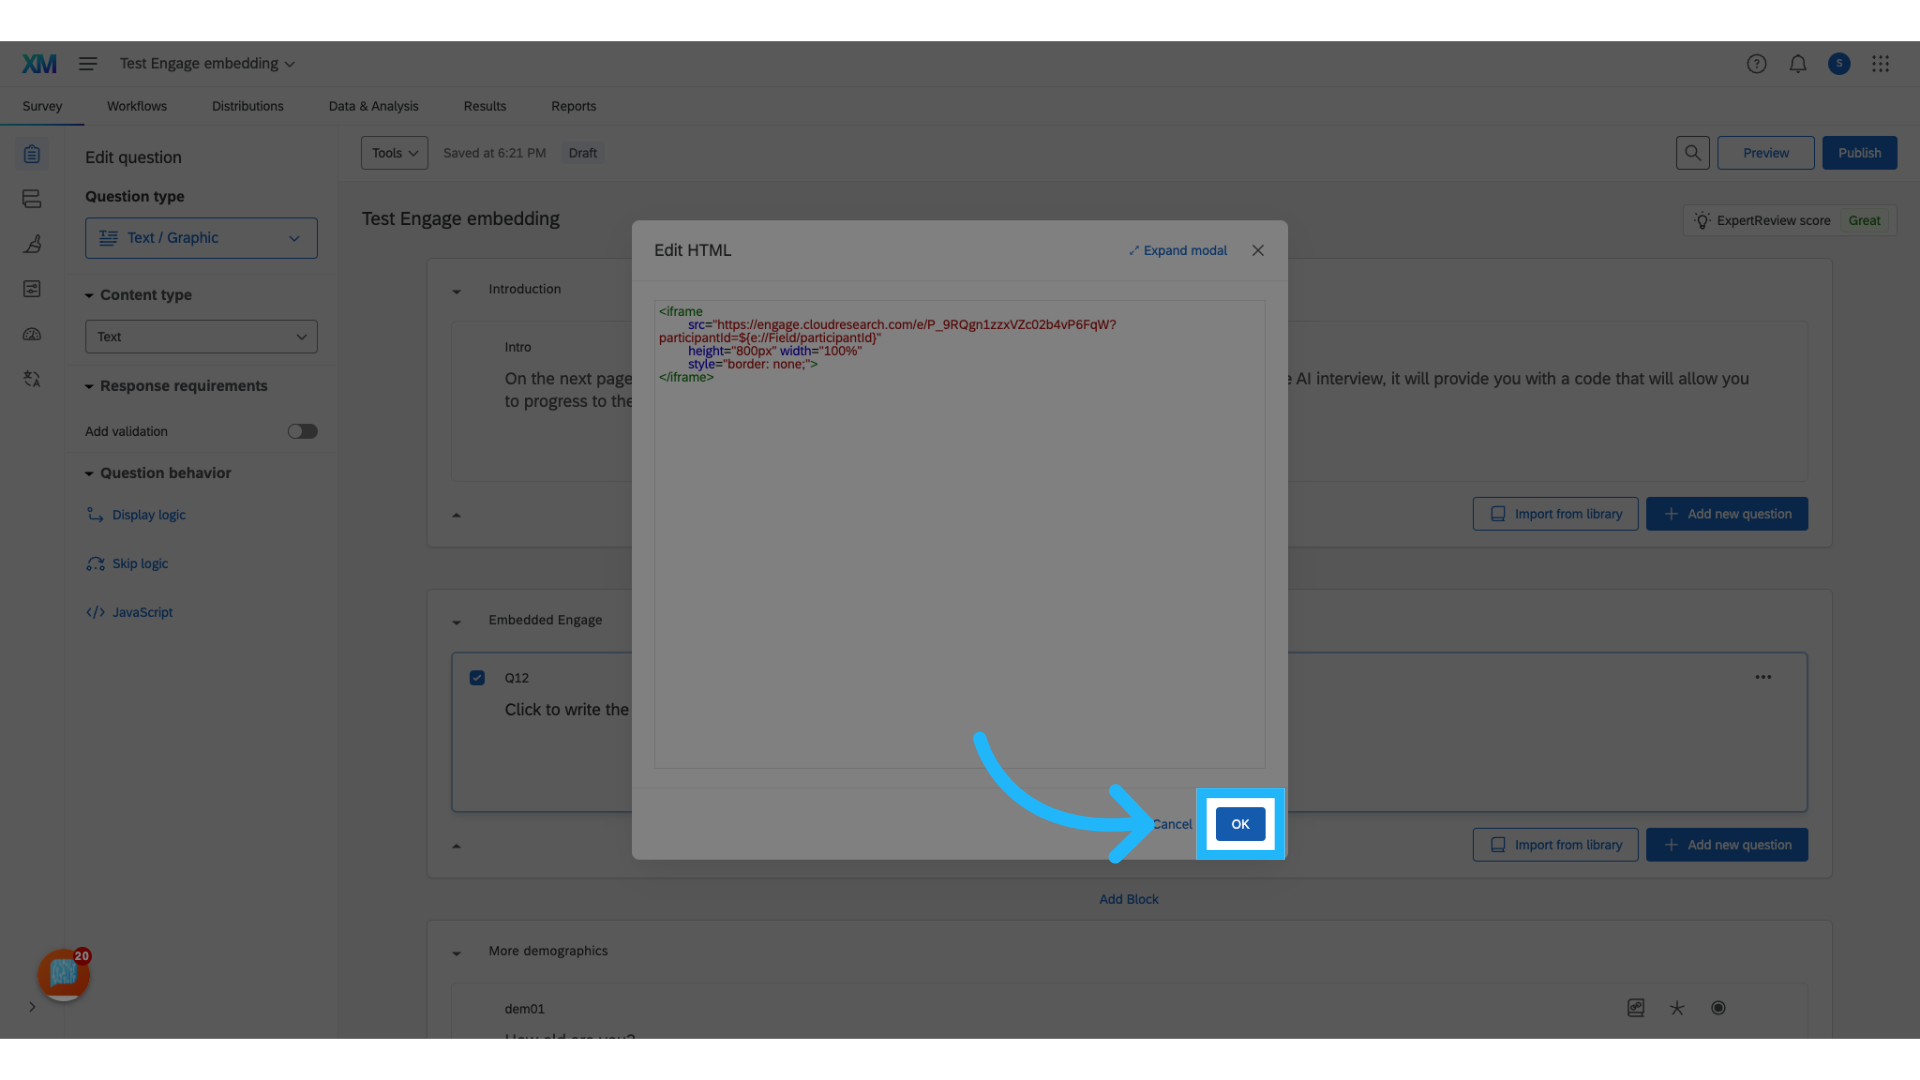
18. Update the Link Placeholder in Your Qualtrics Survey with Your Project Link
Replace the placeholder link in Qualtrics with your Engage link, ensuring that the portion of the link following the question mark remains unchanged. This is crucial as it allows Engage to accurately capture the correct participant ID from Qualtrics using embedded data.
19. Click "OK" to save the HTML edits
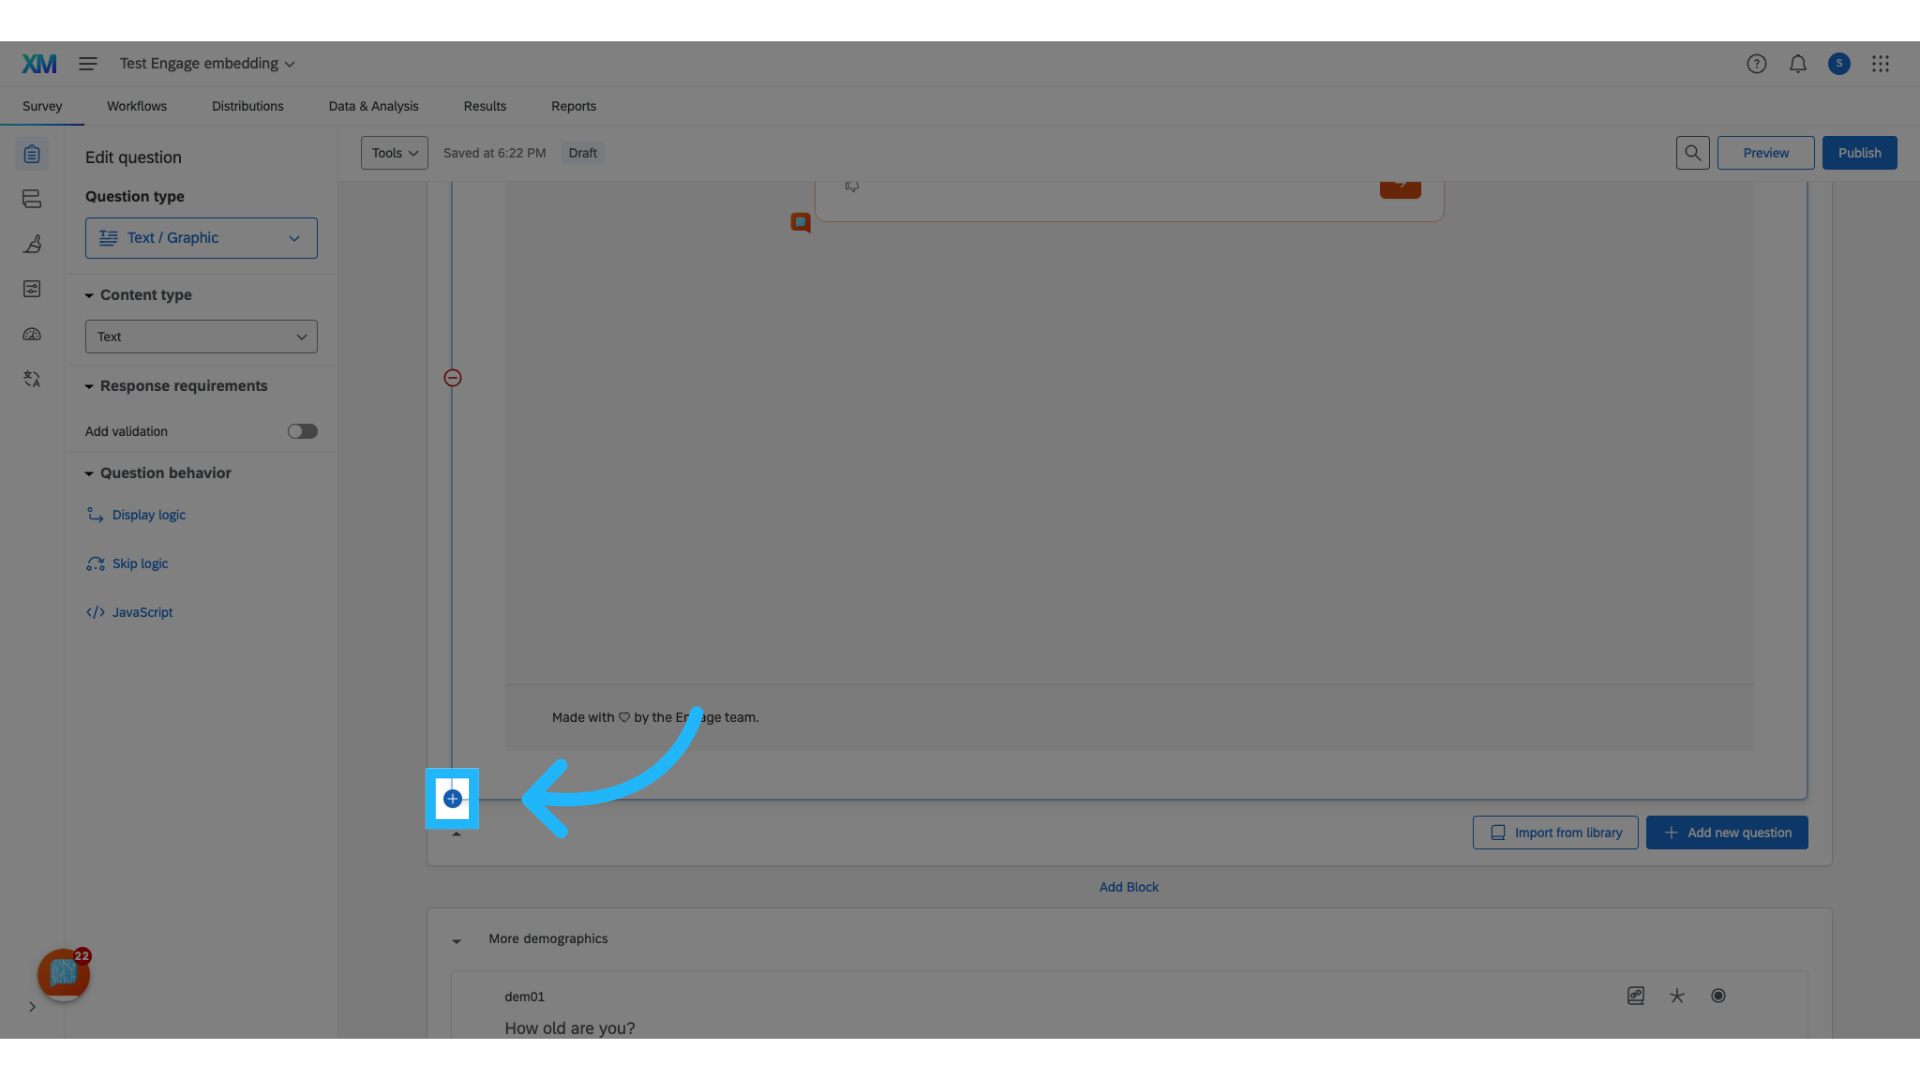
20. Add a new question directly beneath the previously created one
After creating the Engage question, add a second question to ensure that respondents do not proceed without completing the Engage task.
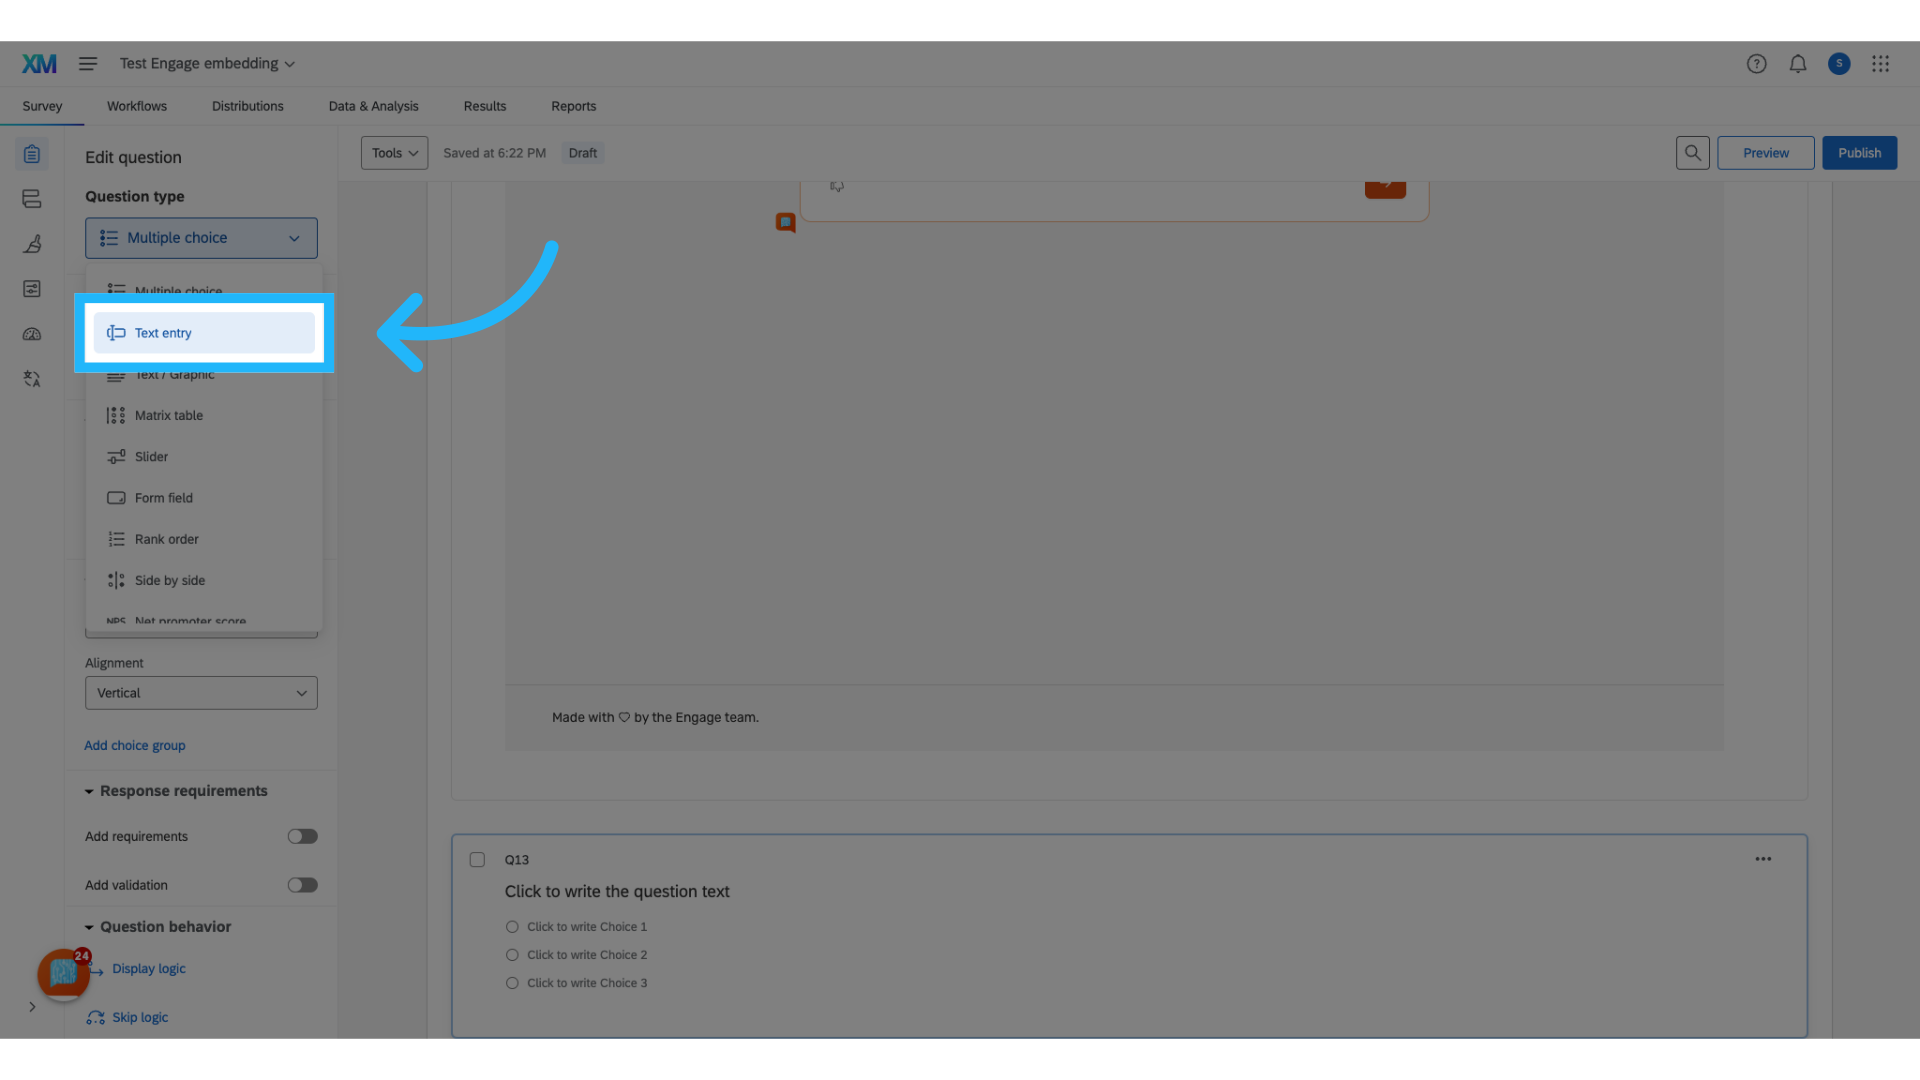
21. Change the question type to "Text Entry"
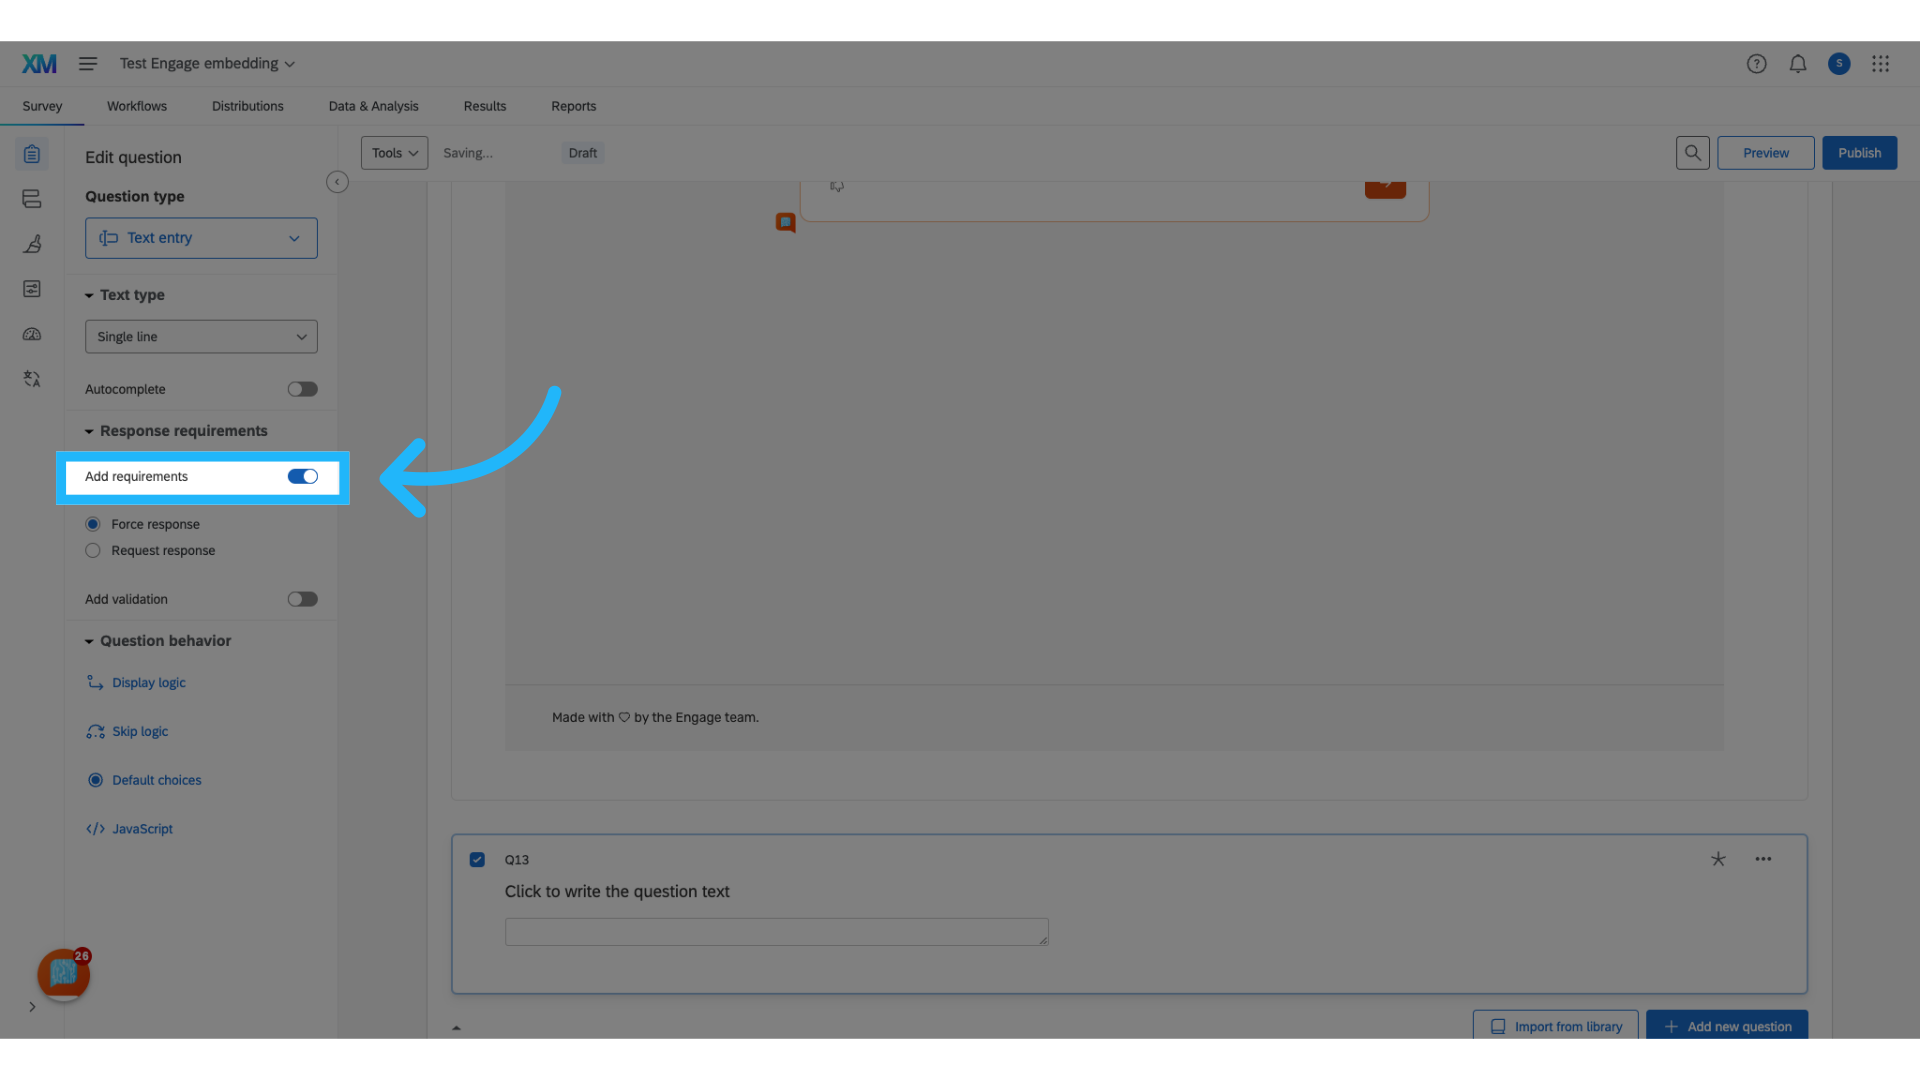
22. Force a response to this question
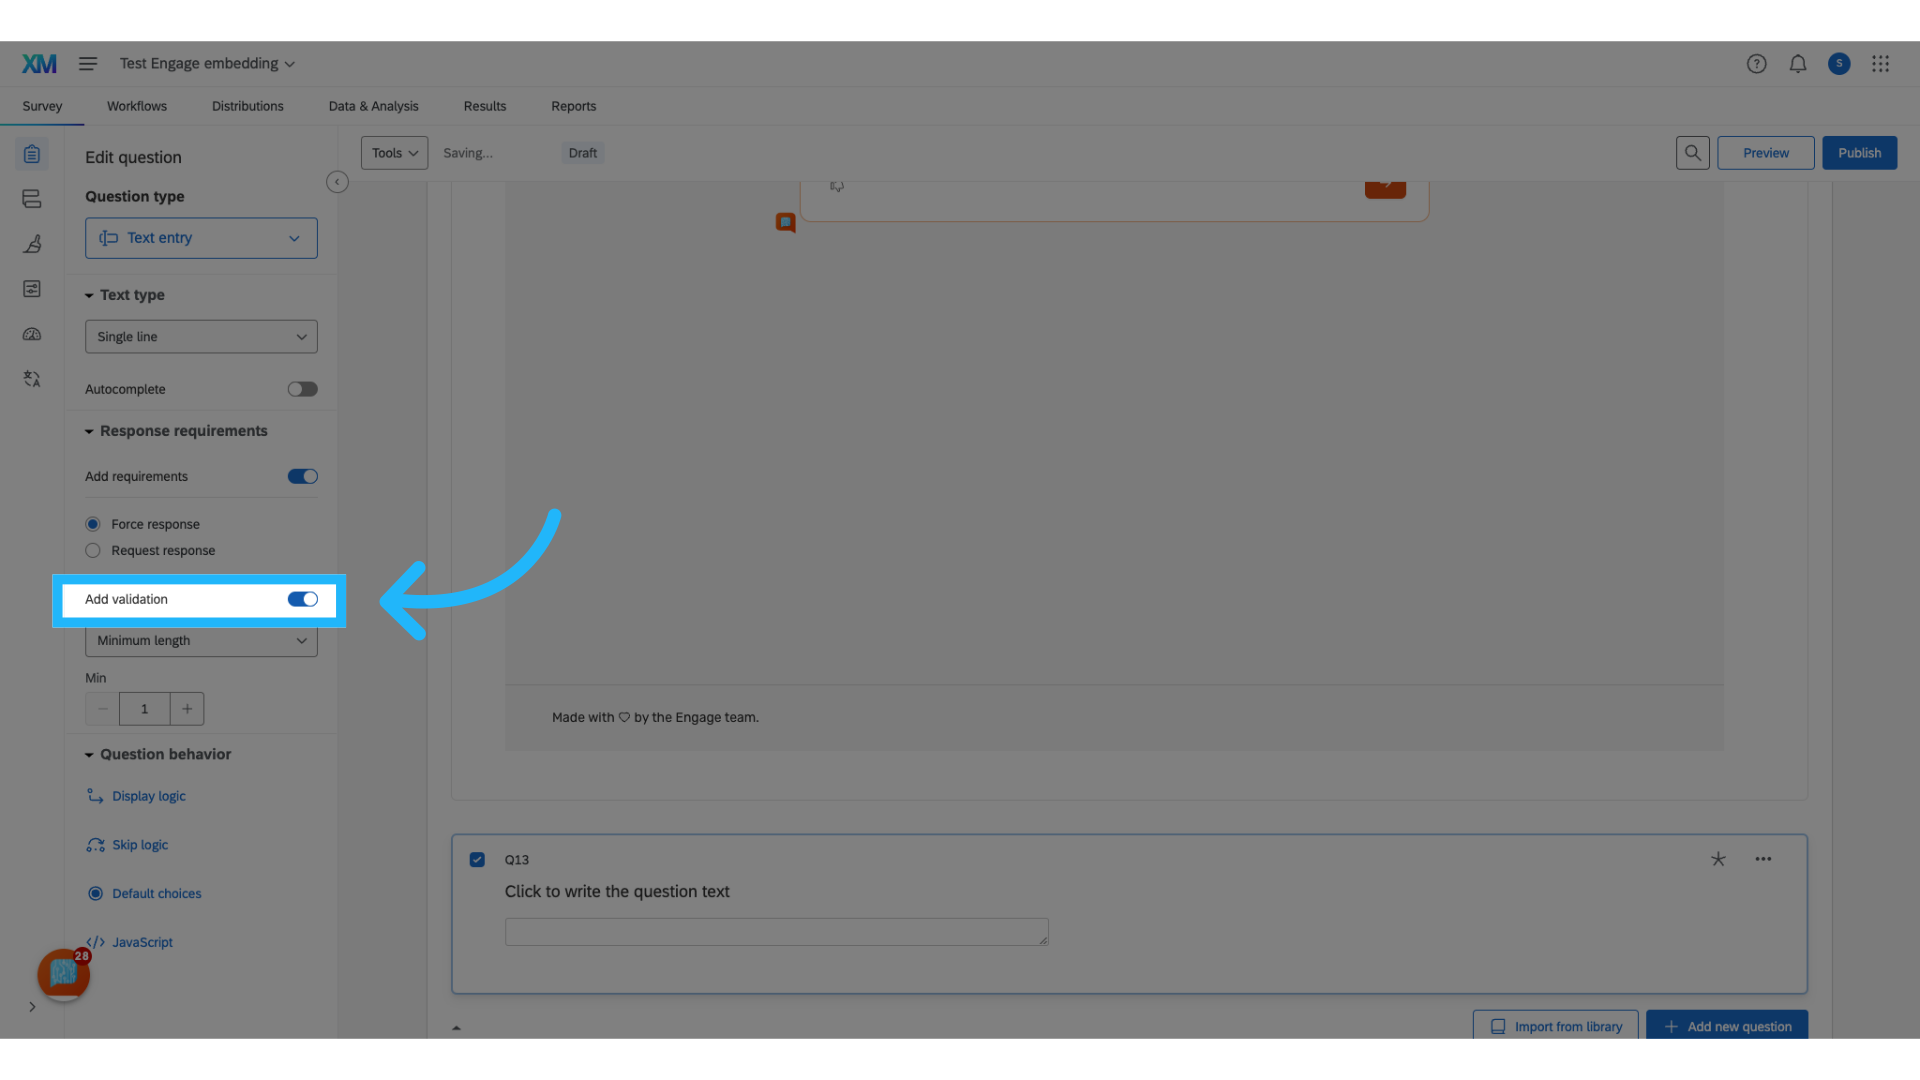
23. Add custom validation
Add custom validation by toggling on validation.
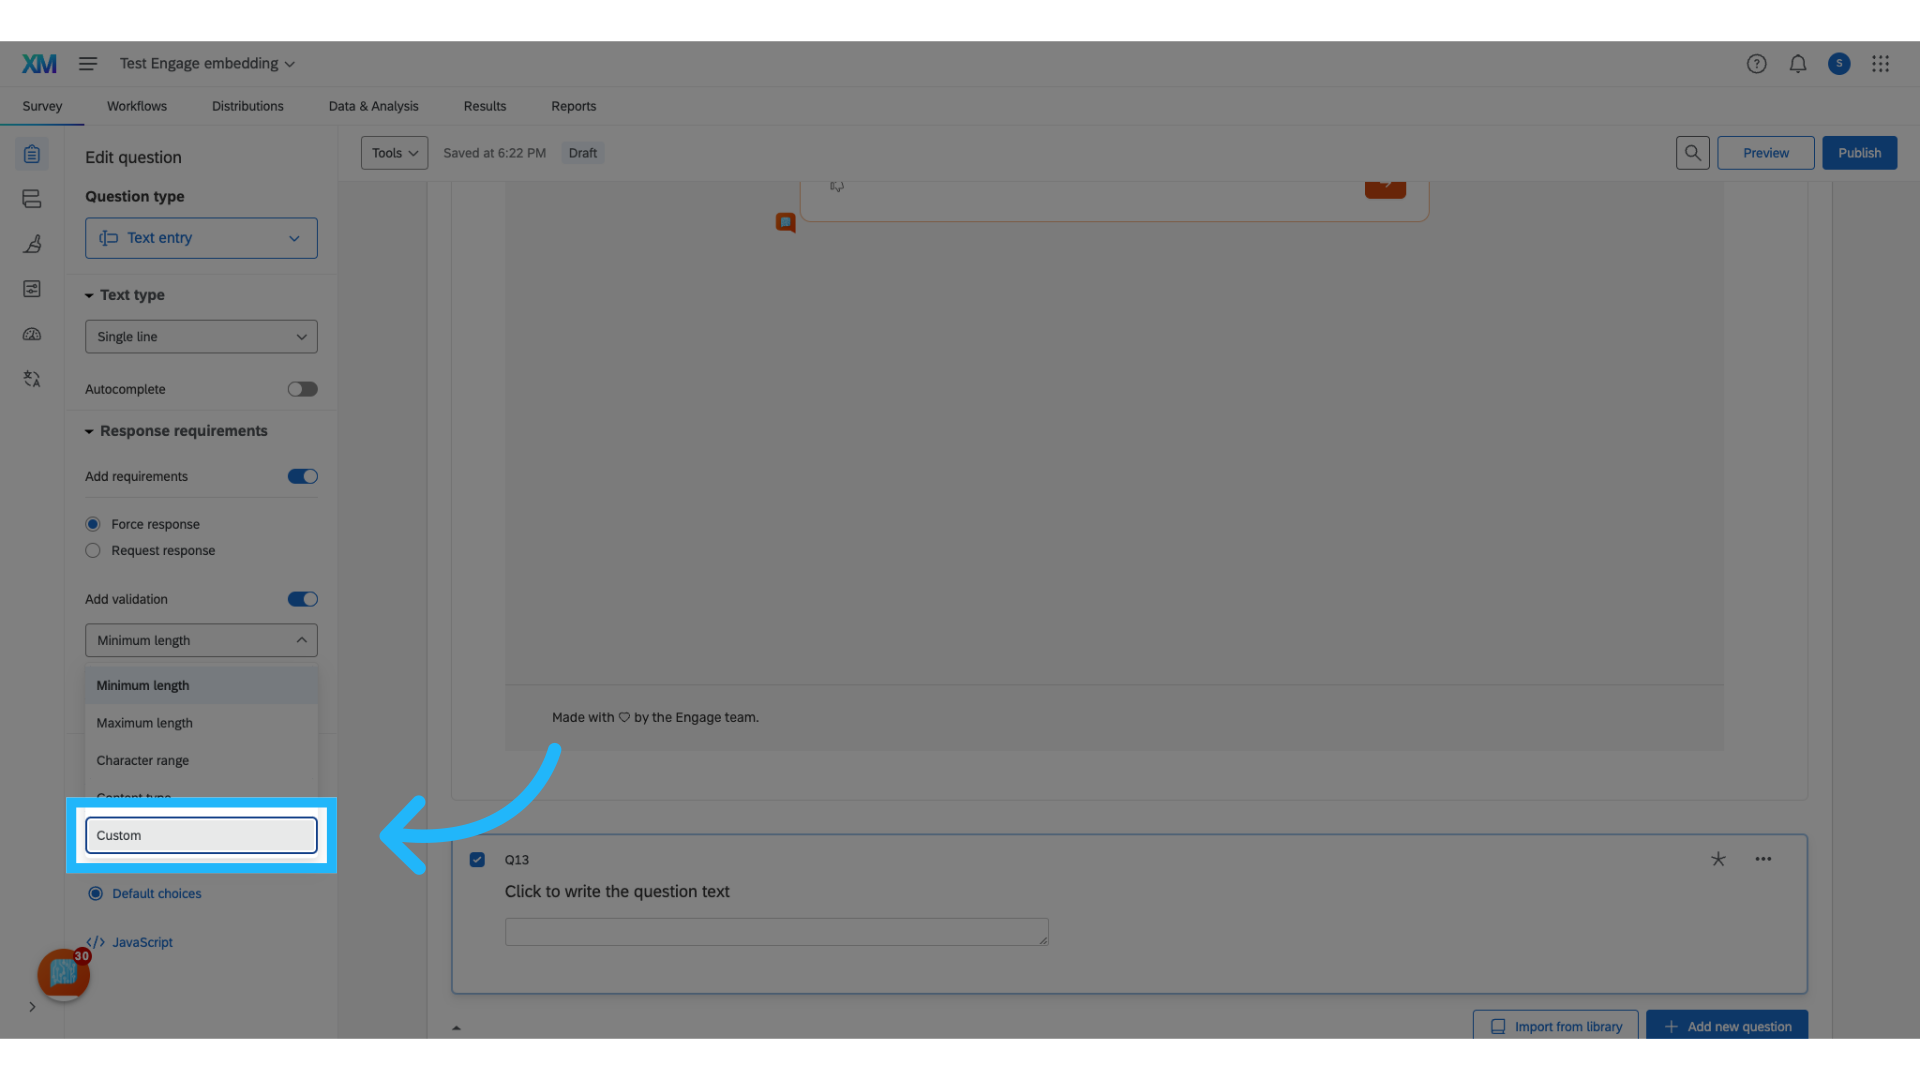
24. Choose "Custom"
And setting it to custom.
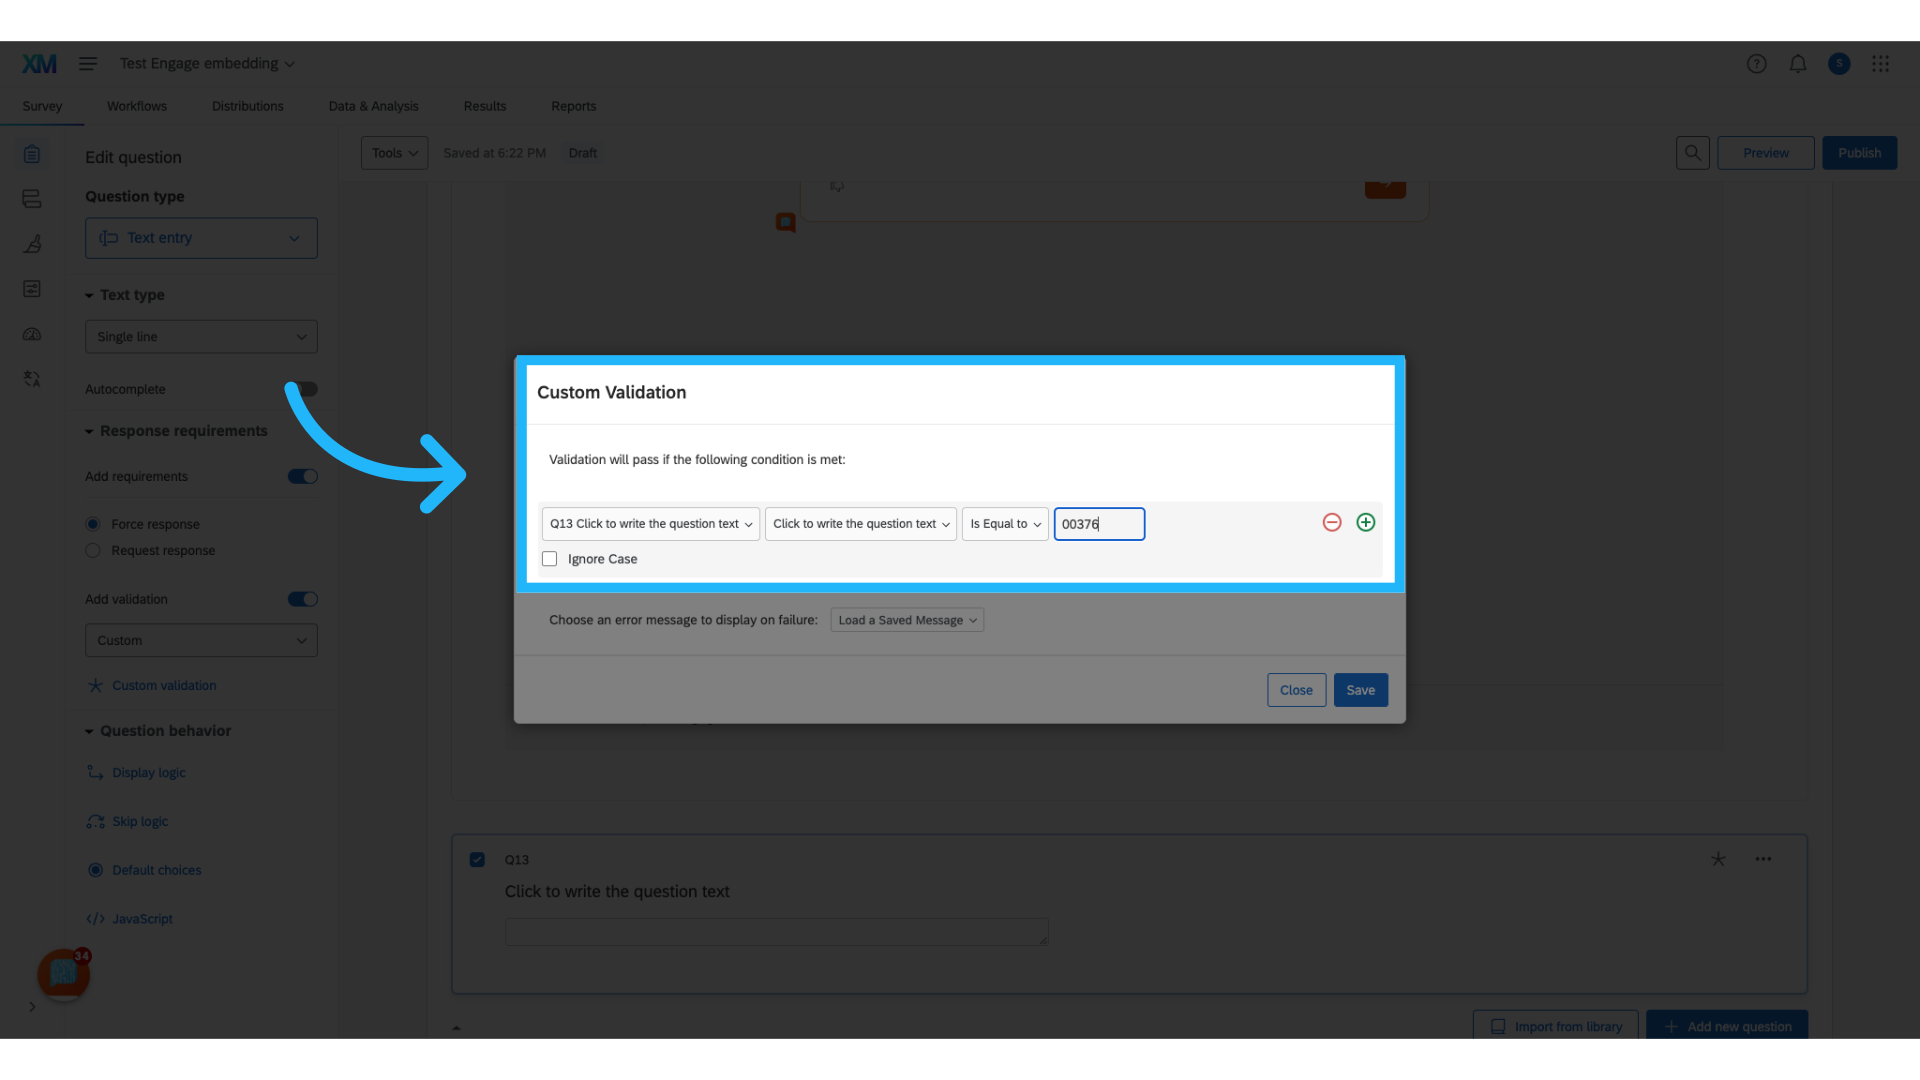
25. Add in validation condition
Configure the validation conditions to permit respondents to proceed only if they enter the correct code.
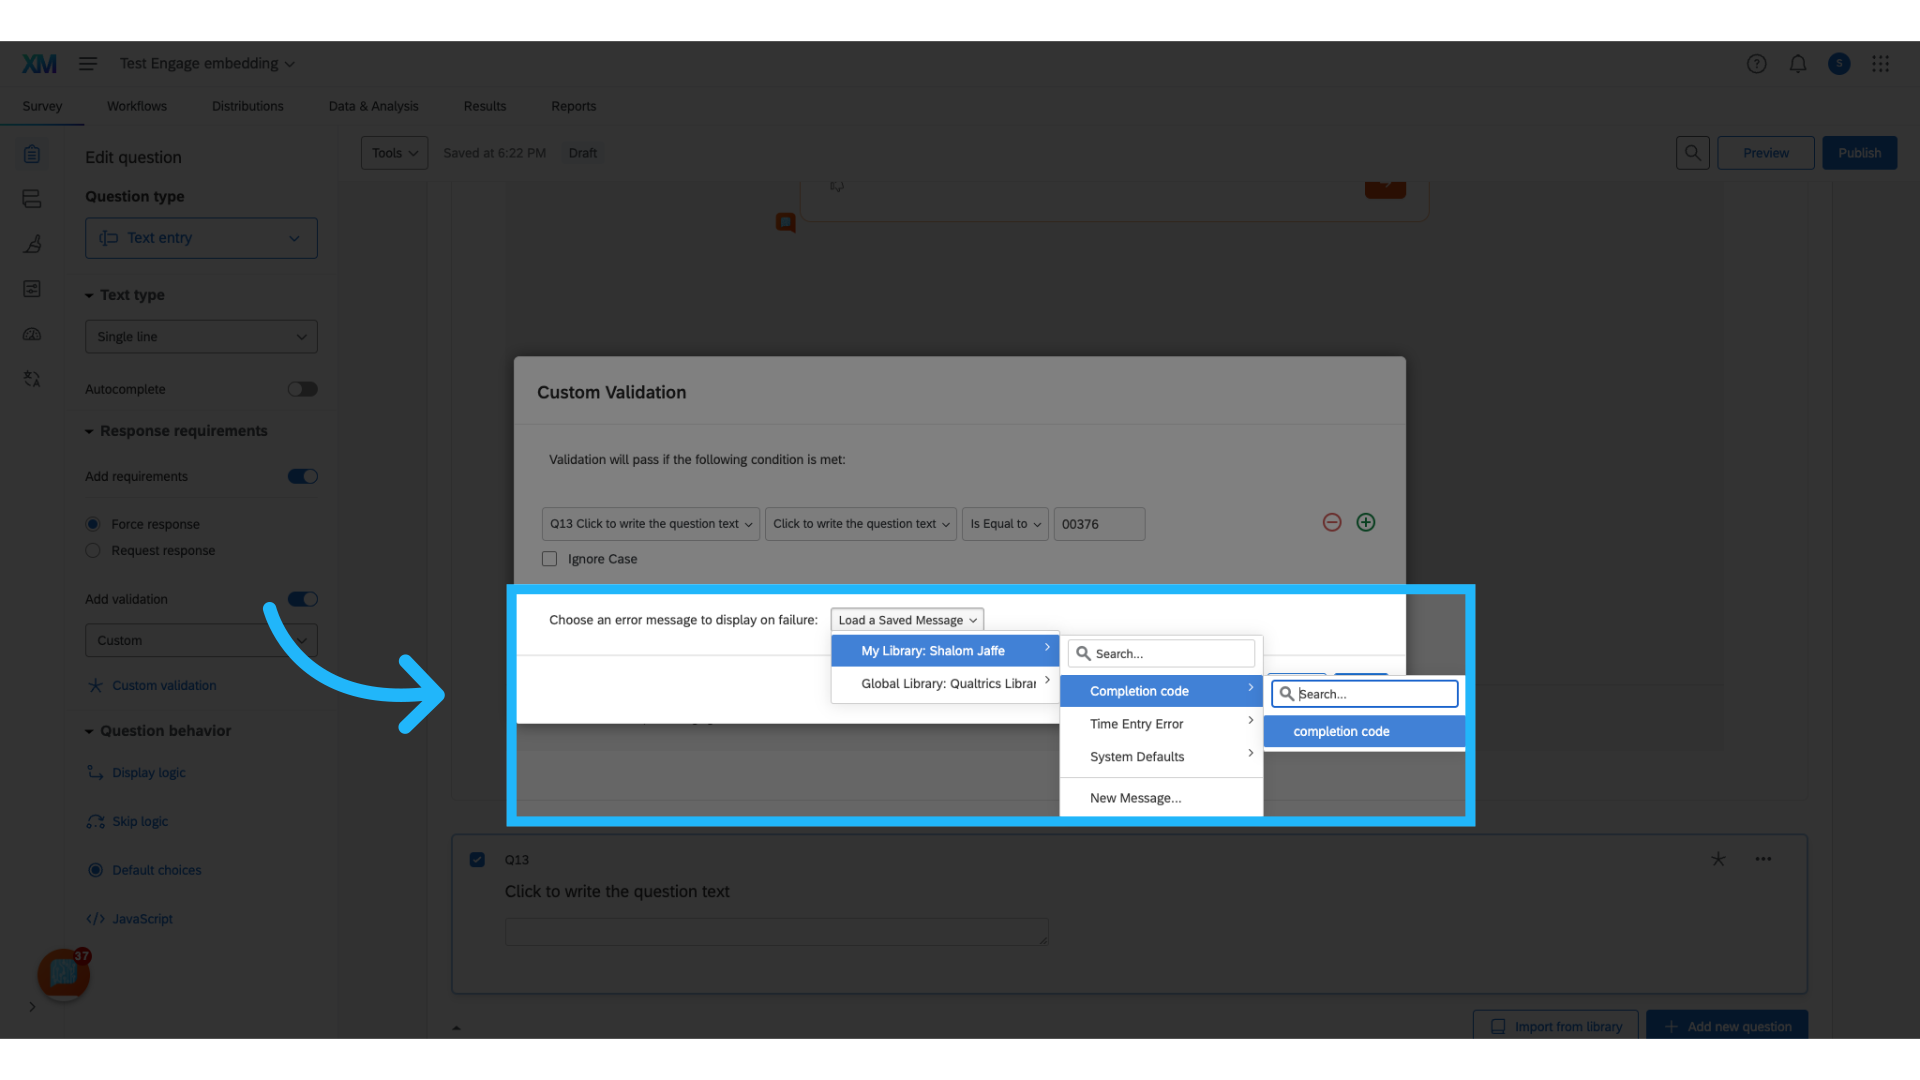
26. Add an error message
Optionally, customize an error message to inform participants that they cannot proceed if they enter an incorrect code.
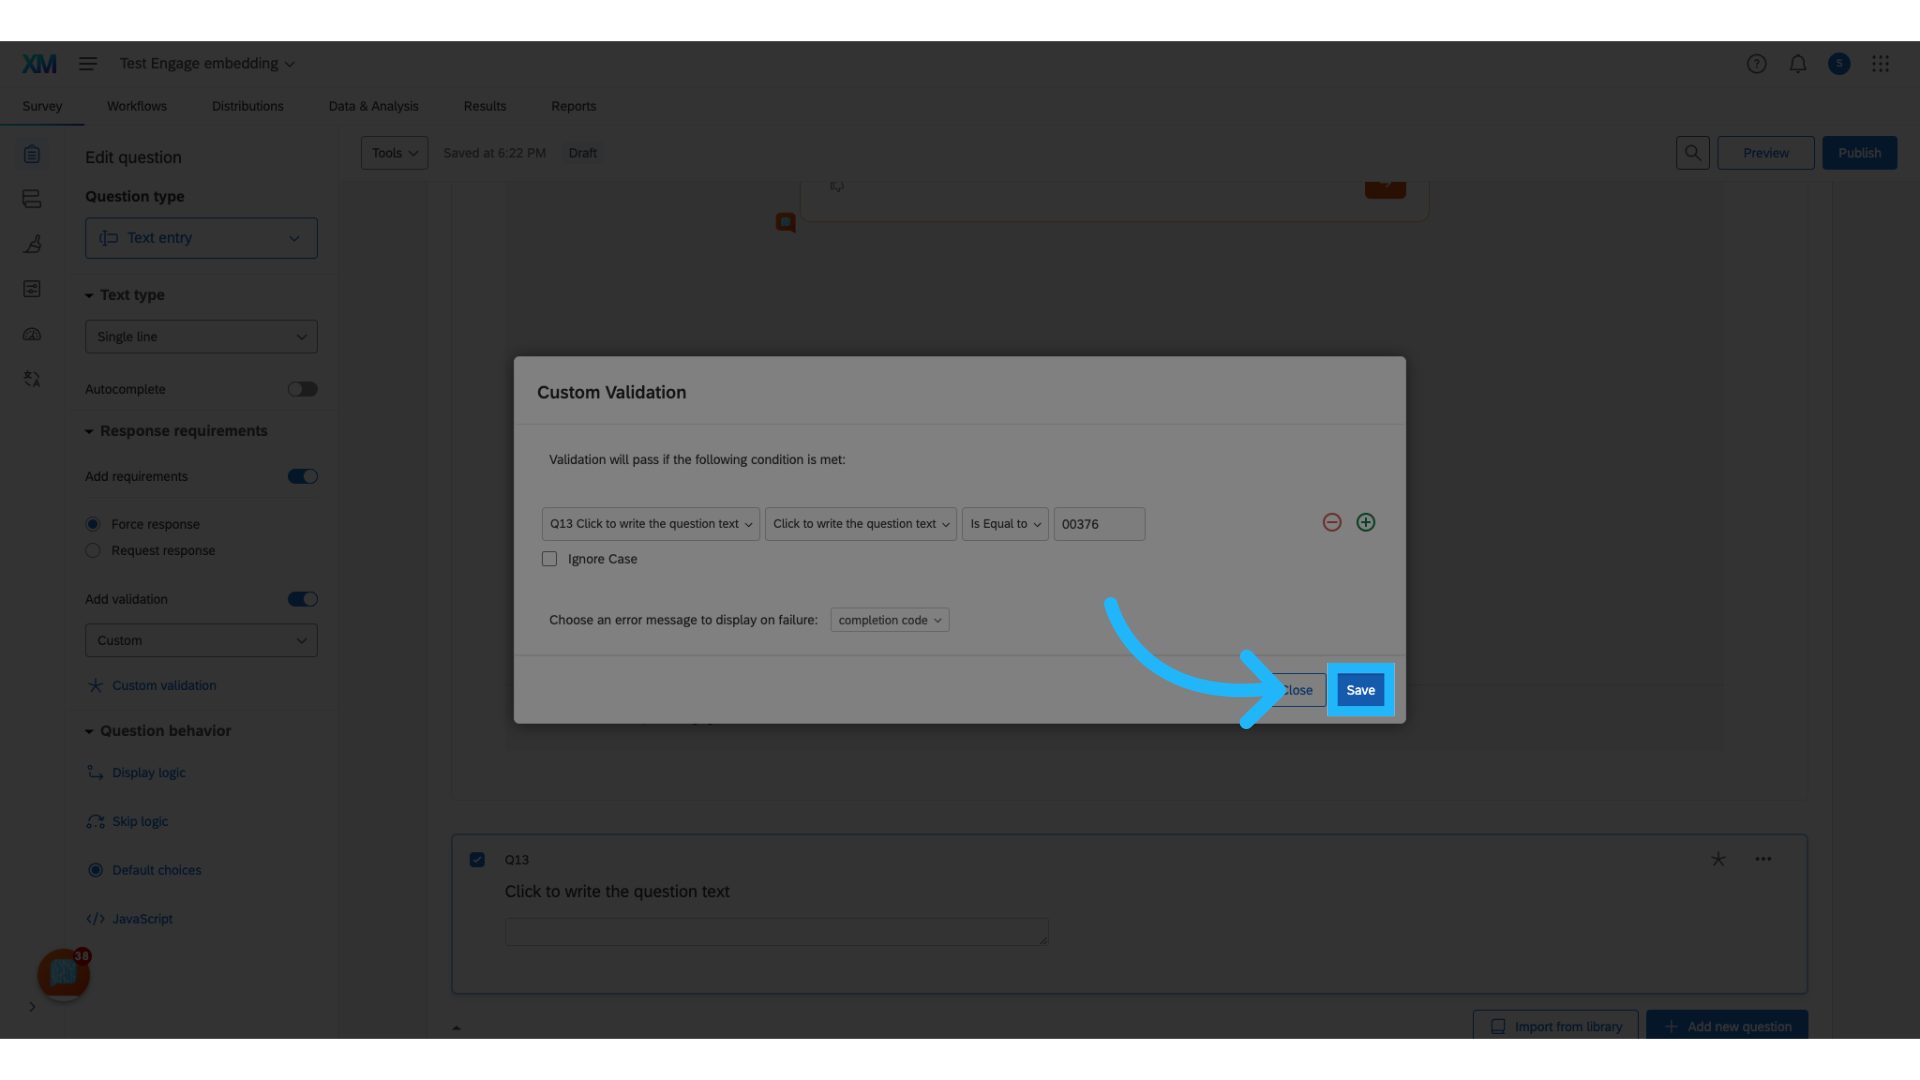
27. Click "Save"
You can now save your custom validation.
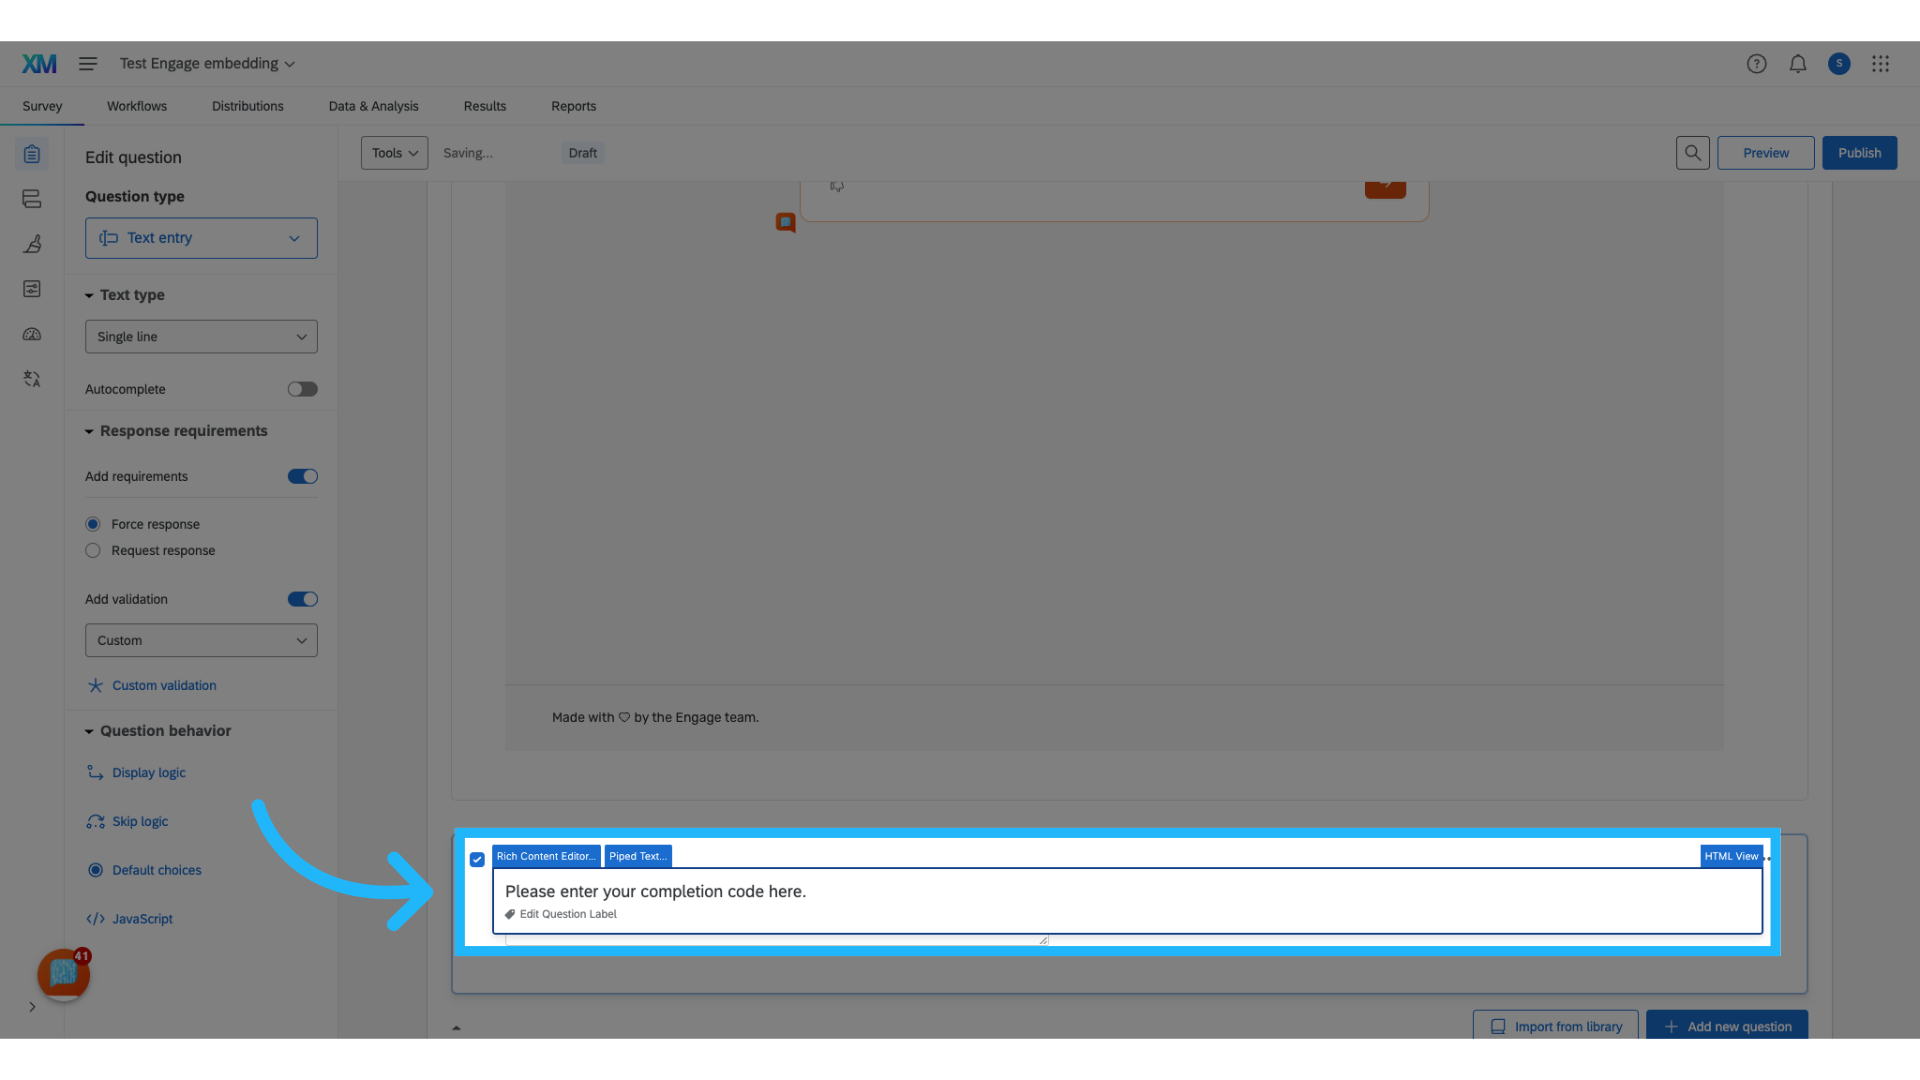
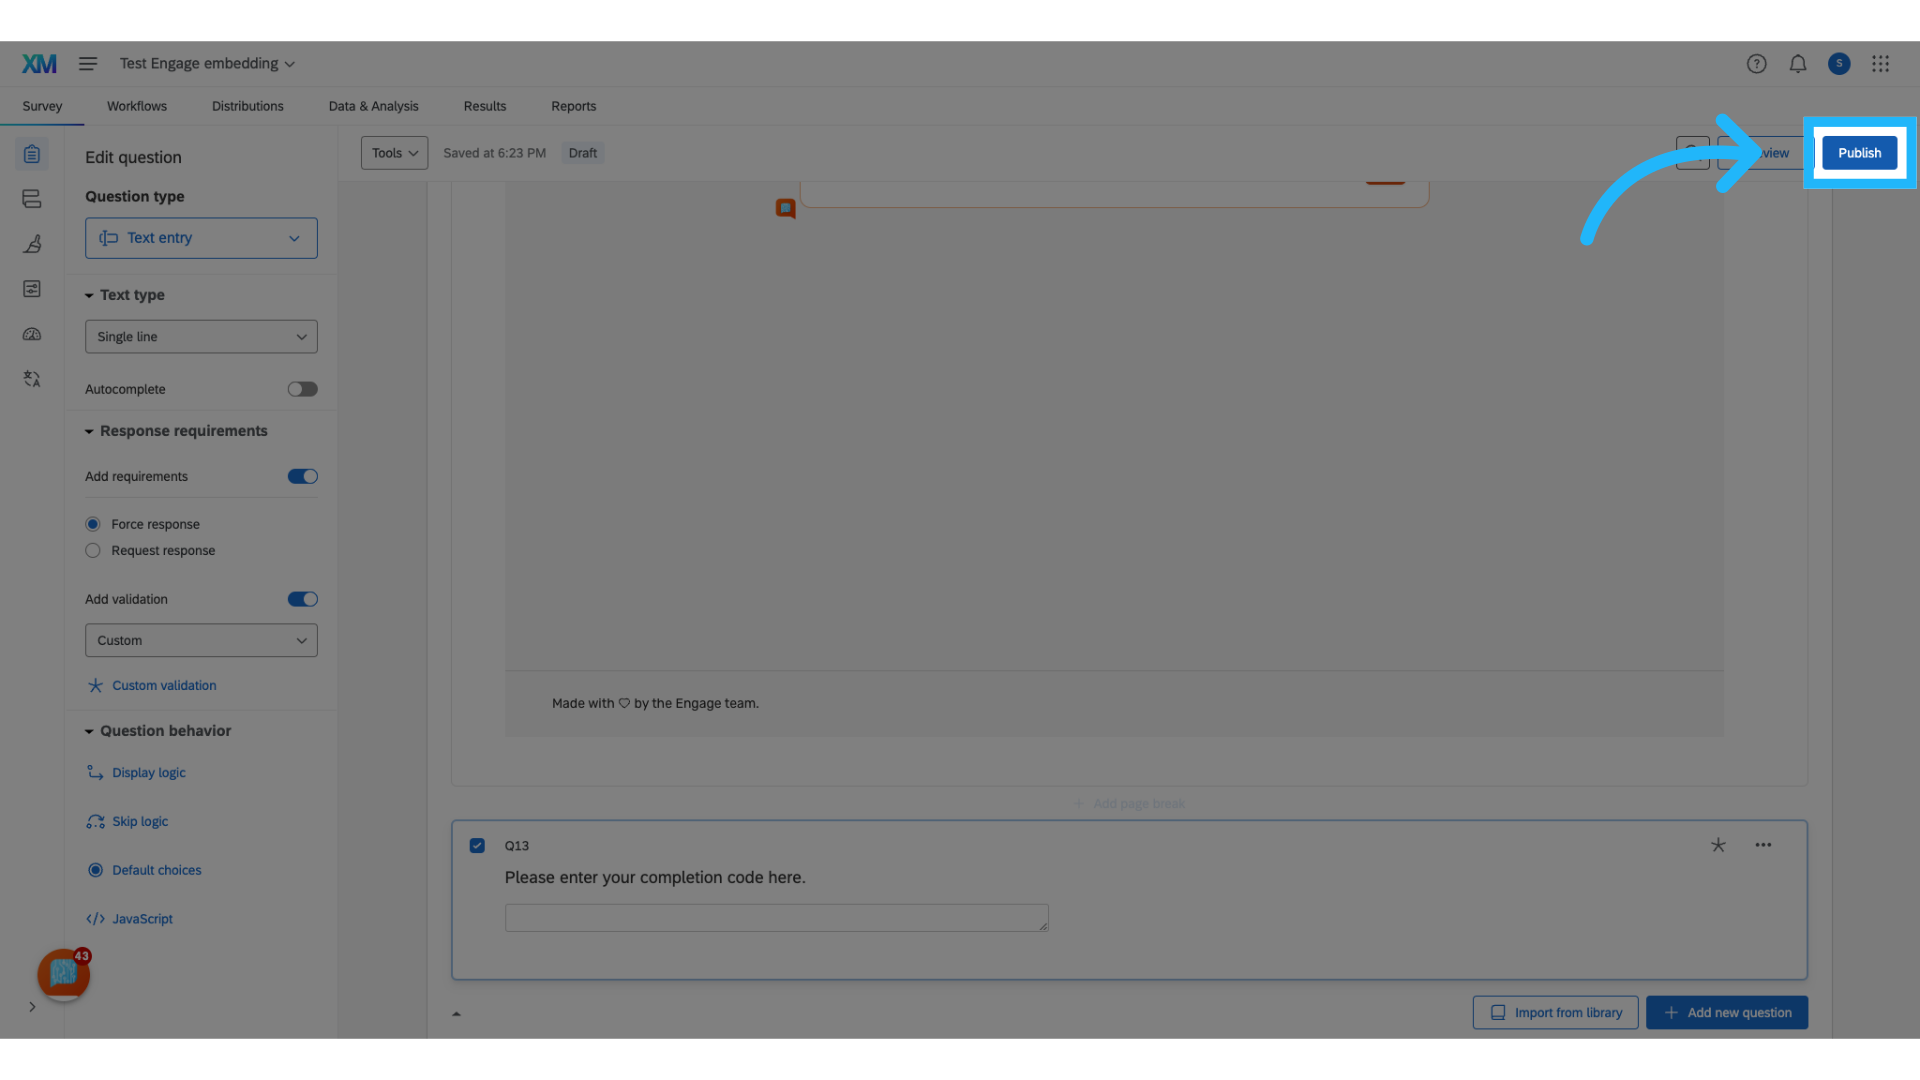
28. Add the question text prompting the participant to enter the the completion code
29. Click "Publish"
Click "Publish" to finalize and release your survey.
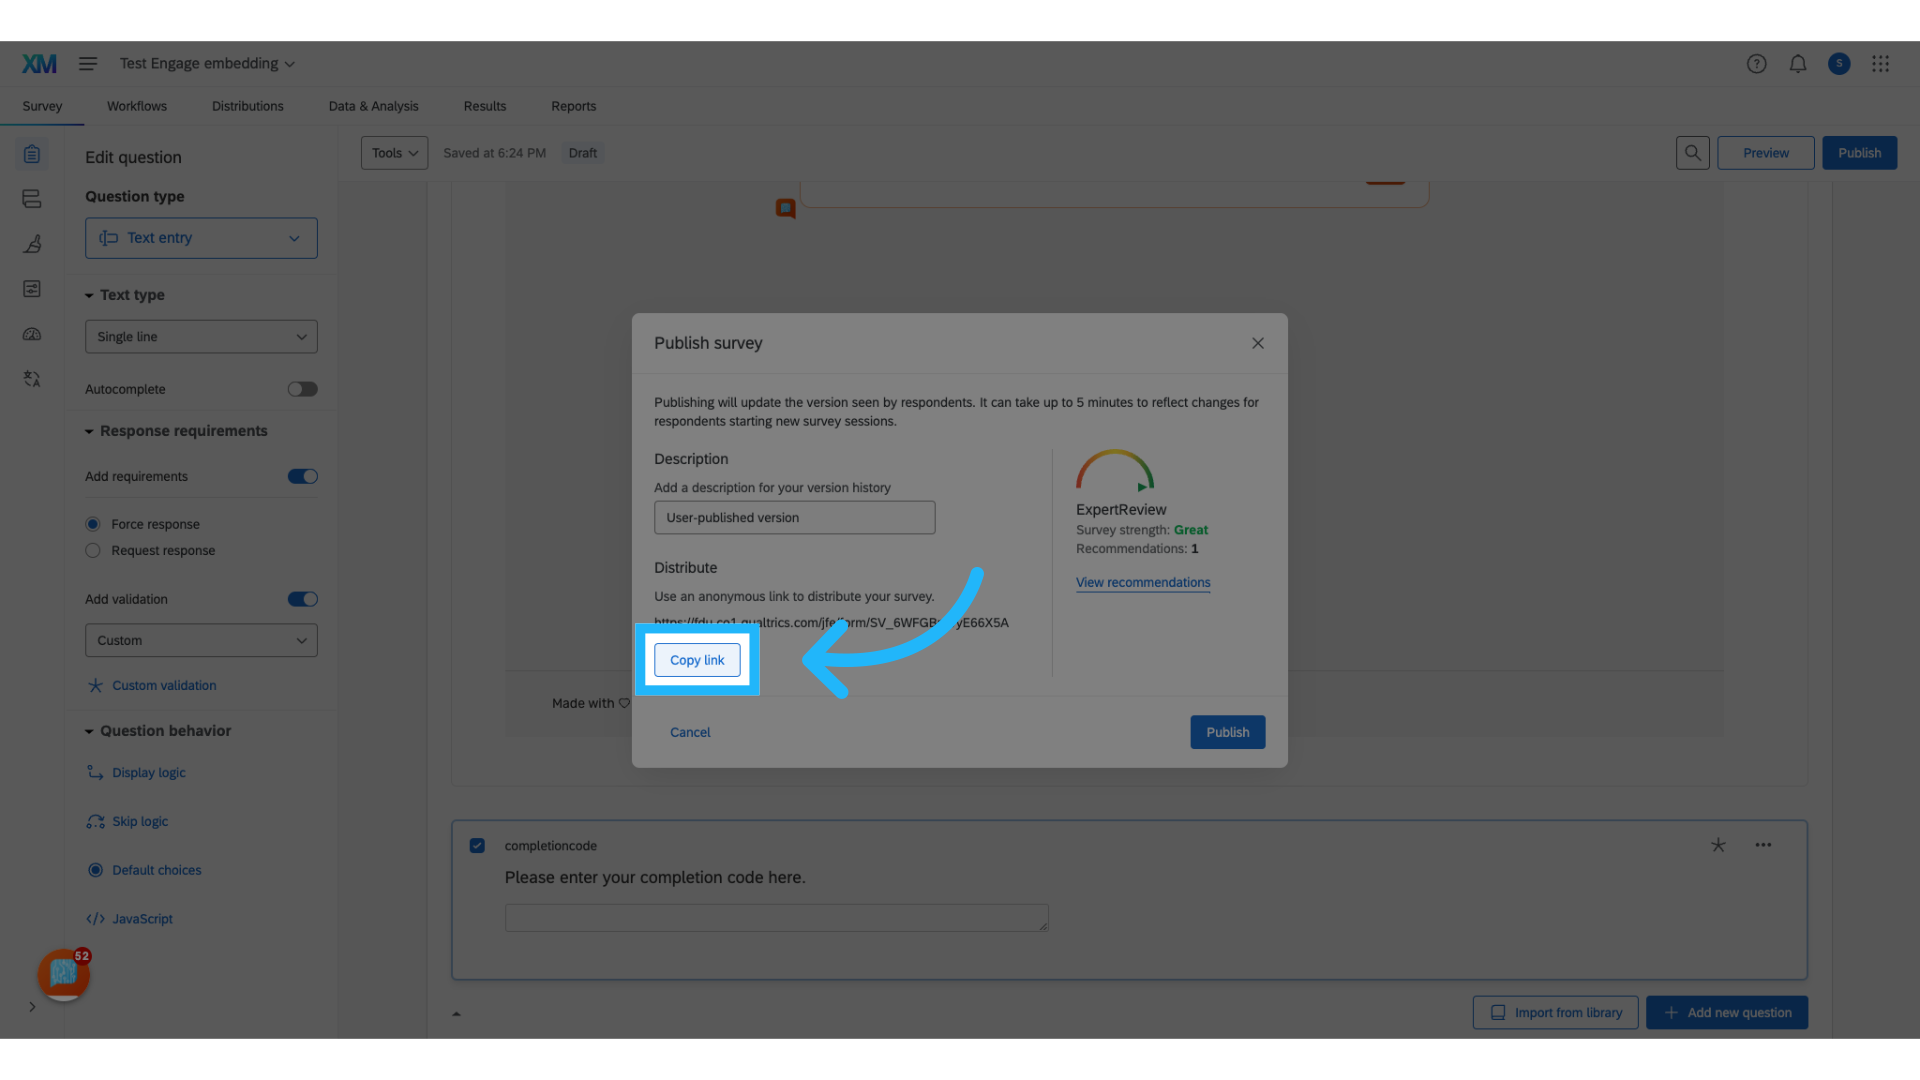
30. Click "Copy link"
To test the integration, copy the survey link.
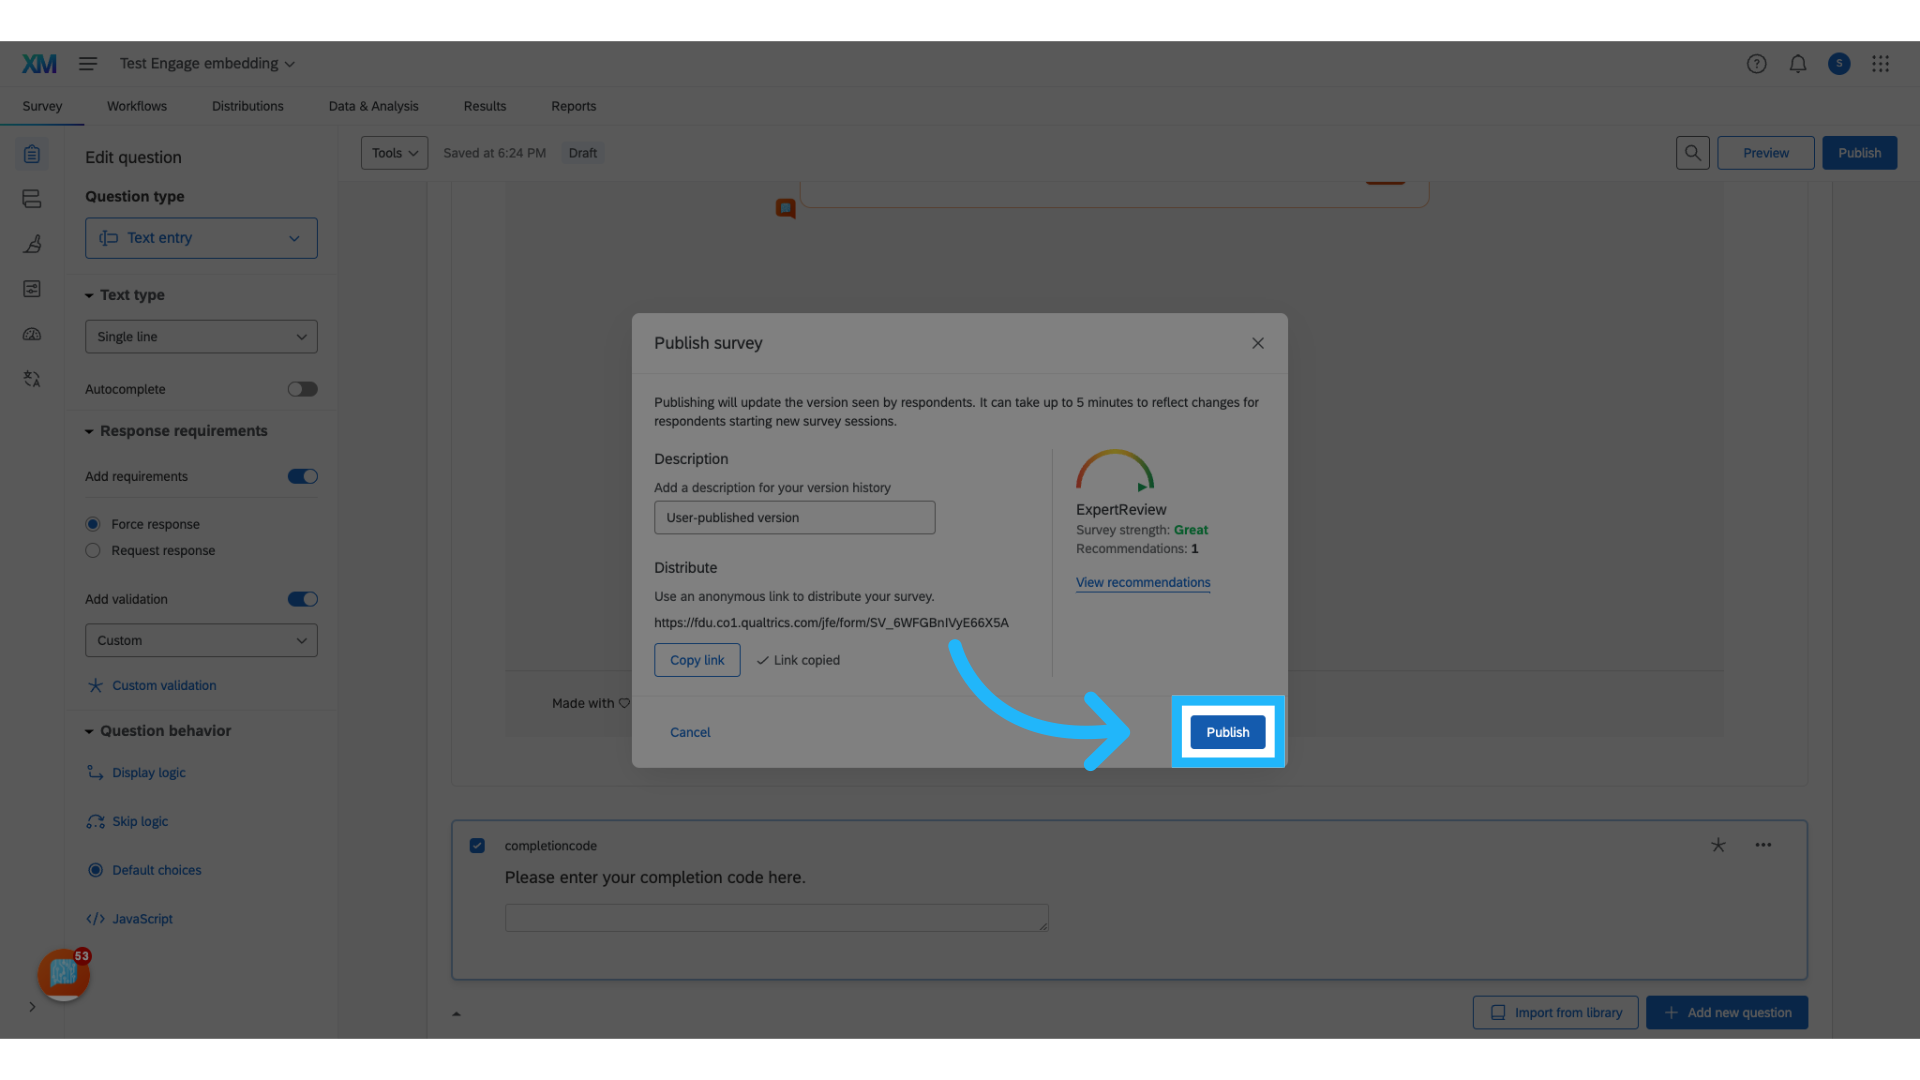
31. Click "Publish"
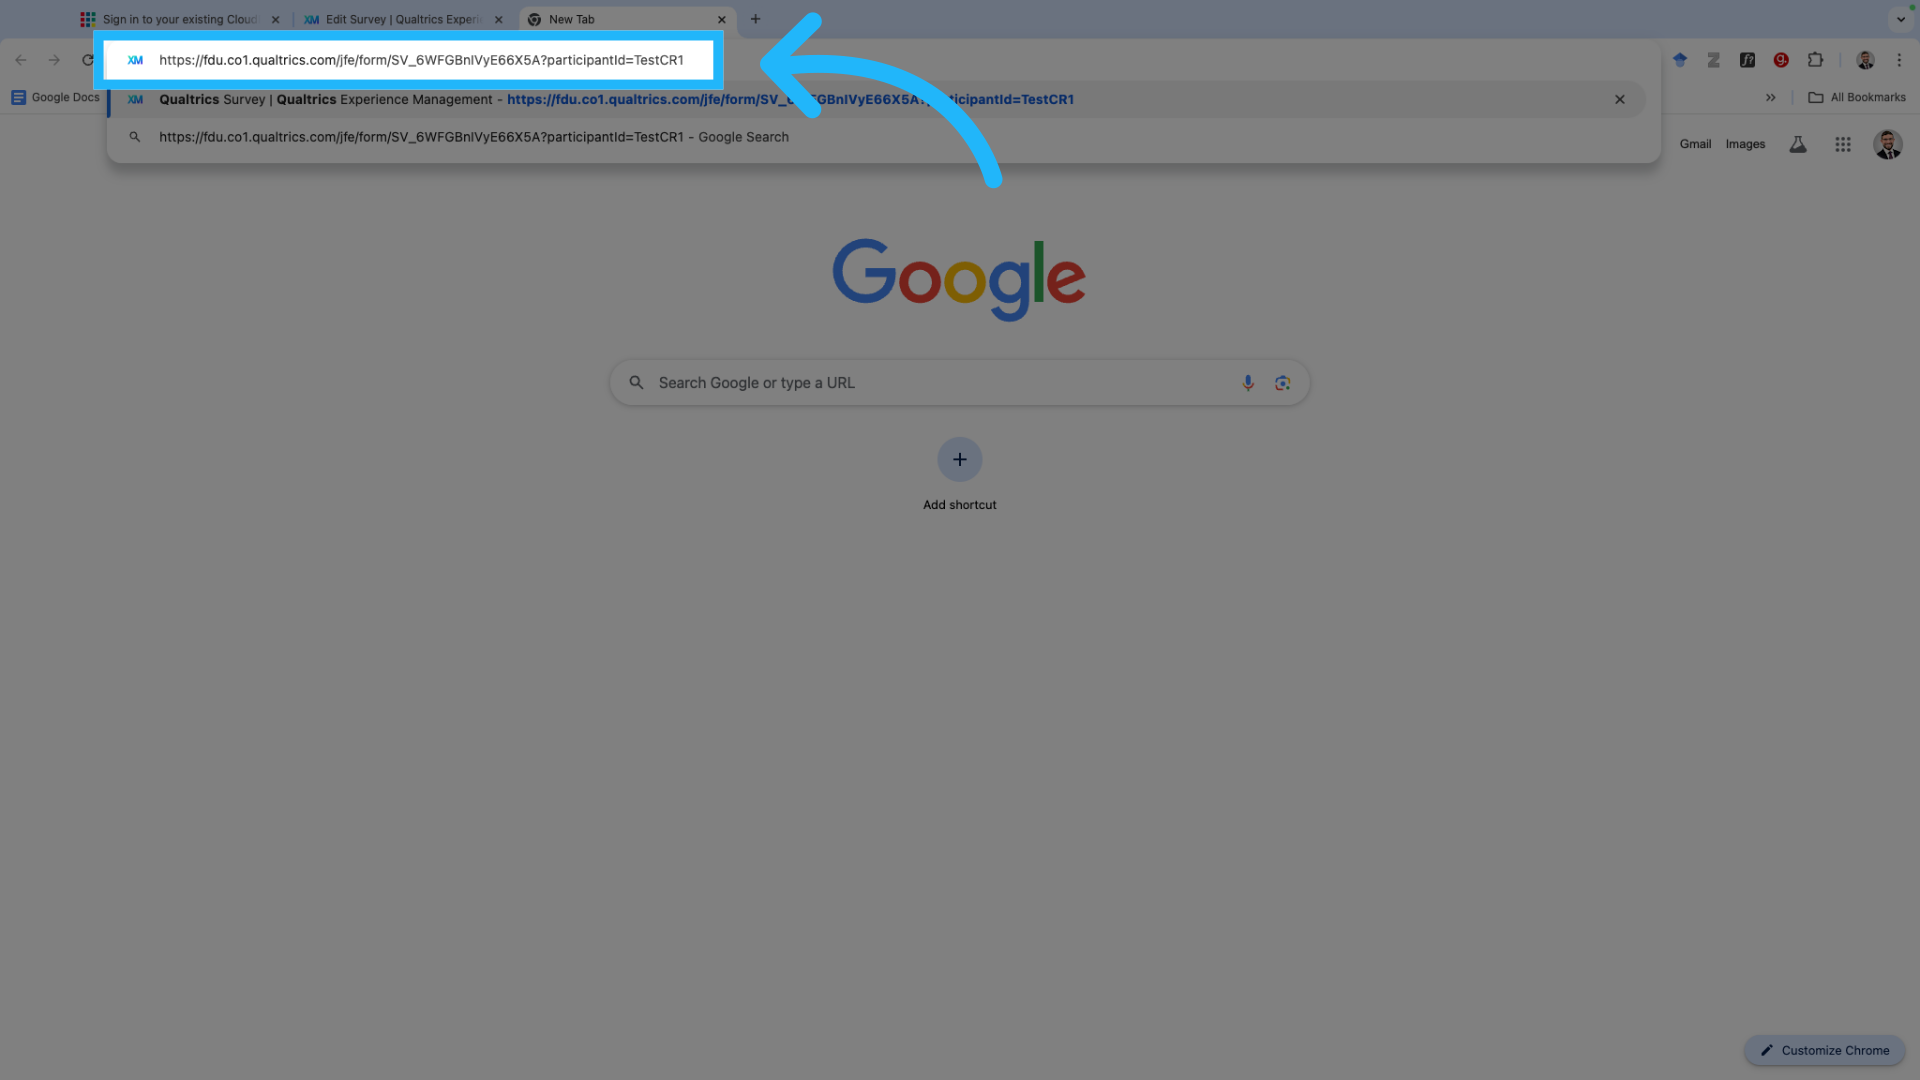
32. Paste the URL into a new browser tab
Paste the copied URL into a new browser tab and manually append a participant ID by adding "?participantID=" followed by the ID. For this demonstration, use the test ID "testCR"
33. Open the pasted link
34.
View the Qualtrics survey with Engage embedded.
35.
36.
37.
38.
39.

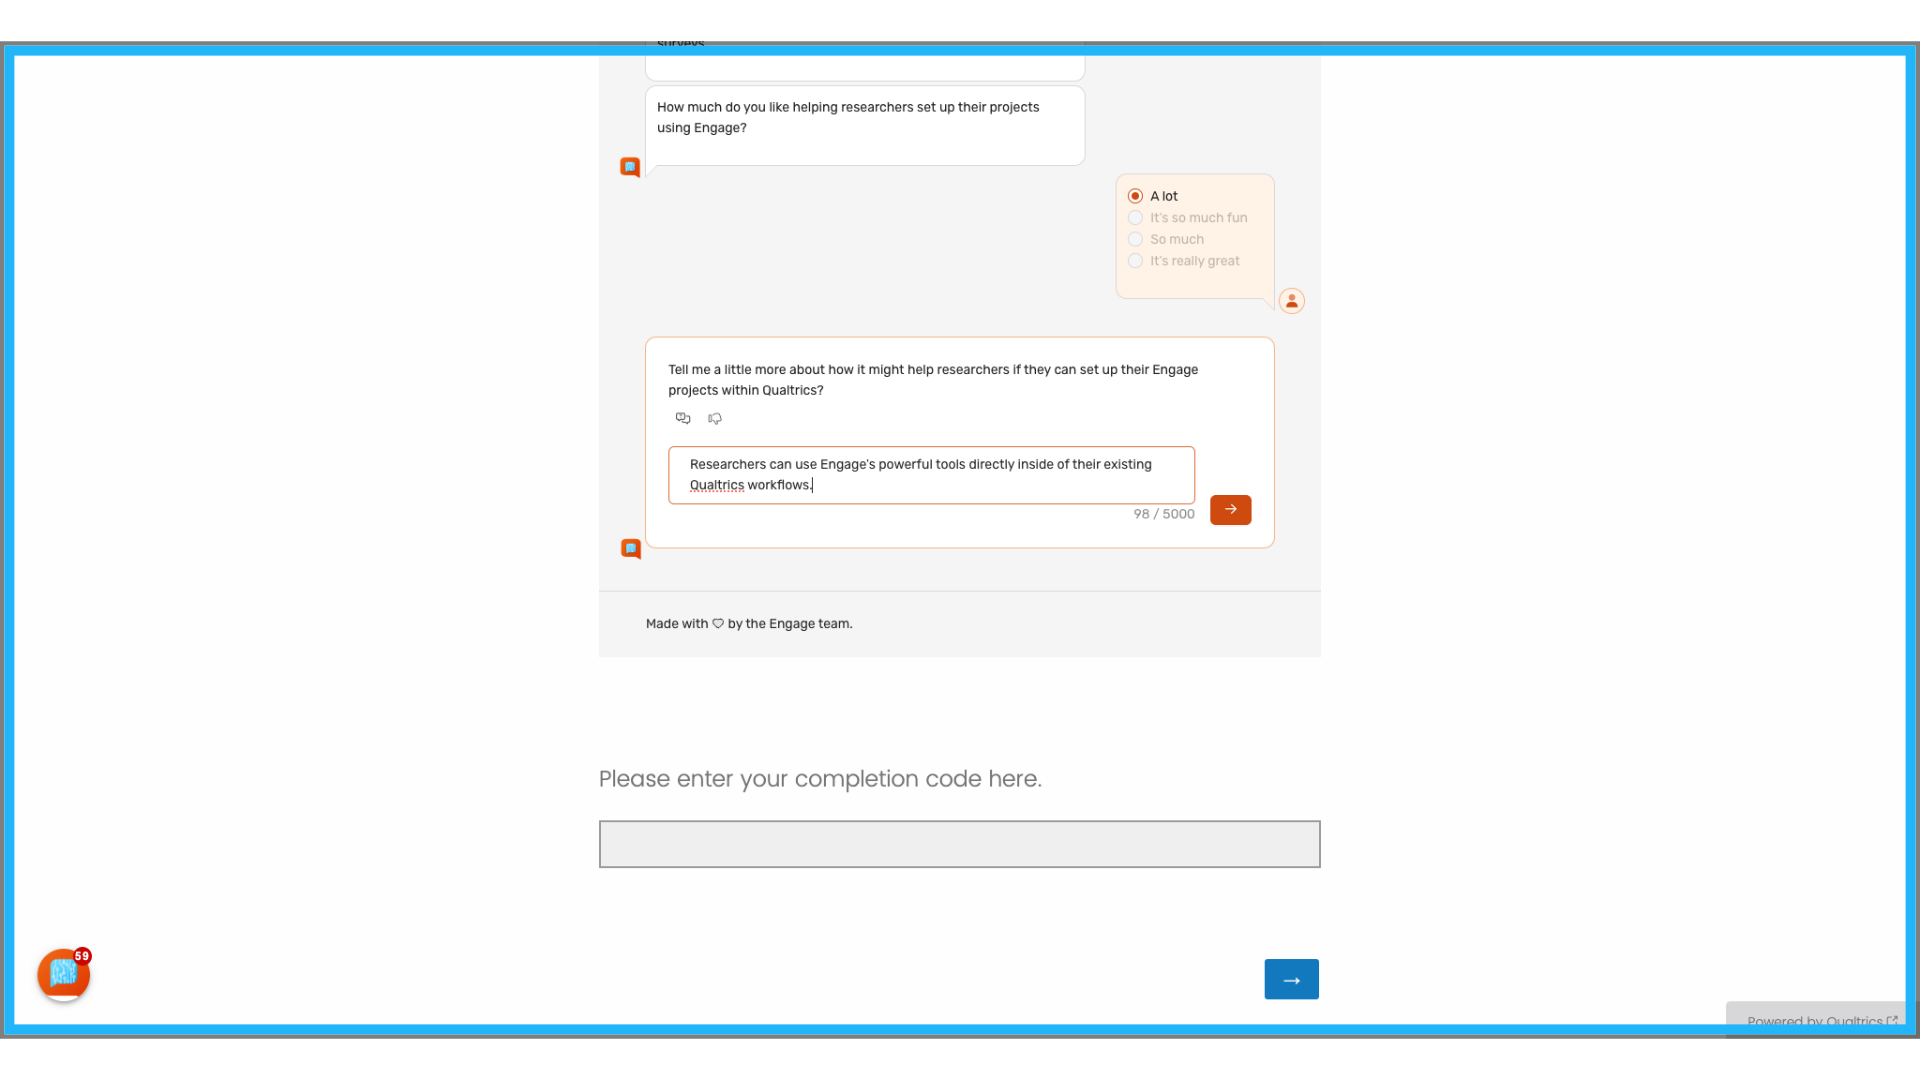
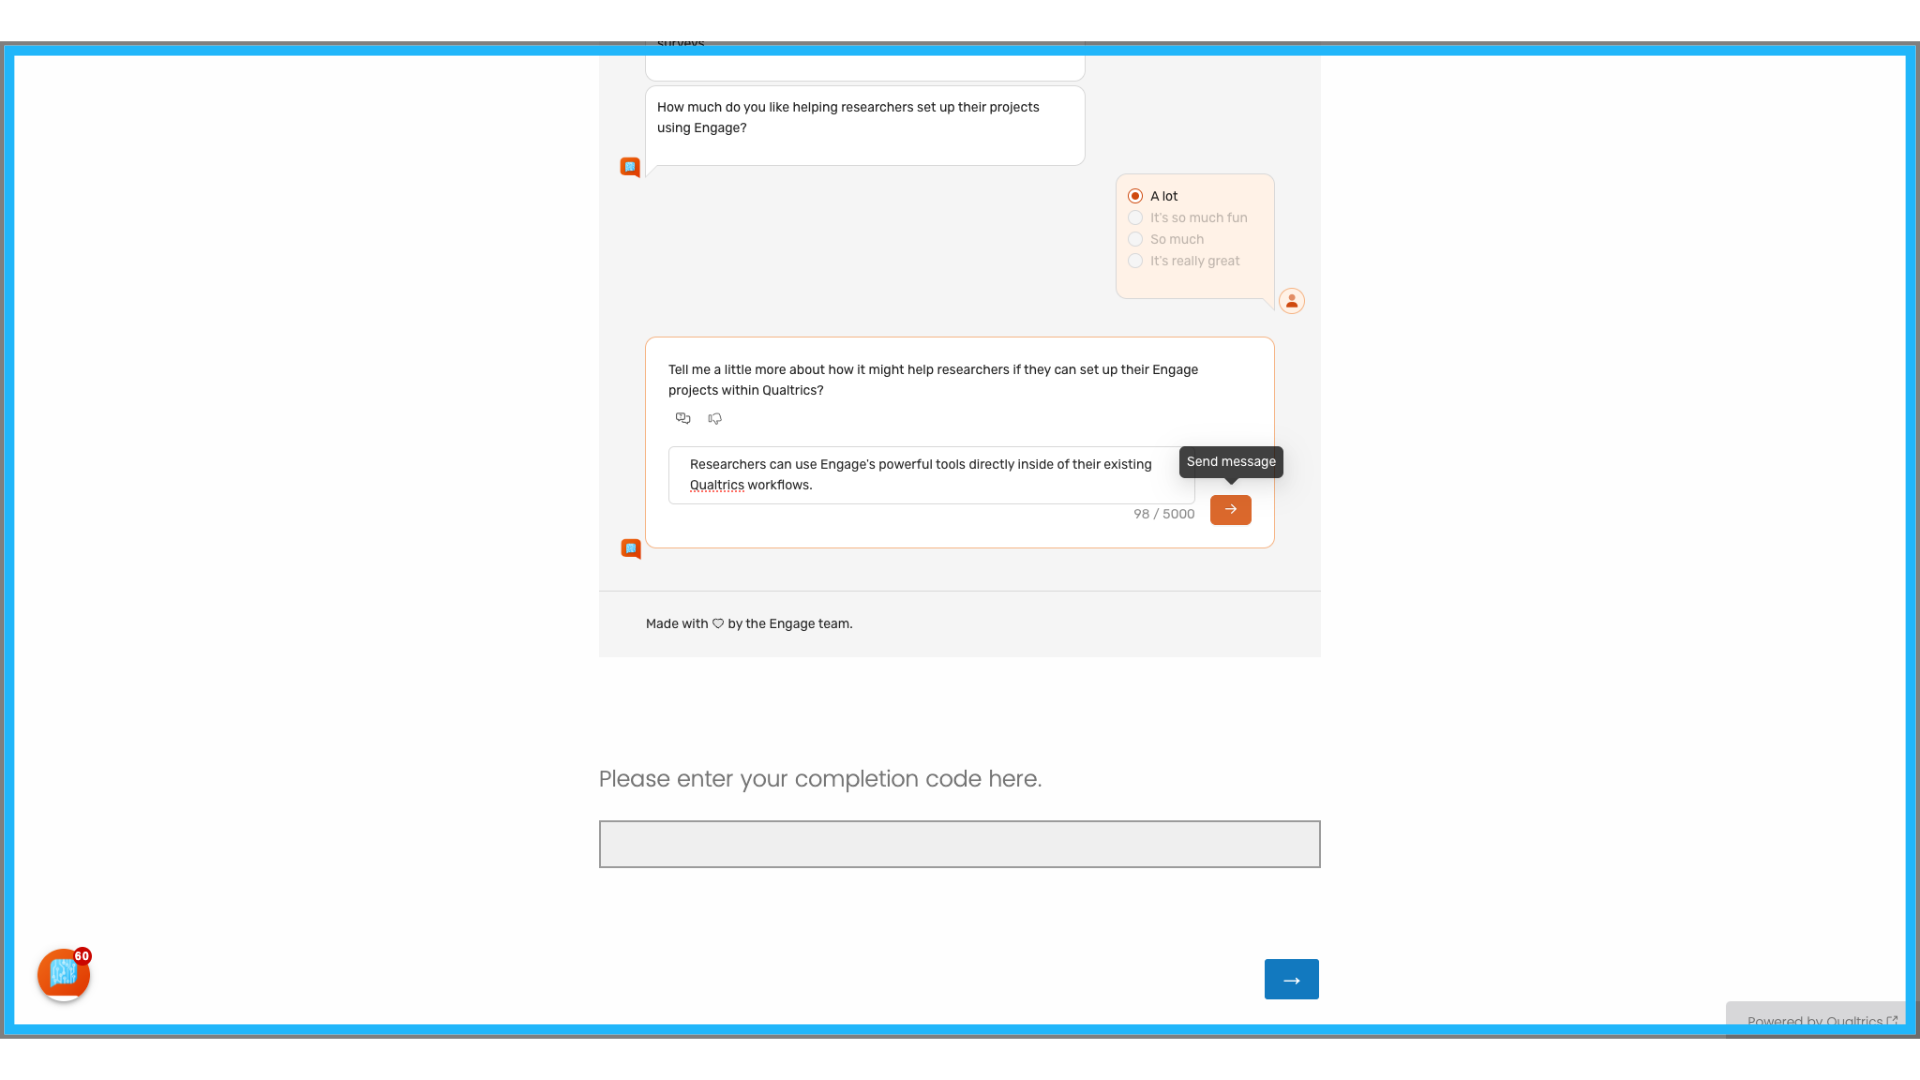
40. View Completion Code
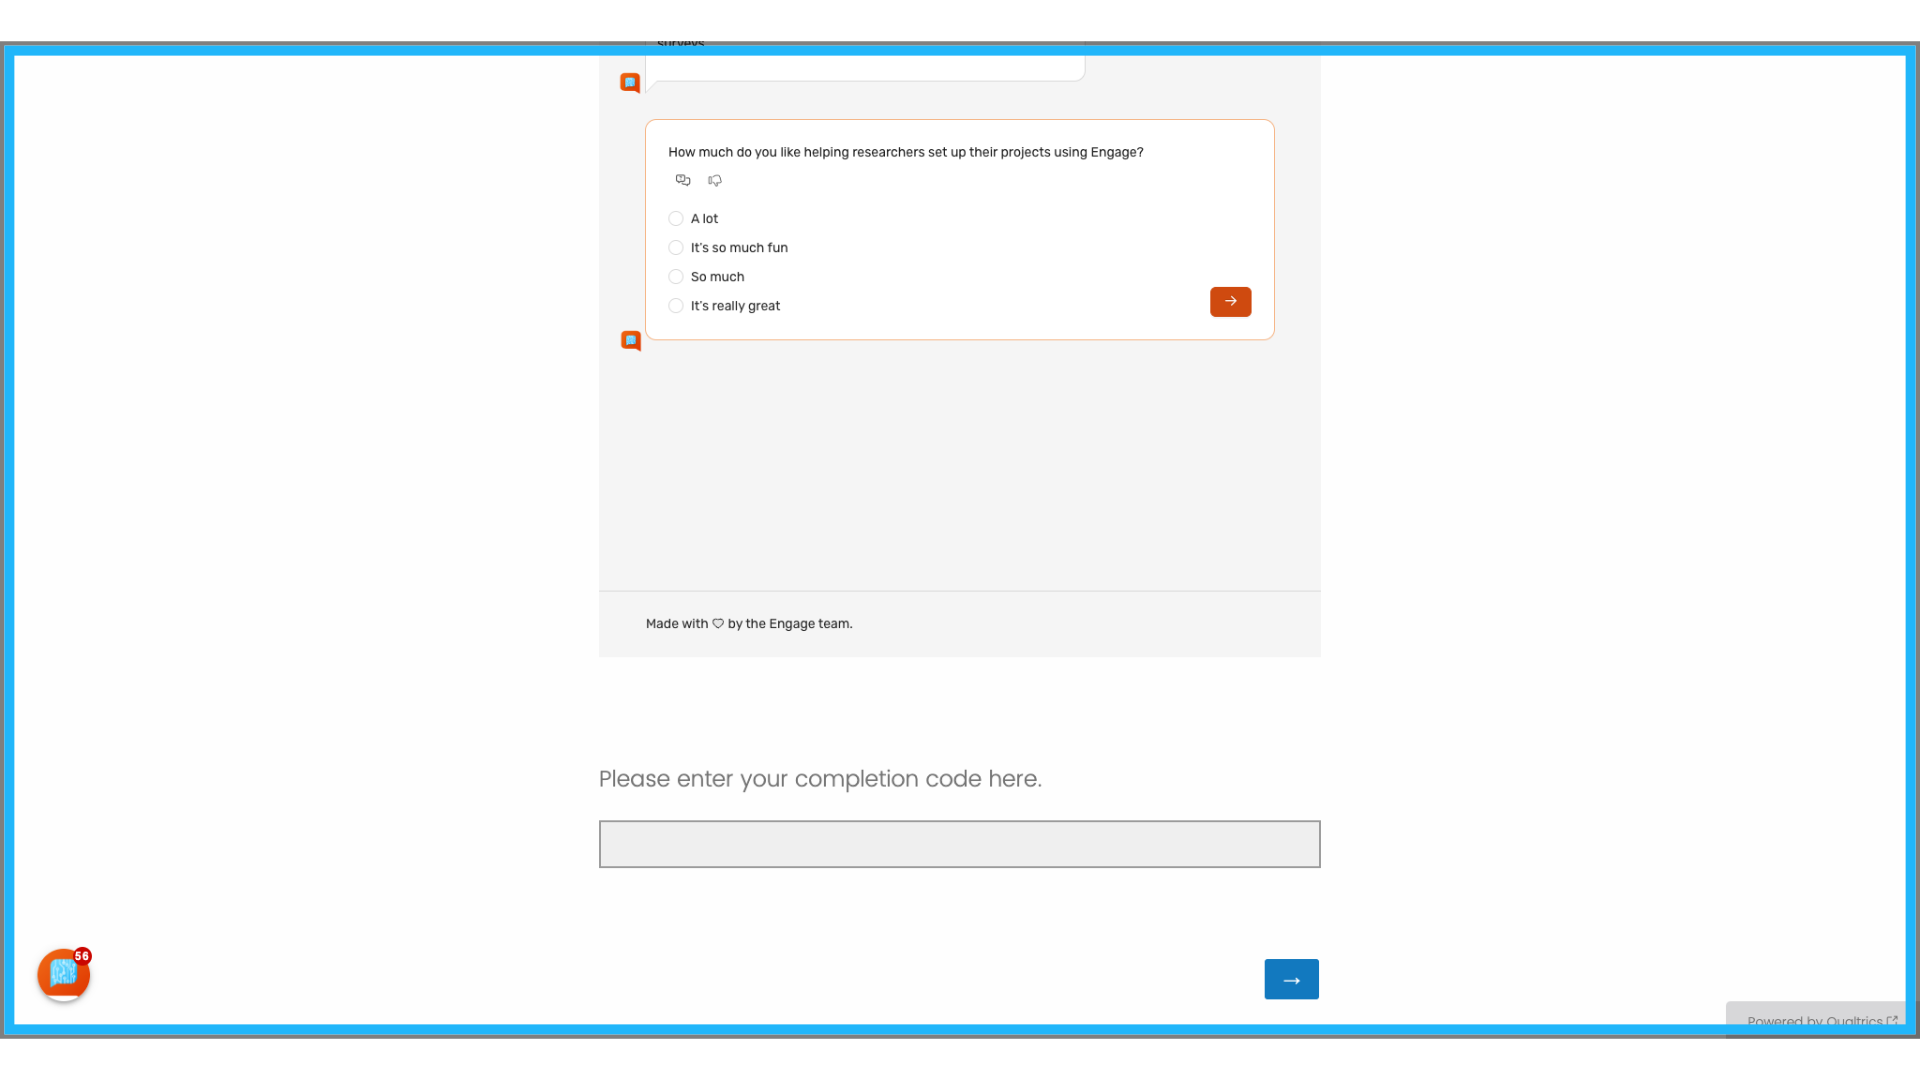
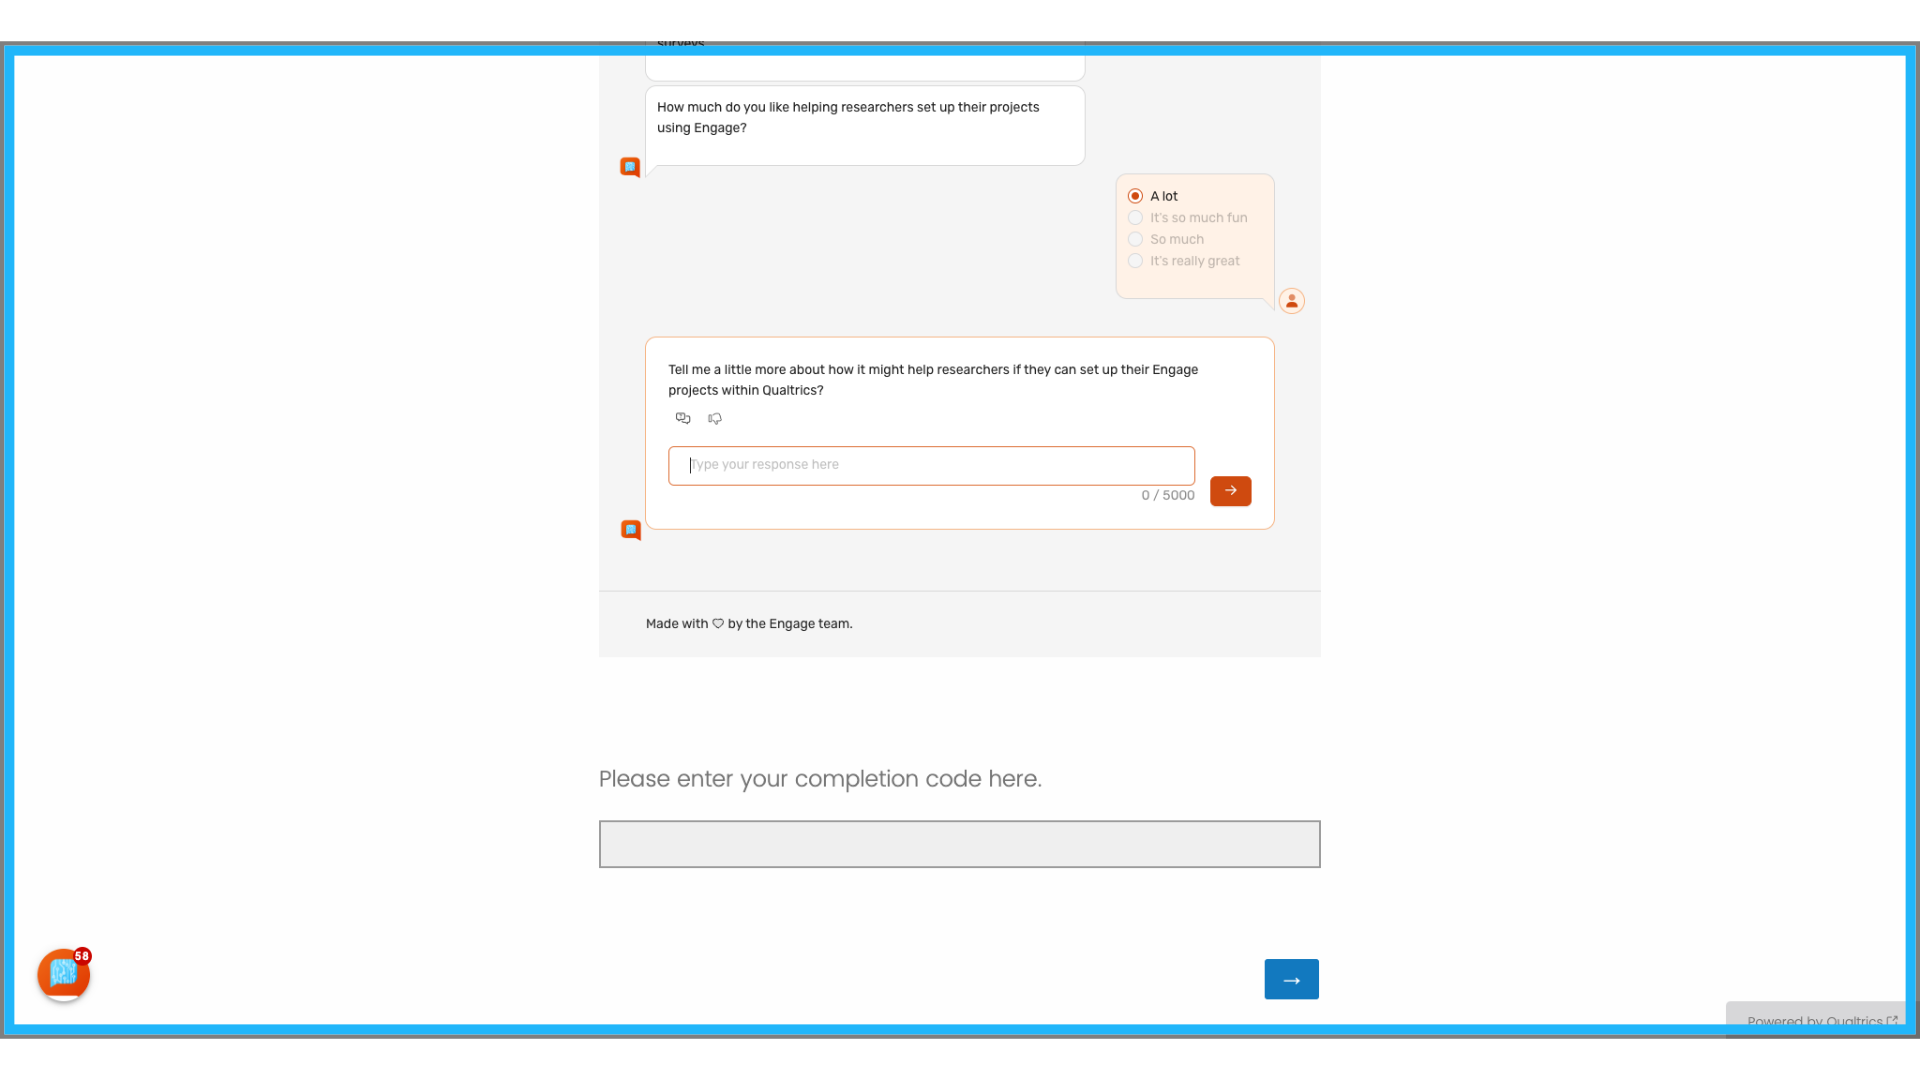
Upon completing the Engage portion of the survey, the previously set completion code will be displayed.
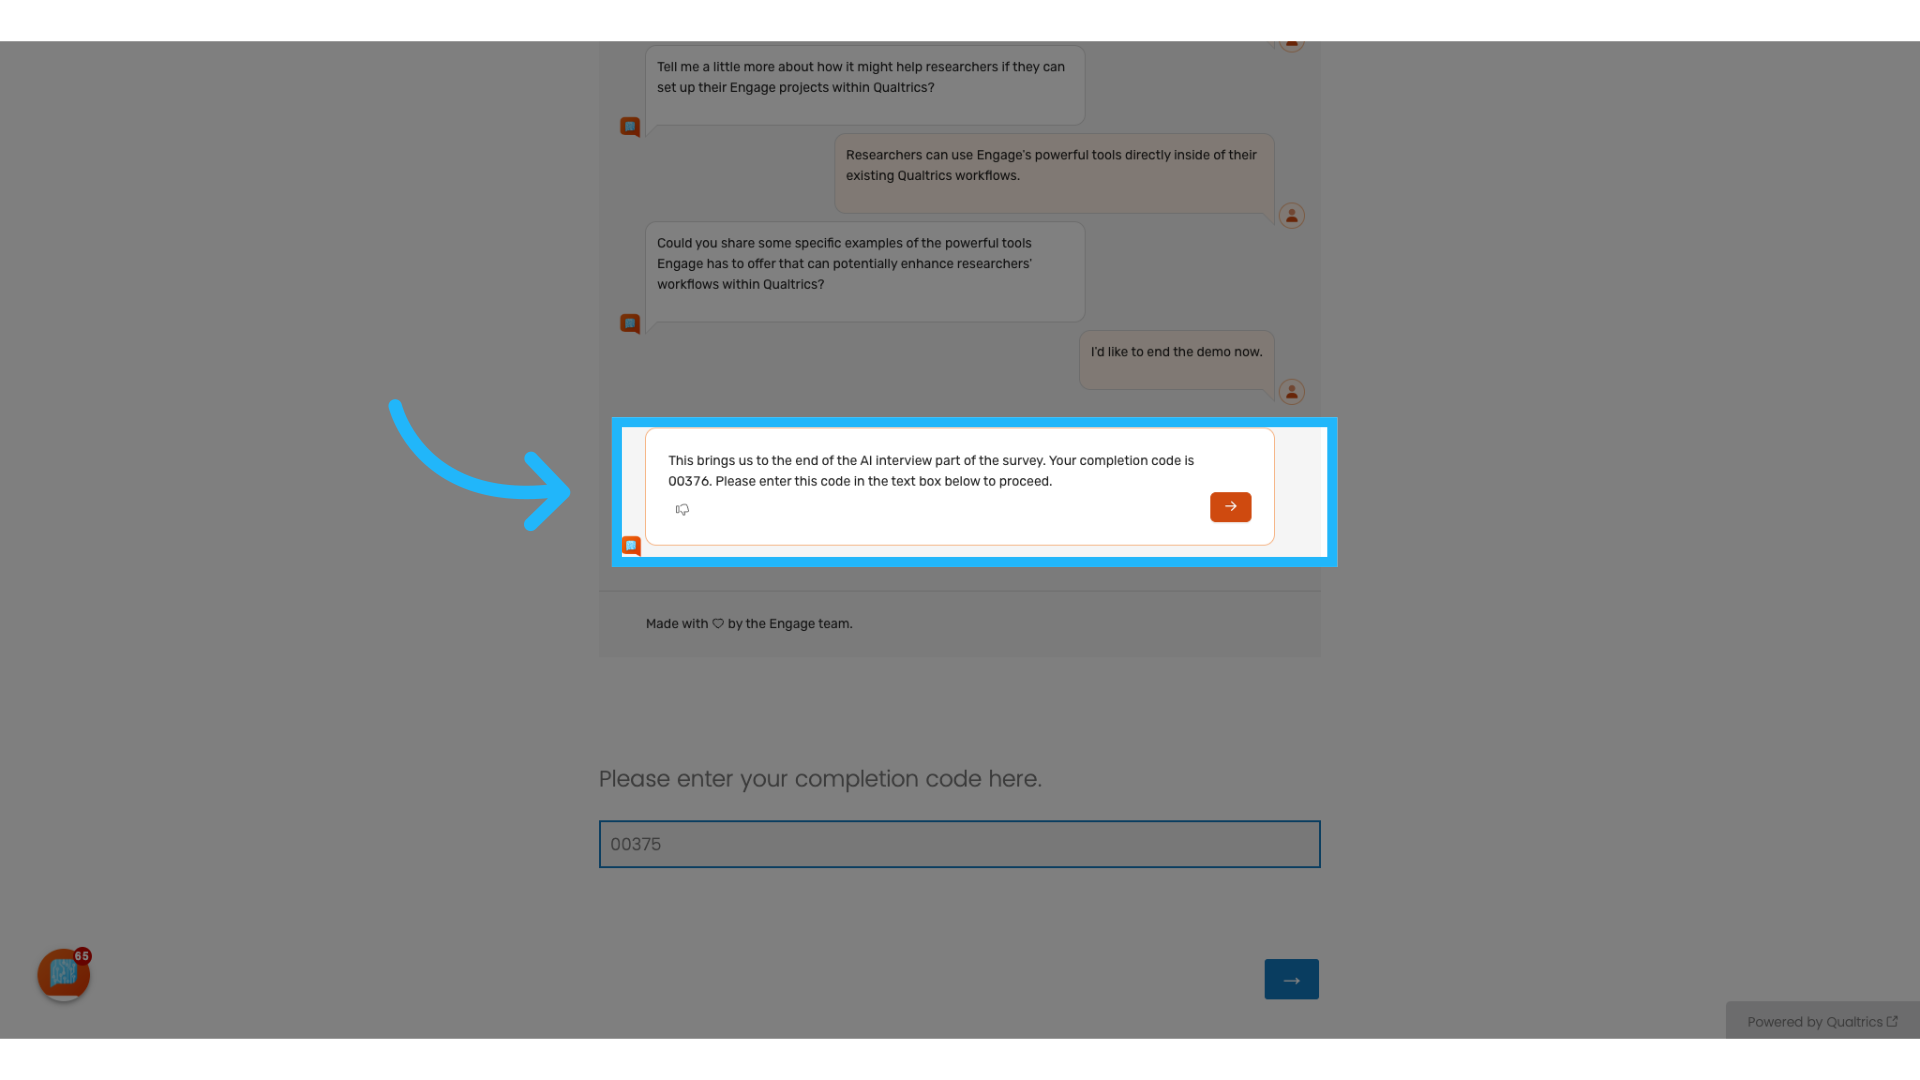
41. Enter the completion code in the designated input box when prompted.
42. Complete Survey
If an incorrect code is entered, an error message will be displayed. Entering the correct code will allow you to proceed with the survey.
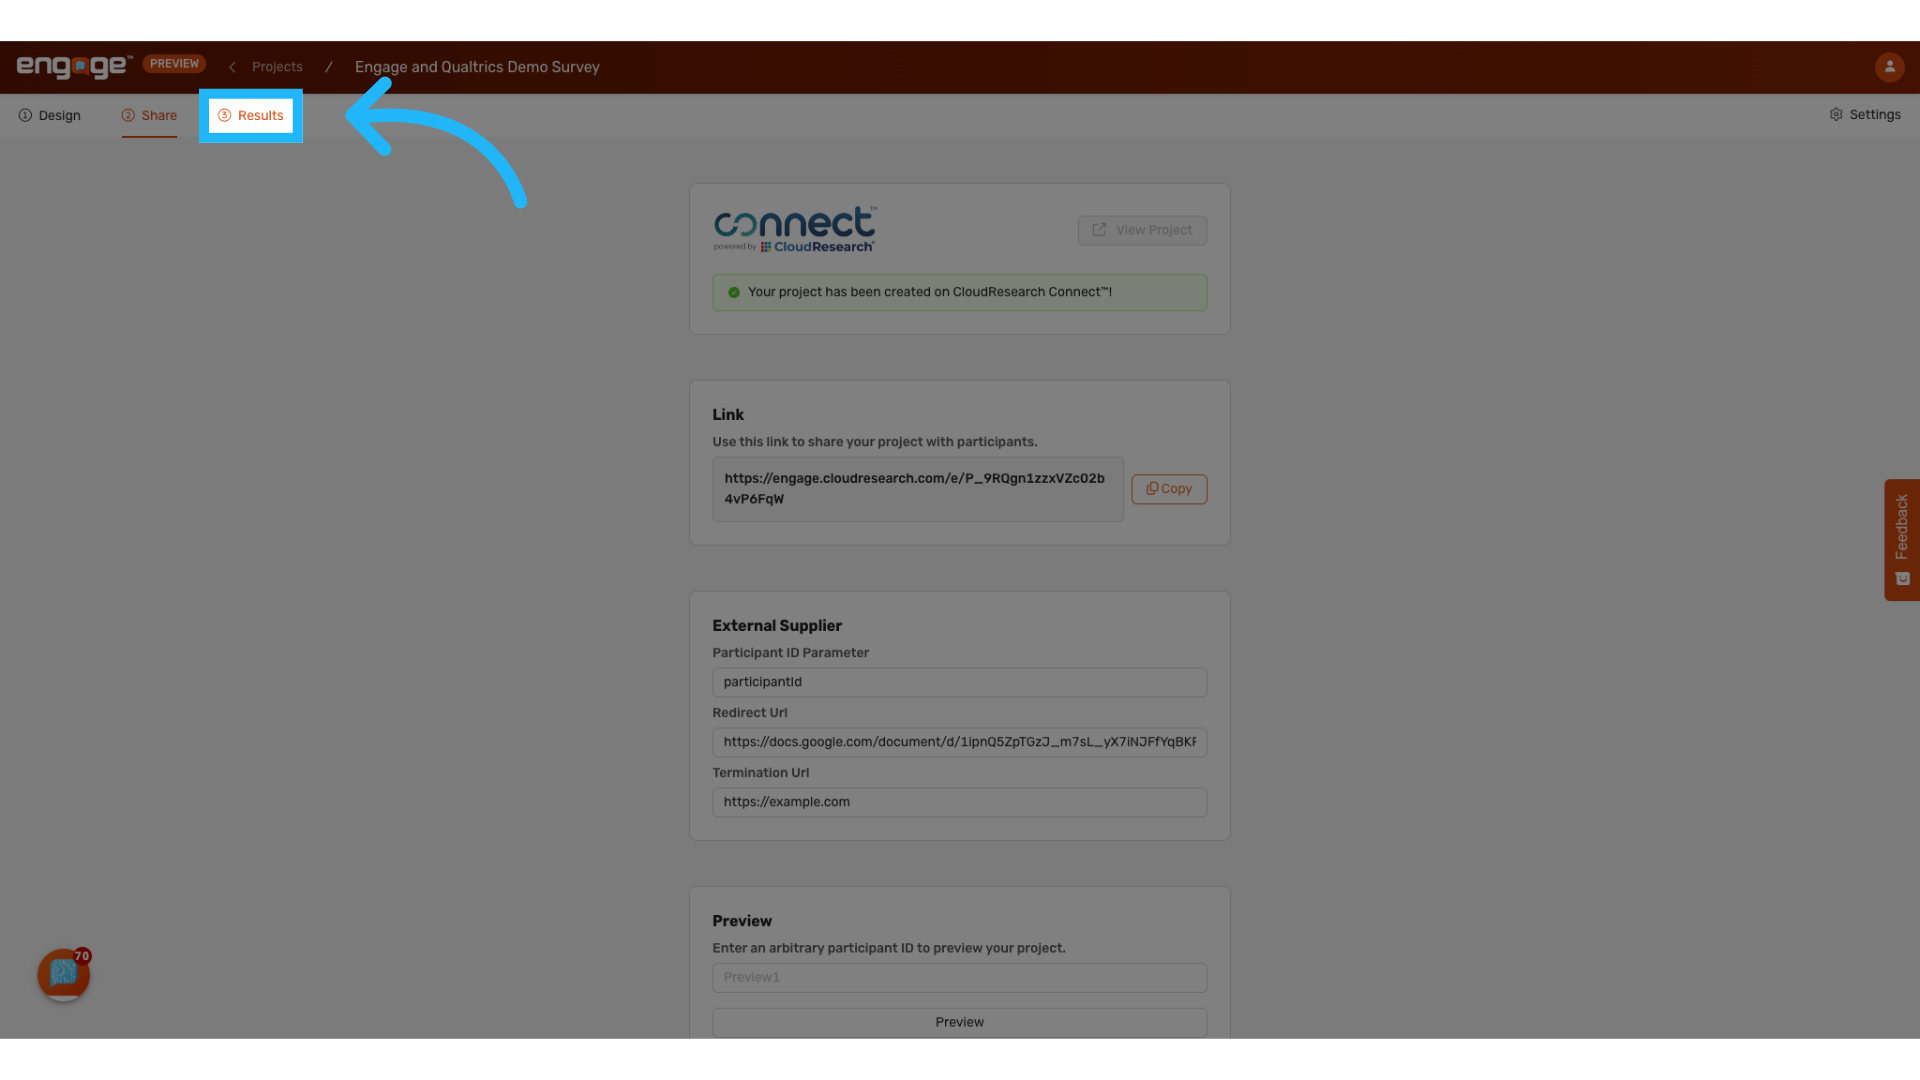
43. Select the "Results" Tab in Engage
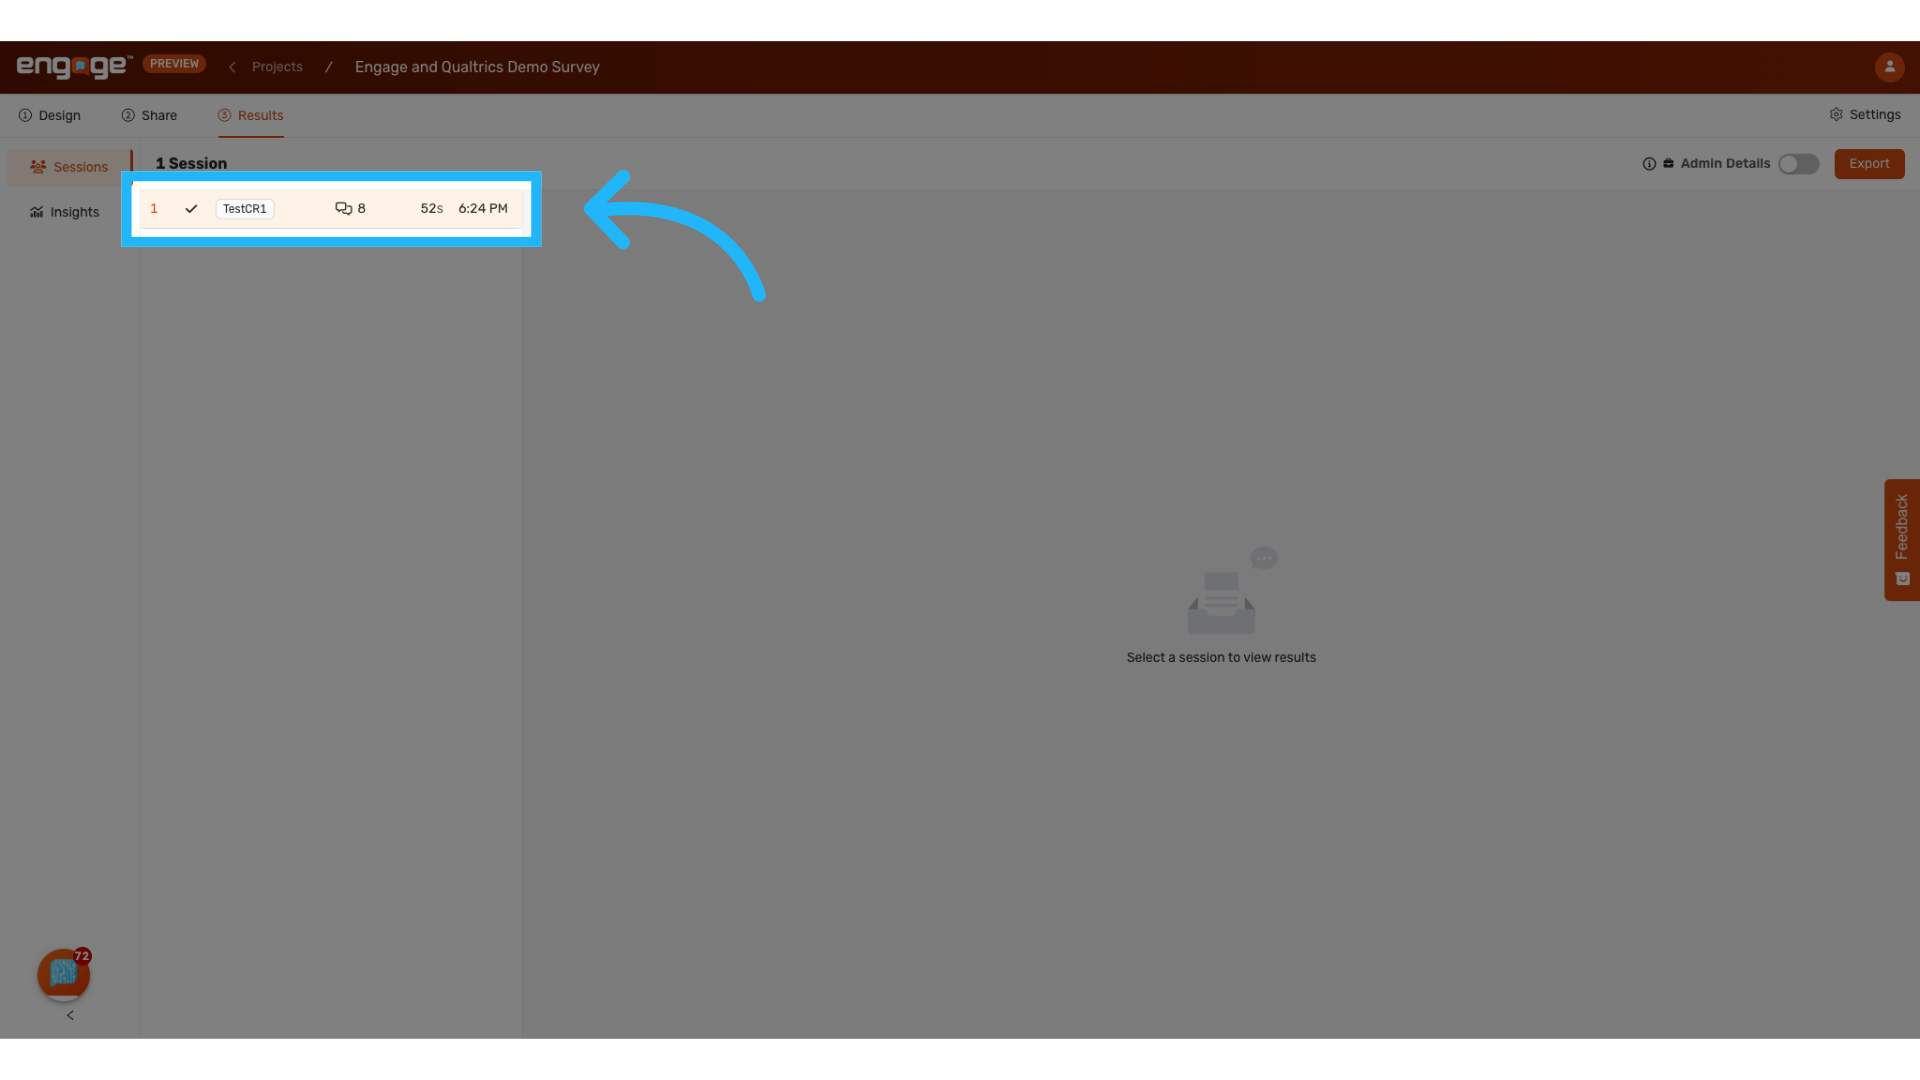
44. View test responses
Engage has captured the correct responses for the participant testCR.
Thank you for watching. If you have any other questions, please feel free to reach out to our support team or access our other guides.
Comments
0 comments
Please sign in to leave a comment.