
Welcome to our guide on using segmentation in Engage. This tutorial will demonstrate
how to segment your data to analyze specific groups based on criteria like demographic
information or response patterns. To enable the segmentation feature for your
project, please contact our support team via our
contact page.
Login to Engage
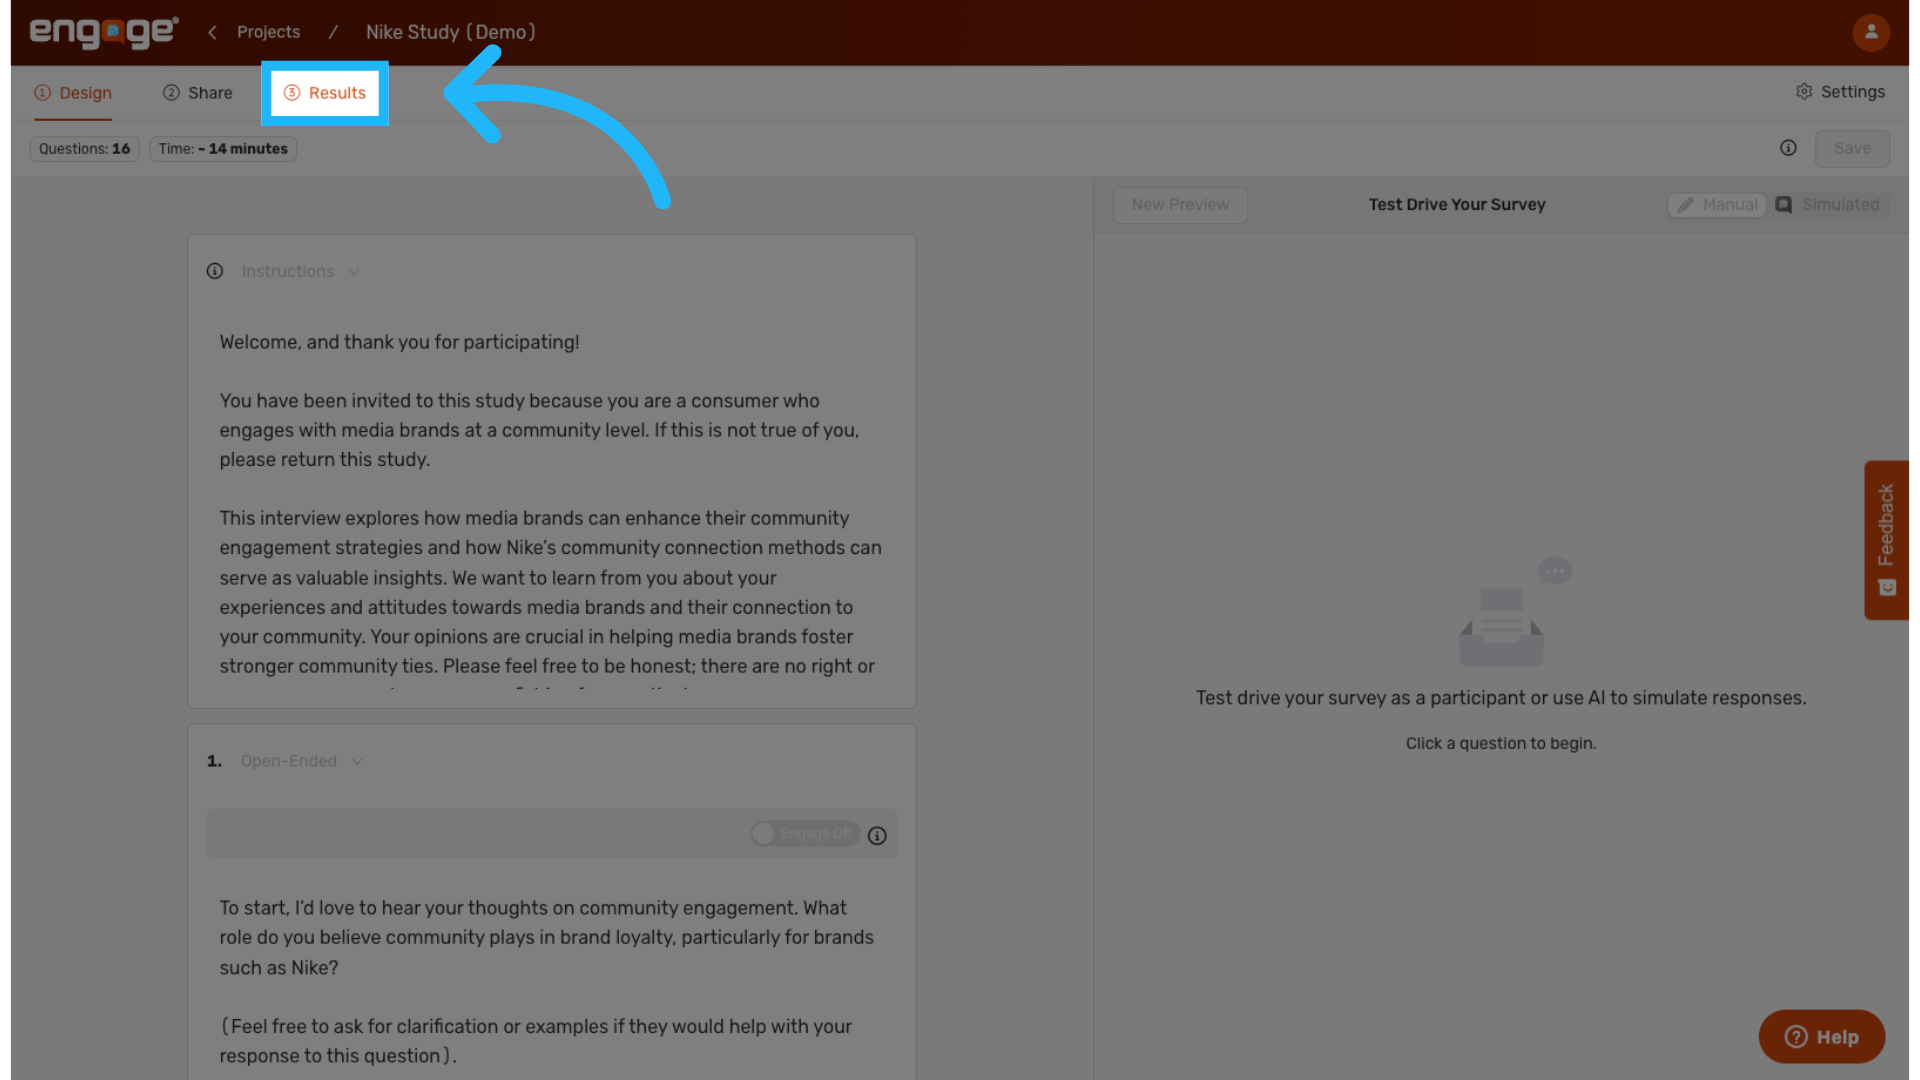
1. Click "Results"
Navigate to the "Results" tab in Engage.
2. Click "Export"
Export the data as a CSV -- This file contains all the session data you need
for segmentation.
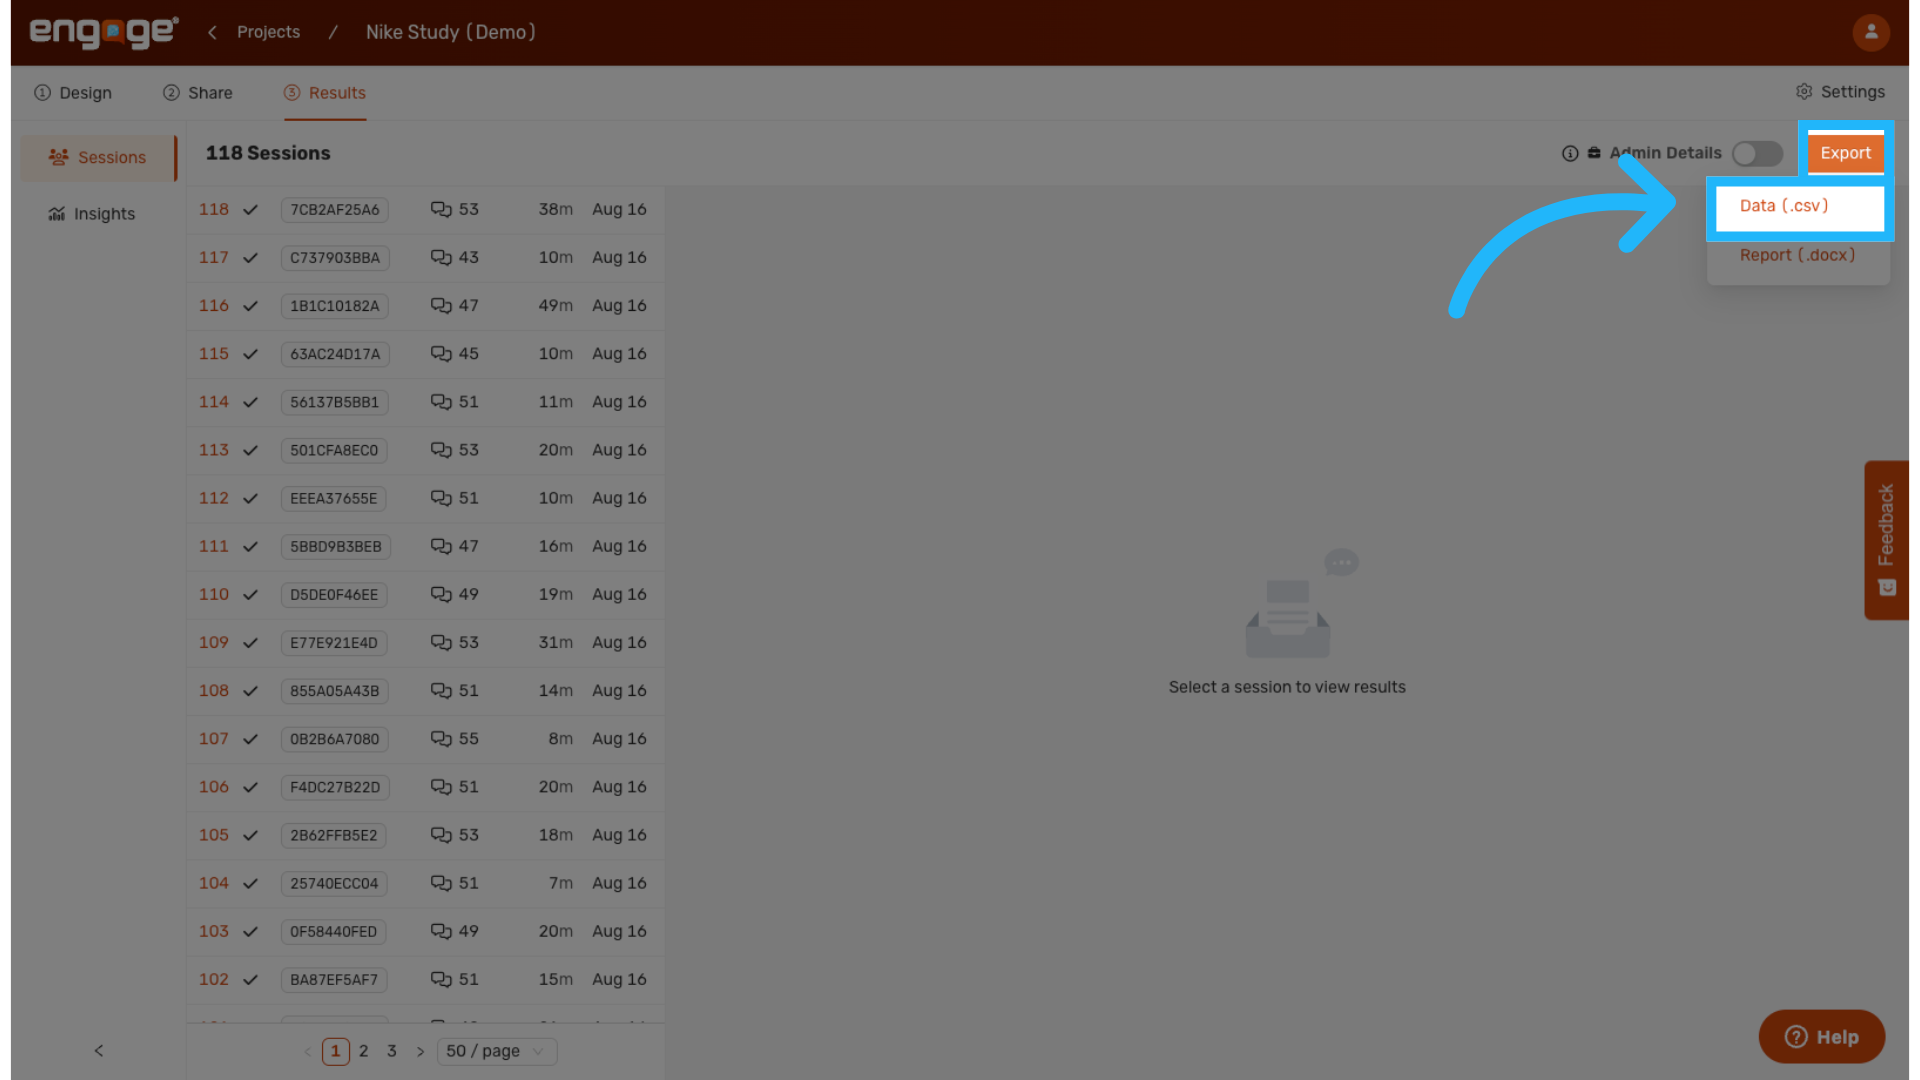
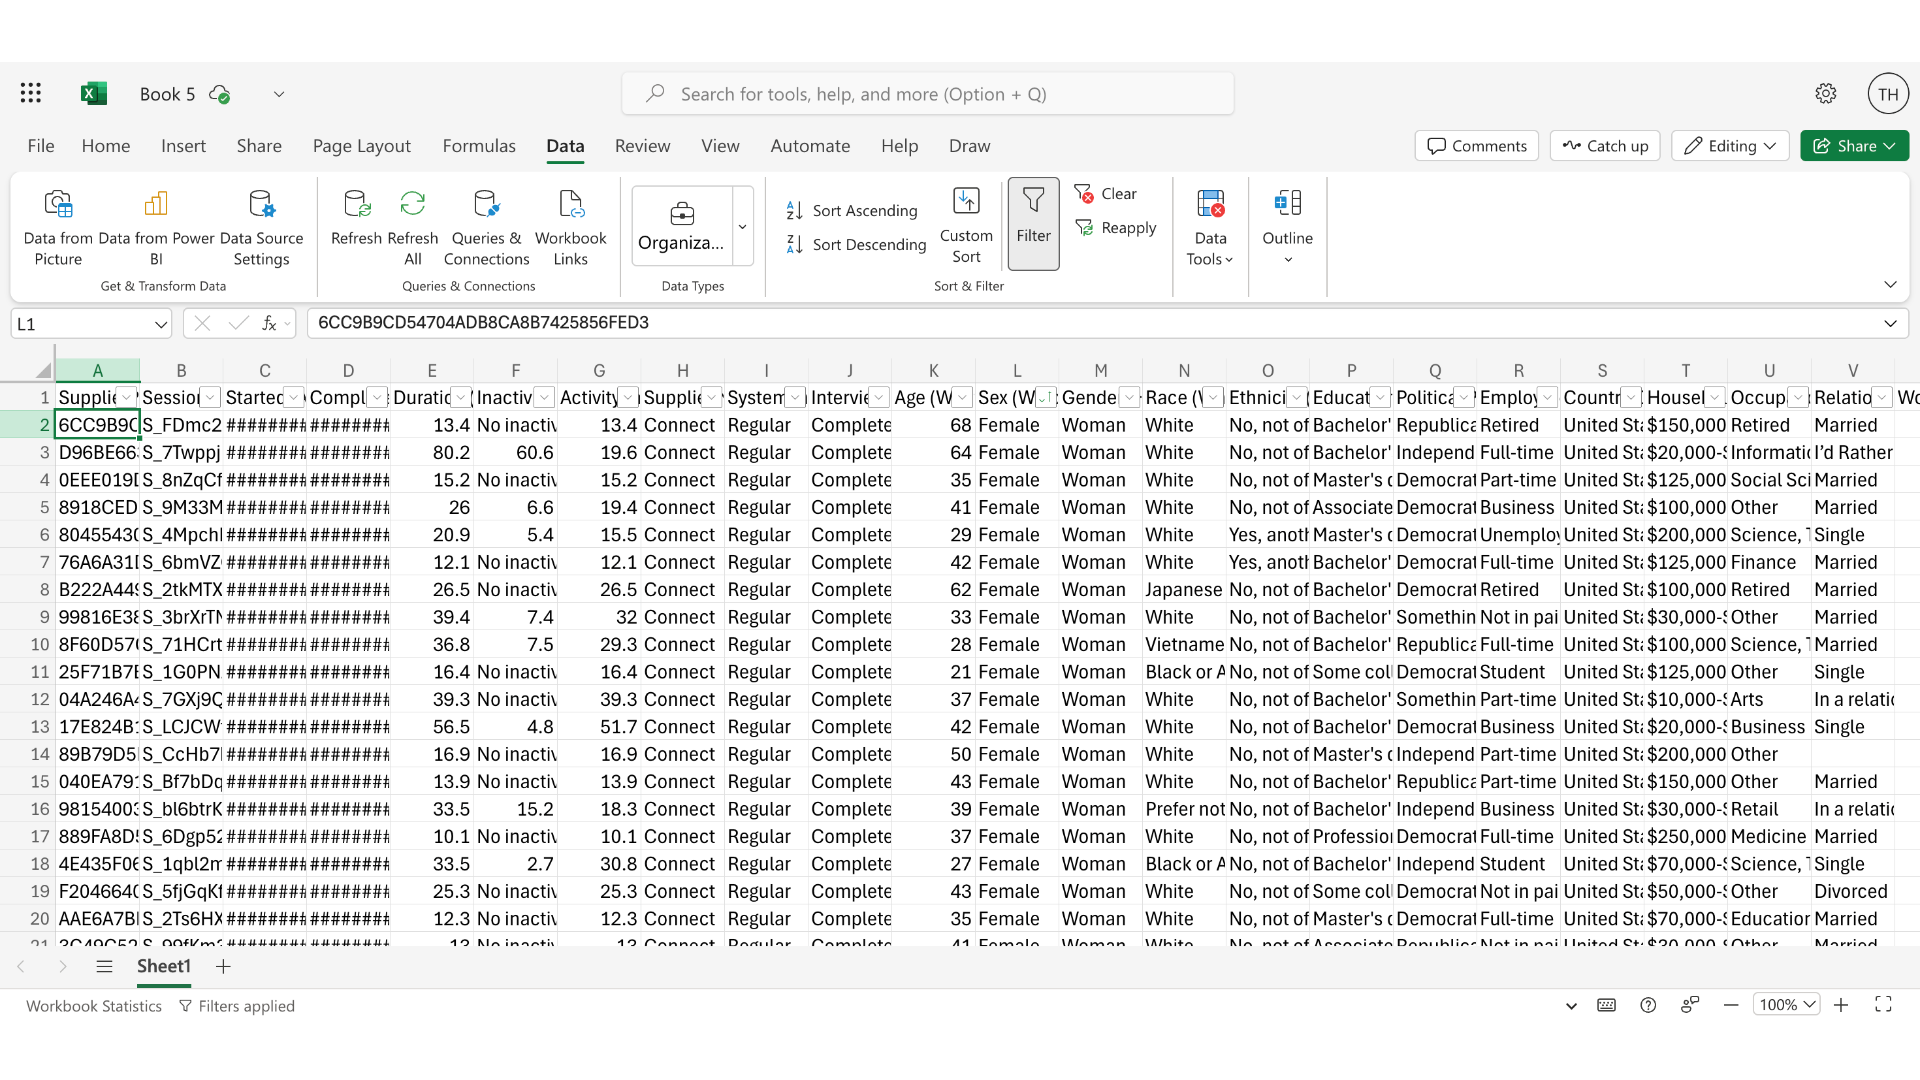
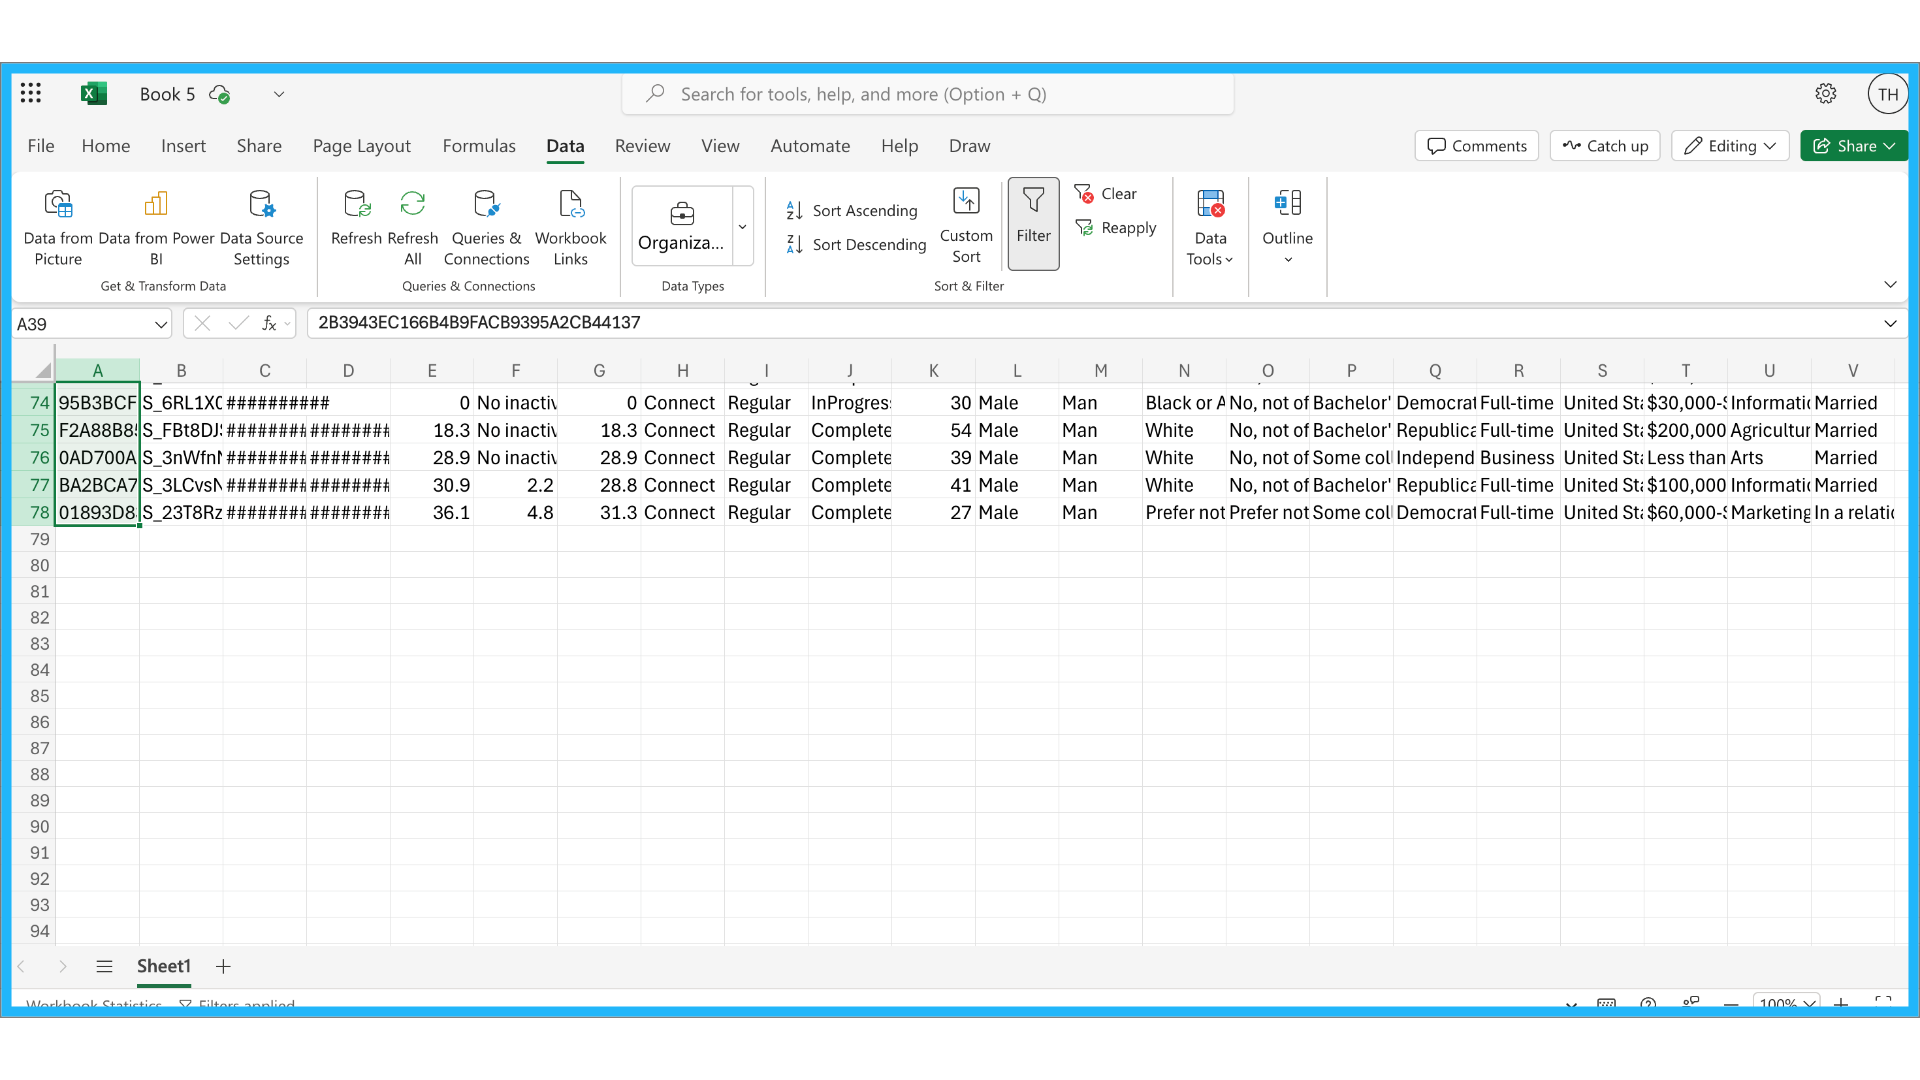
3. Click Data
You will need session IDs from the CSV file.
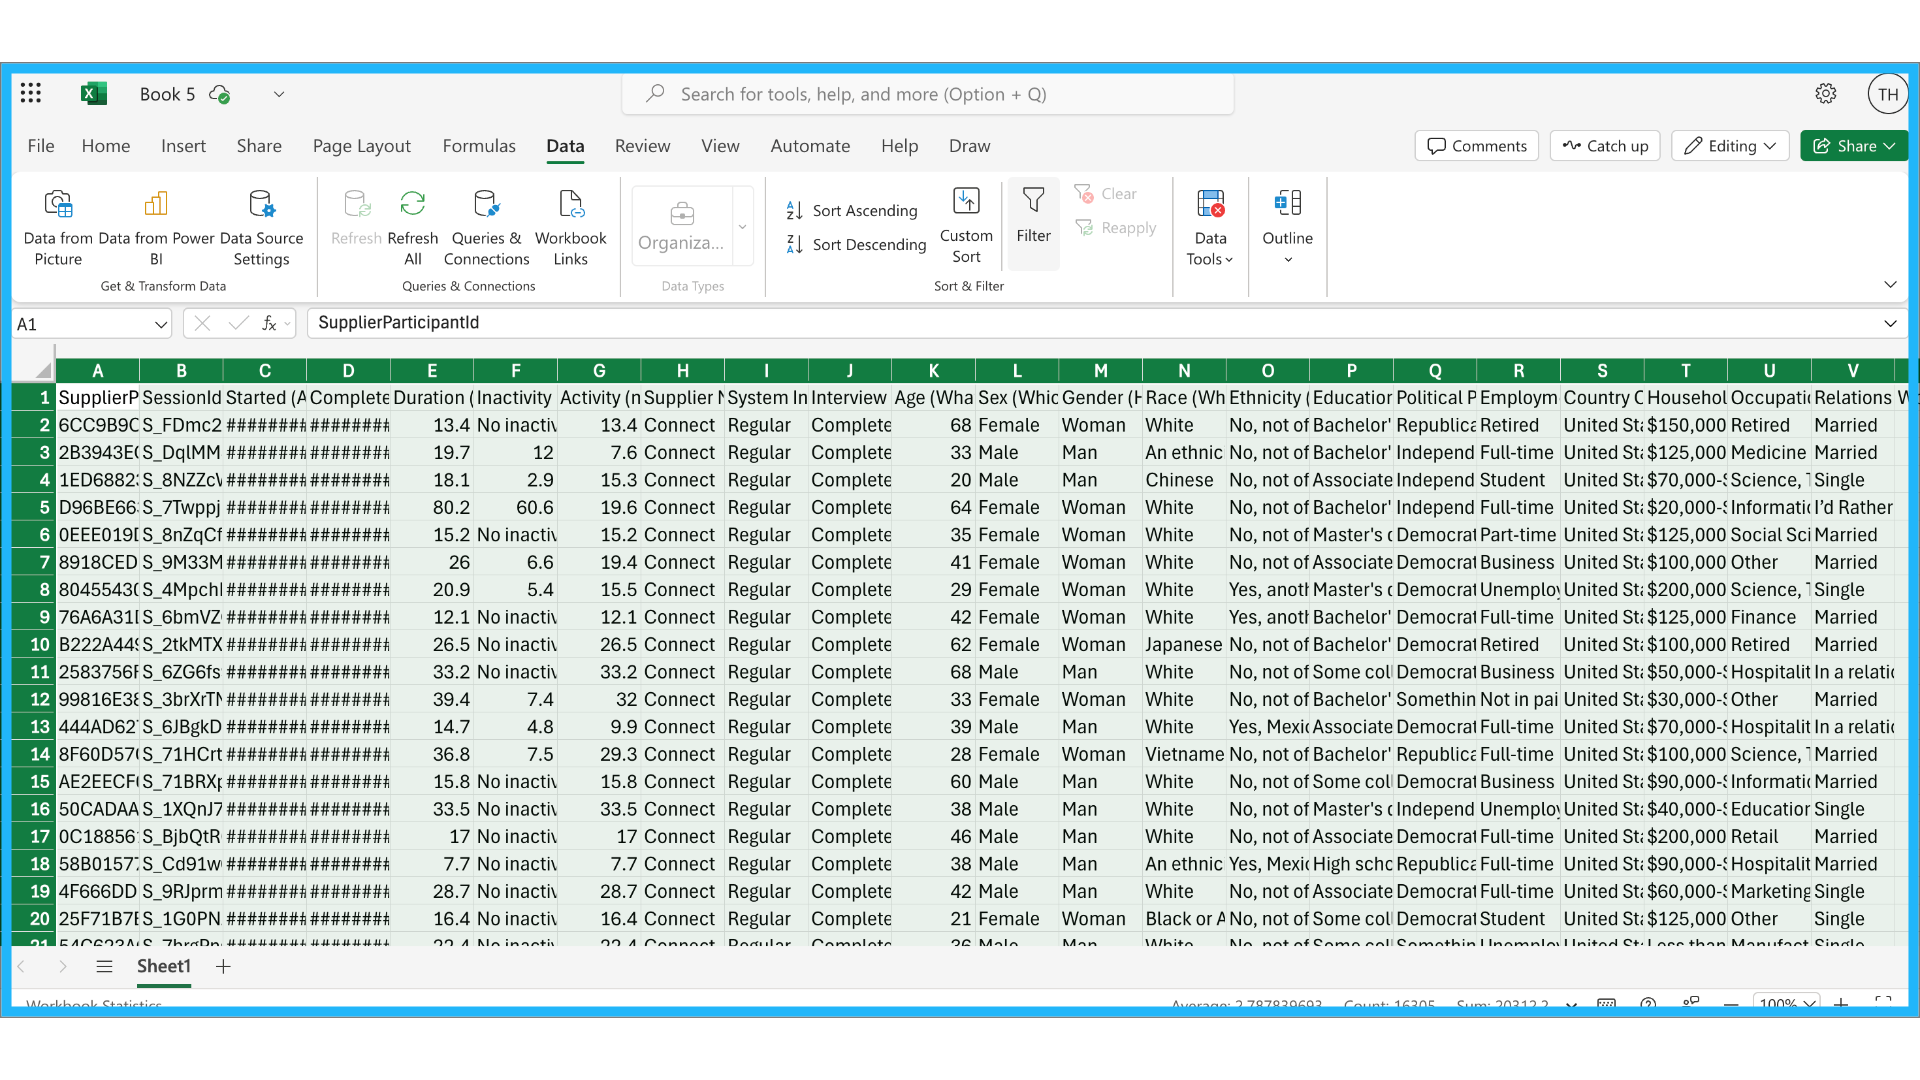
4. Filter or sort data
Filter for the demographic or demographics you would like to use for segmentation.
5. Switch to Engage
Return to Engage
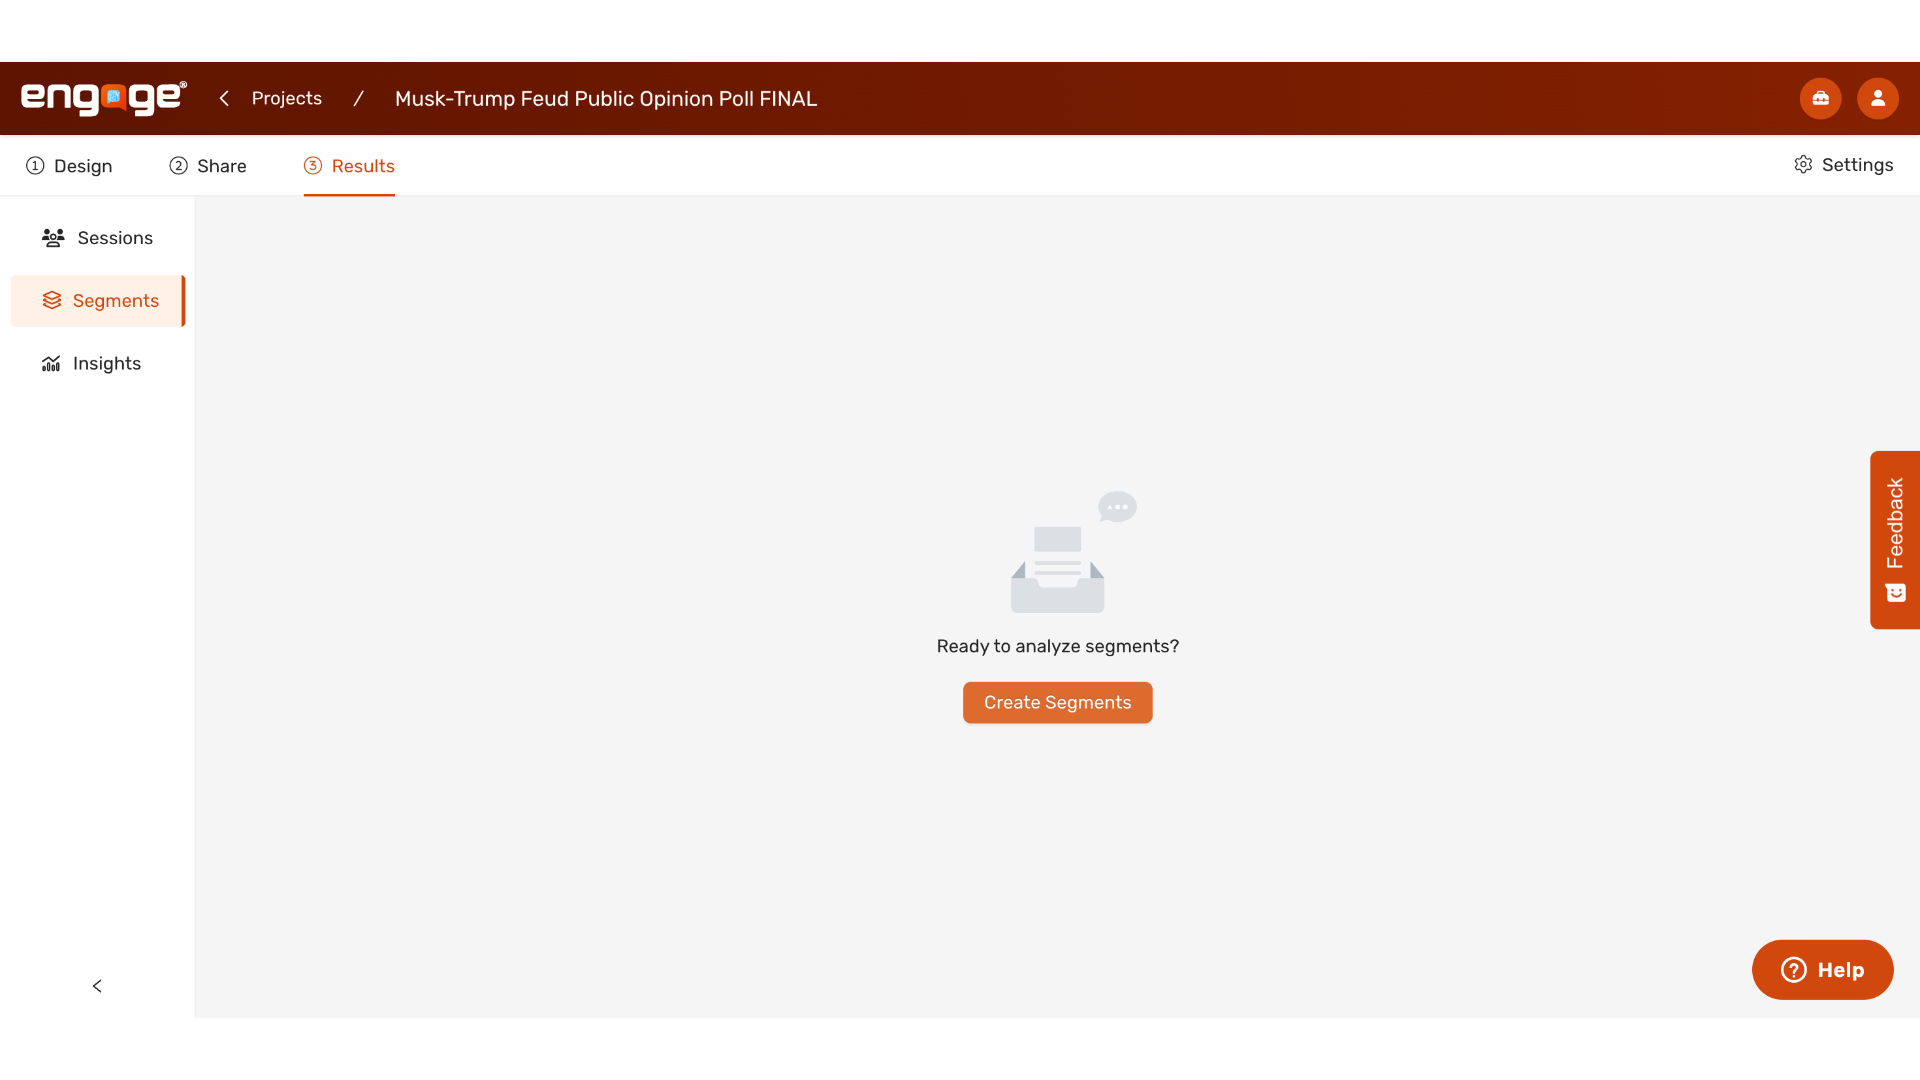
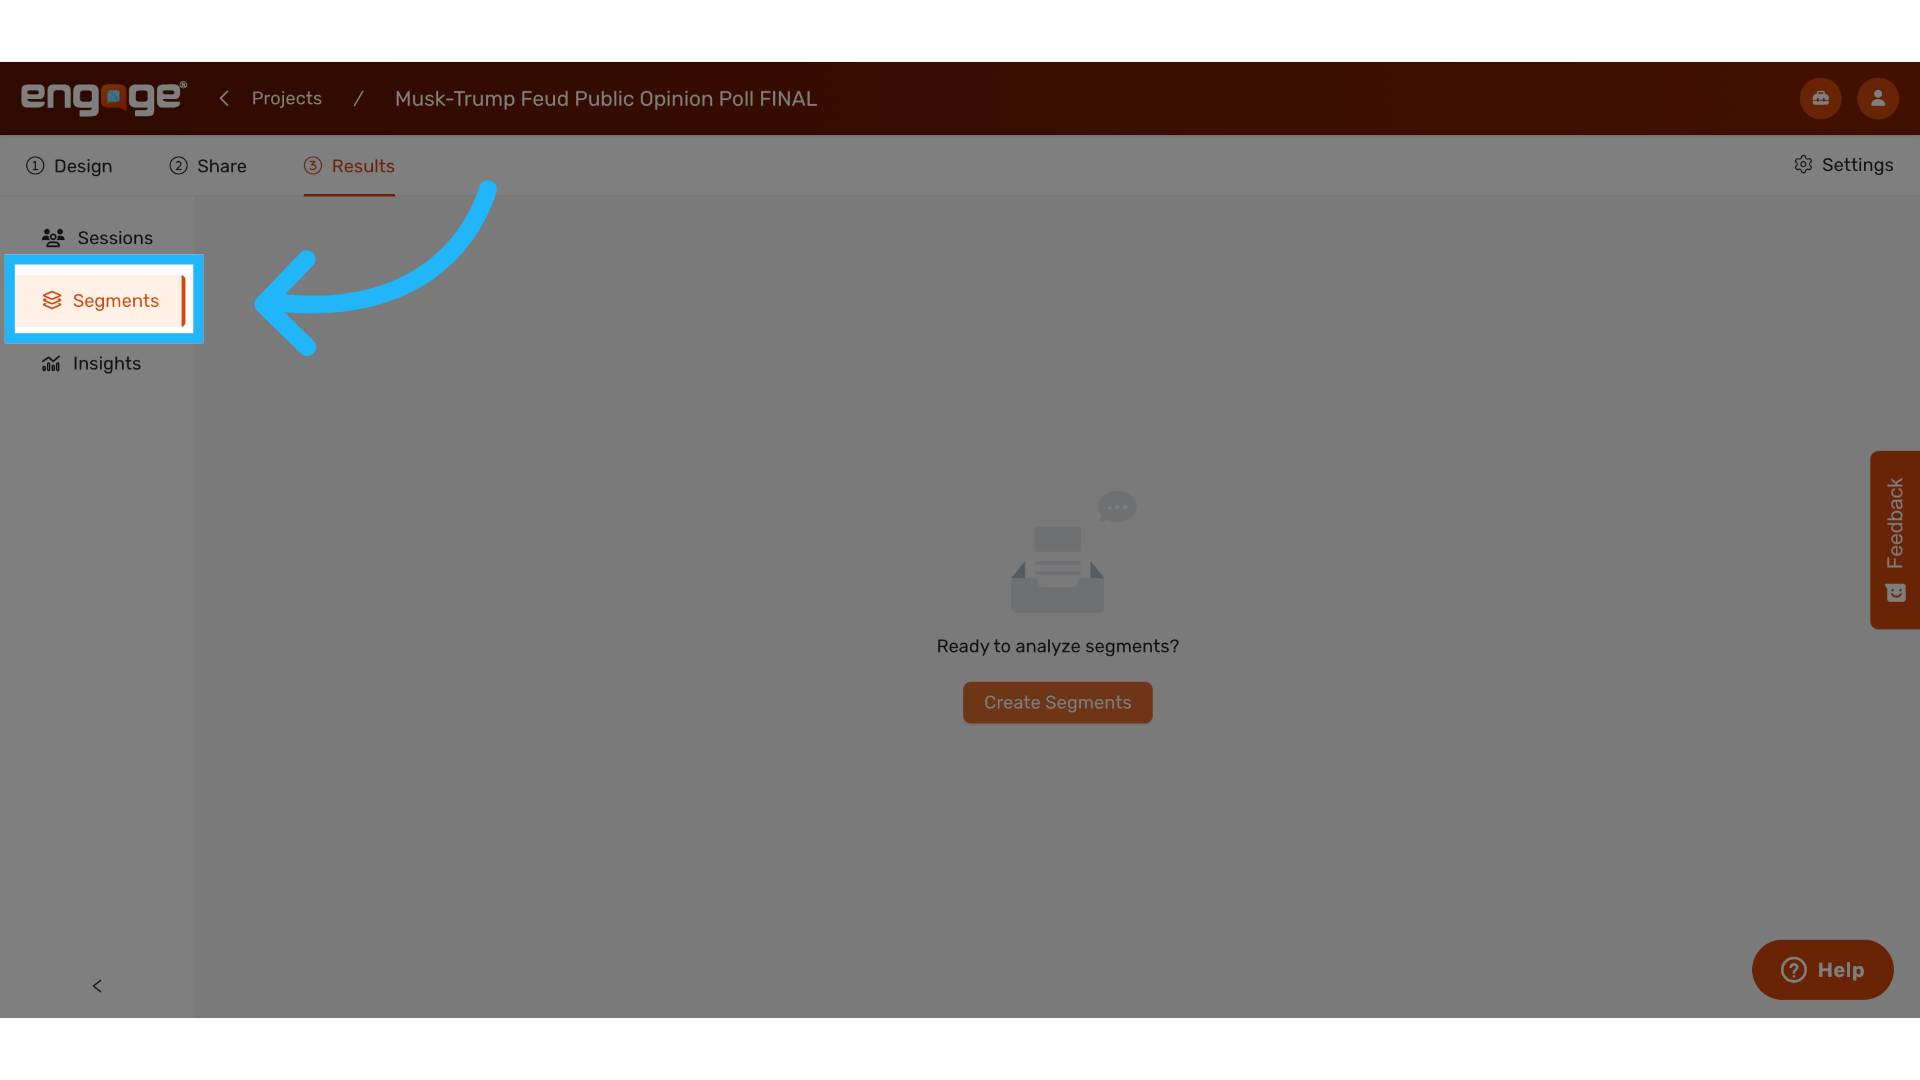
6. Click Segments
and locate the segments section in the results tab.
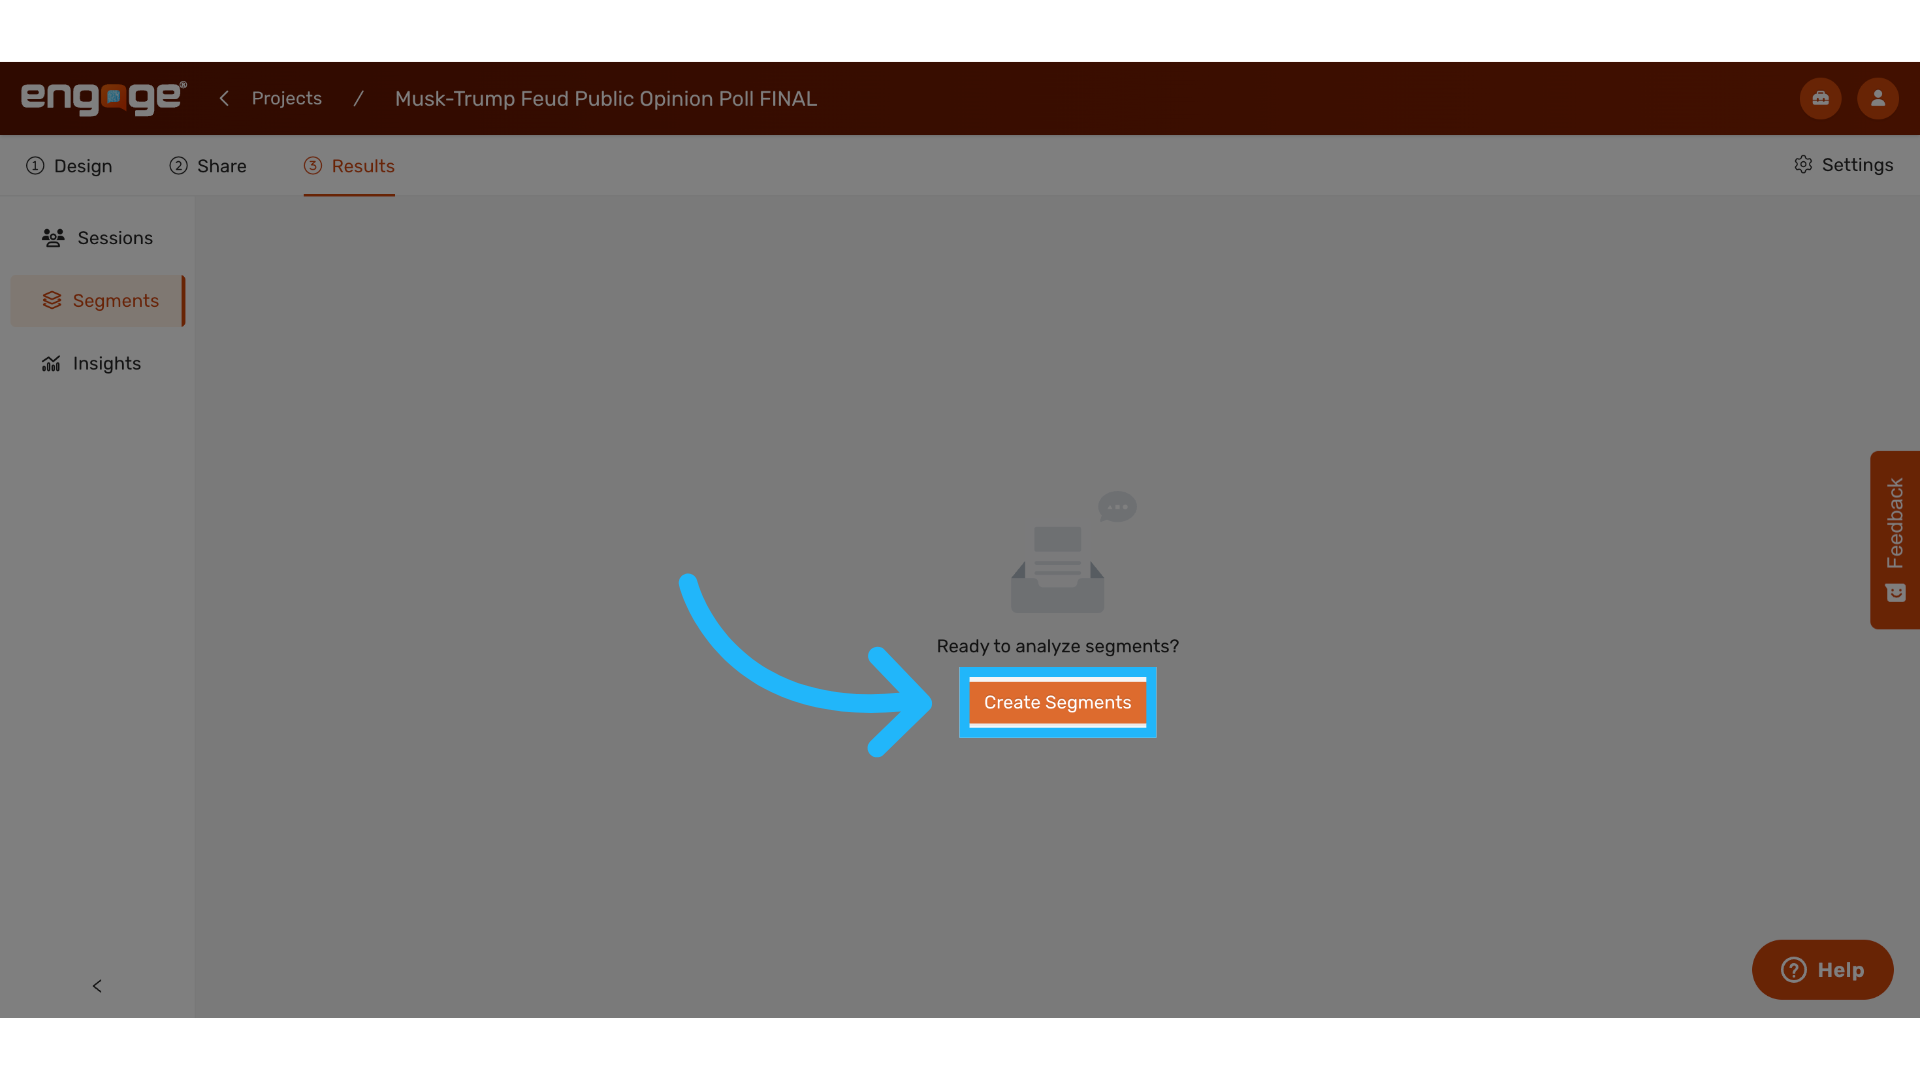
7. Click "Create Segments"
Start creating segments by selecting "Create Segment".
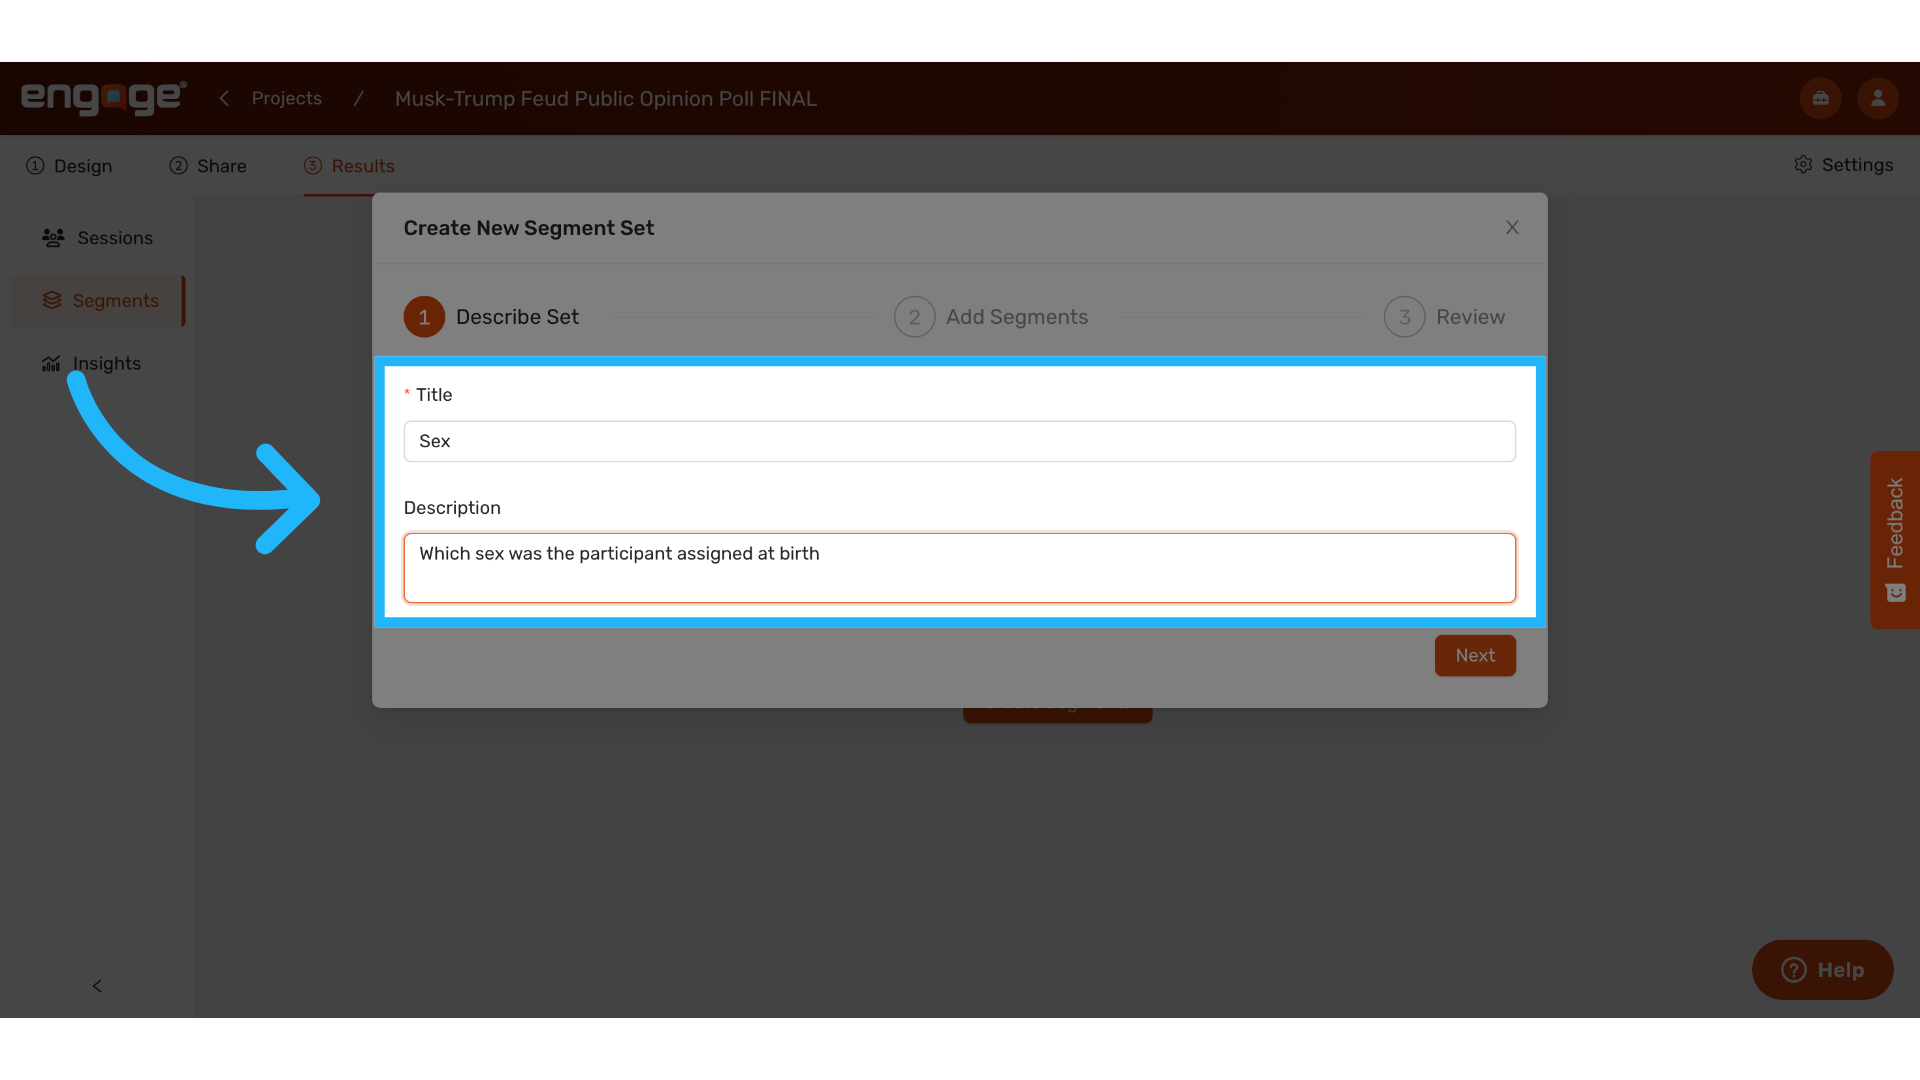
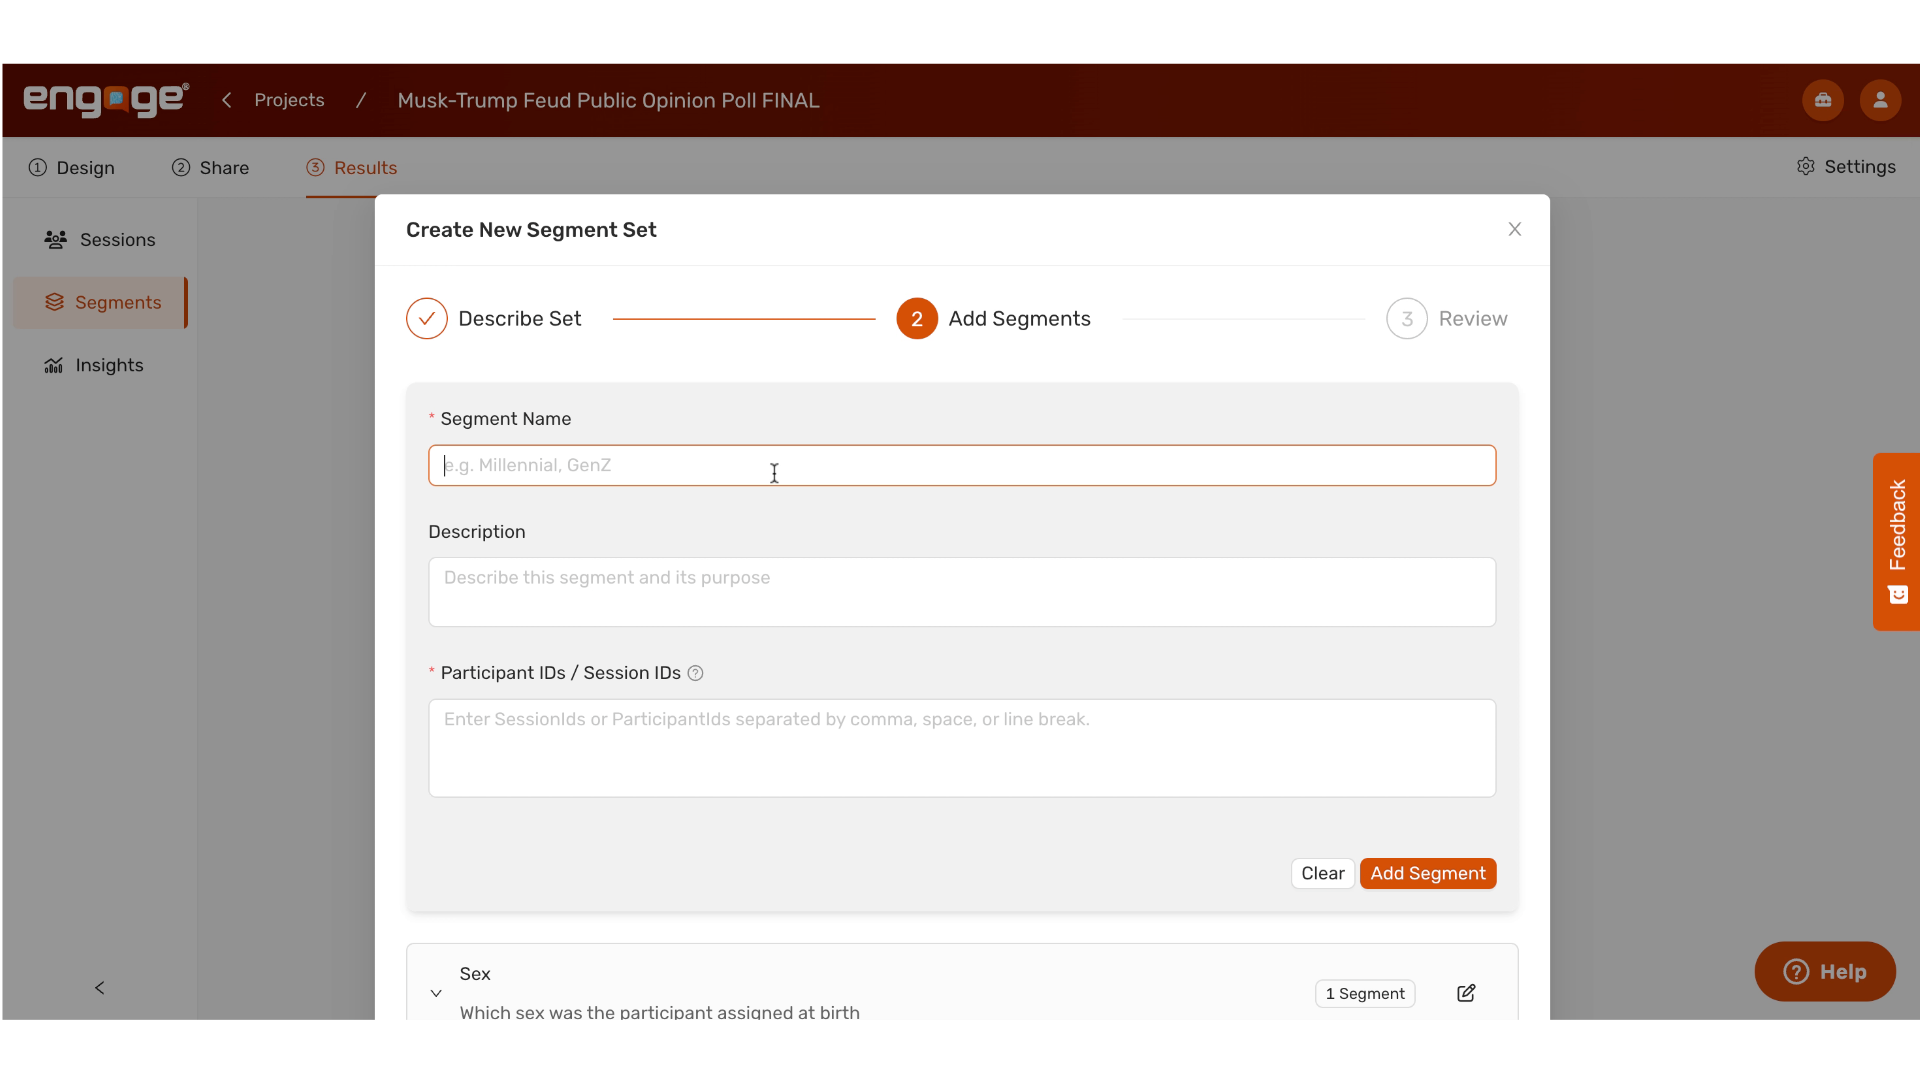
8. Add Title and Description for Segment Set
Give the segment set a title and optionally, a description.
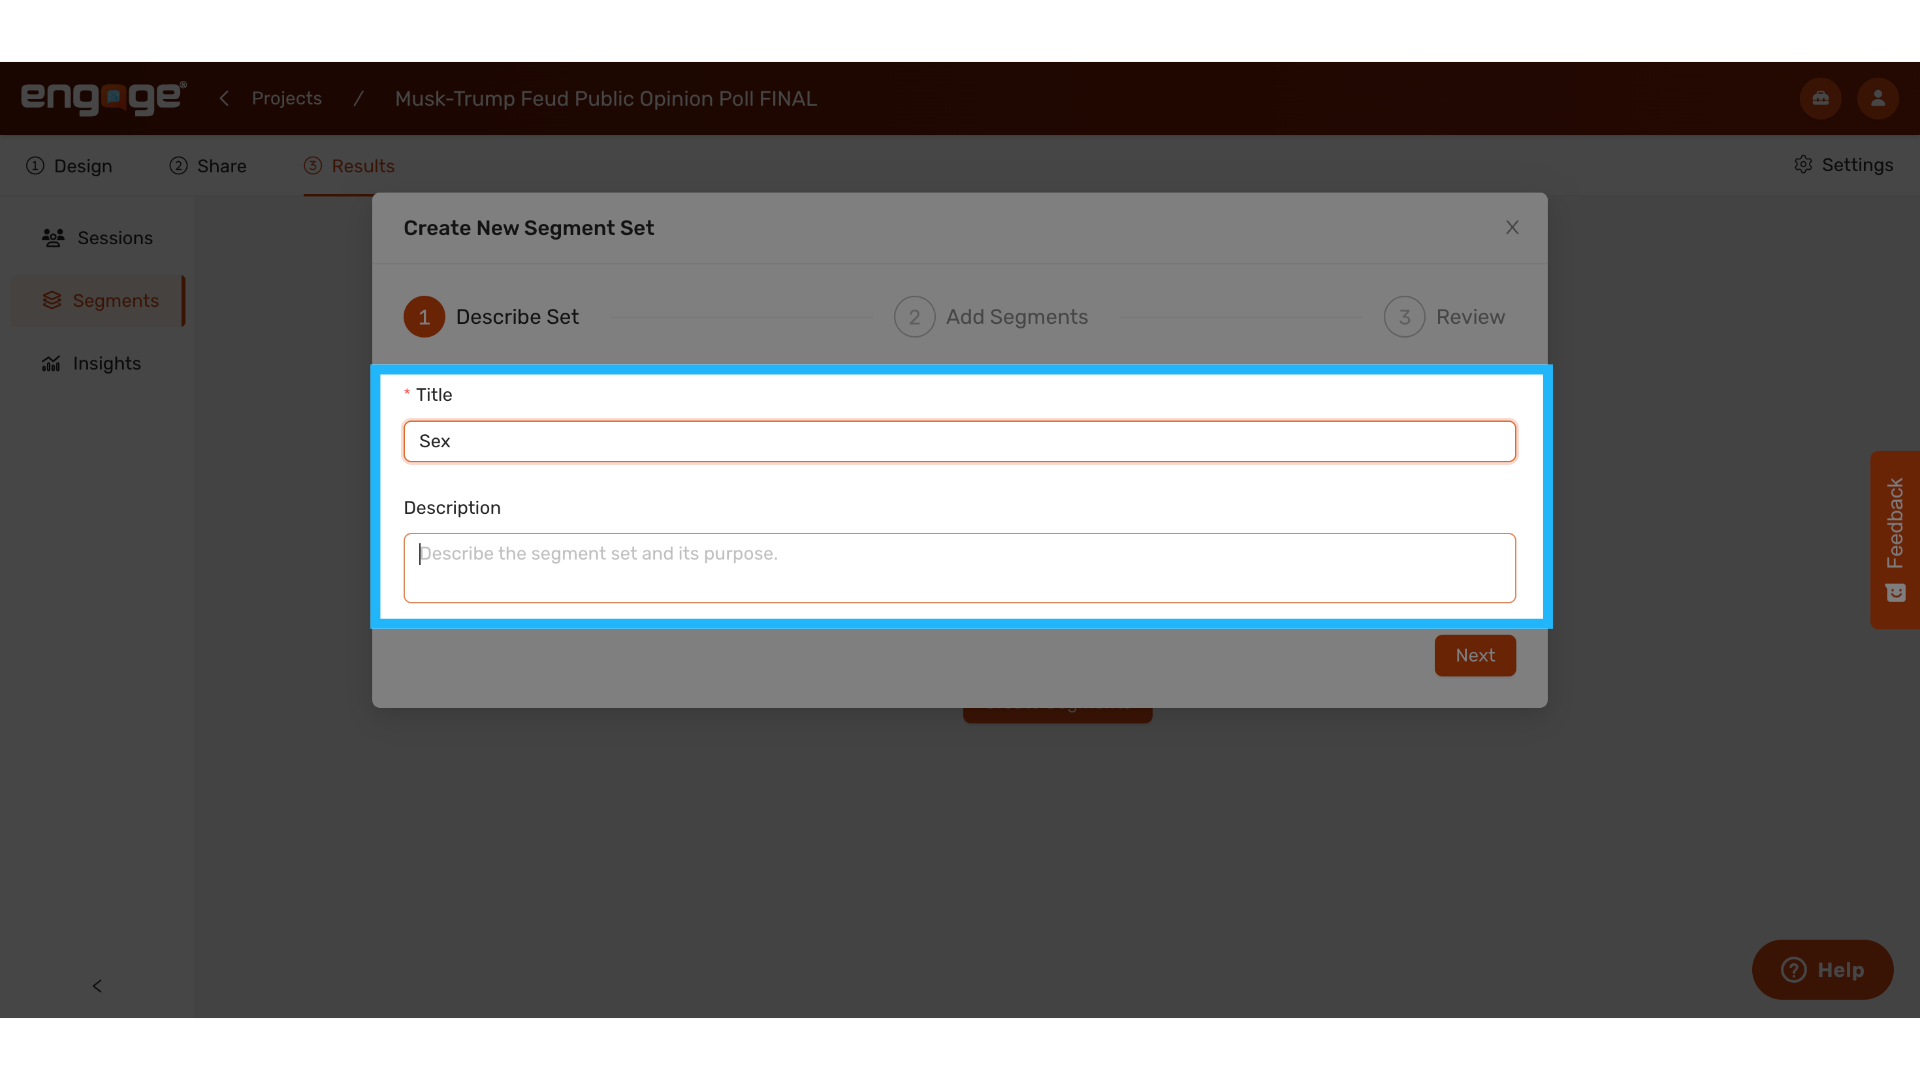
9. Example
A semgent title of "Sex" and description of "which sex was the participant assigned at birth".
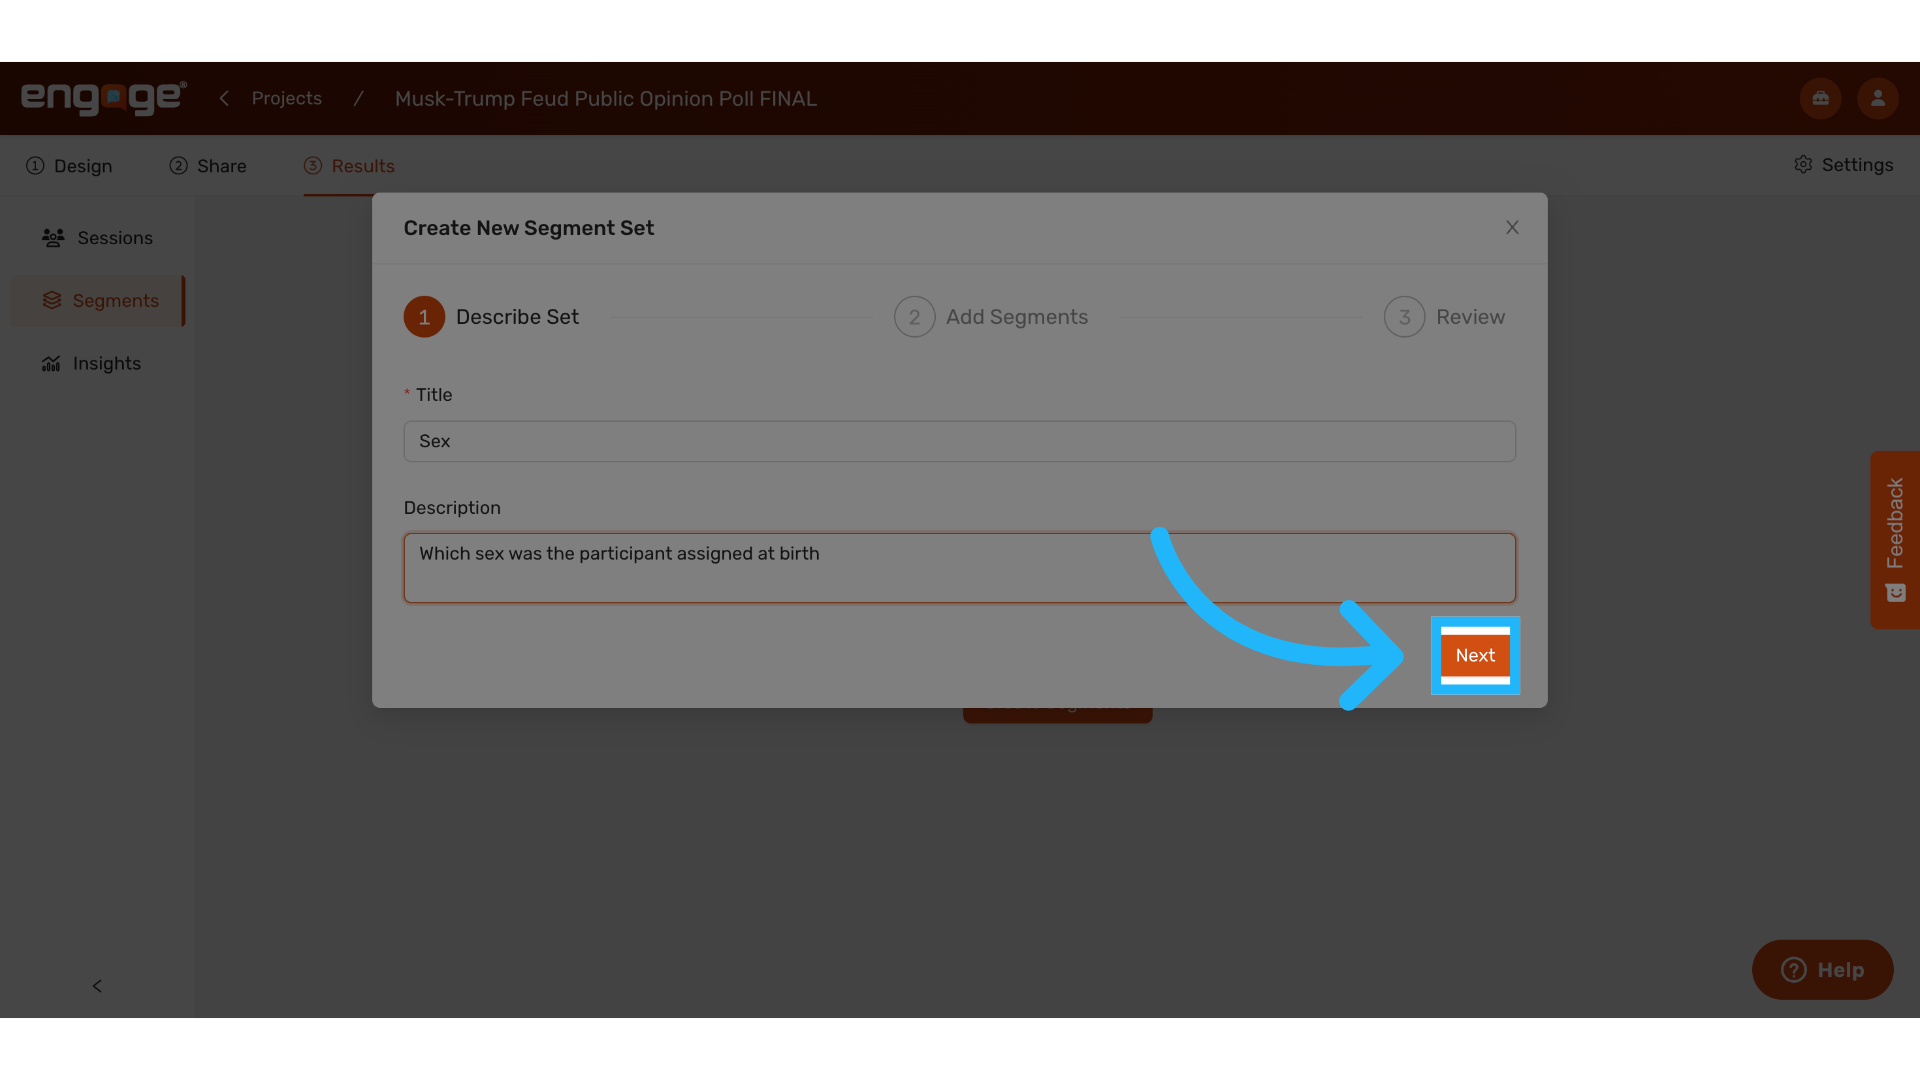
10. Click "Next"
Hit next to define specific segments within the set.
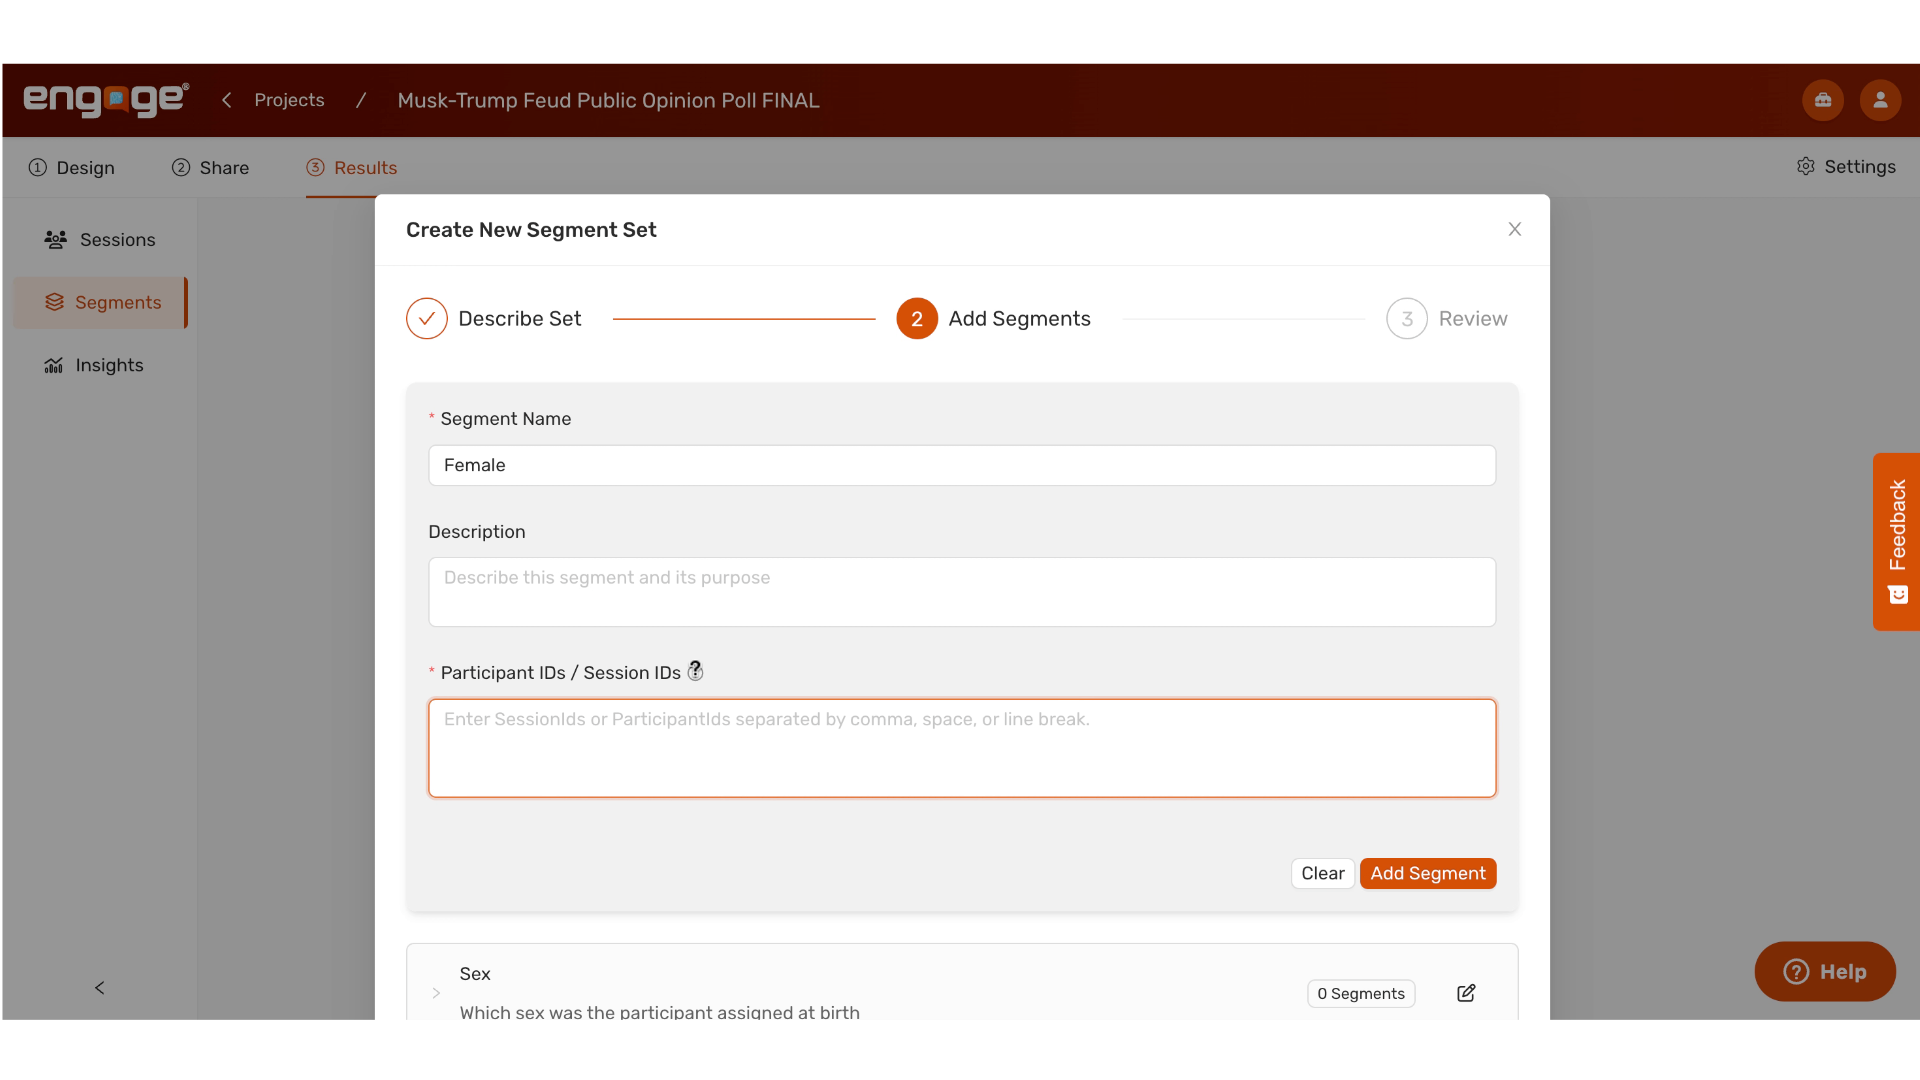
11. Fill in Segment Name and Description
Fill in a specific segment within the set and optionally, a description.
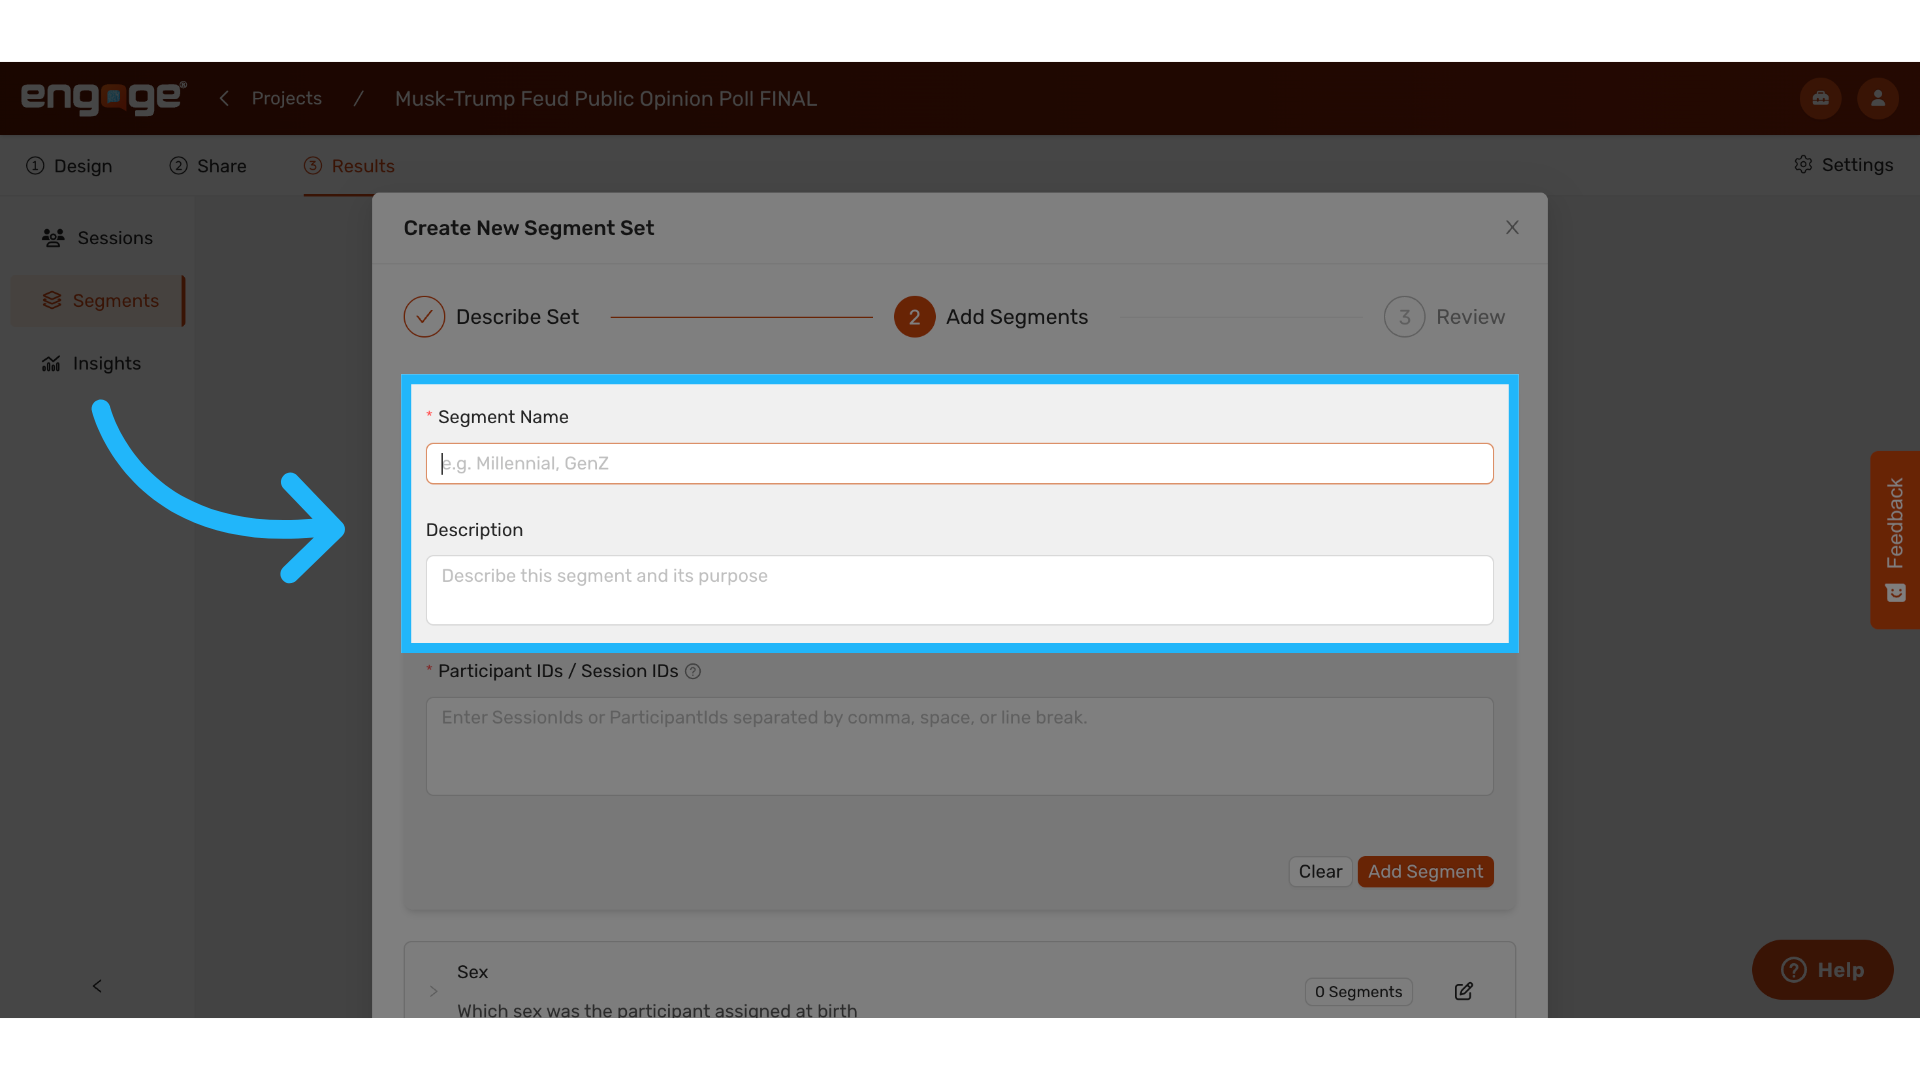
12. Example: Female segment
For example, female would be a segment within the sex segment set.

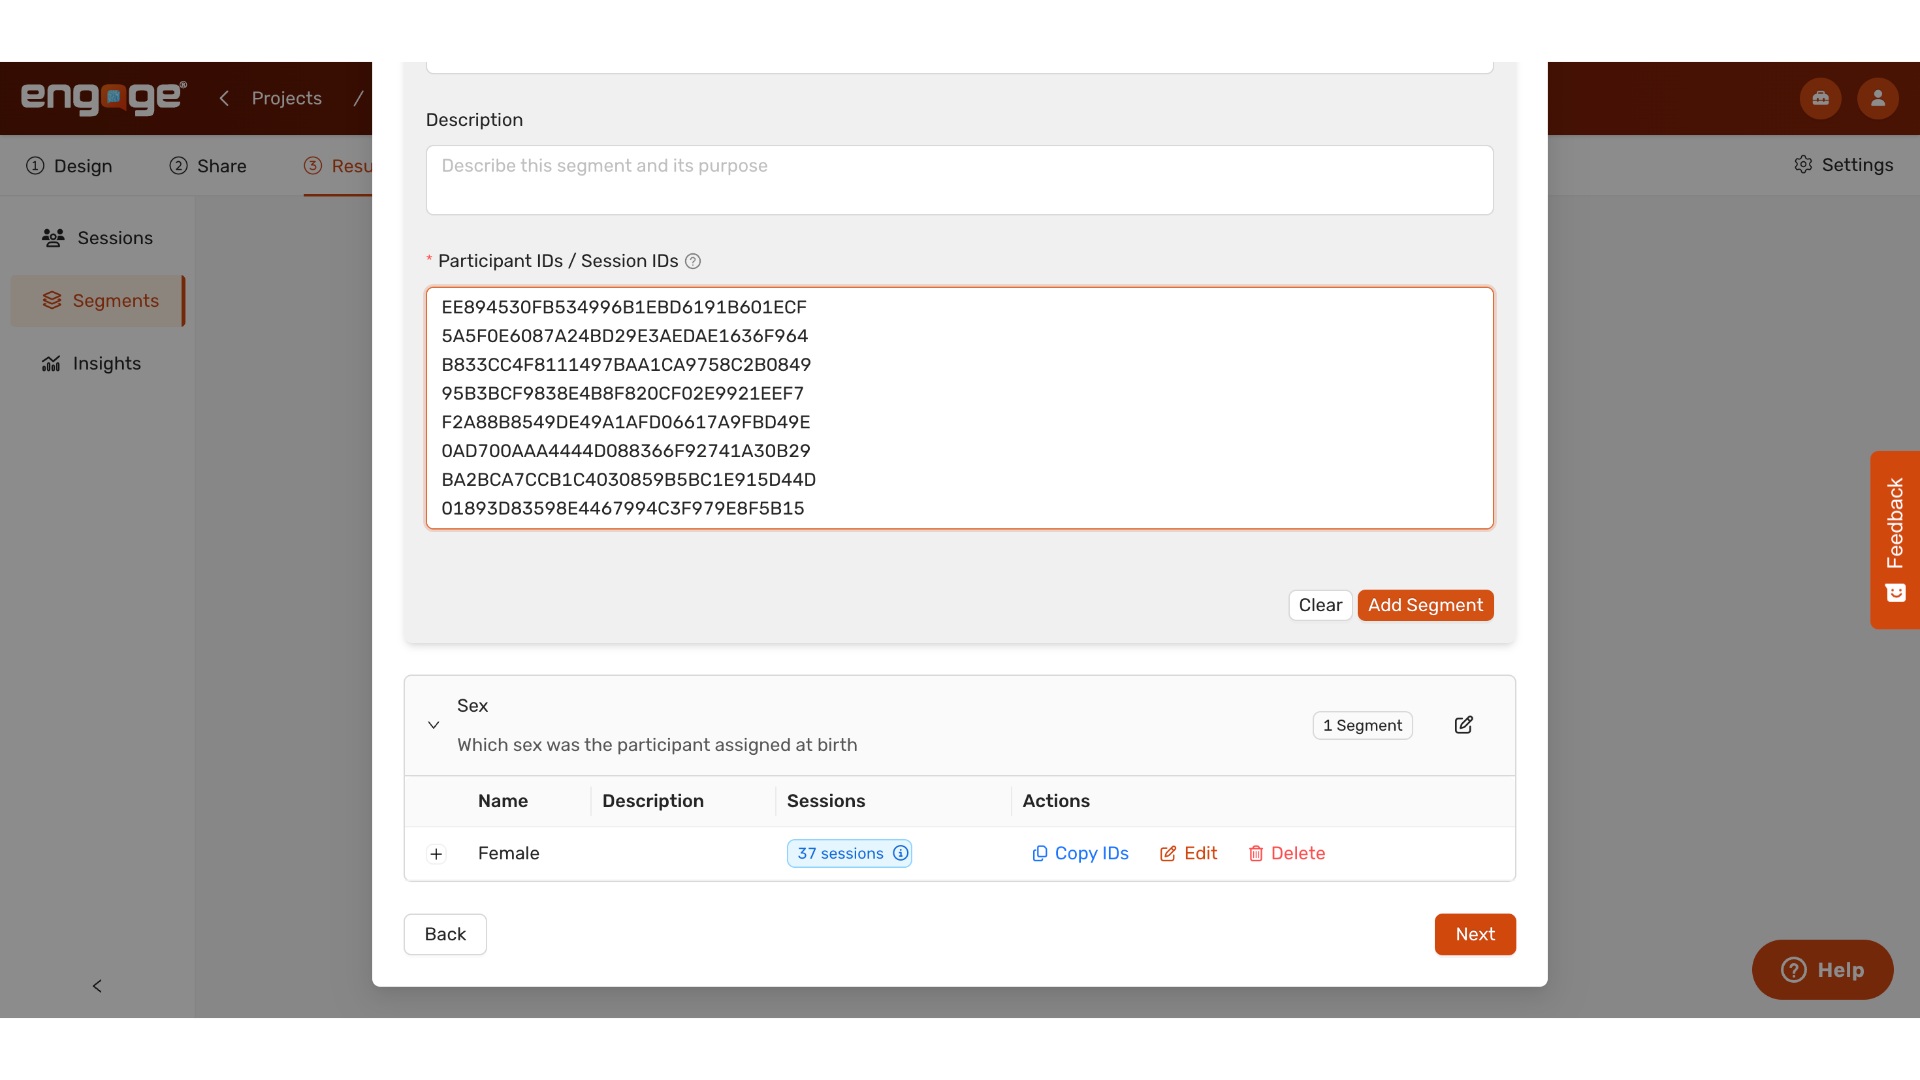
13. Paste segment participant or session IDs
Paste participant or sessions IDs matching the segment from the CSV file.
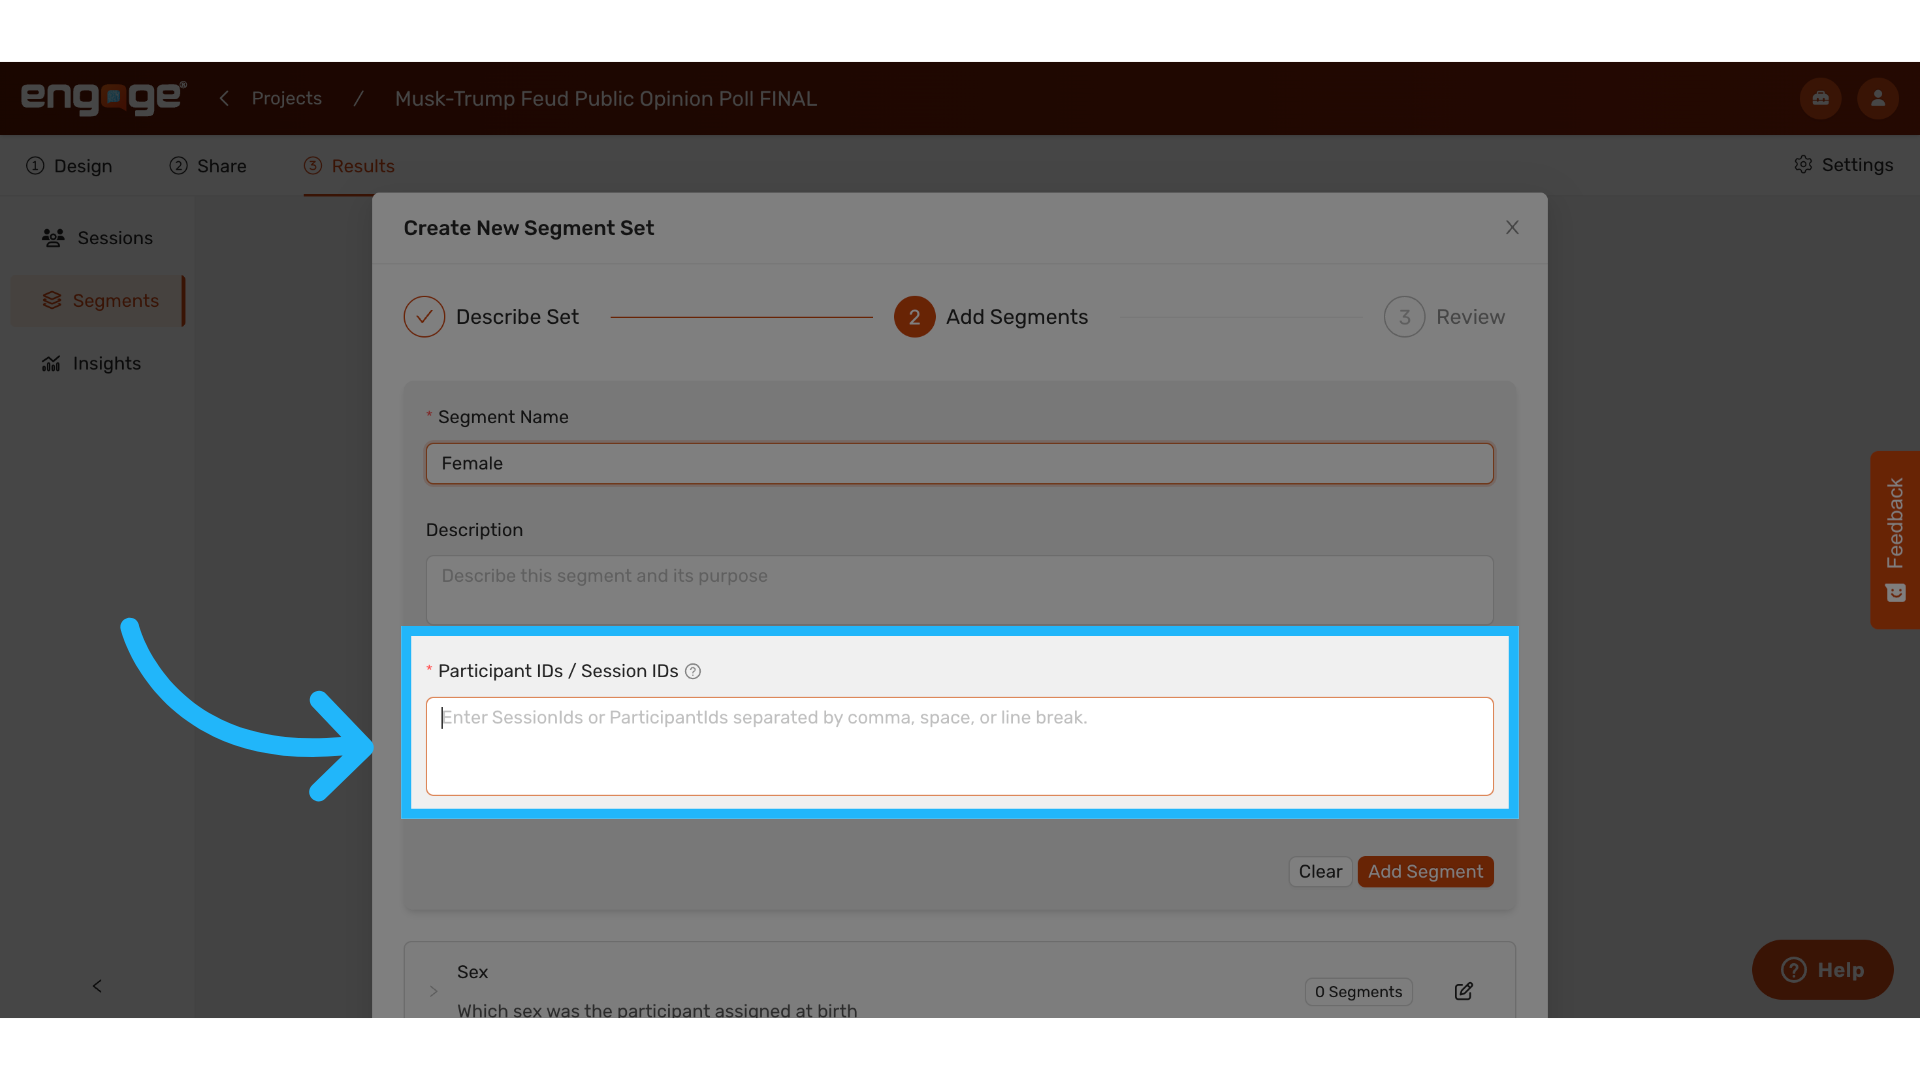
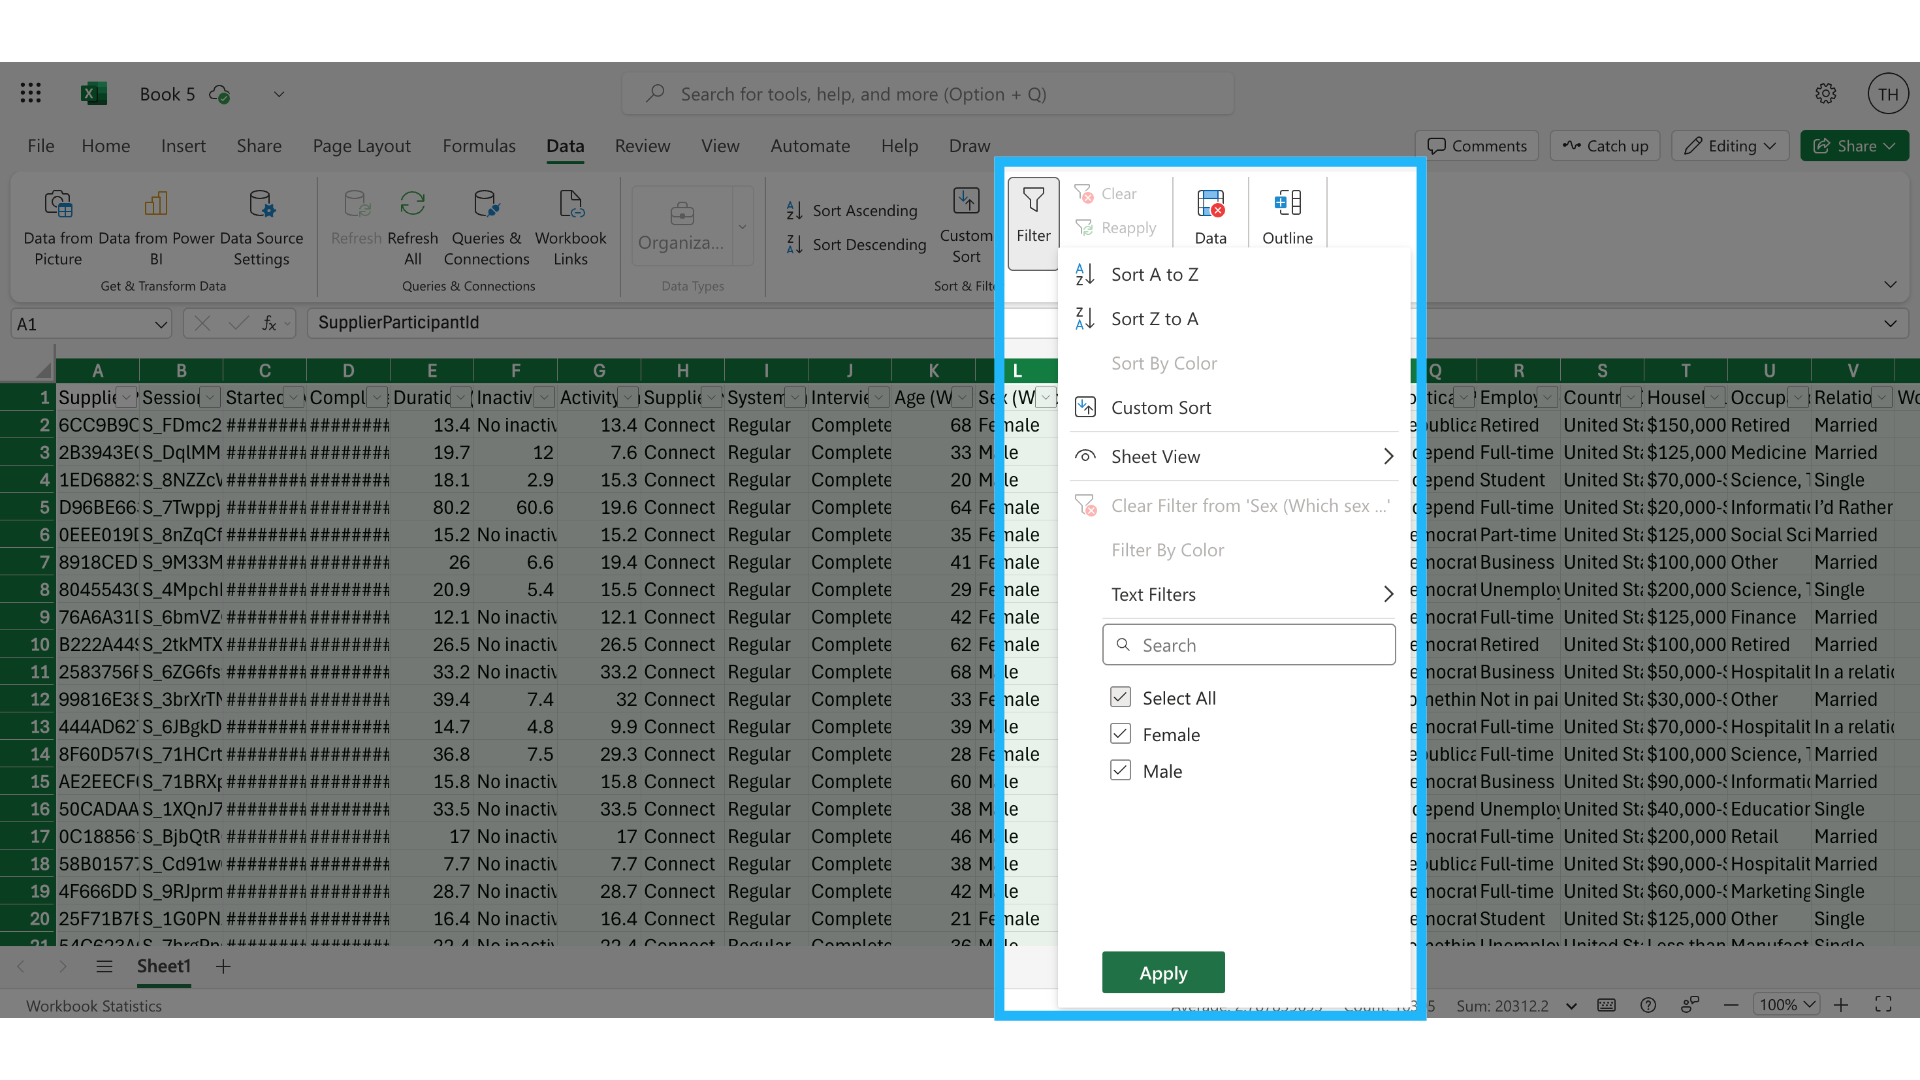
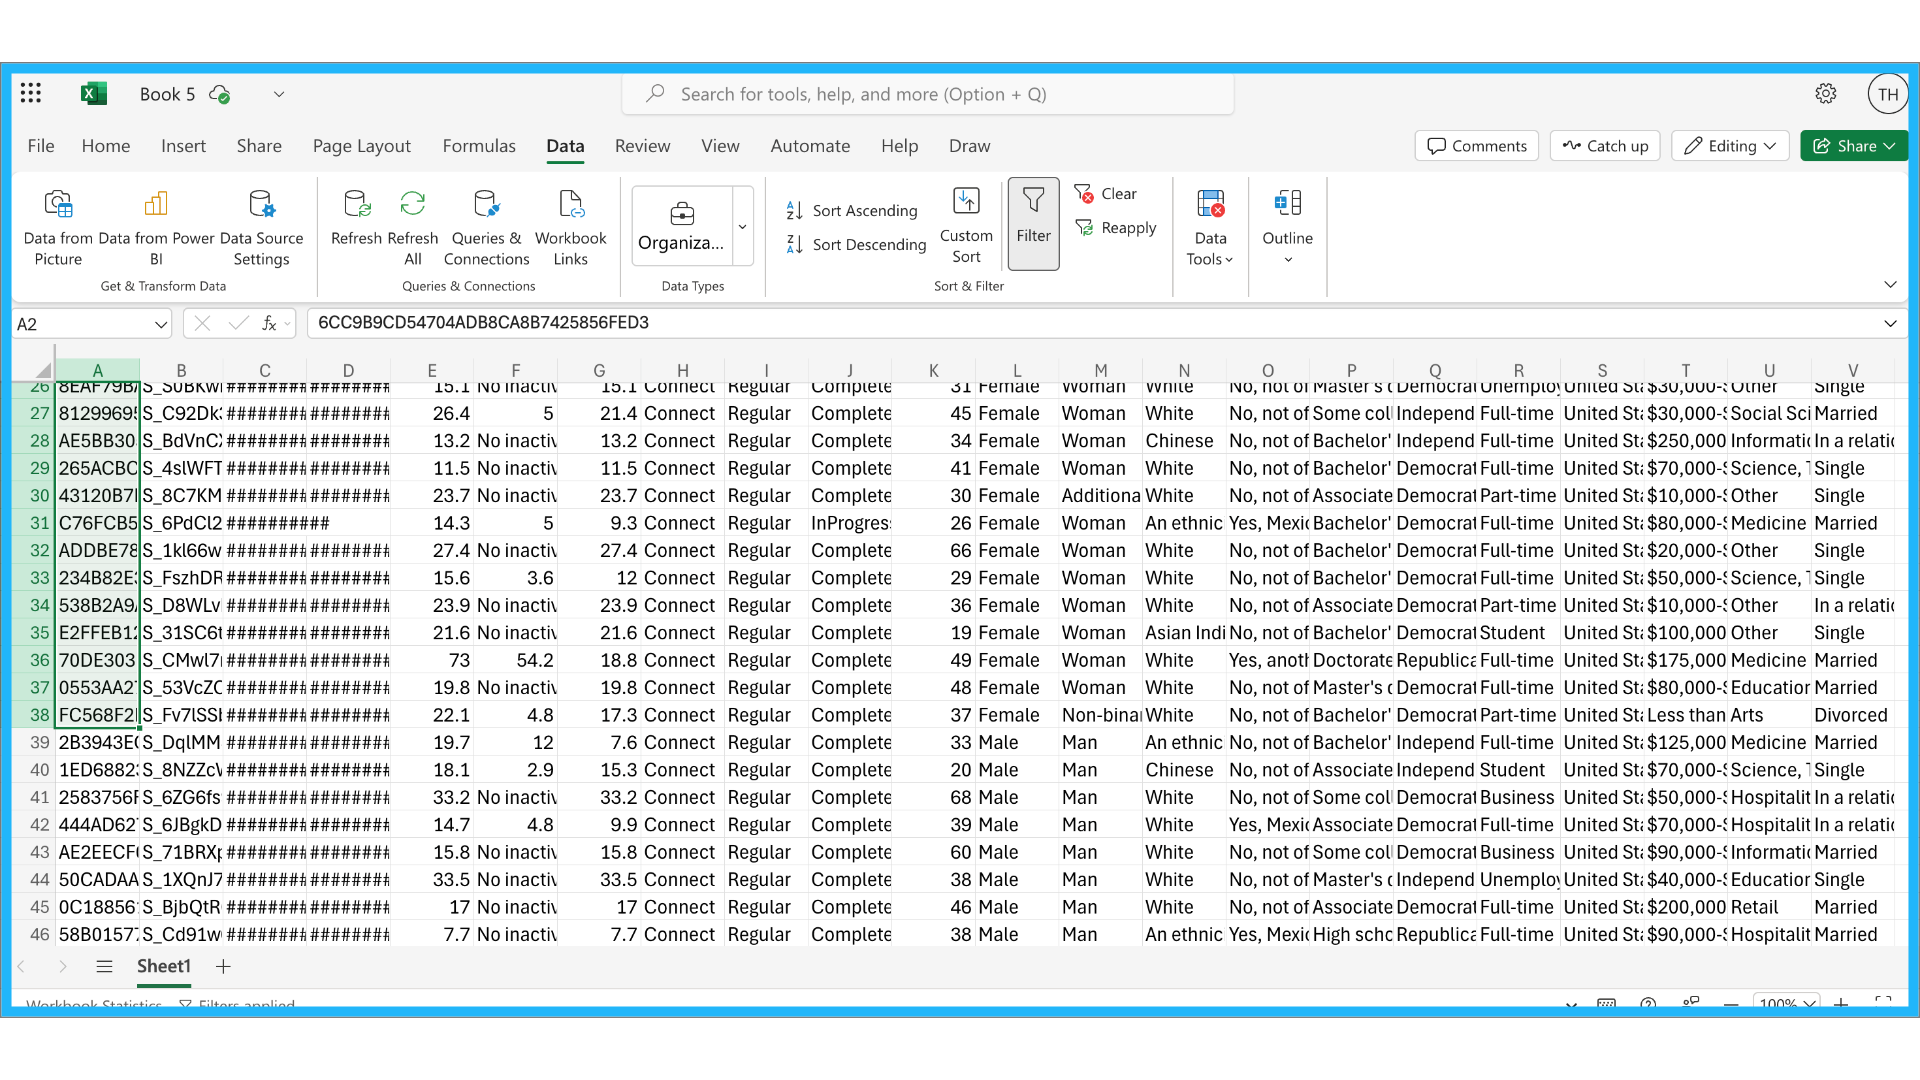
14. Filter for females
For example, paste the session IDs of all females from the data.
To do this, filter the data for females in the sex column.
15. Copy session IDs
Then, copy all of the participant IDs.
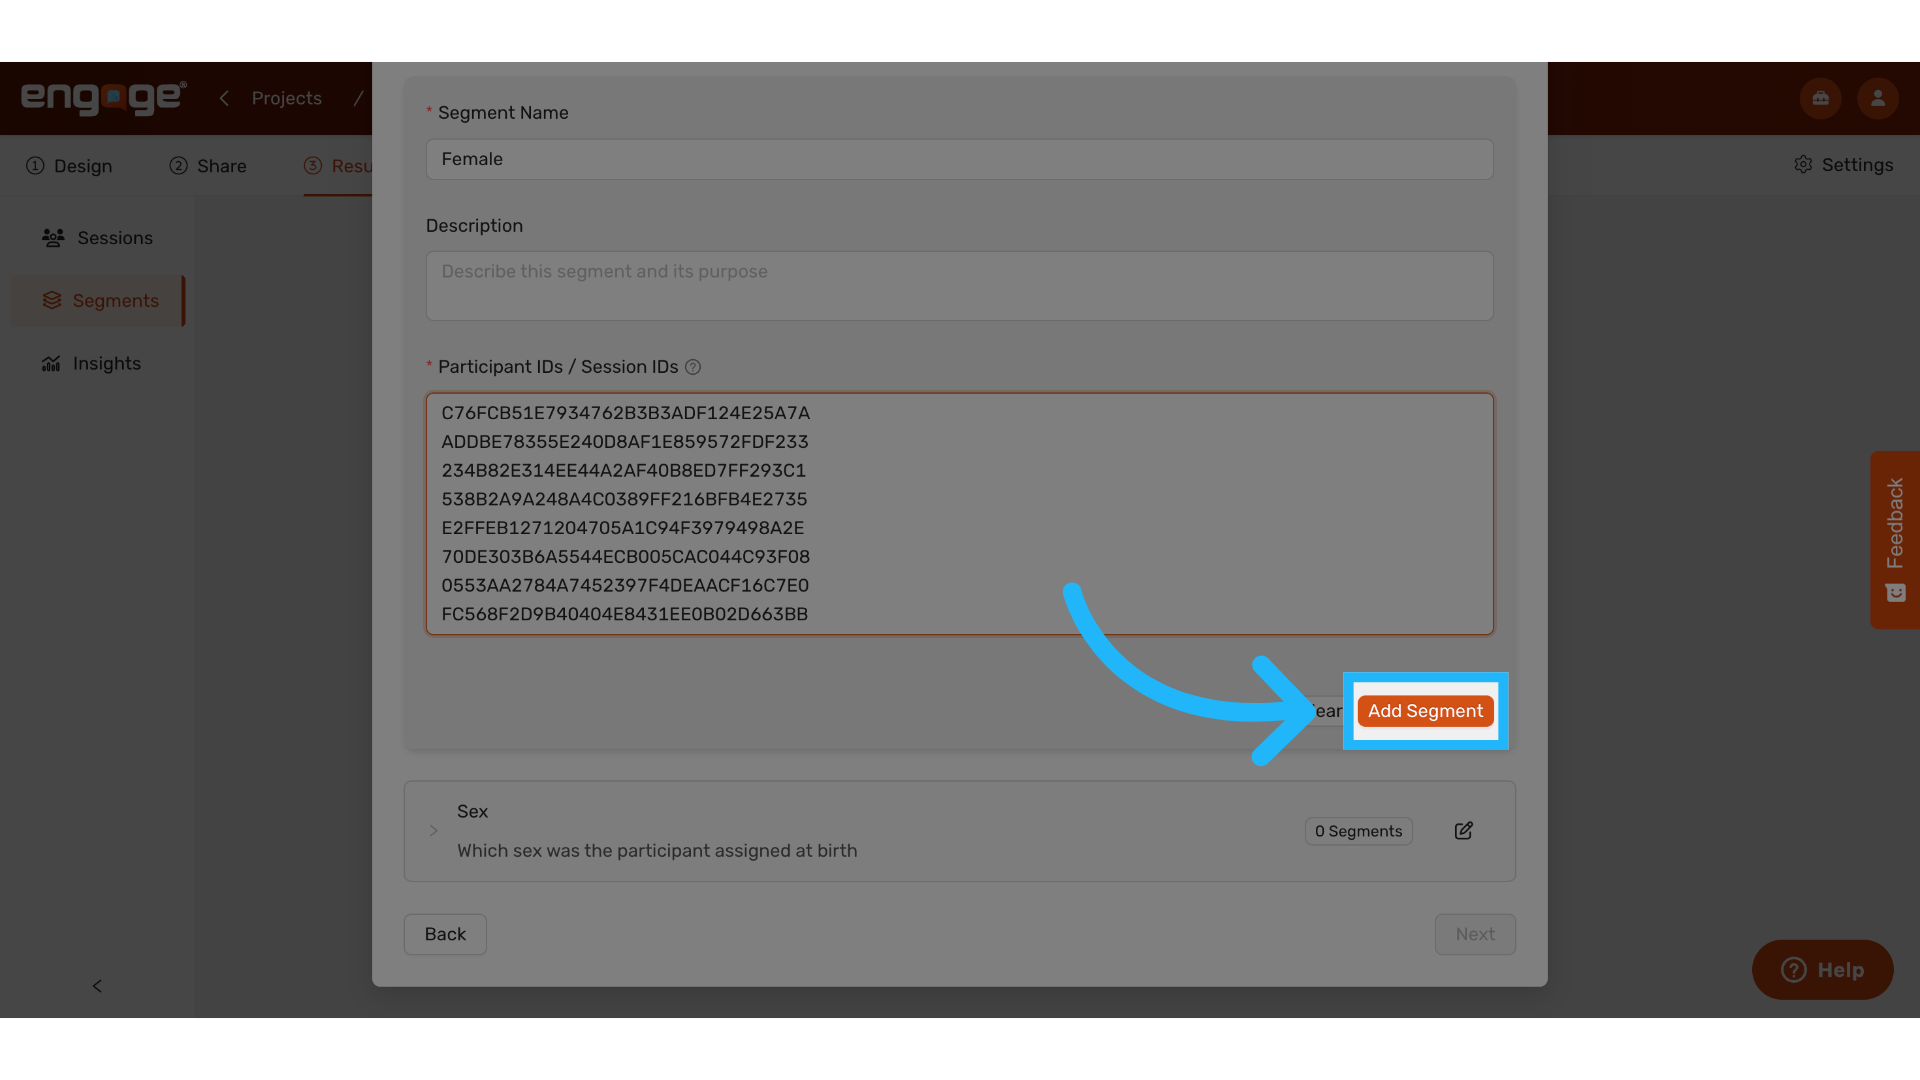
16. Paste Female Session IDs
Paste the IDs into Engage.
17. Add Segment
Once the IDs are pasted in, add the segment to the set.
18. Repeat For Other Segments Within the Set
Example: Do the same with the male segment within this segment set.
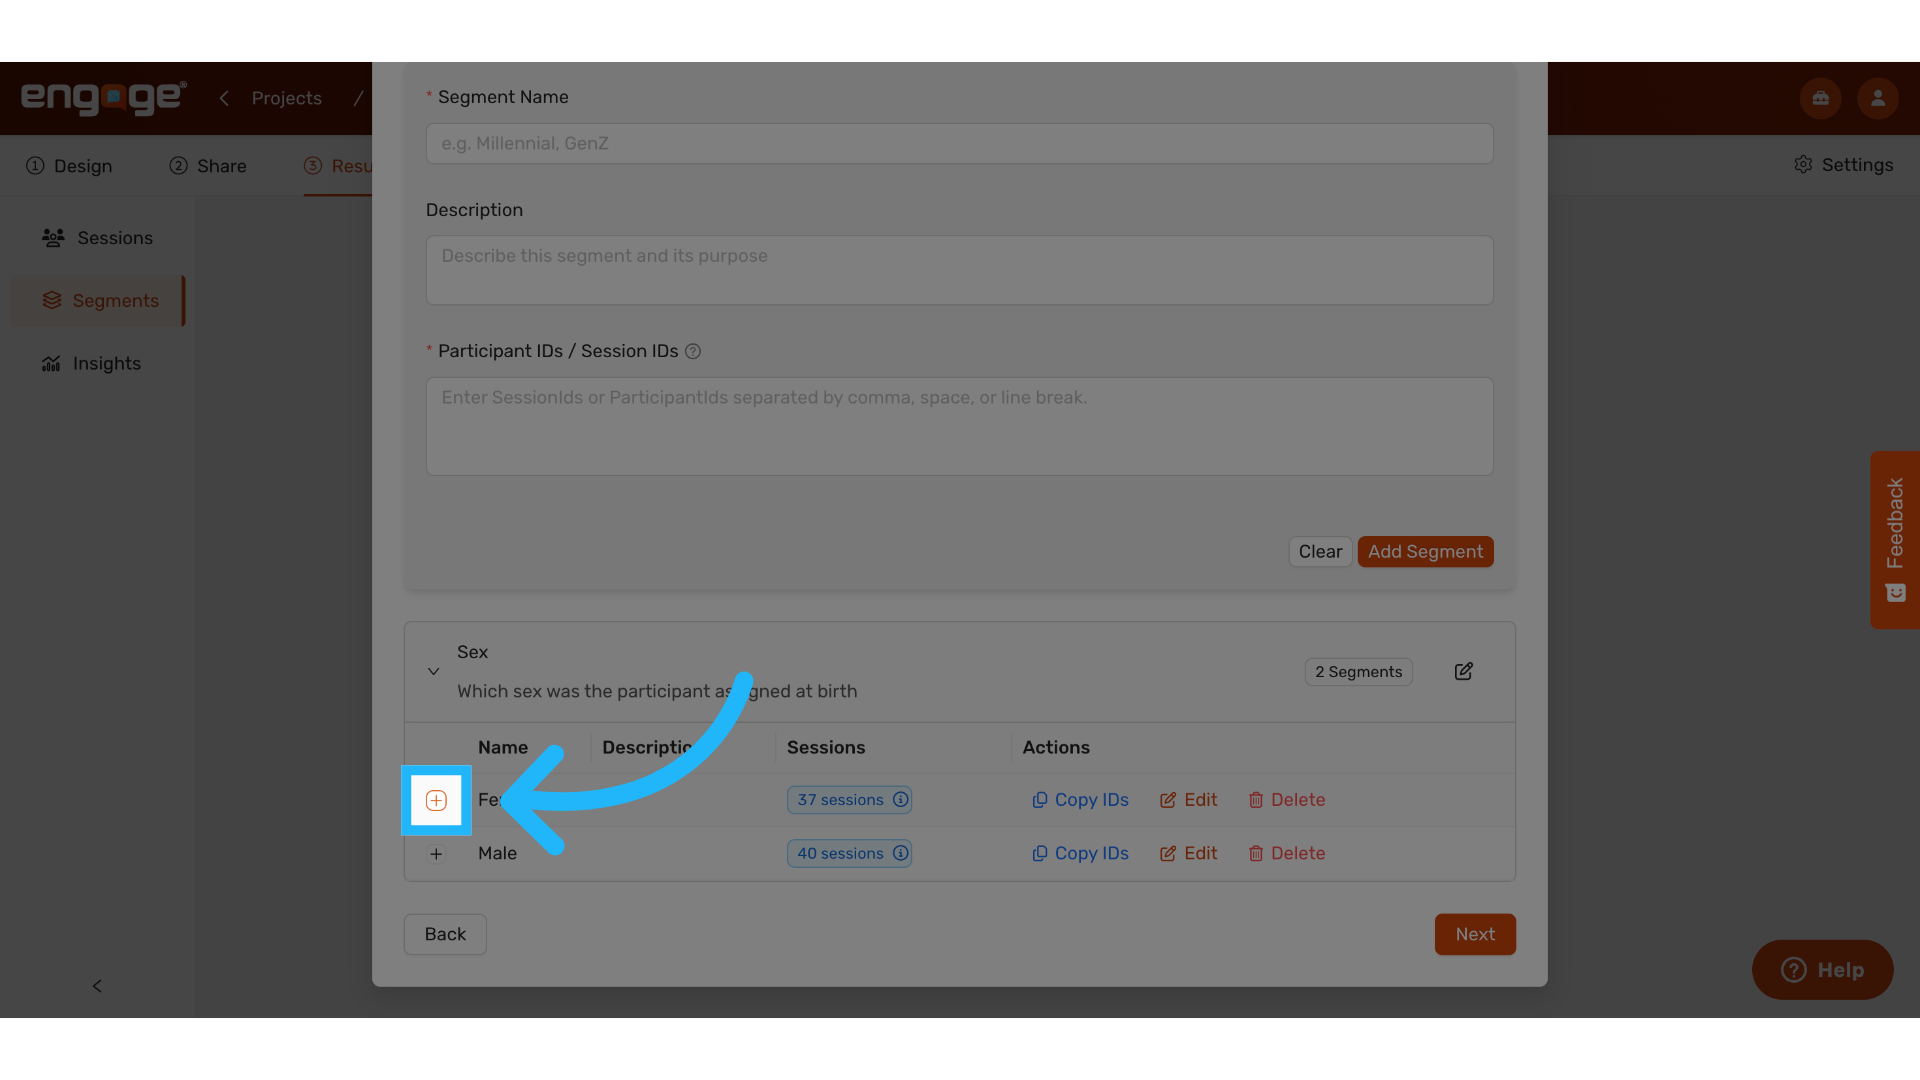
21. View Segments
View your segments and segment set summaries on the bottom of the screen.
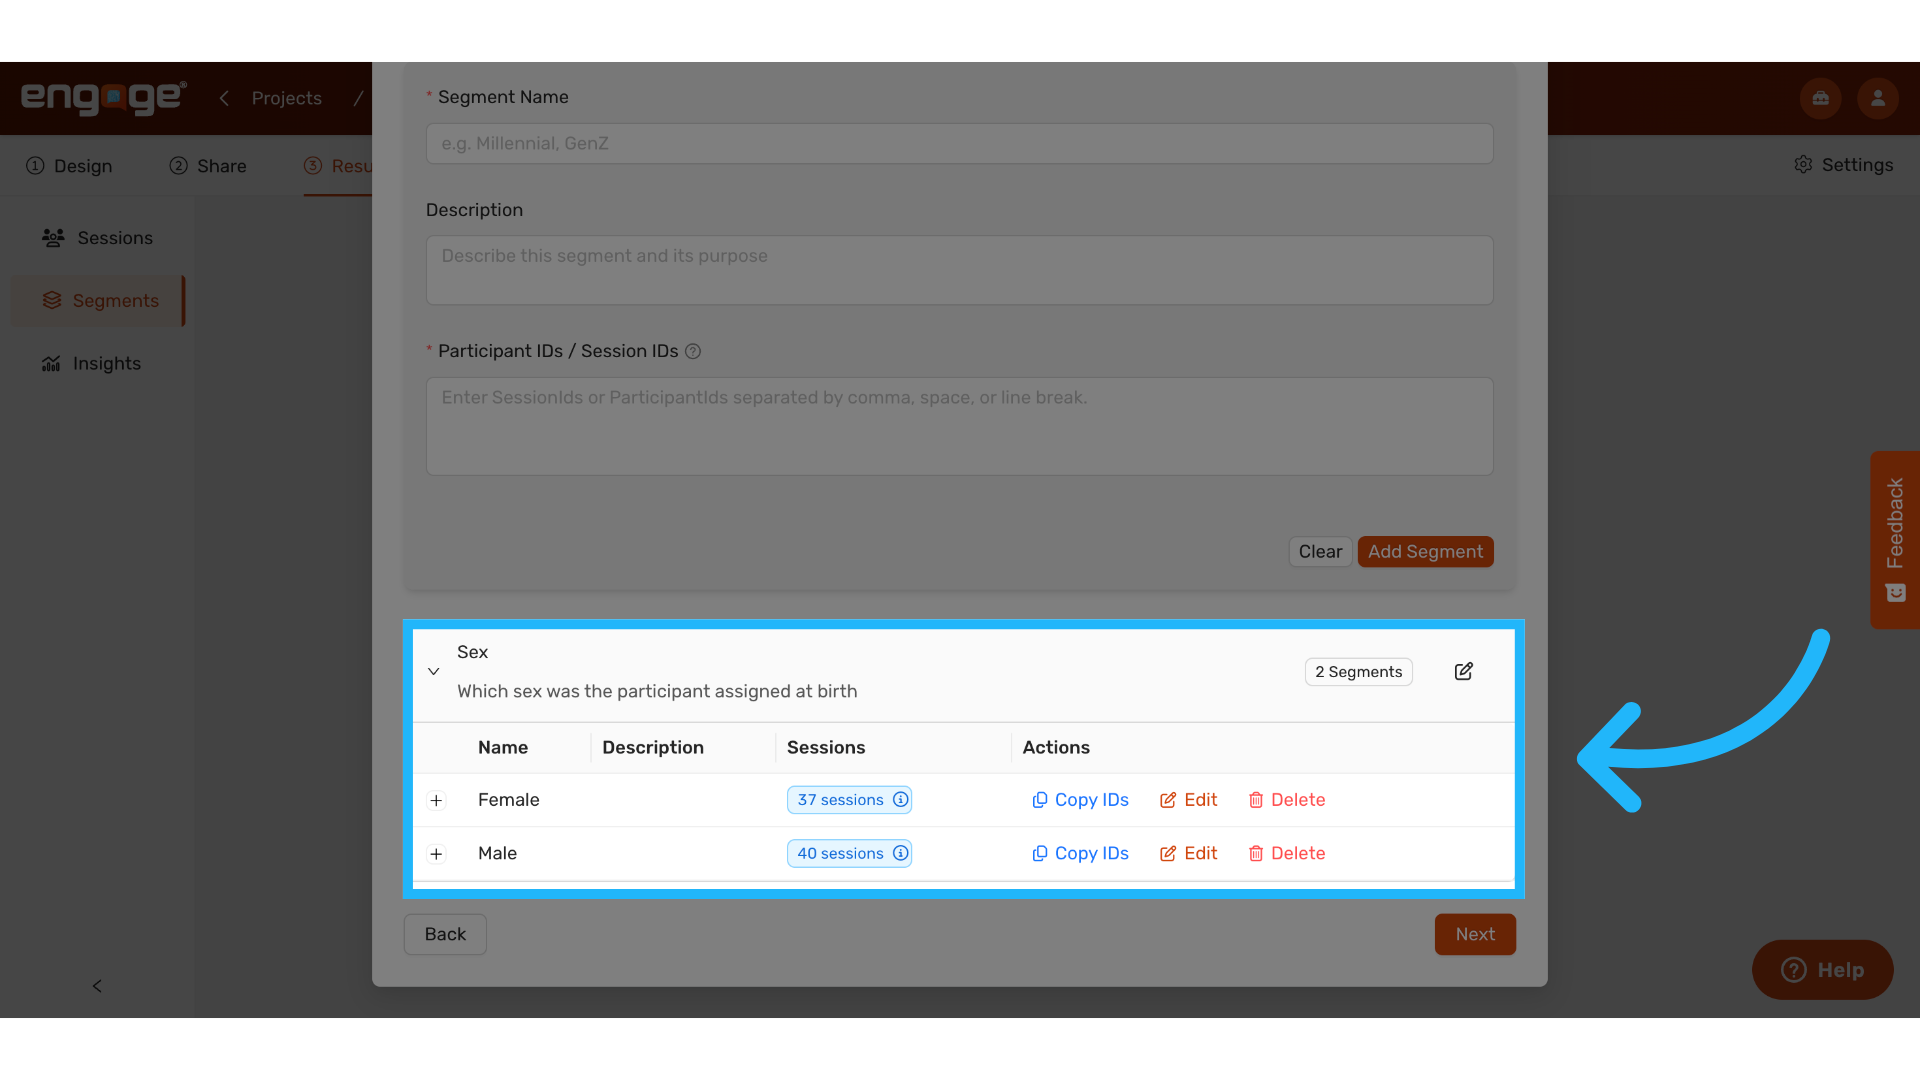
22. Expand row
Expand each row for more details about the segments.
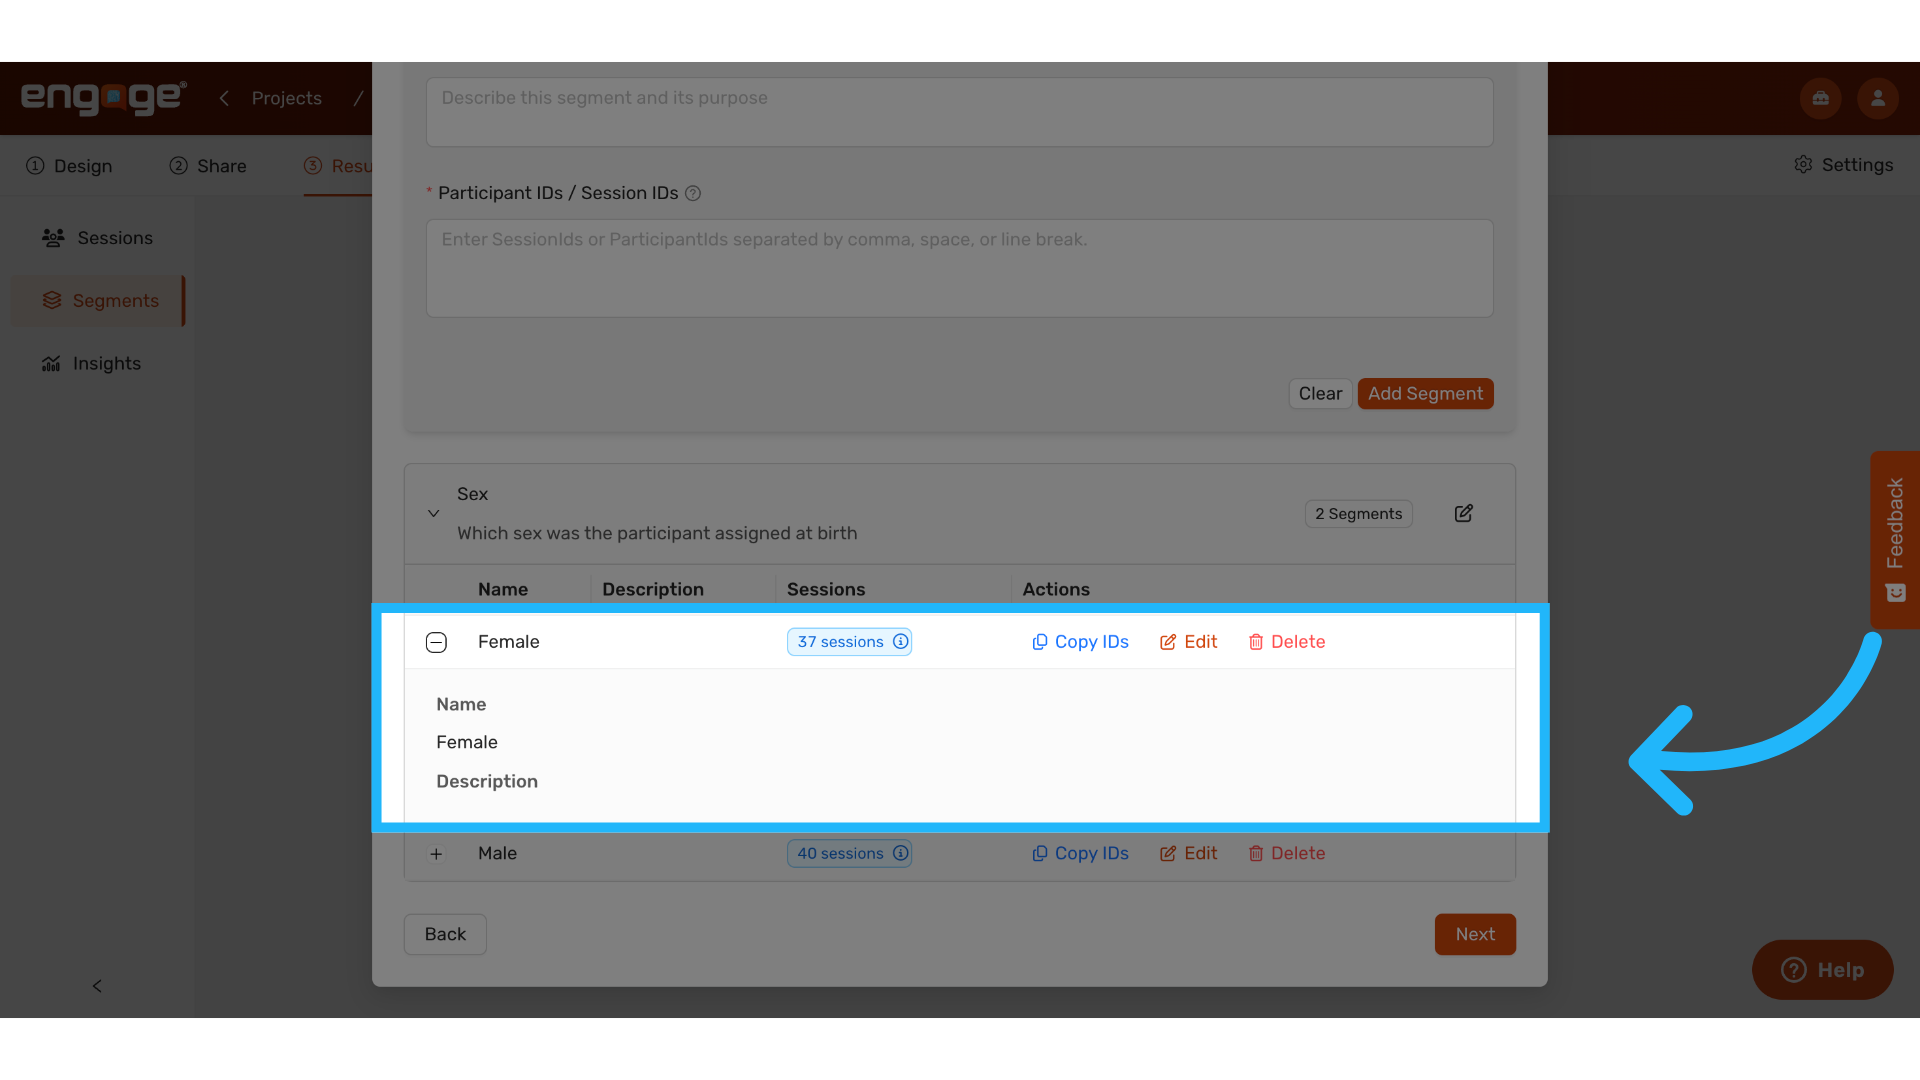
23. Expanded View
When expanded, view the segment name, description, and how many
sessions are included in the segment.
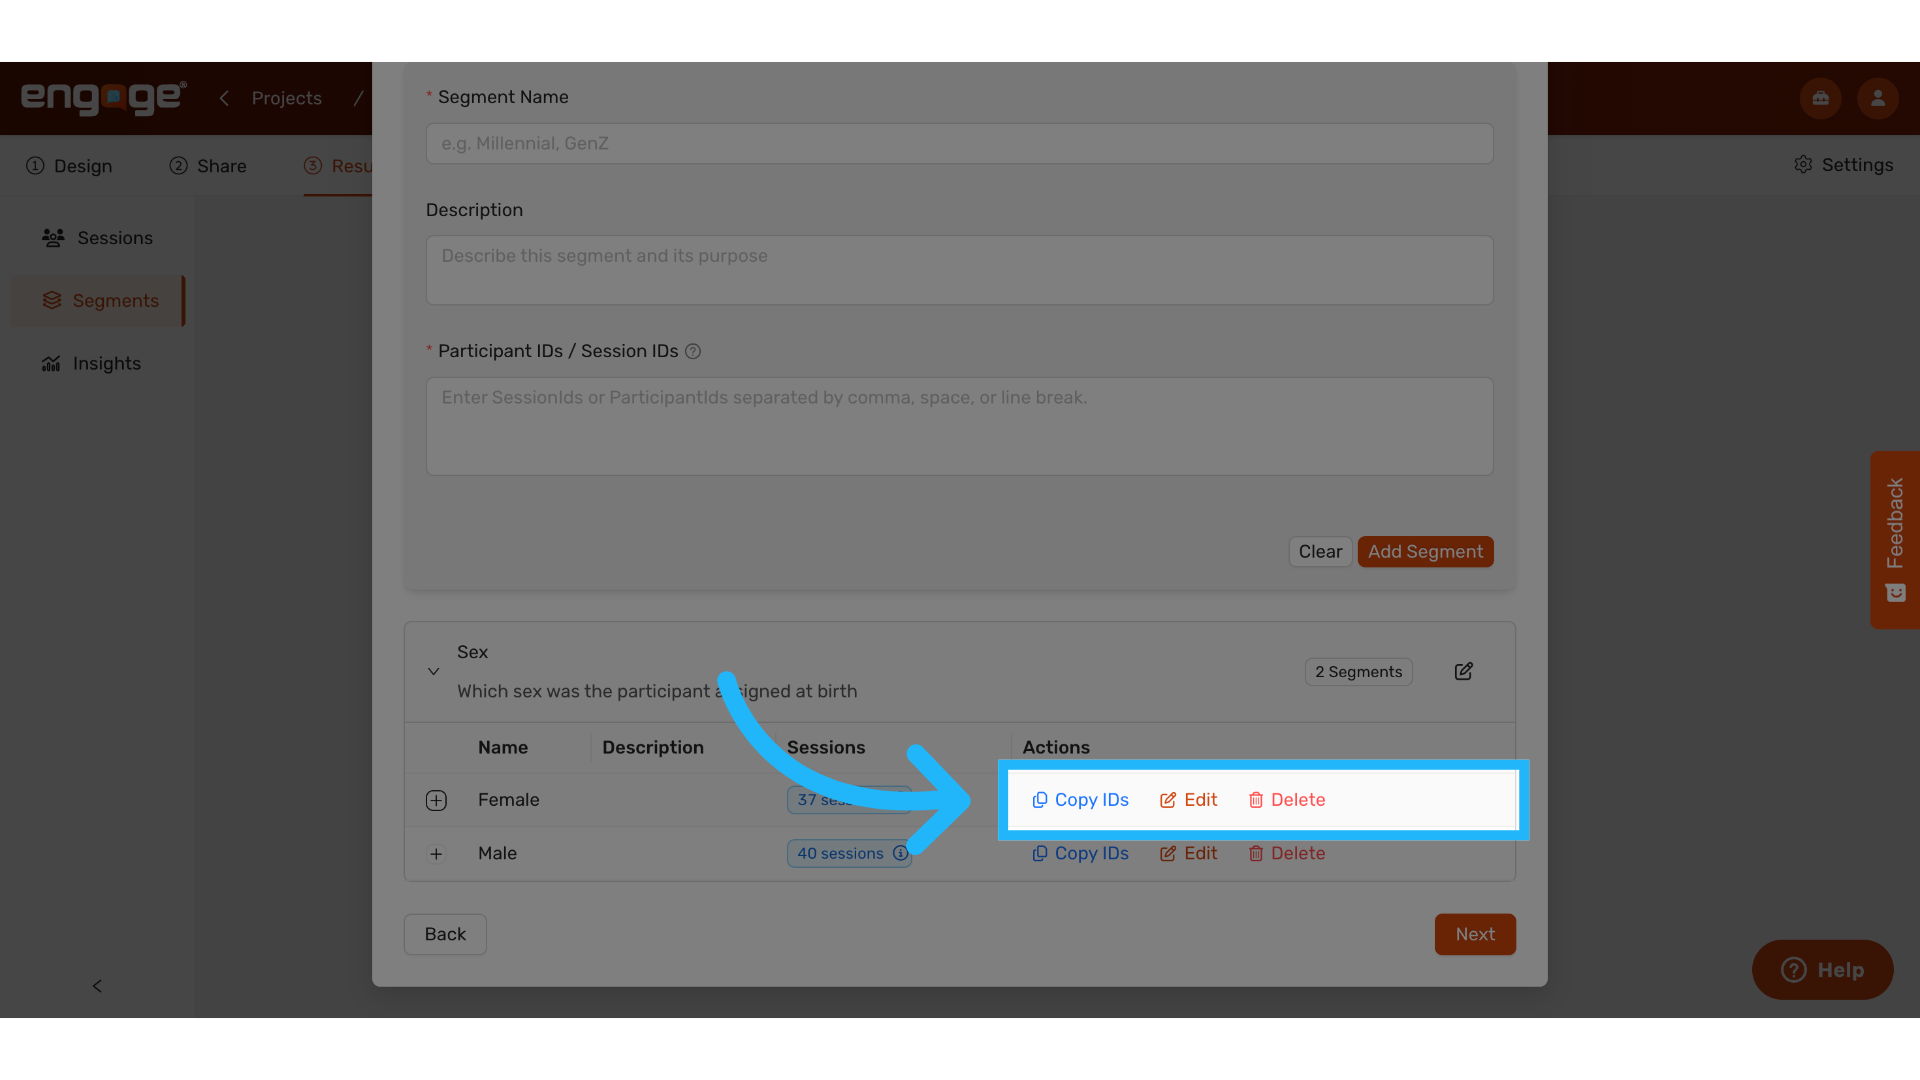
24. Actions
Copy the IDs, edit, or delete the segment.
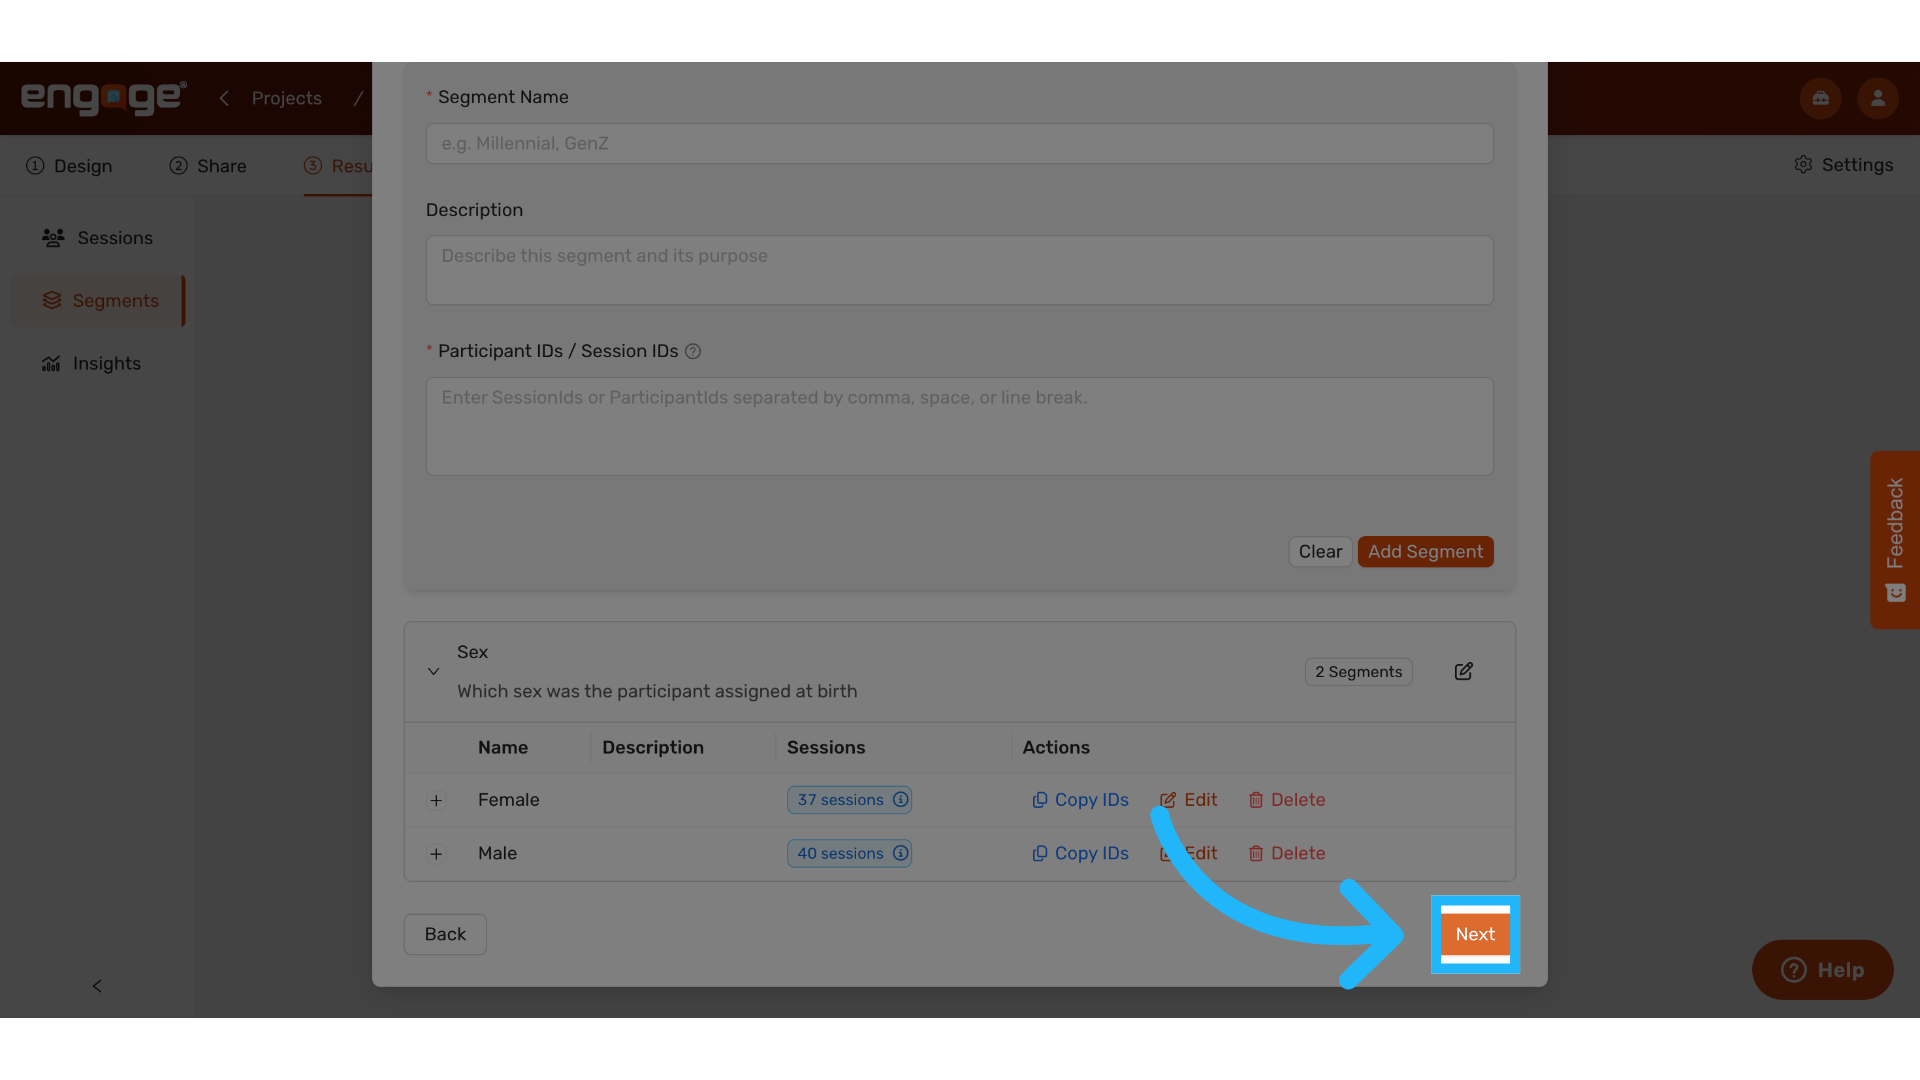
25. Click "Next"
Once all segments are added to the set, hit next to proceed.
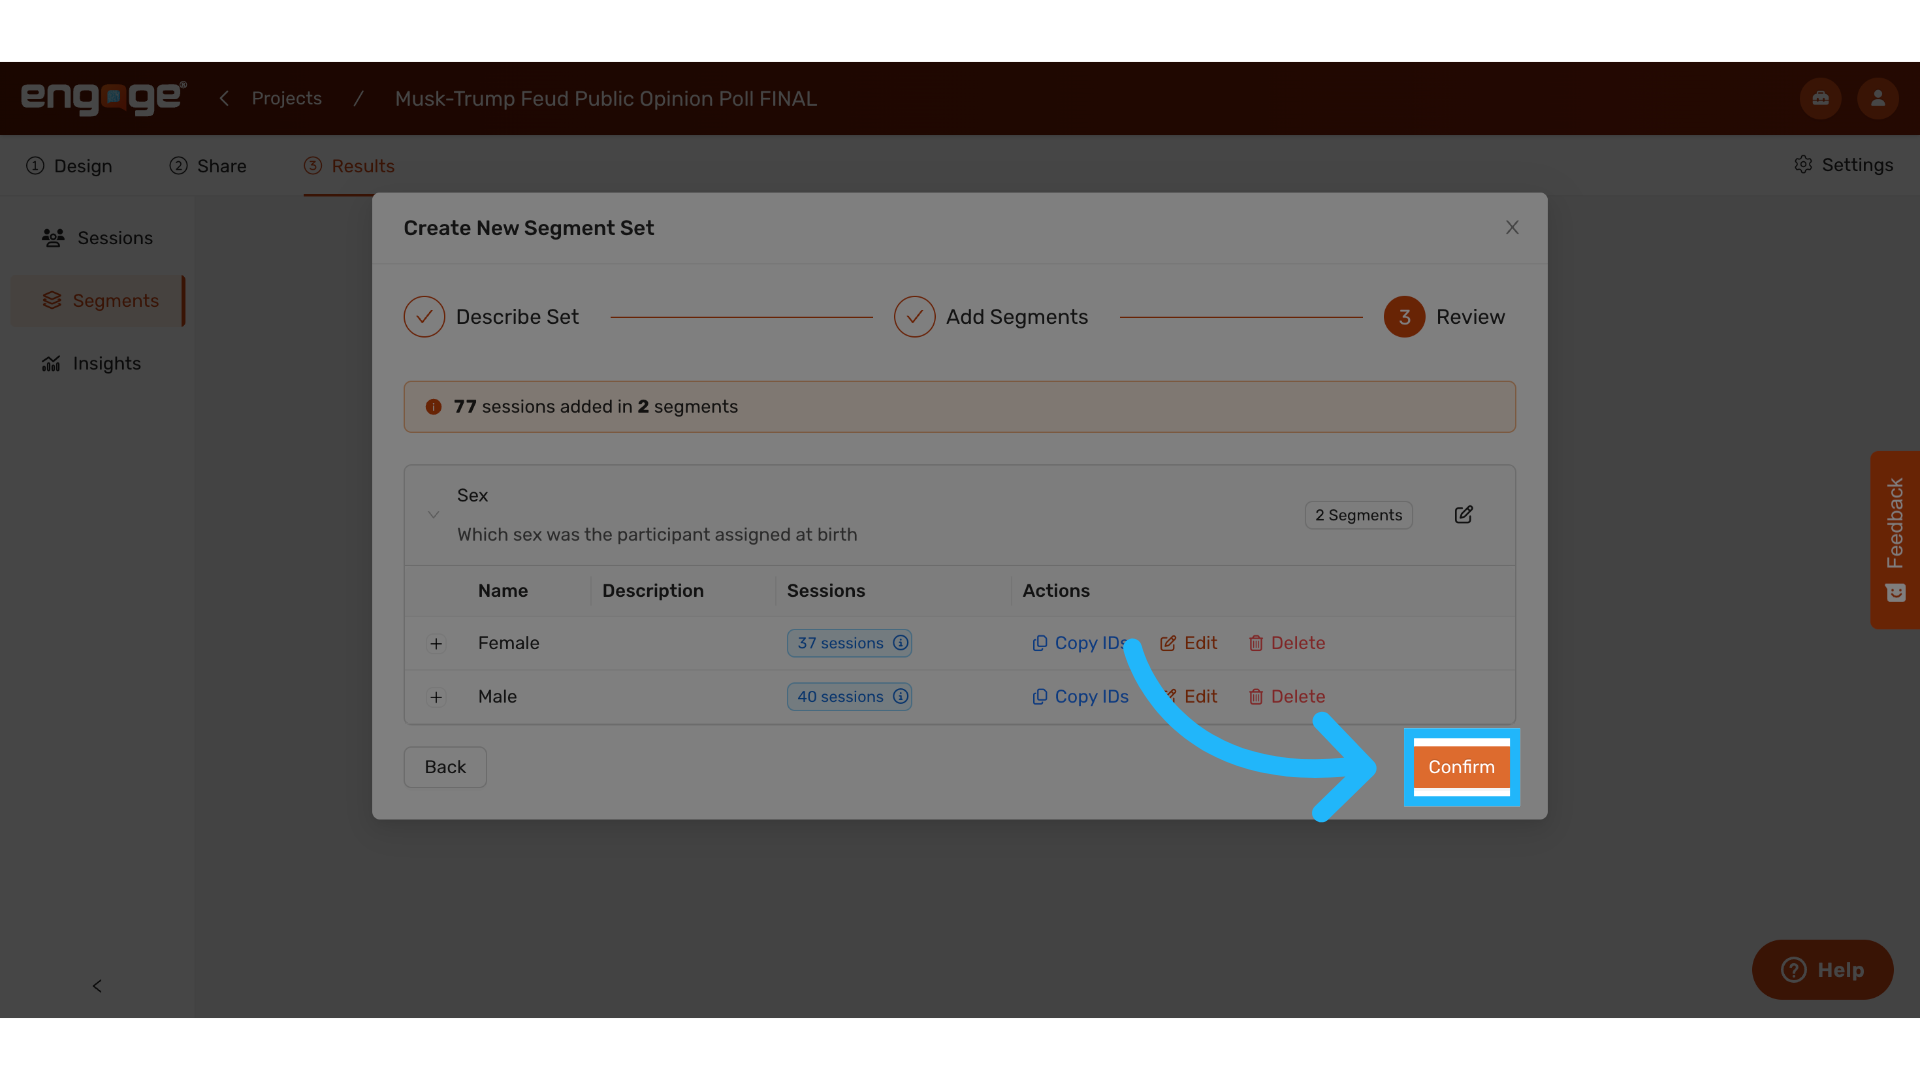
26. Click "Confirm"
Confirm when prompted.
Thank you for watching. If you have any questions feel free to access our other
guides or reach out to our support team.
Comments
0 comments
Please sign in to leave a comment.