
This article explains how to set up and manage teams within Engage. You'll learn how to create teams, add members, assign roles, and manage your team effectively.
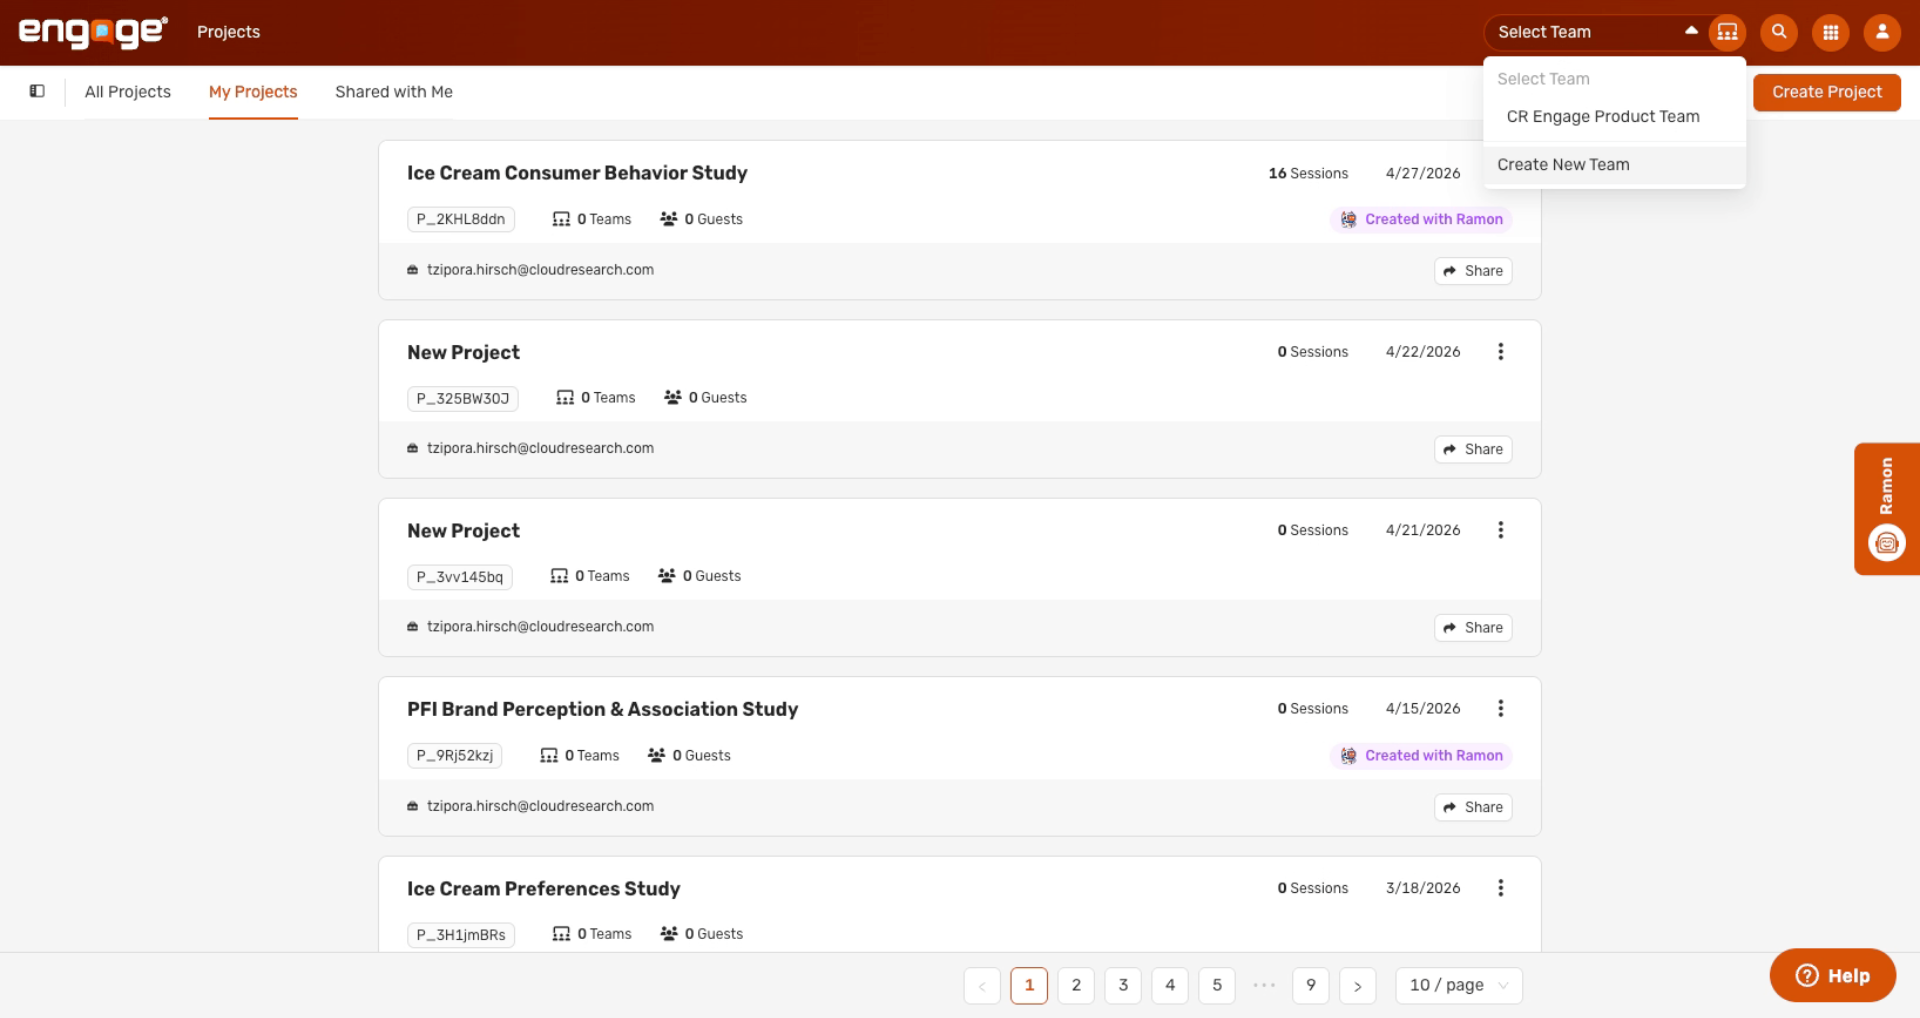
1. Access Teams Icon
Start by clicking on the teams icon on the top right corner.
2. Create New Team
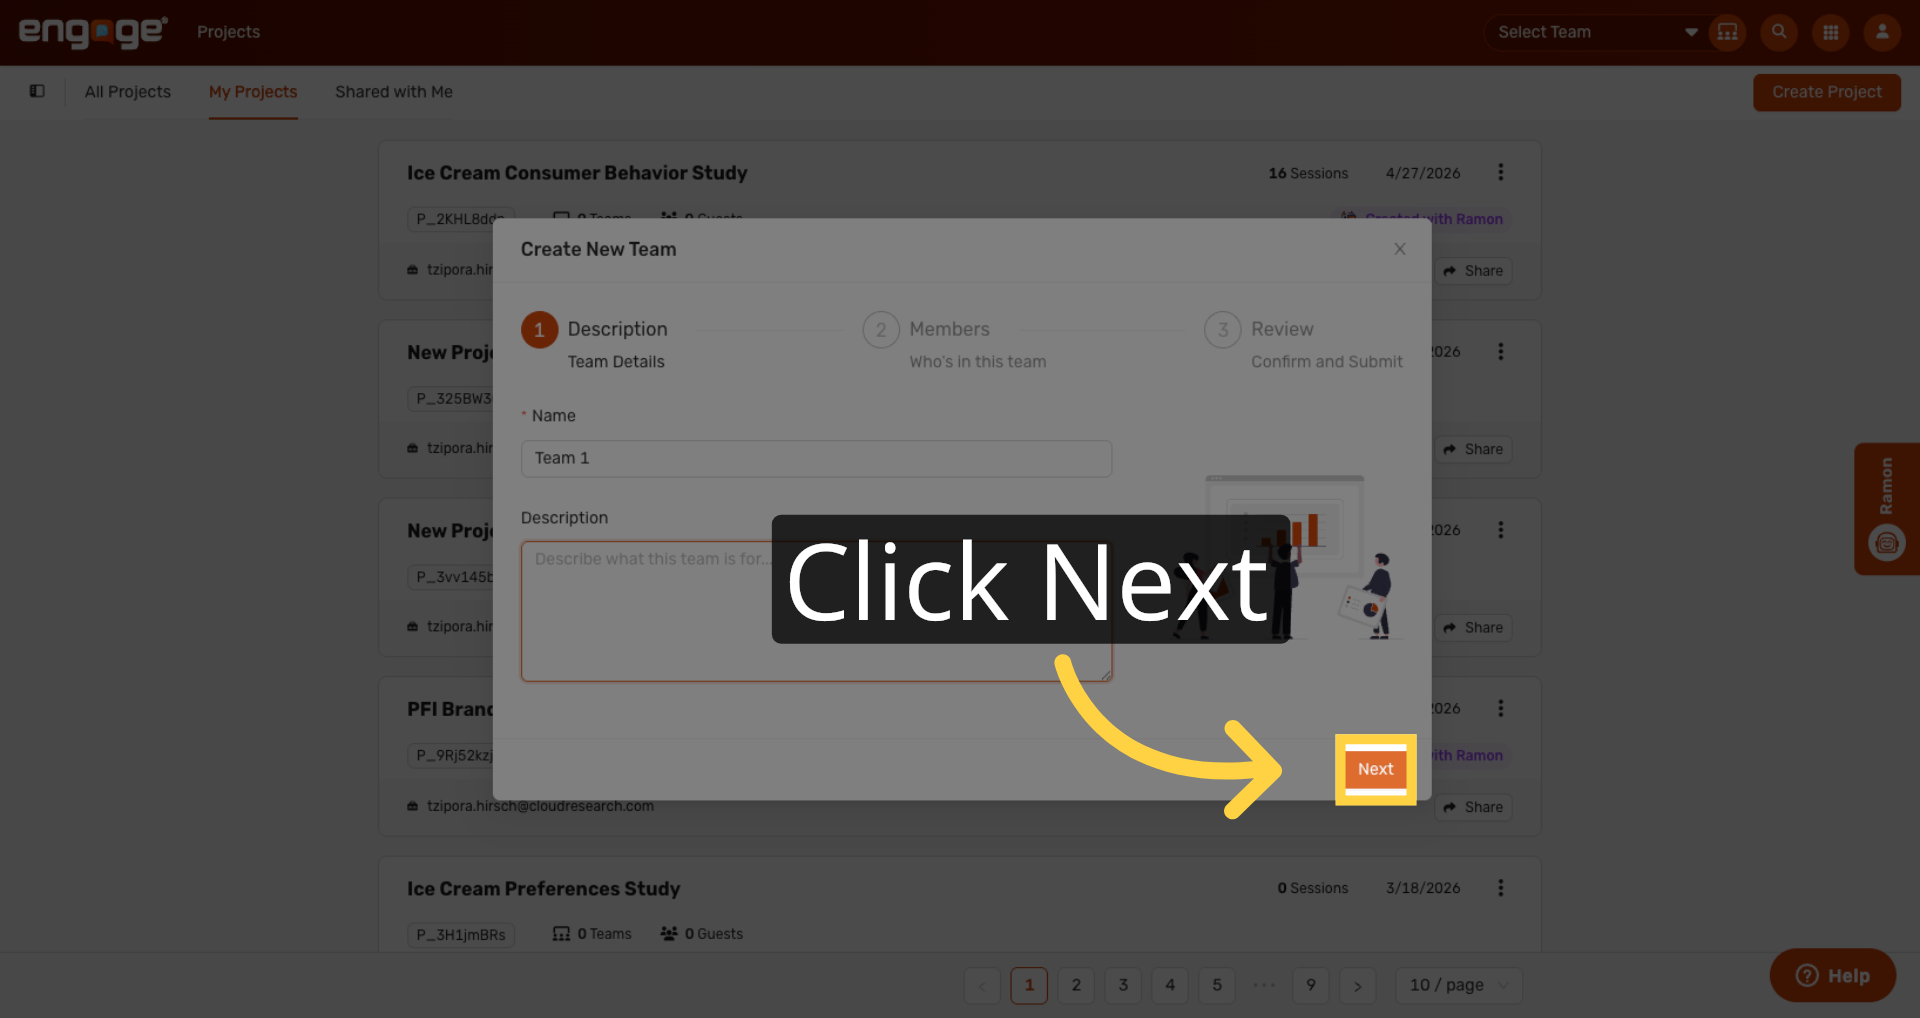
3. Enter Team Name
Enter your team name in the provided field.

4. Name And Describe Team
Name the team and add a description. For this example, we'll use Team 1.
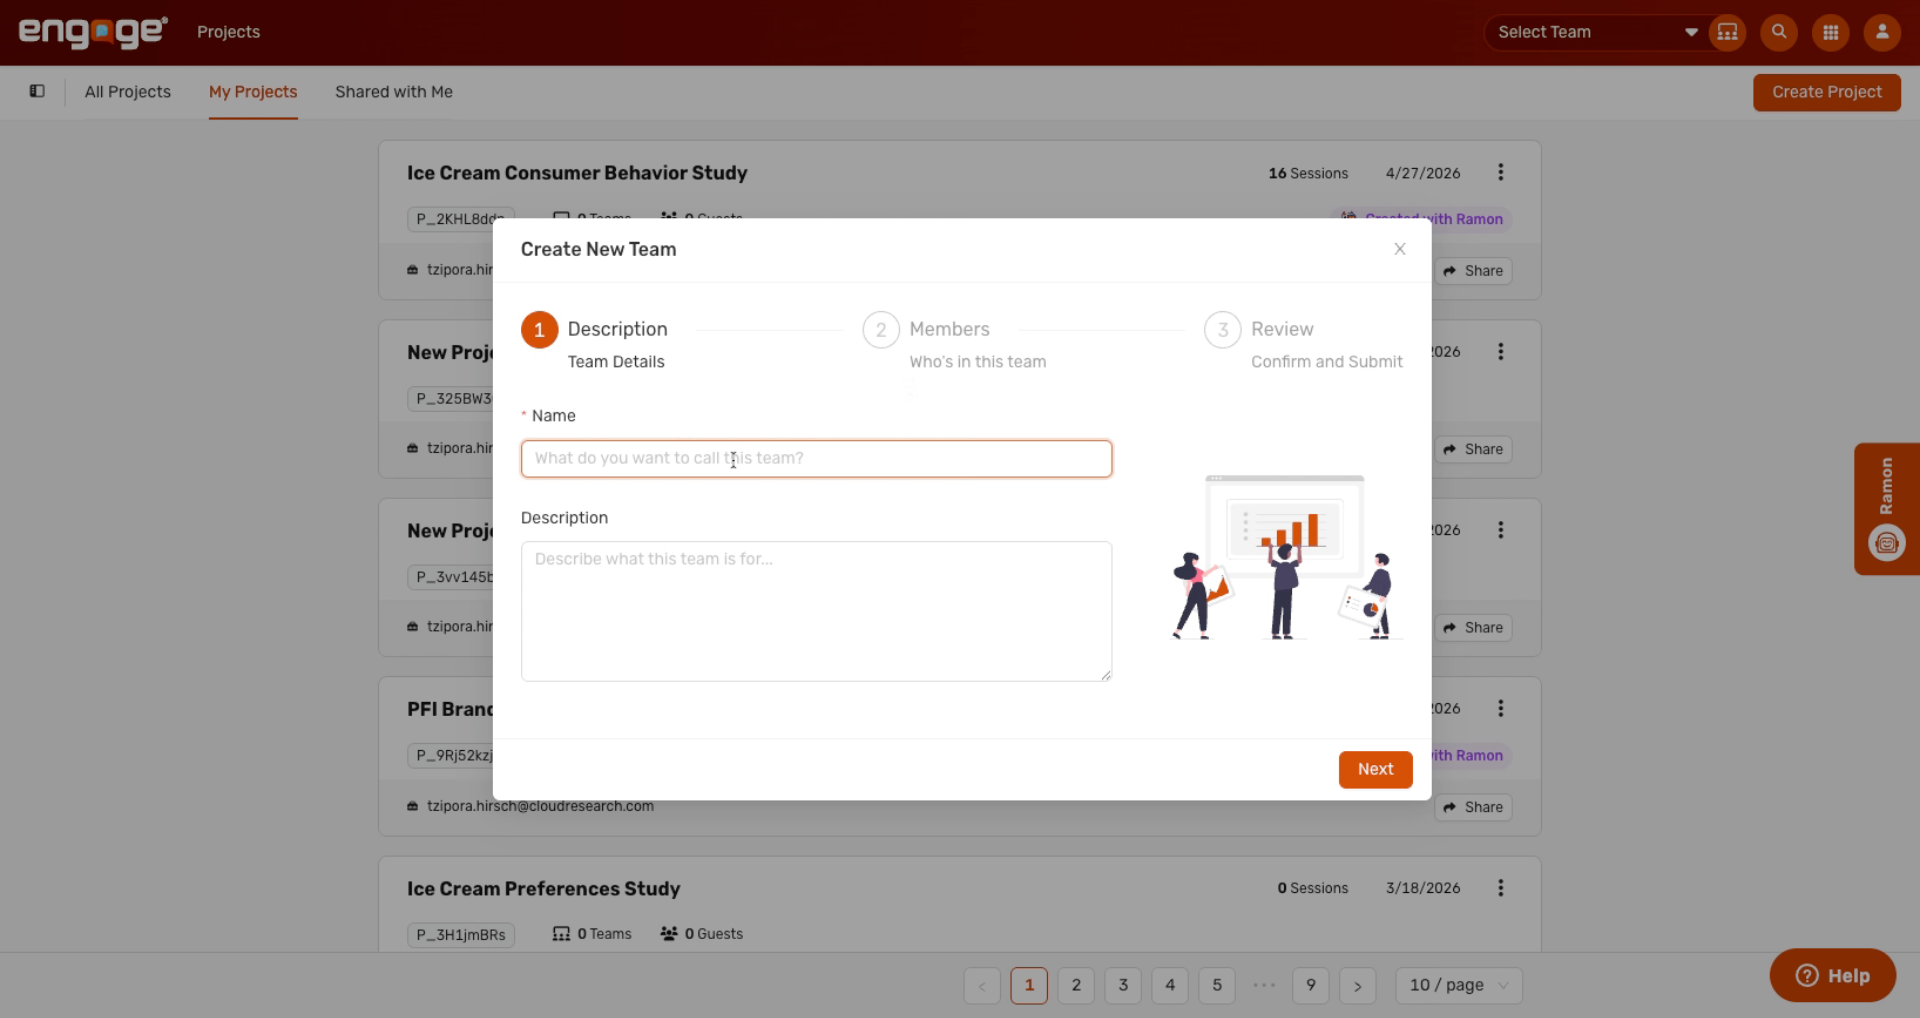
5. Proceed To Next Step
Click the Next button to continue setting up your team.
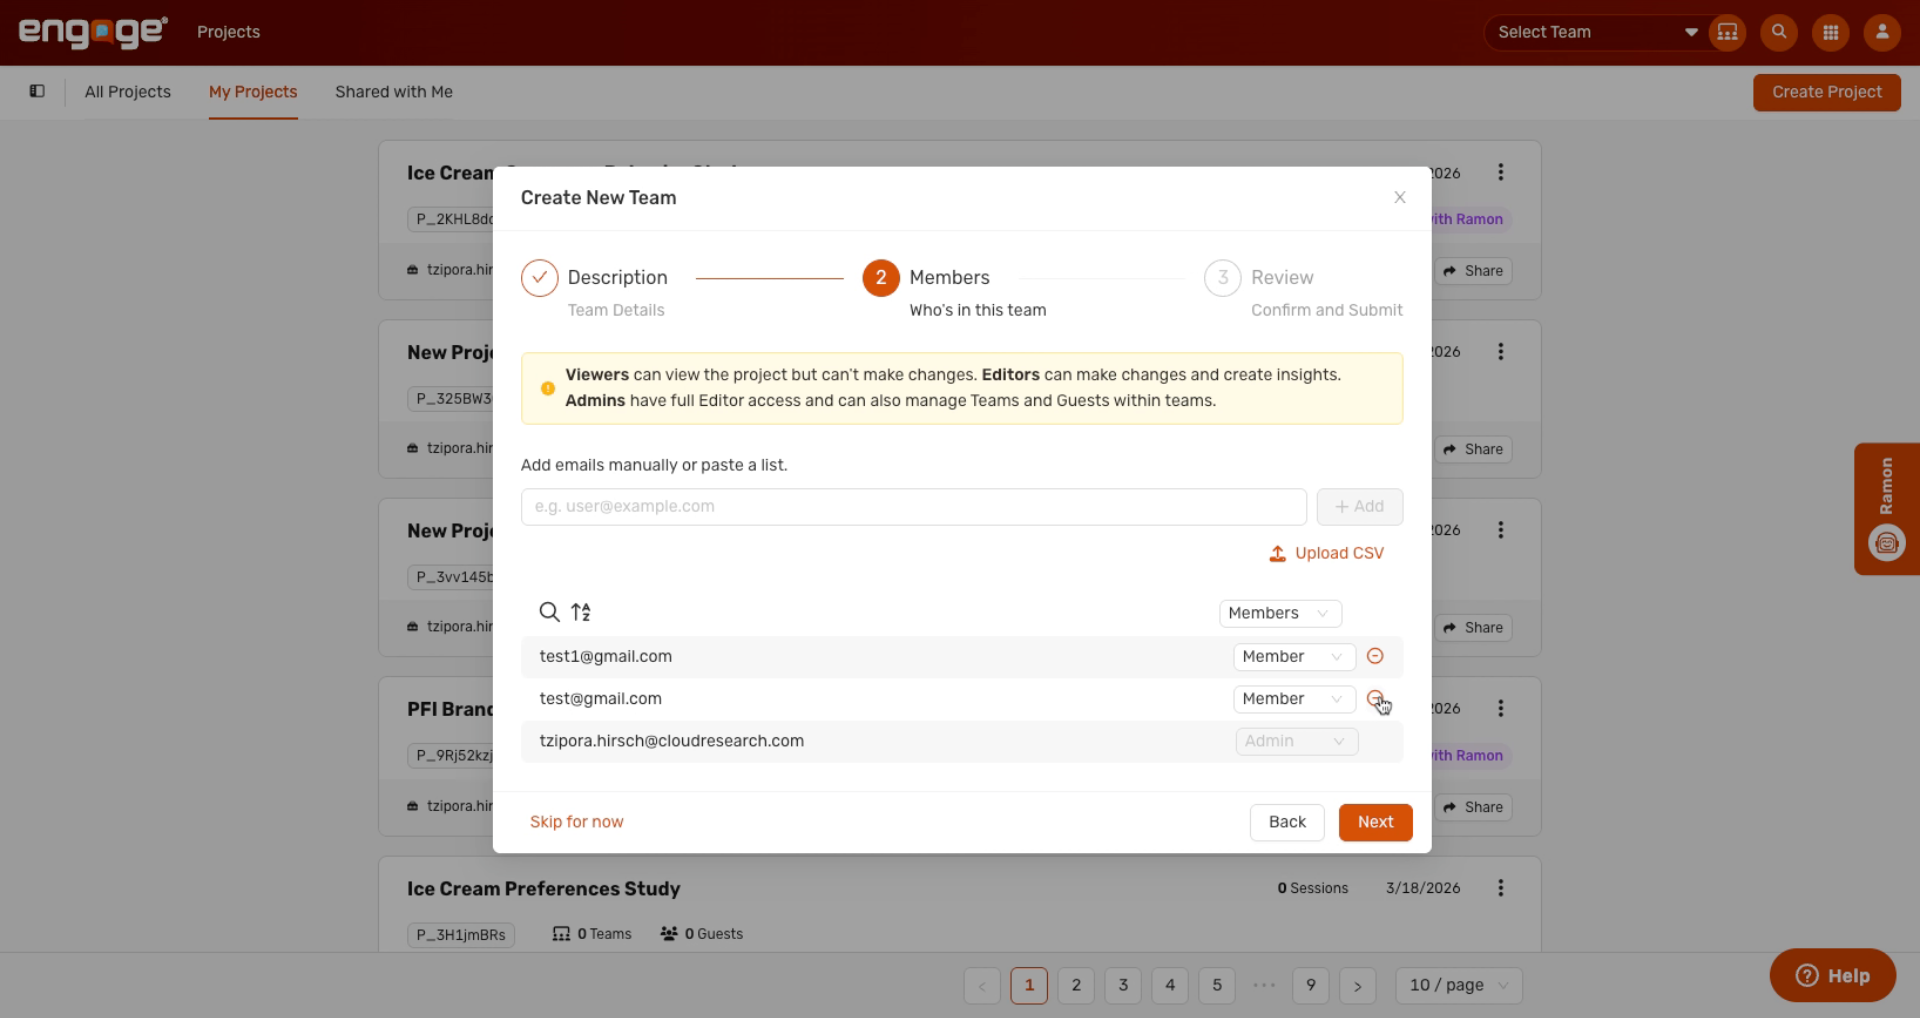
6. Add Team Members Manually
Next, add the members you want on the team. You can add them manually or upload a CSV.
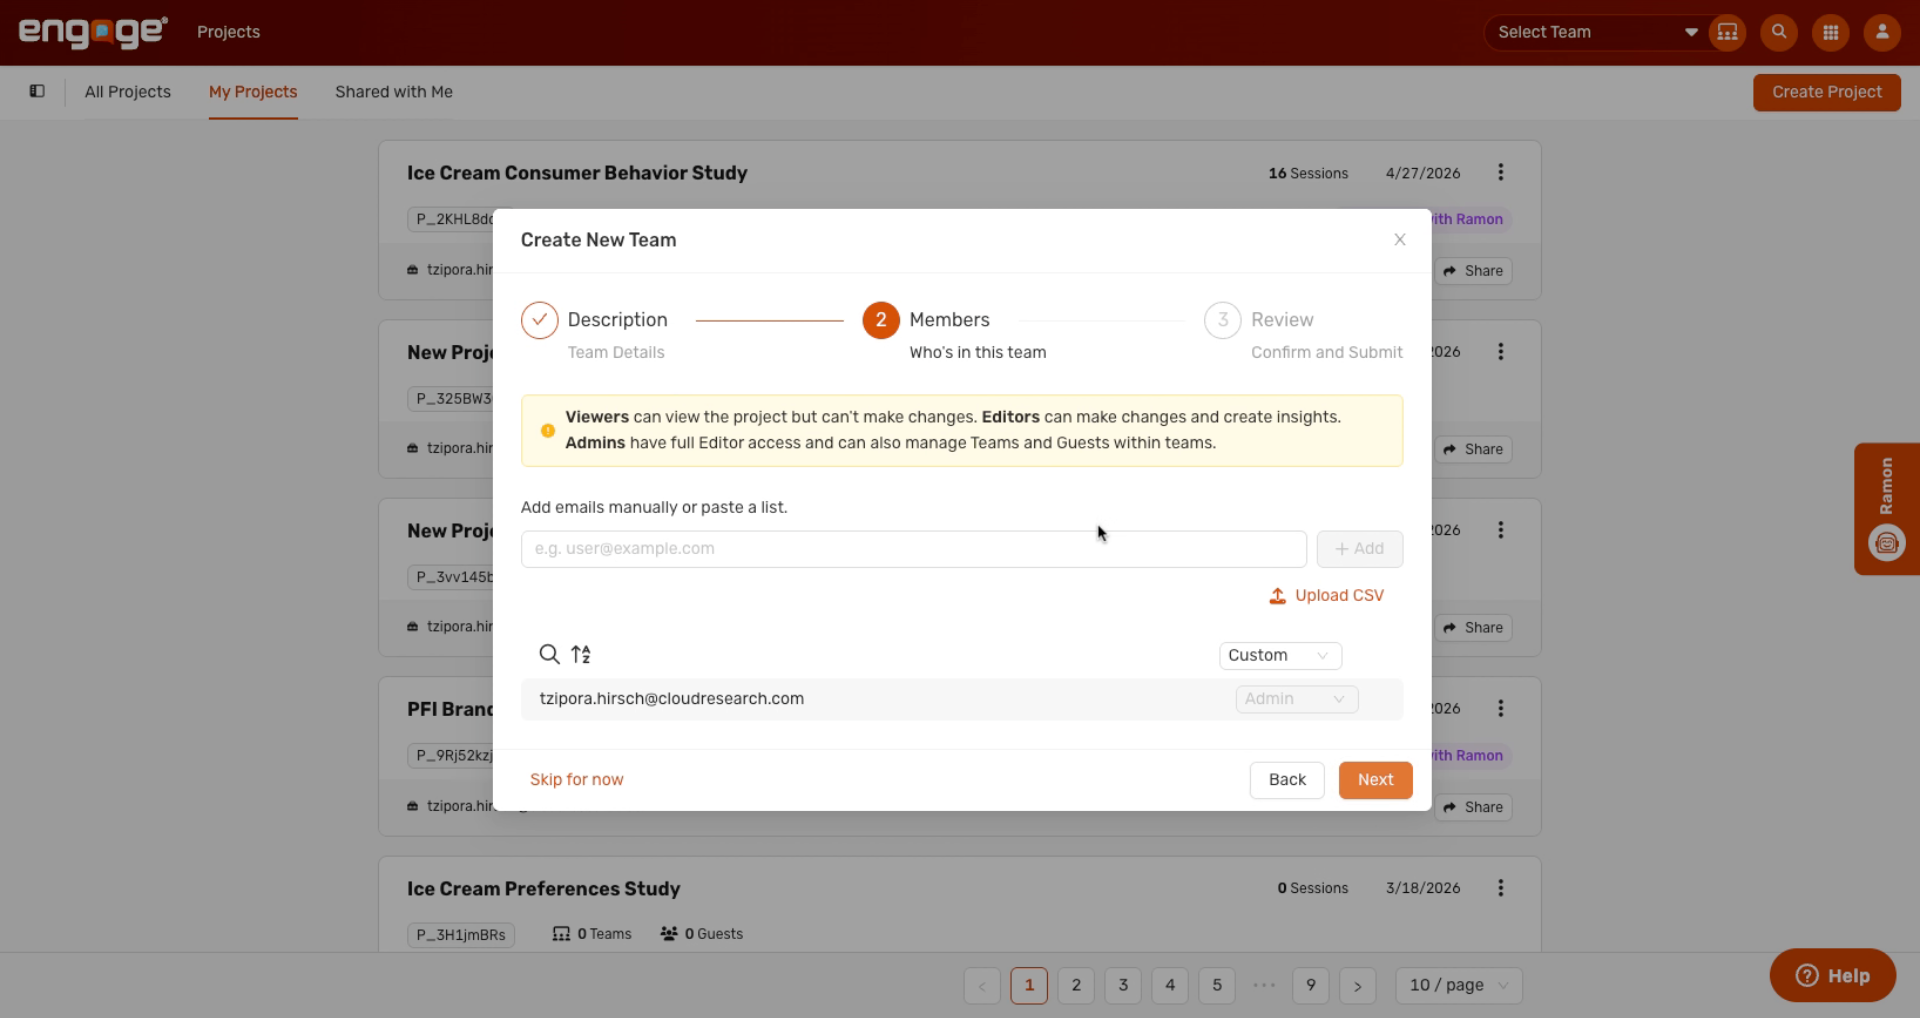
7. Enter Member Email Address
Enter the email address of the team member to add them manually.

8. Upload Members Via CSV
You can also upload a CSV. The column headers should match email and role.
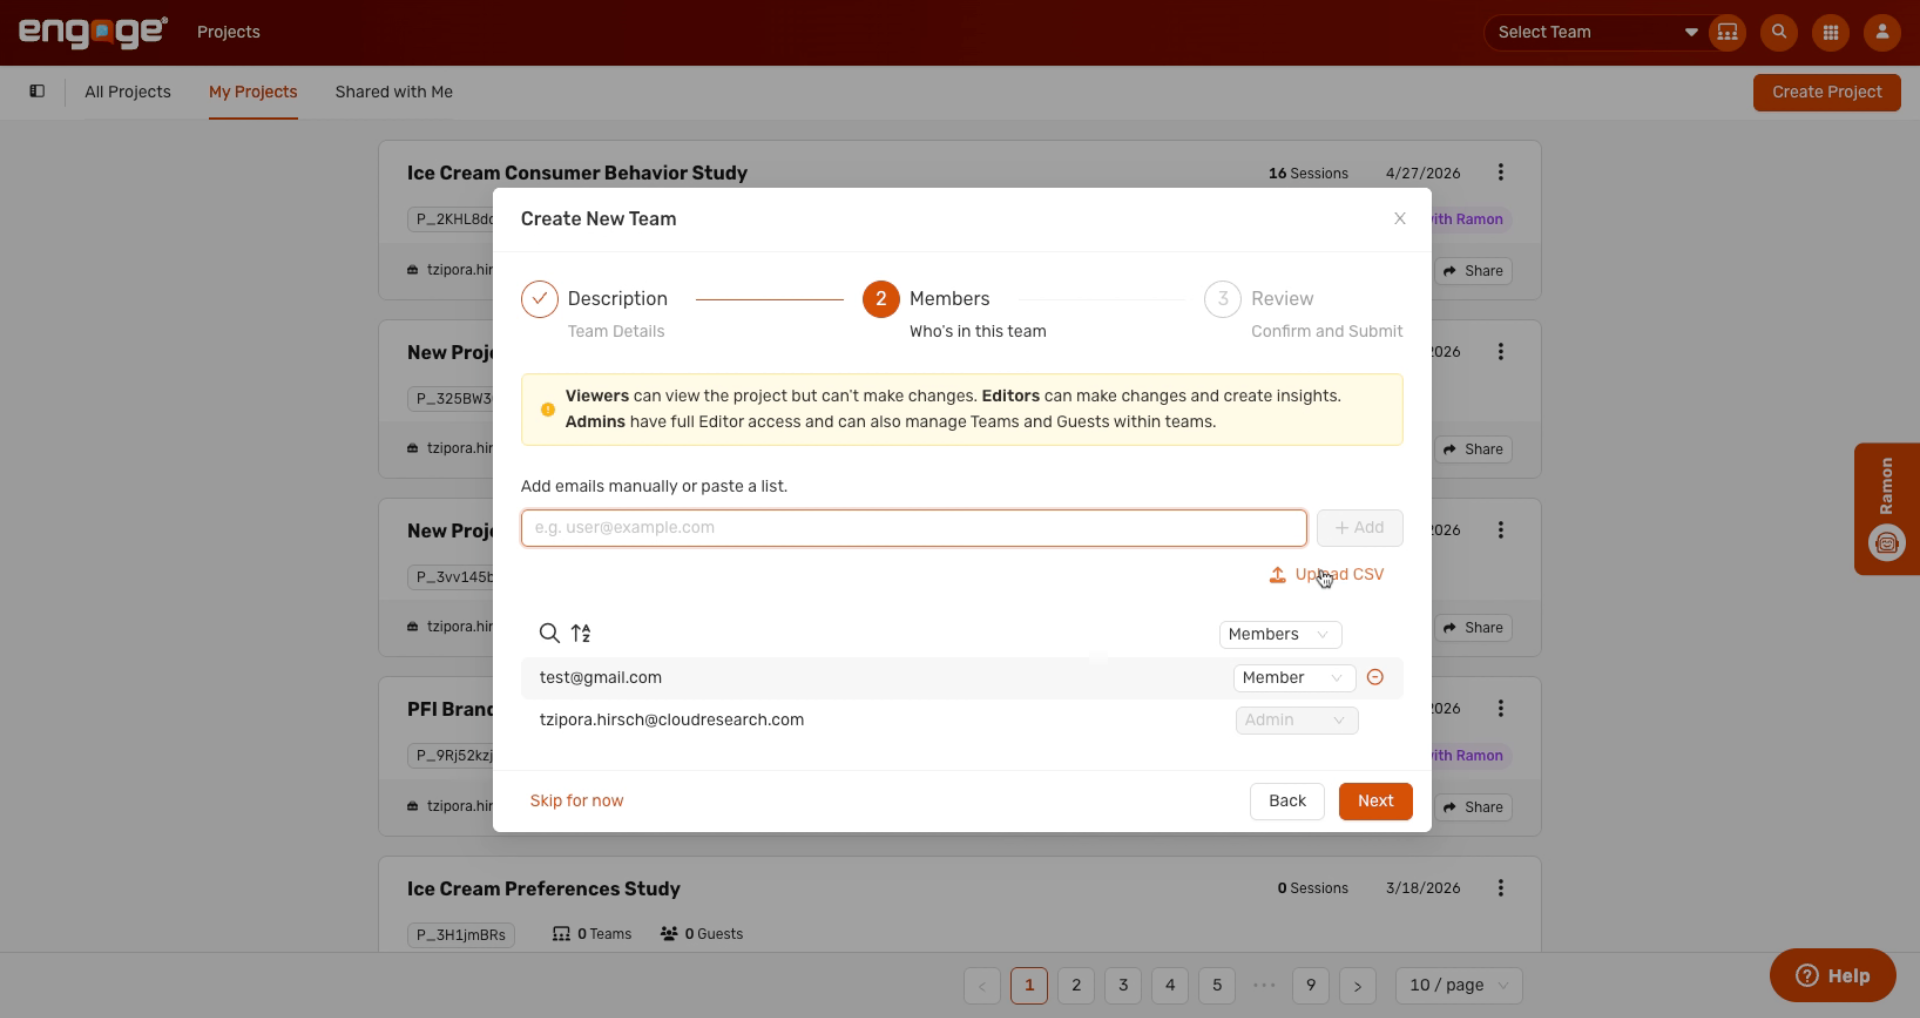
9. Adjust Member Roles
As you add team members, you can assign each one a role. You can assign admin or member roles. A member is part of the team but cannot manage team members or permissions, while an admin can.
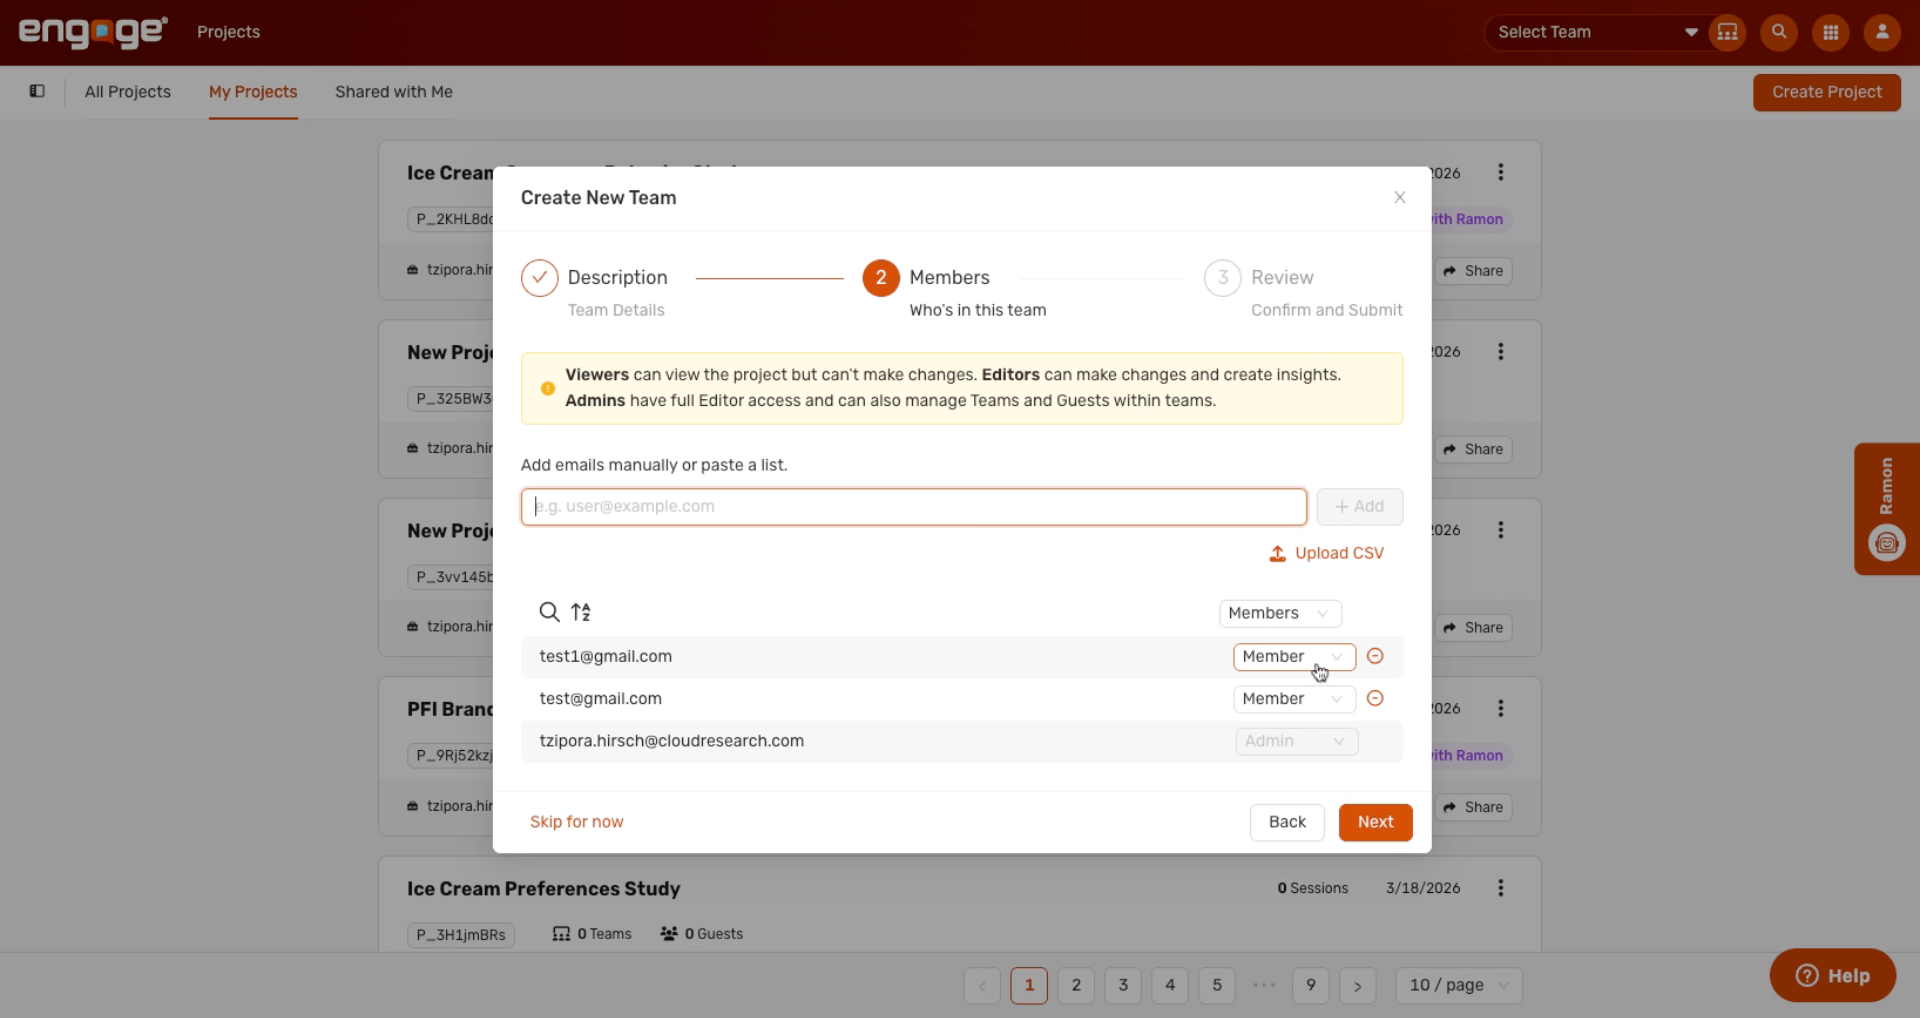
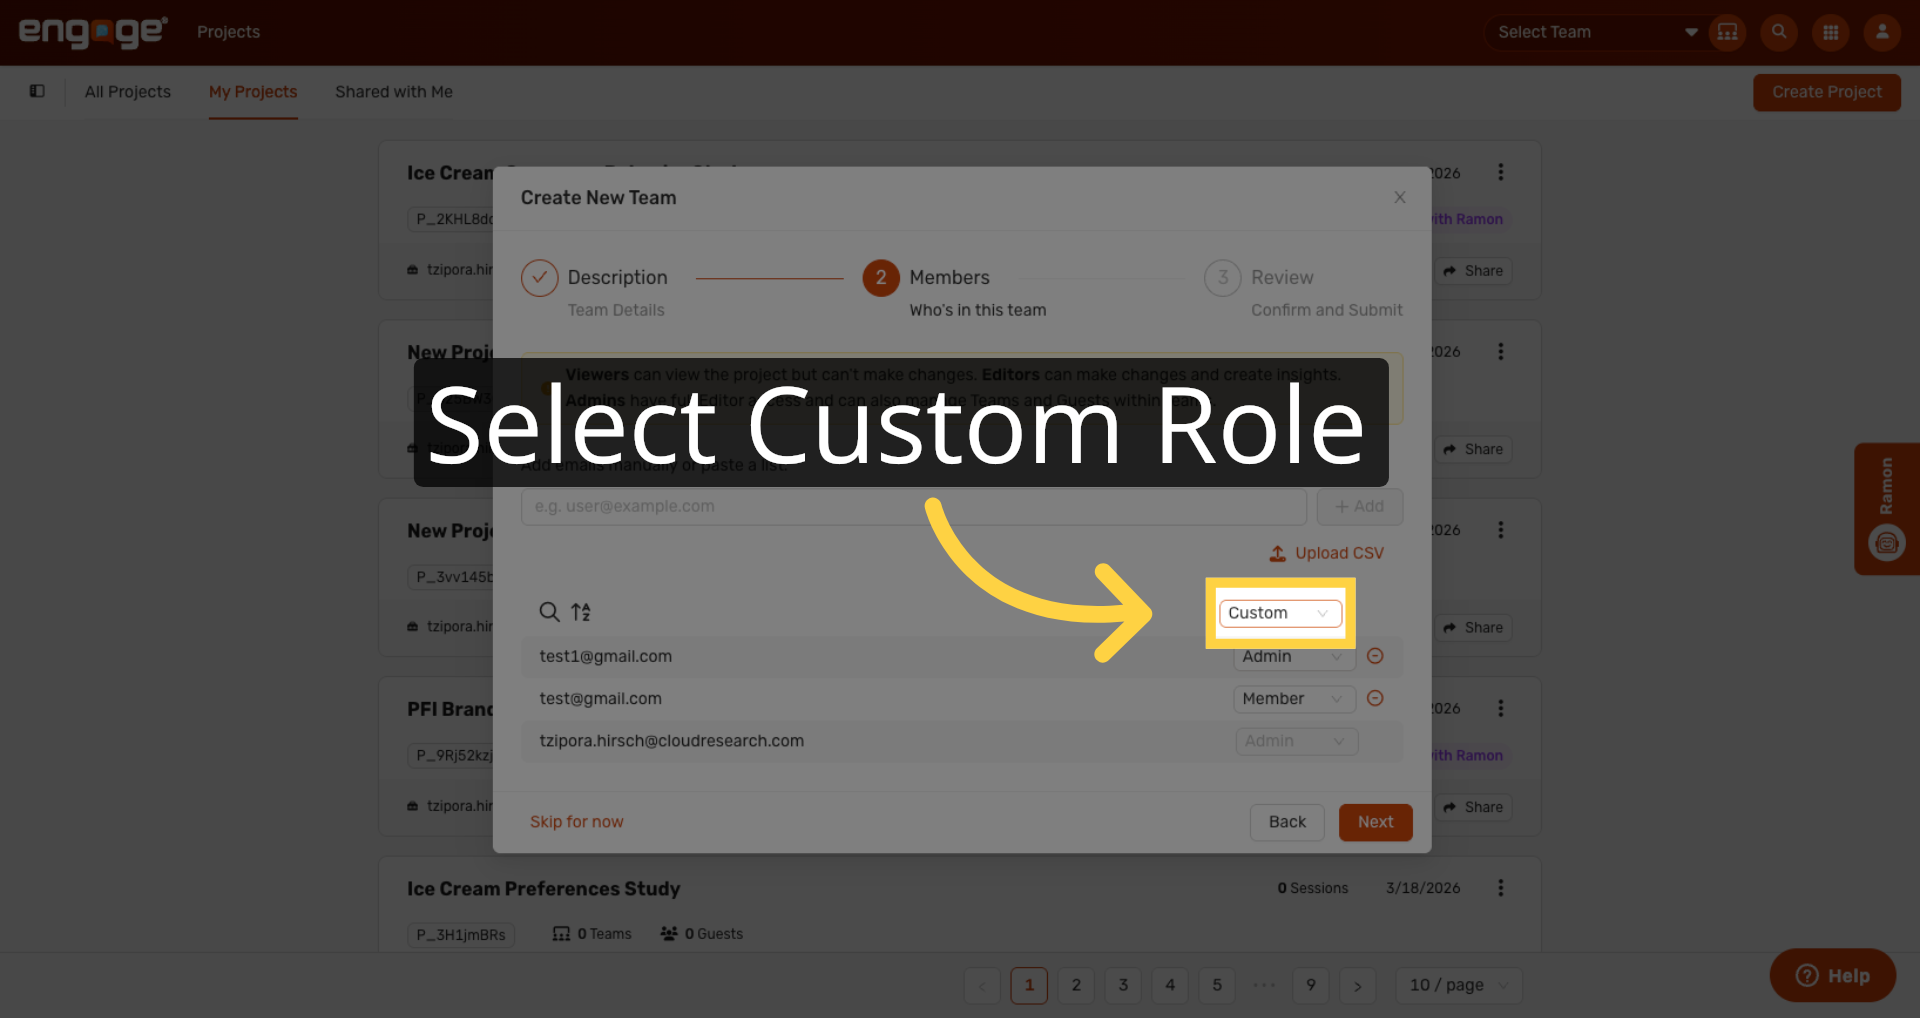
10. Bulk Assign Roles
You can also bulk assign a role to all members.
11. Remove Team Members
Or remove members you've added.
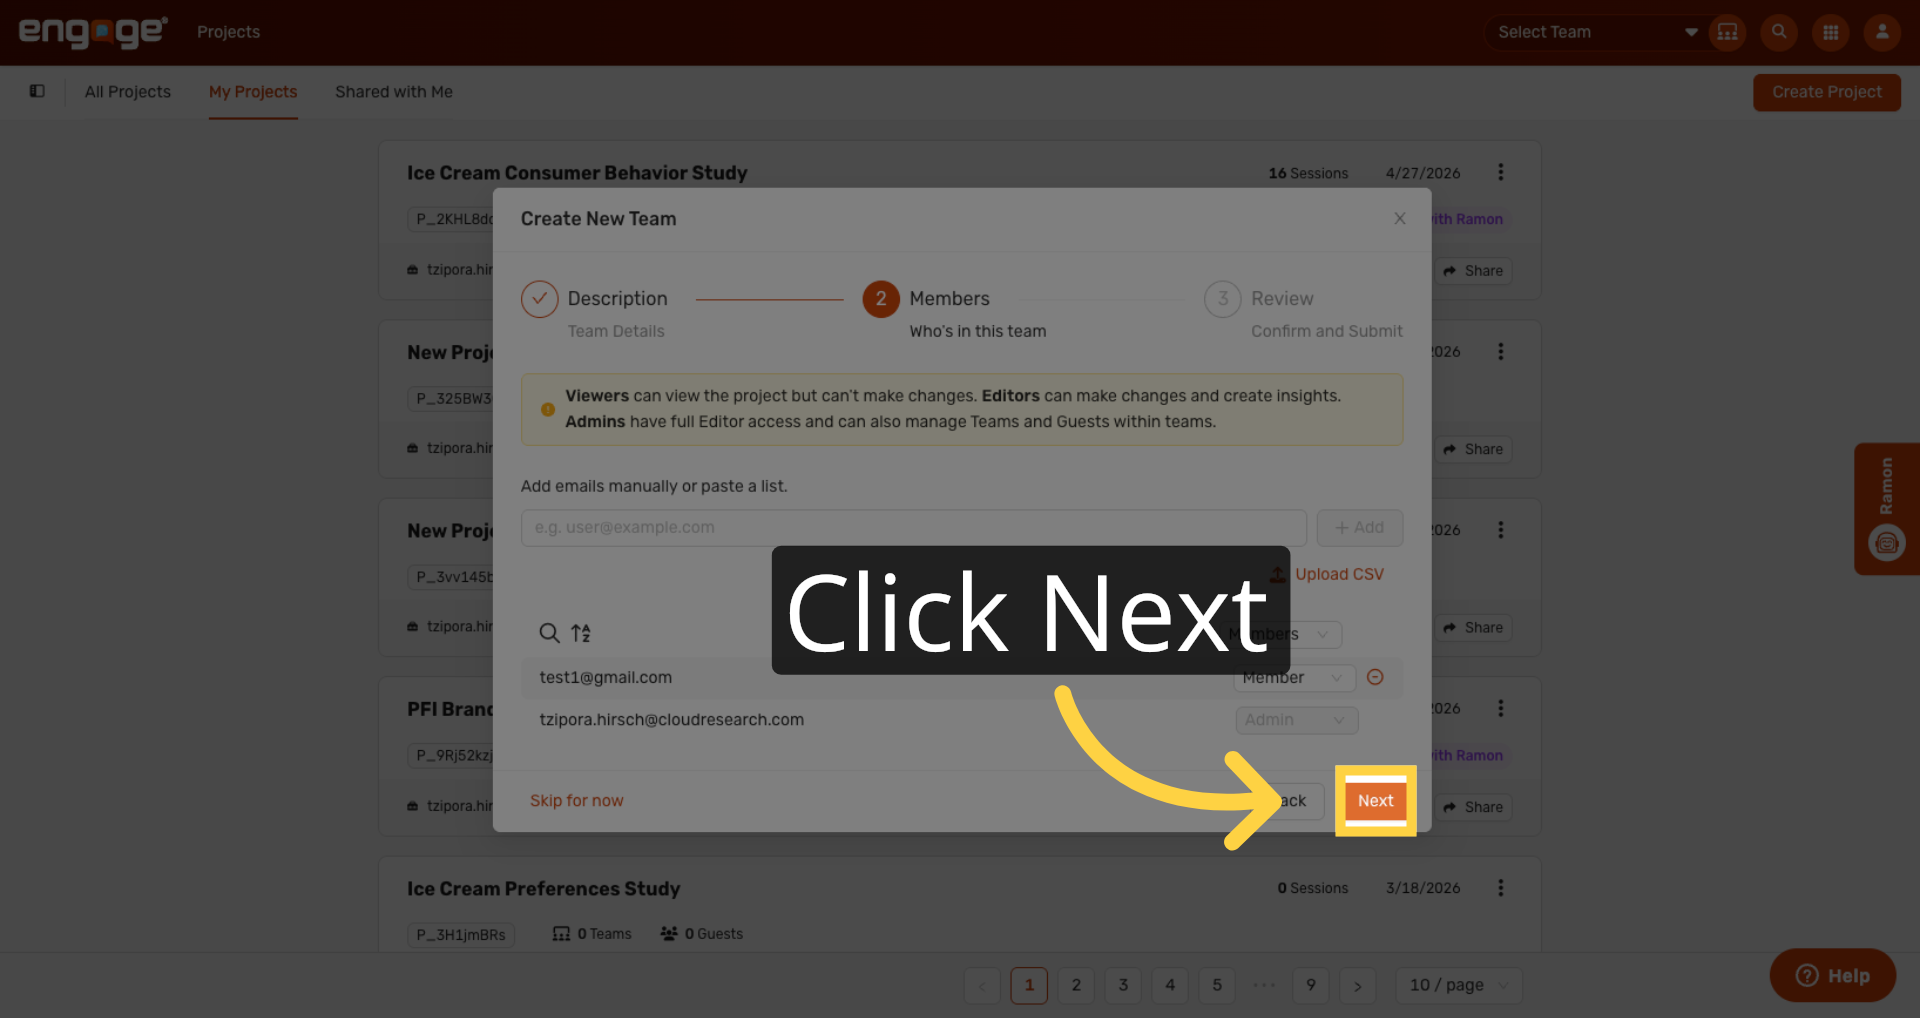
12. Proceed To Next Step
Click Next to continue.
13. Enable Email Notifications
Before creating the team, decide how to handle email notifications. Anyone you add who doesn't have an Engage account will automatically get an email inviting them to sign up. For users who already have an Engage account, you can choose whether to notify them that they've been added to the team.
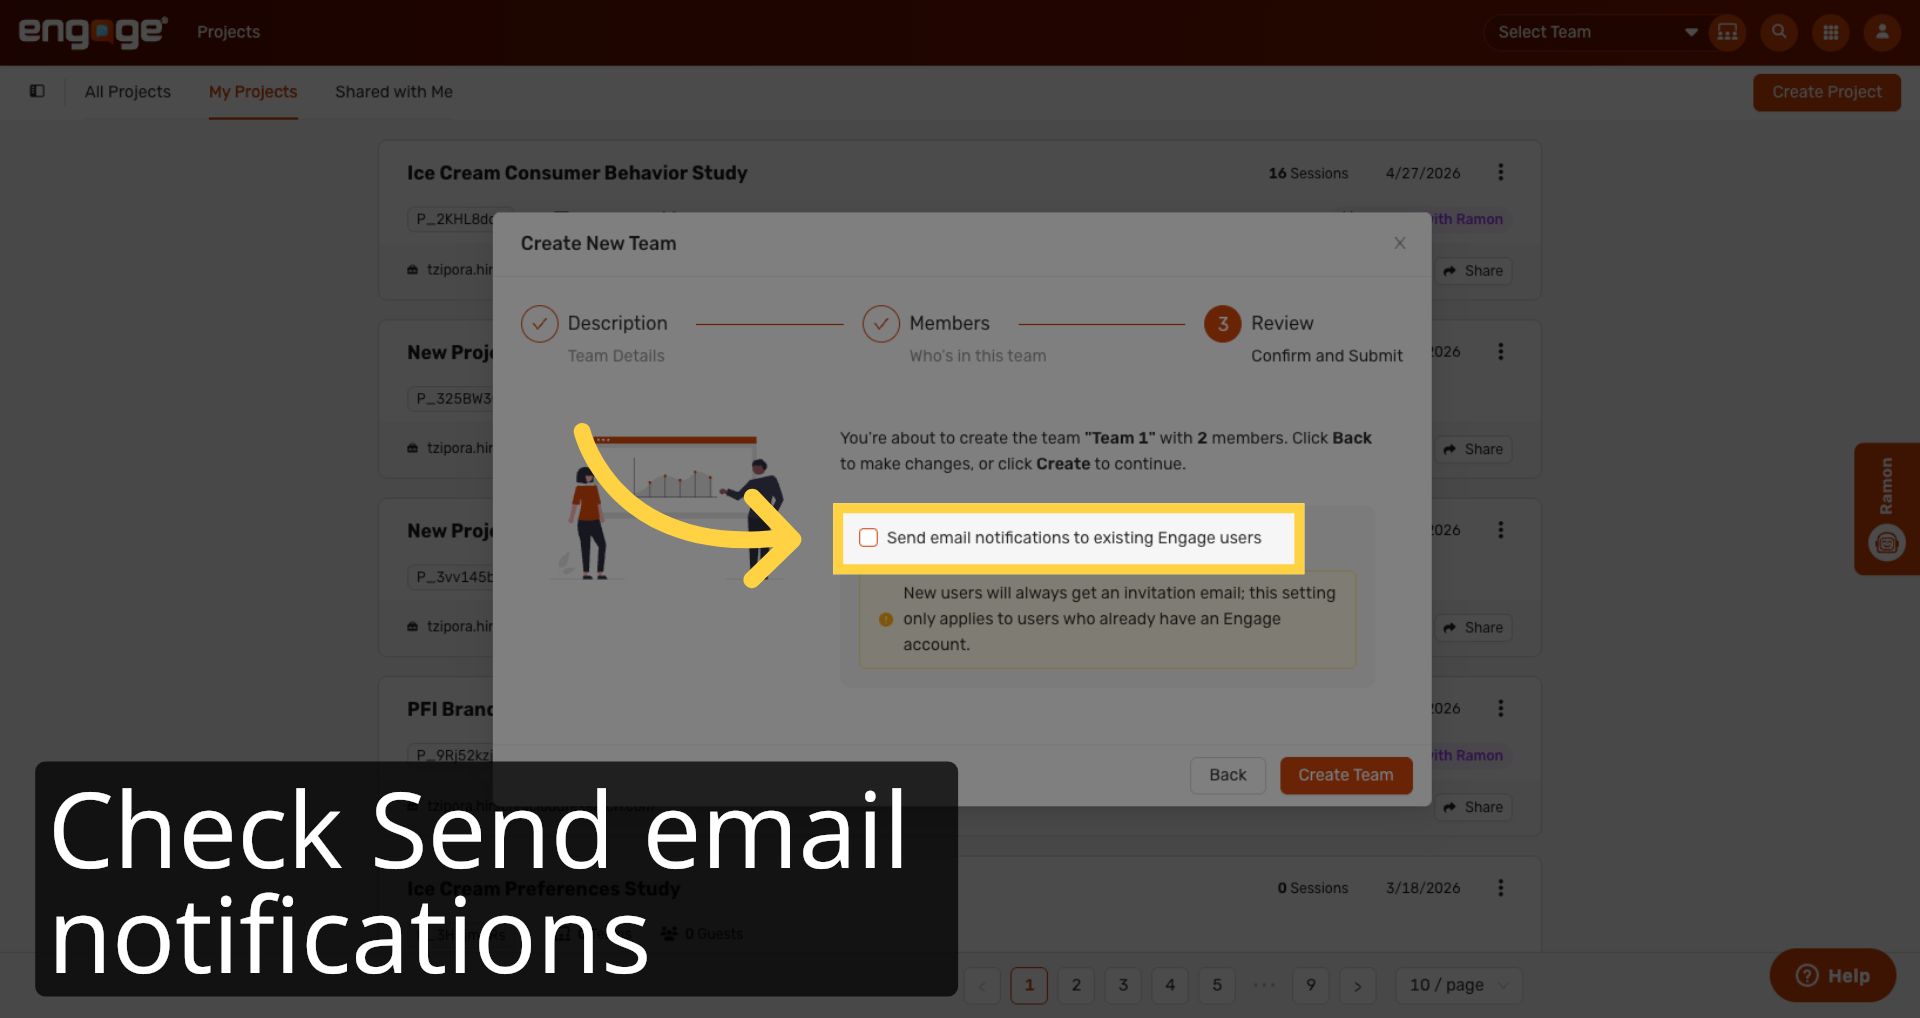
14. Set Notification Status
Check this box to send notifications to existing Engage users.
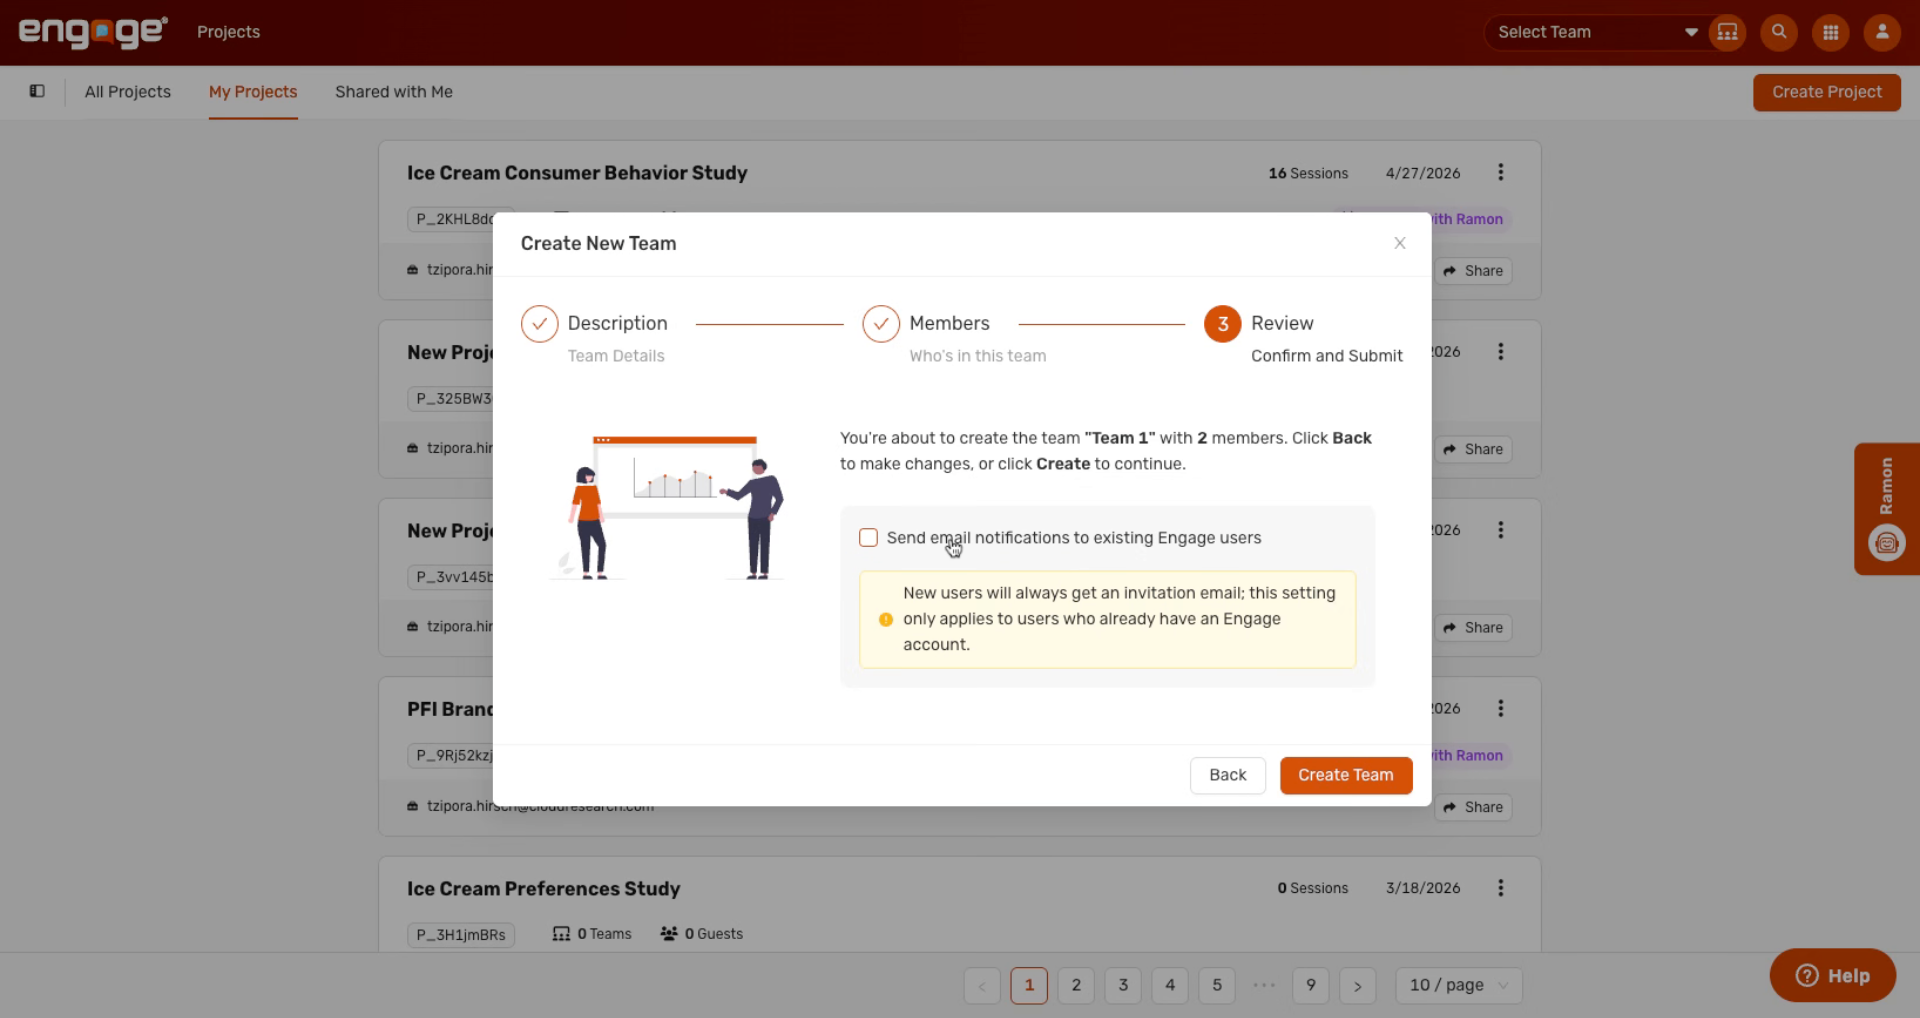
15. Review Team Creation Prompt
Last, you'll review the team you're about to create. You'll see a summary showing the team name and how many members will be added.
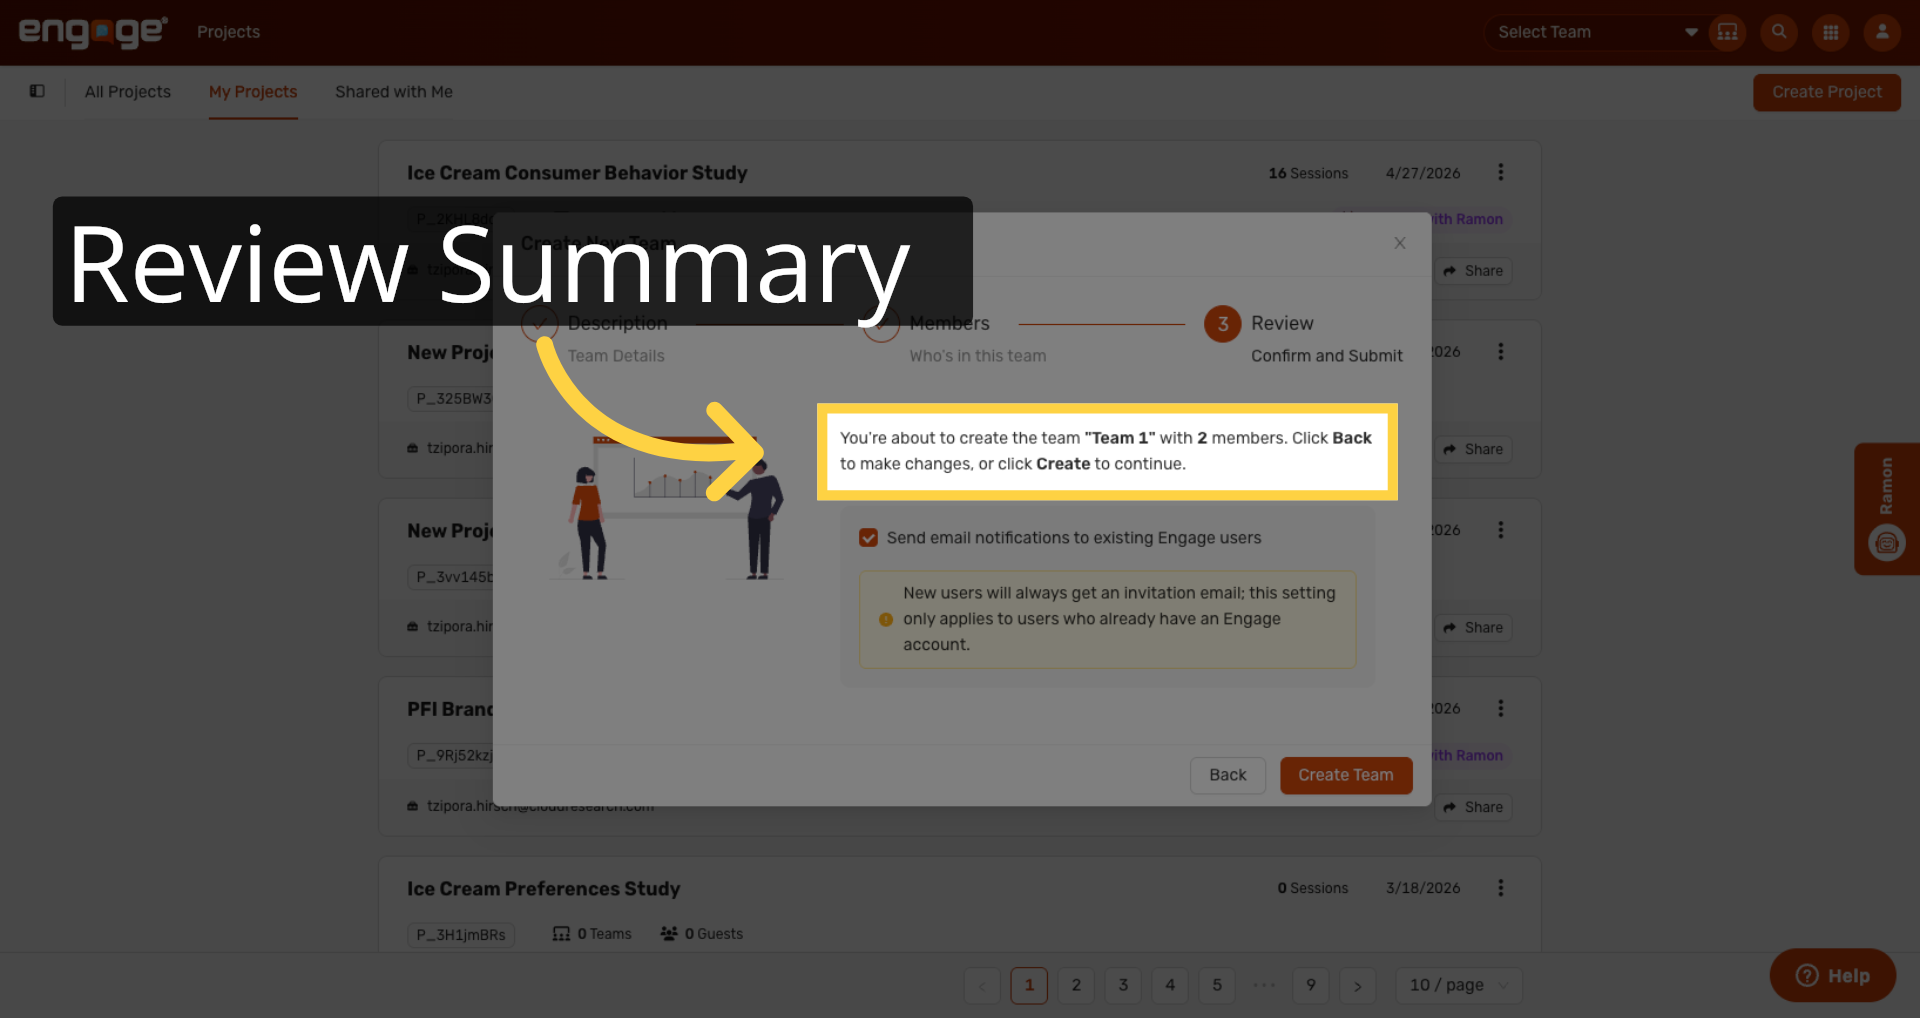
16. Return to Previous Screen
You can always go back to make changes.

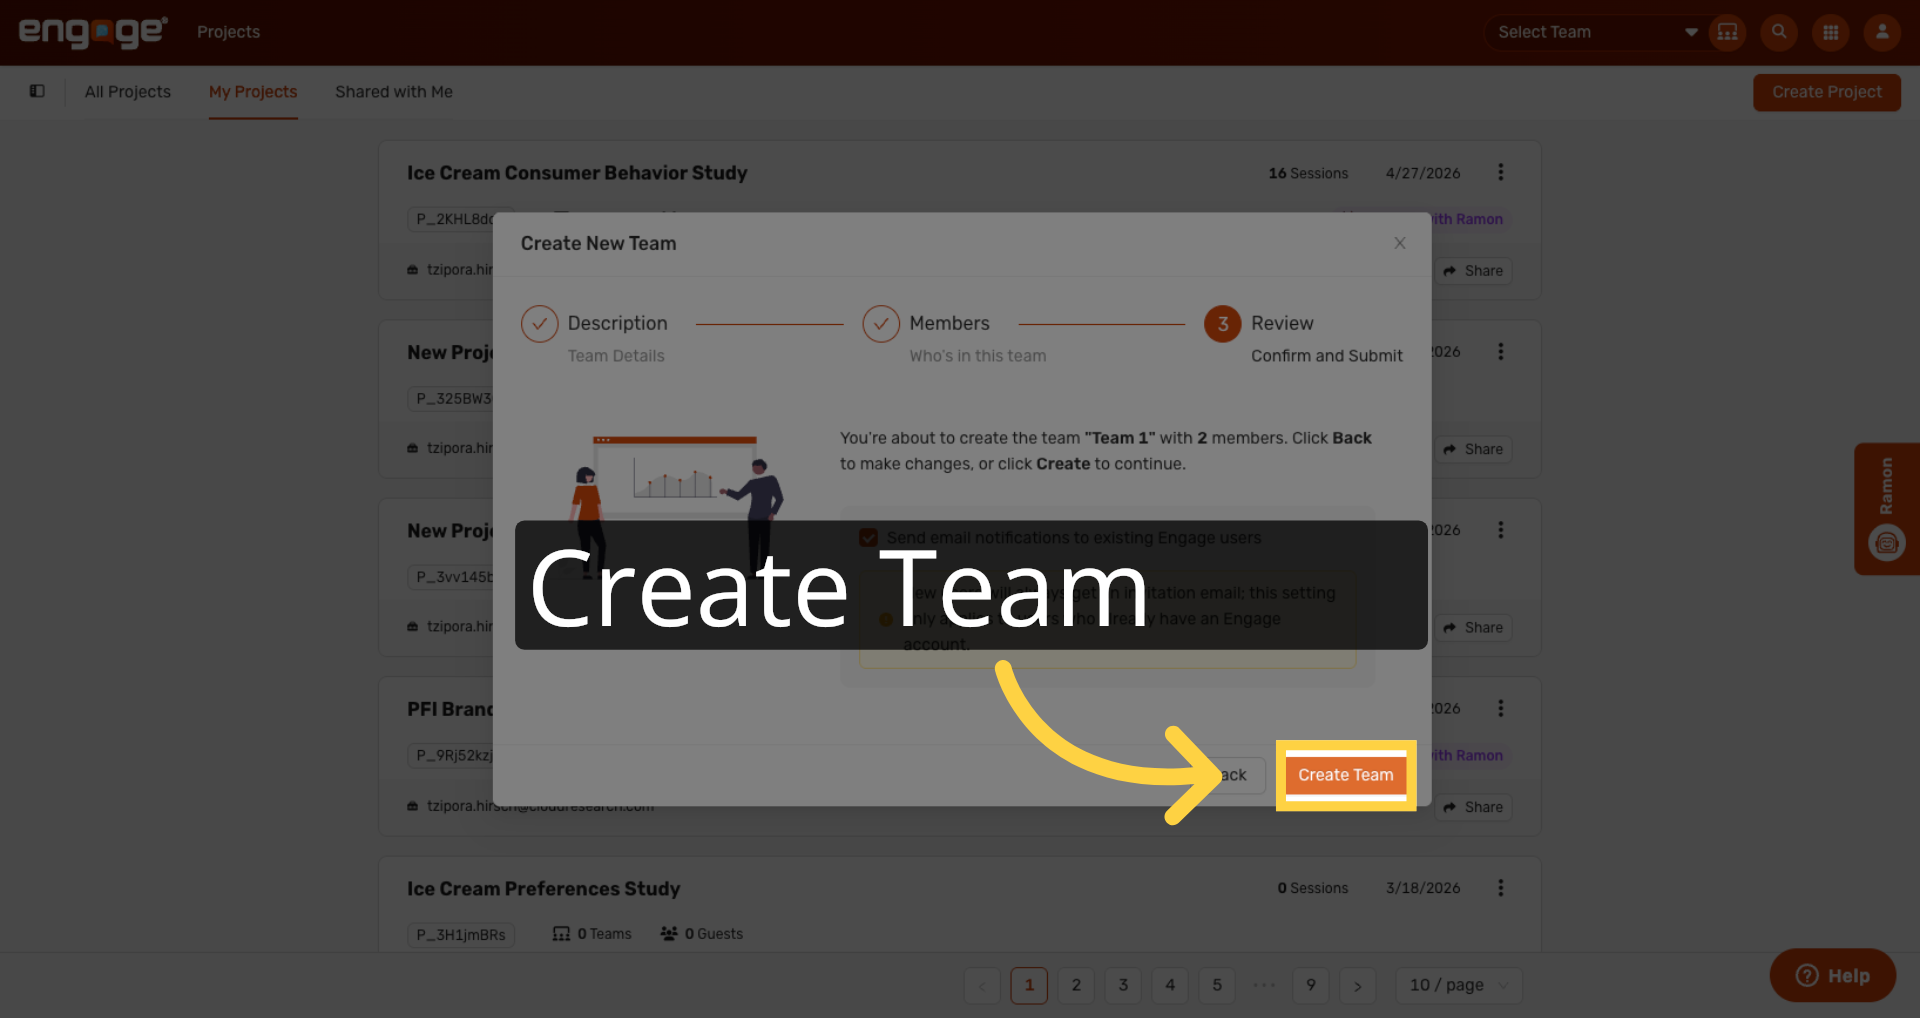
17. Create New Team
Once everything looks good, click Create Team.
18. Confirm Team Creation Success
A success message in the bottom right confirms the team was created.

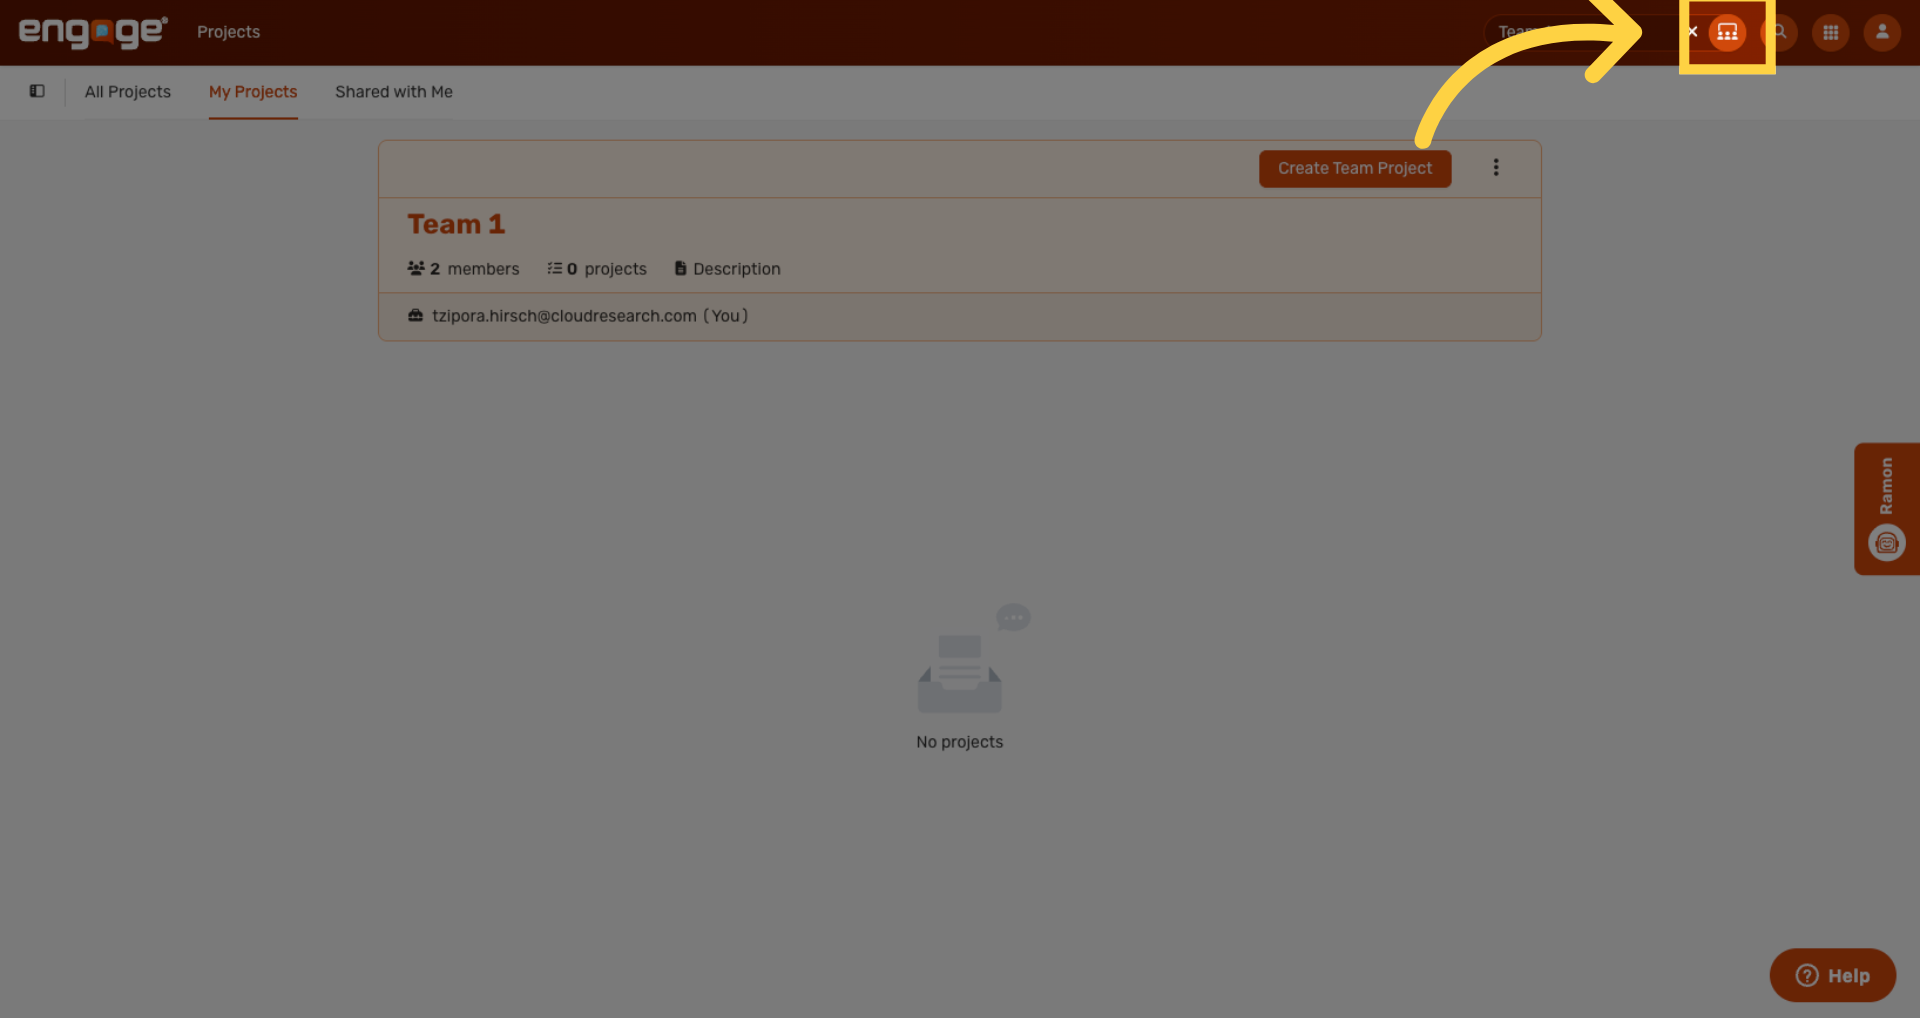
19. Open Created Team
To view the team's dashboard, click the Teams icon.
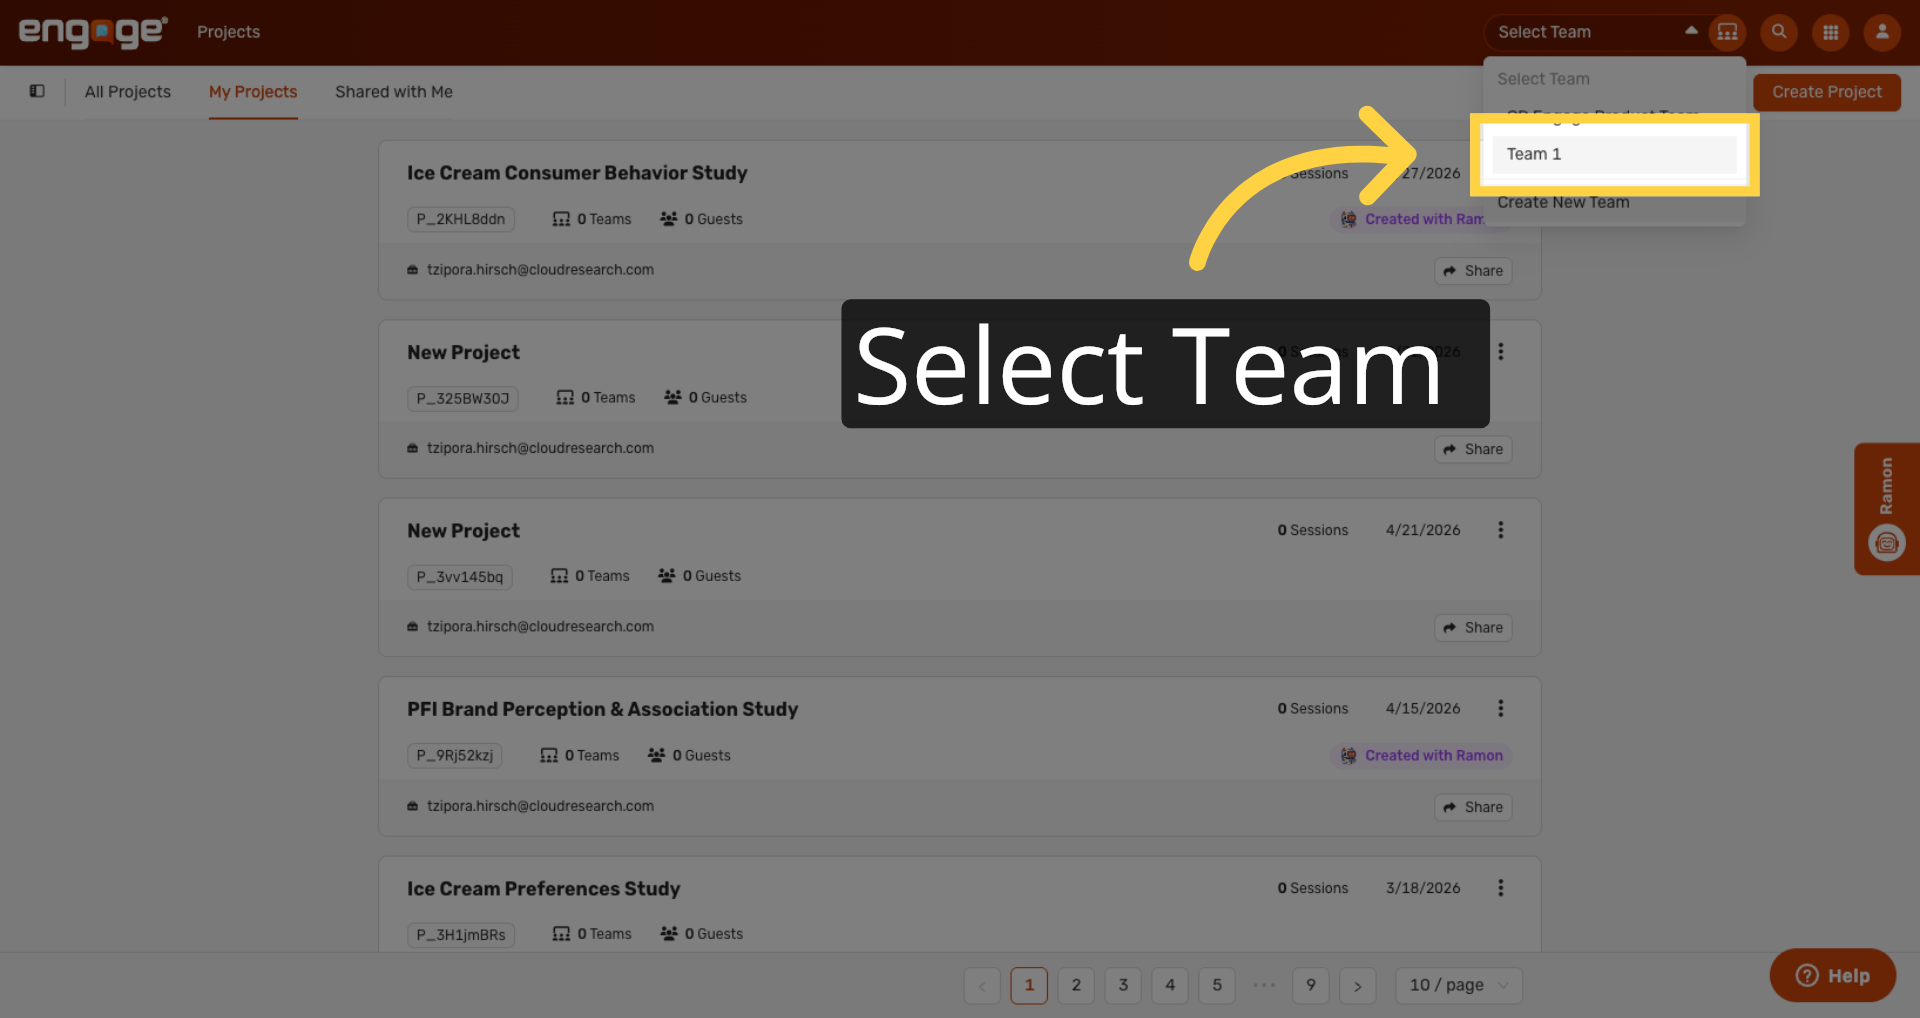
20. Select Team Again
Then select your team from the dropdown.
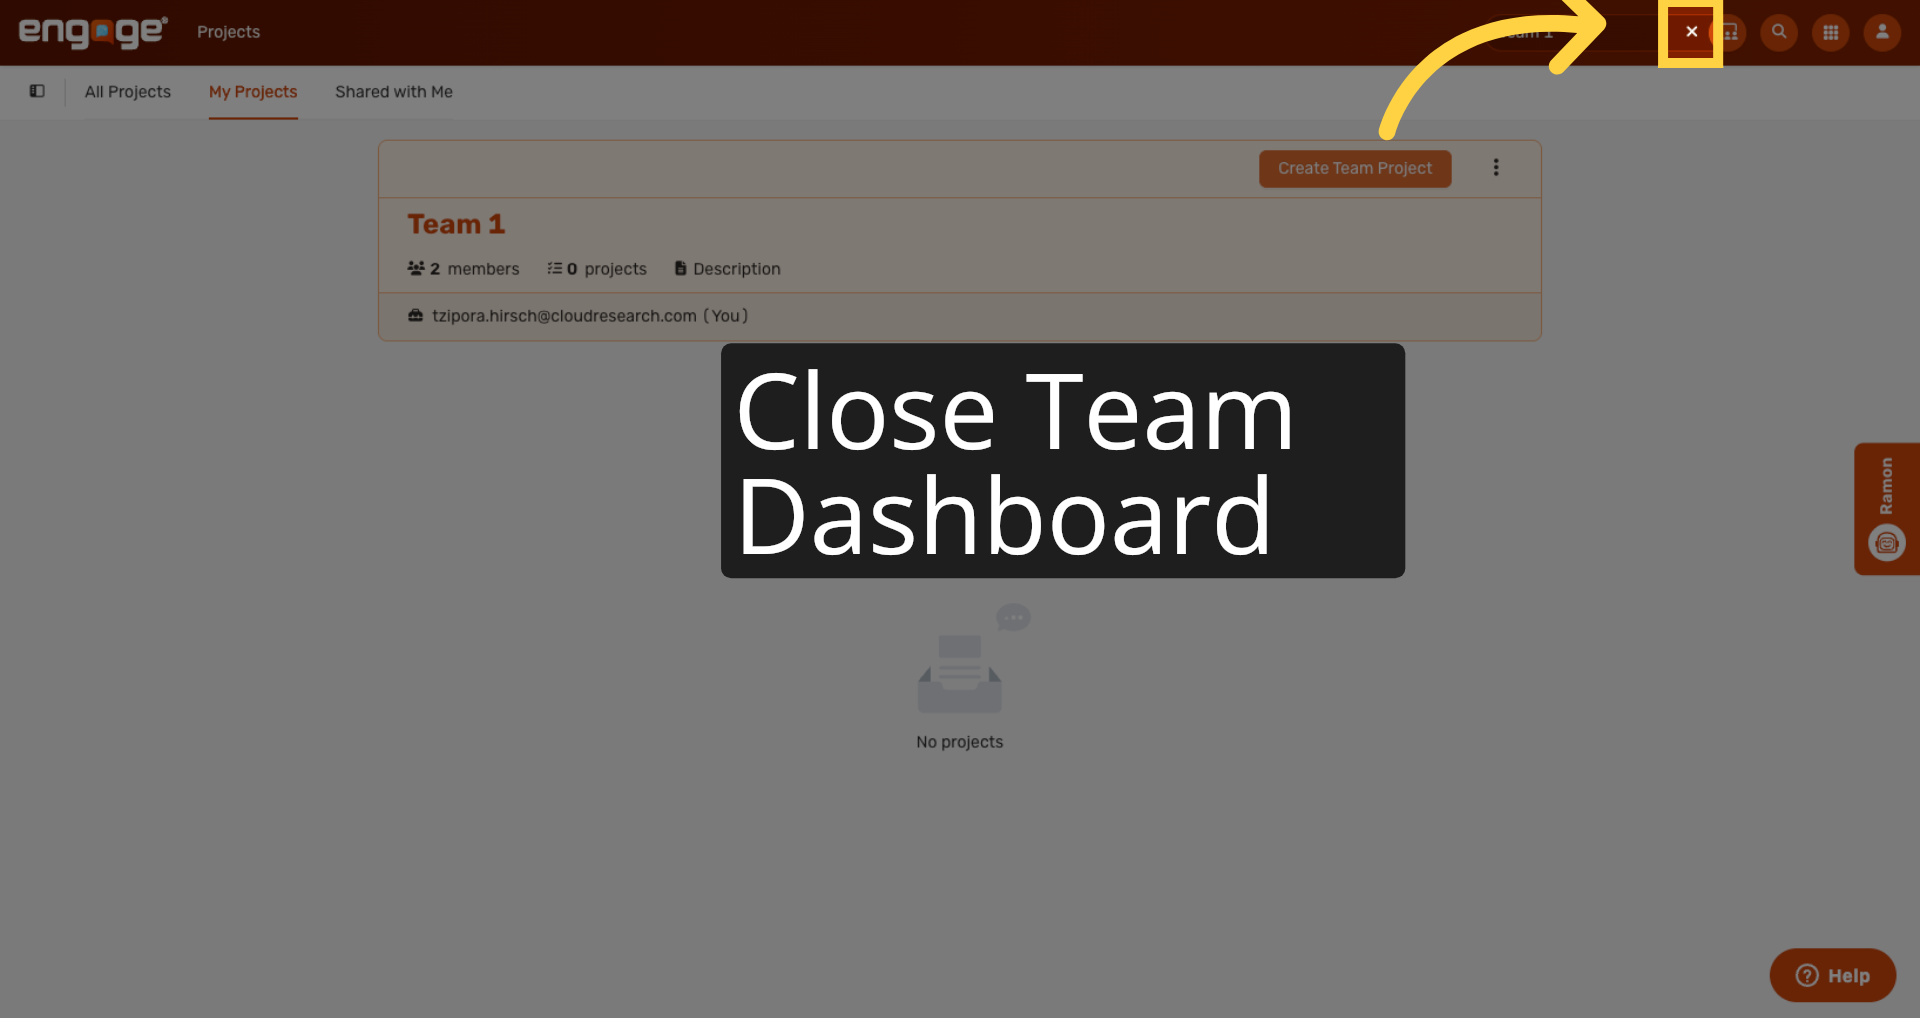
21. Close Team Dashboard
If you ever want to close the team dashboard, you can hit the X to dismiss it.
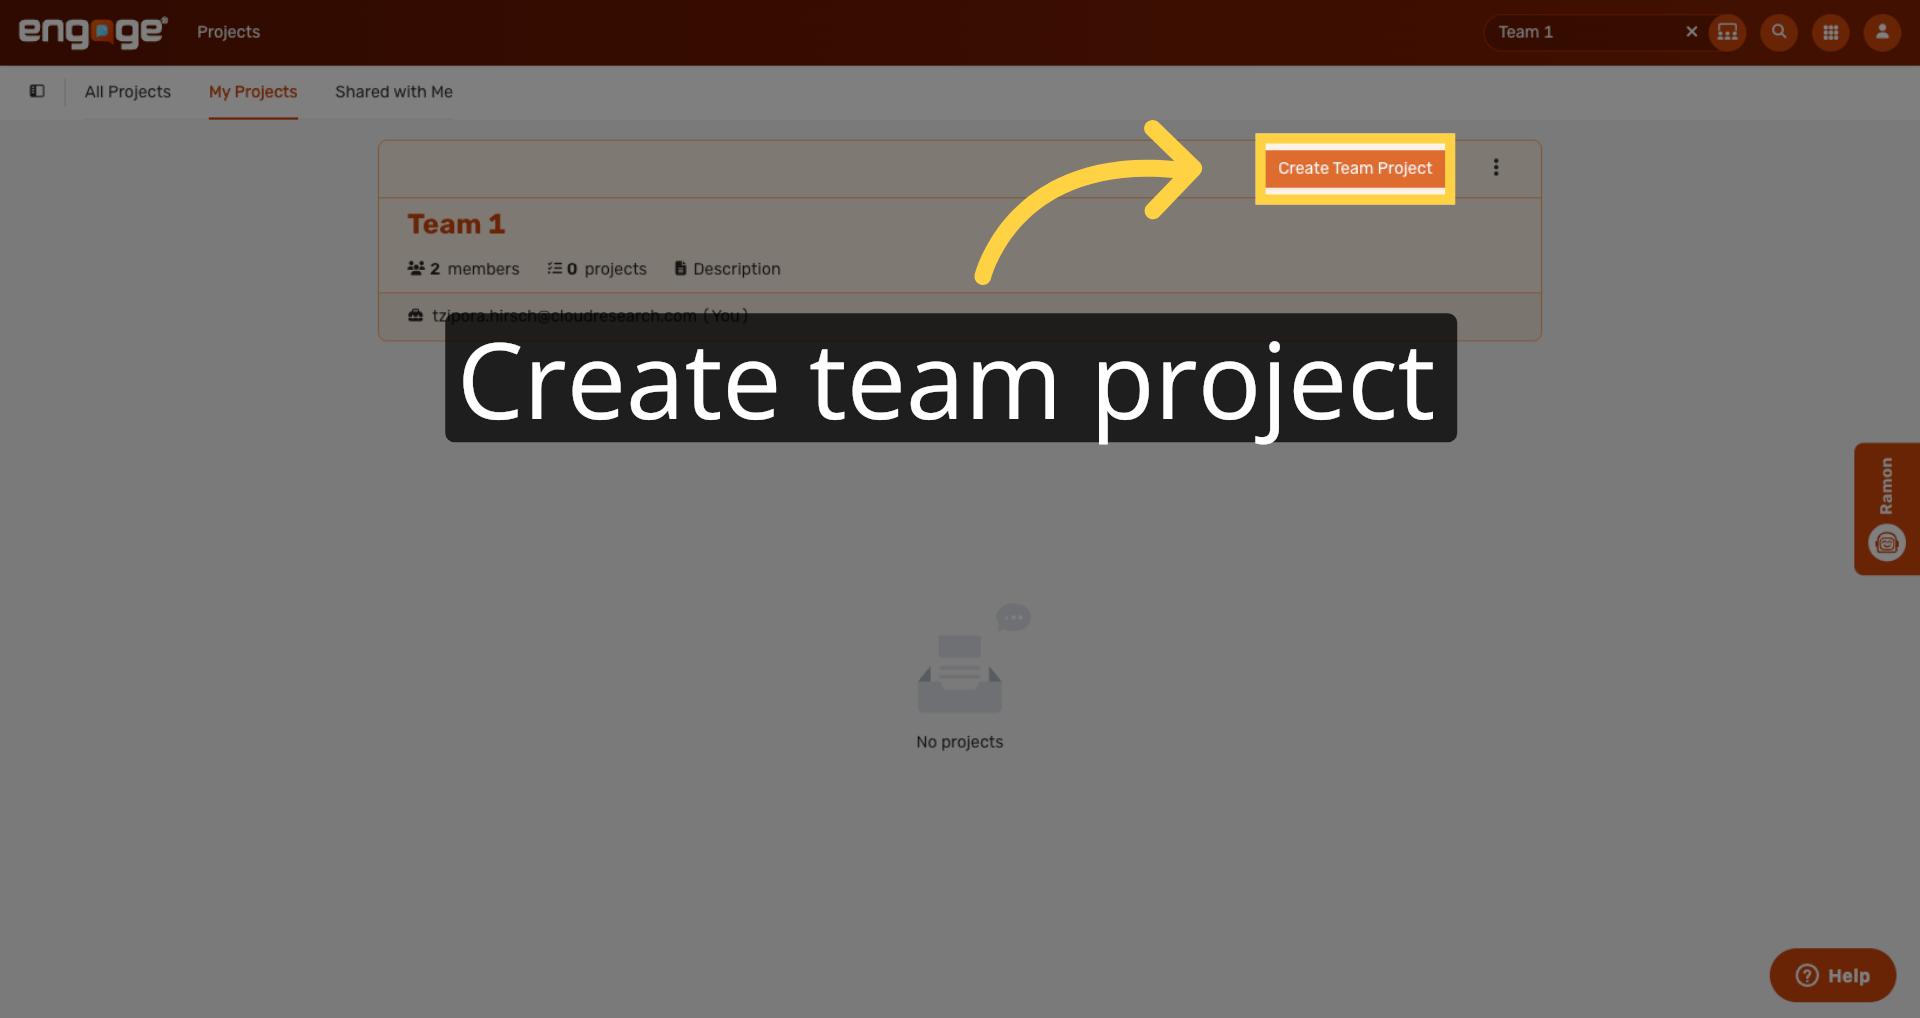
22. Initiate Team Project Creation
You can create a project directly from the team's dashboard. The project will be automatically shared with all team members.
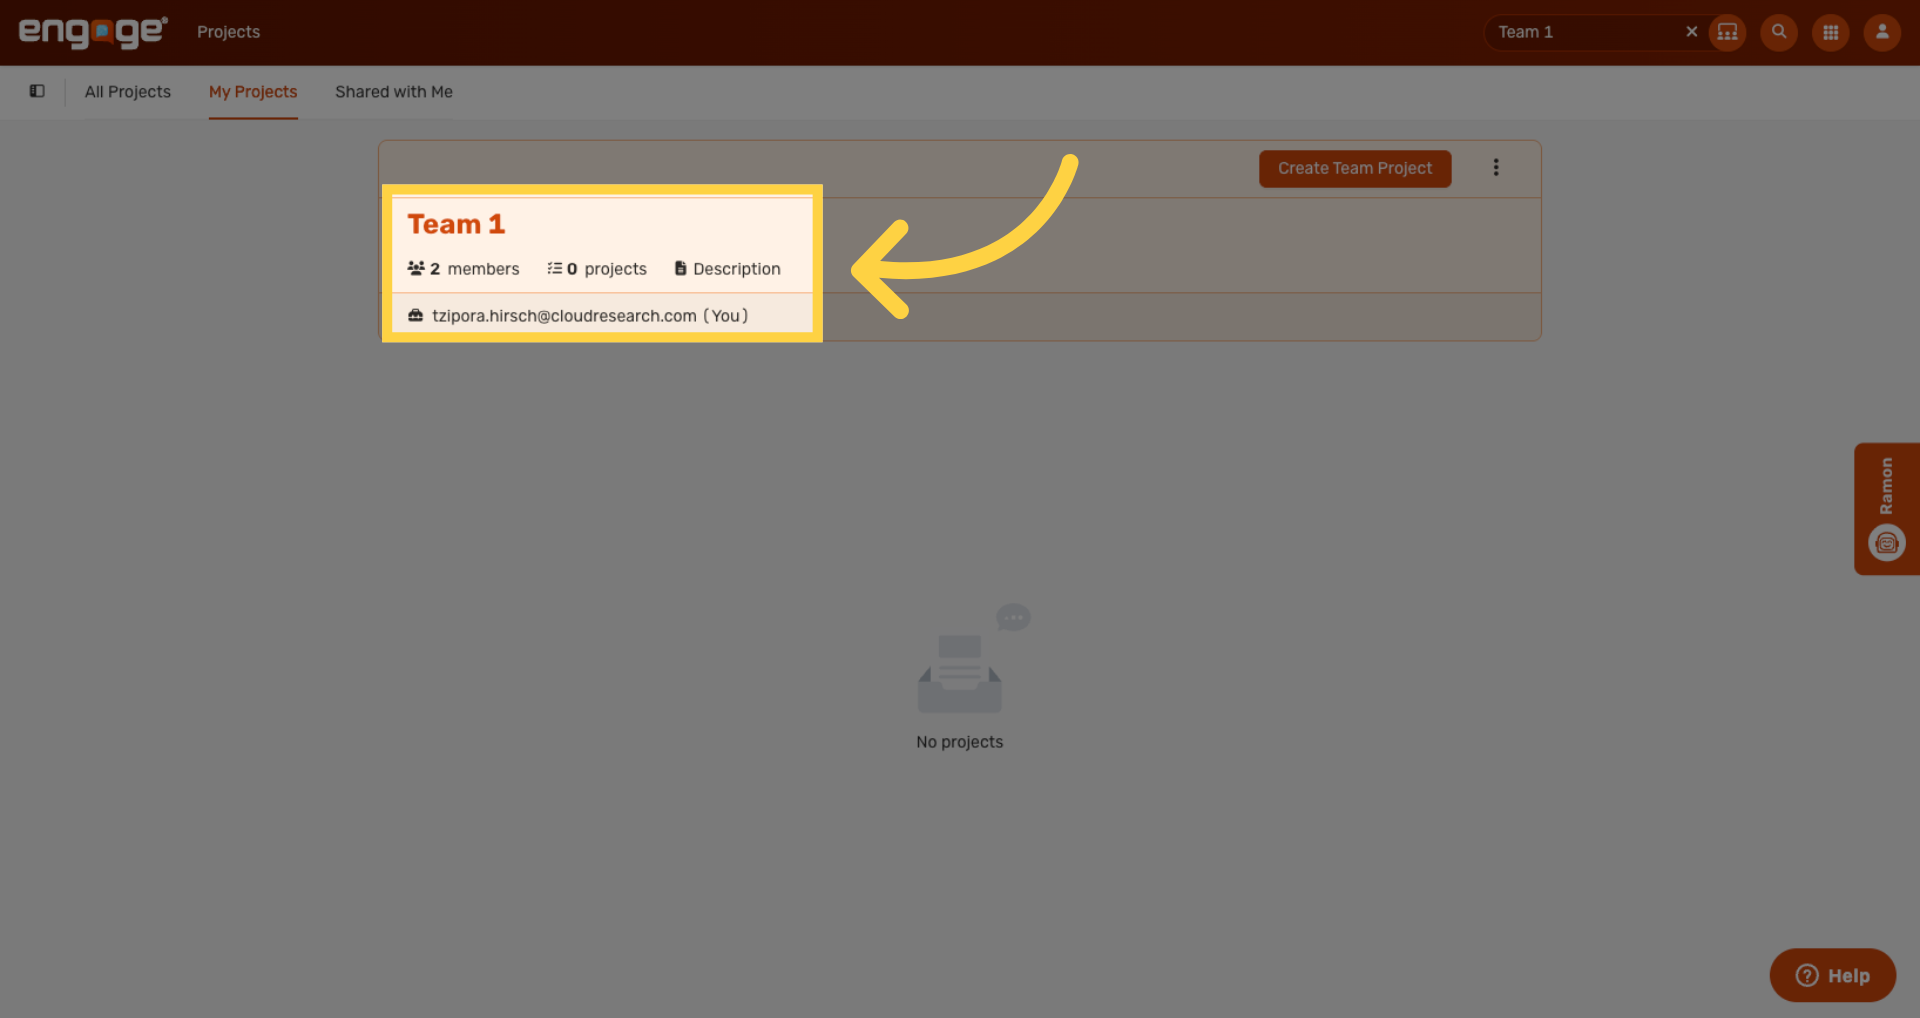
23. View Team Card Details
From the team card, you can also see how many members and projects are part of the team, who the team admin is, and a short description if one exists.
24. Open Manage Menu
In the Options menu, Manage Team lets you add new members, remove members, and manage permissions.
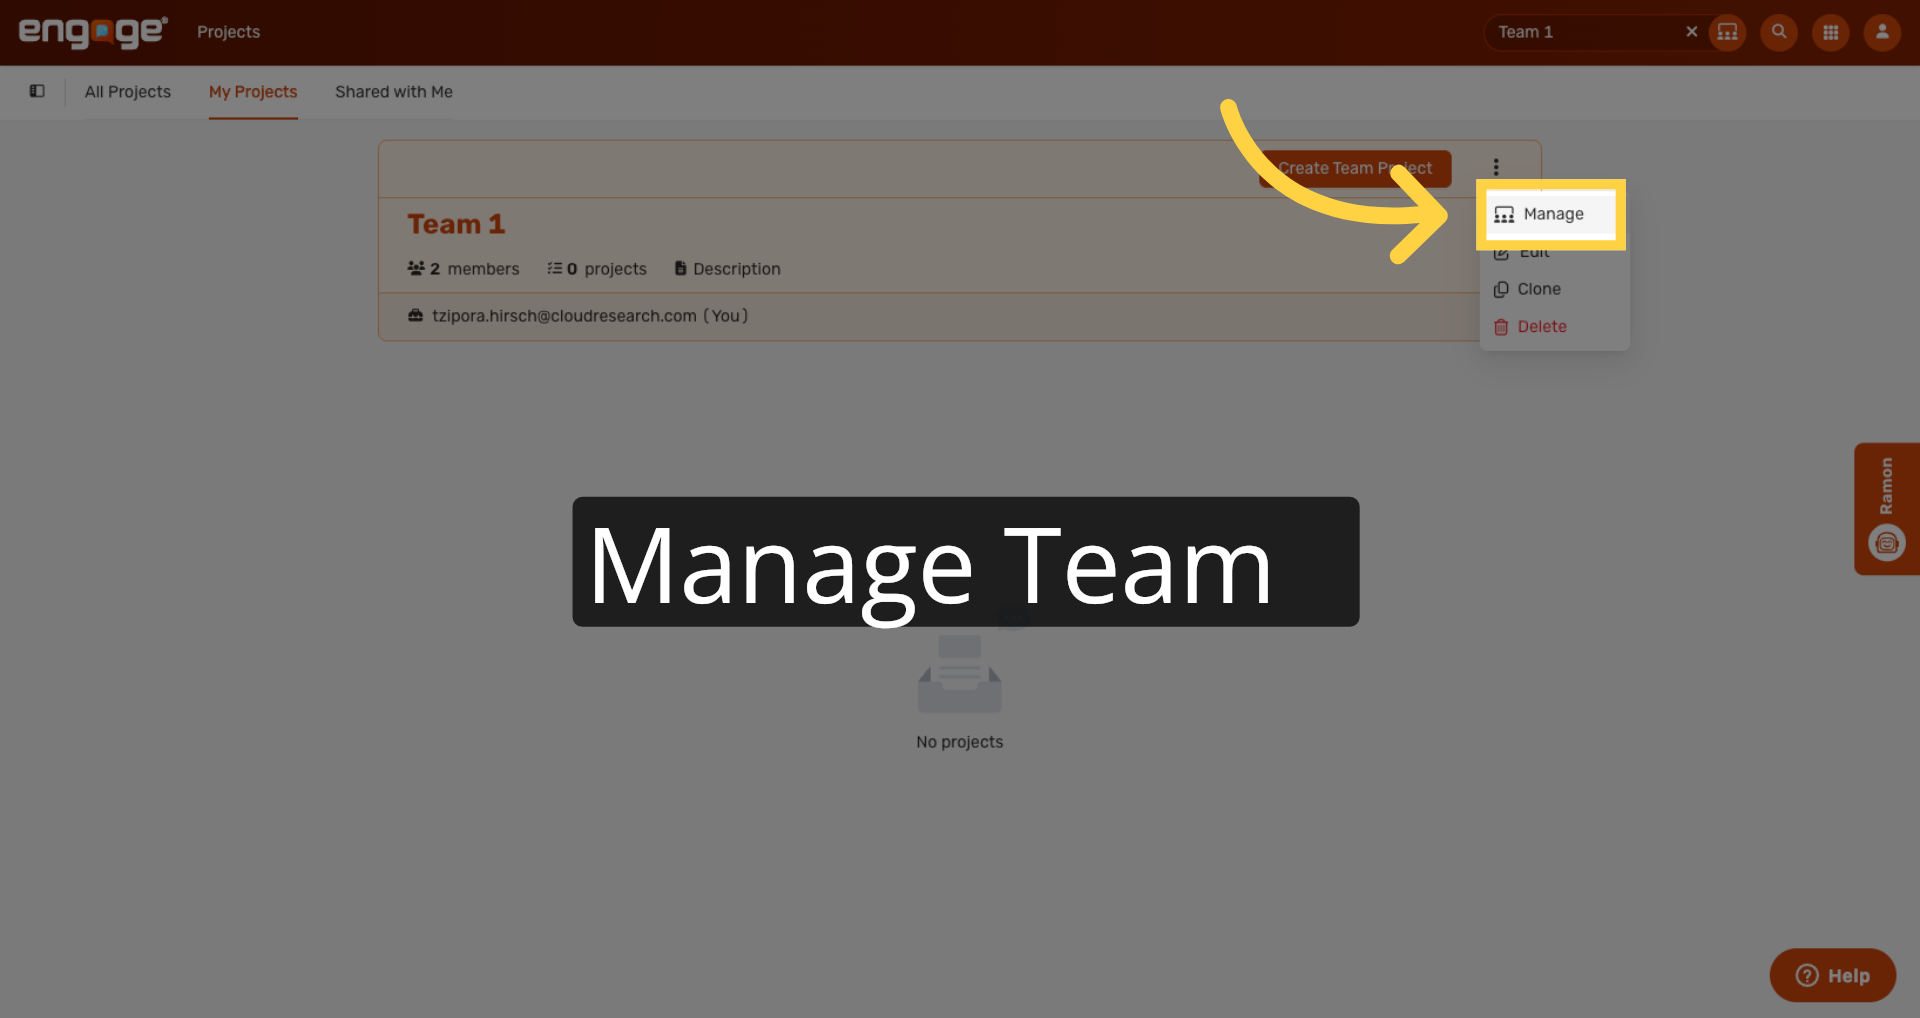
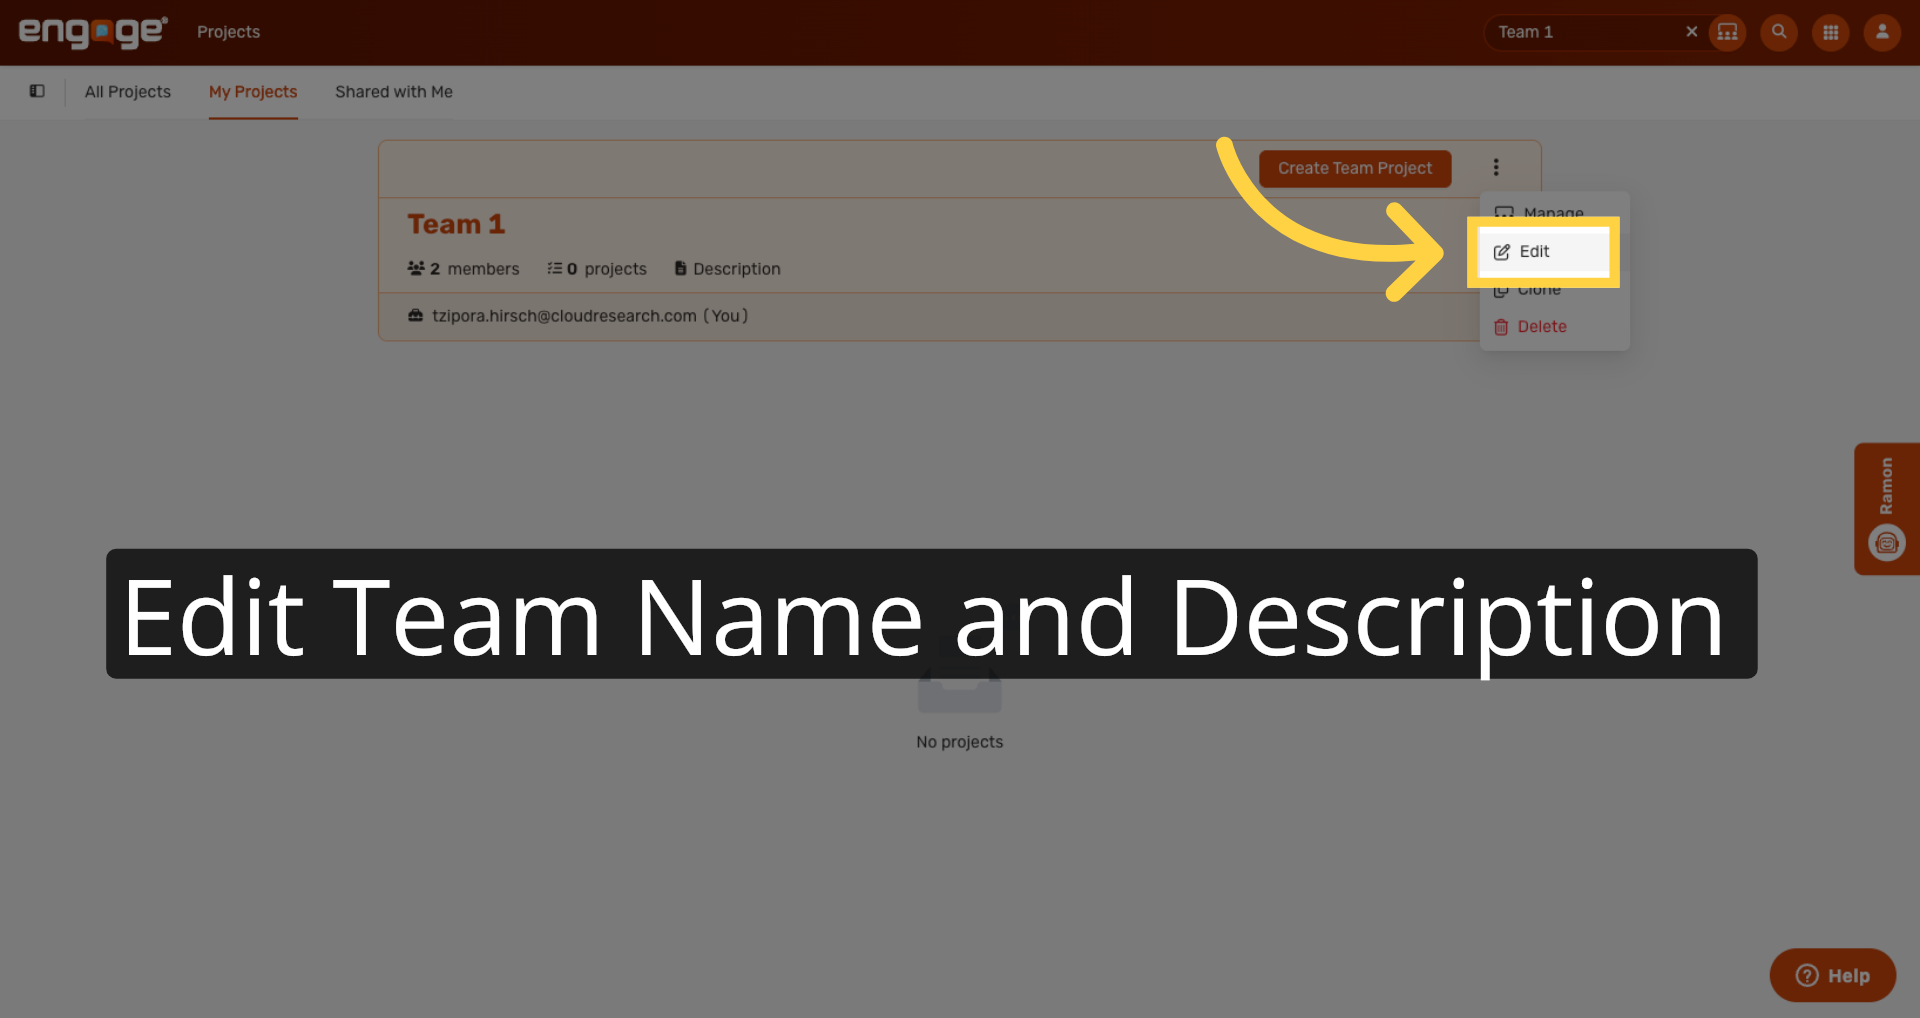
25. Edit Team
Edit lets you change the team name and description.
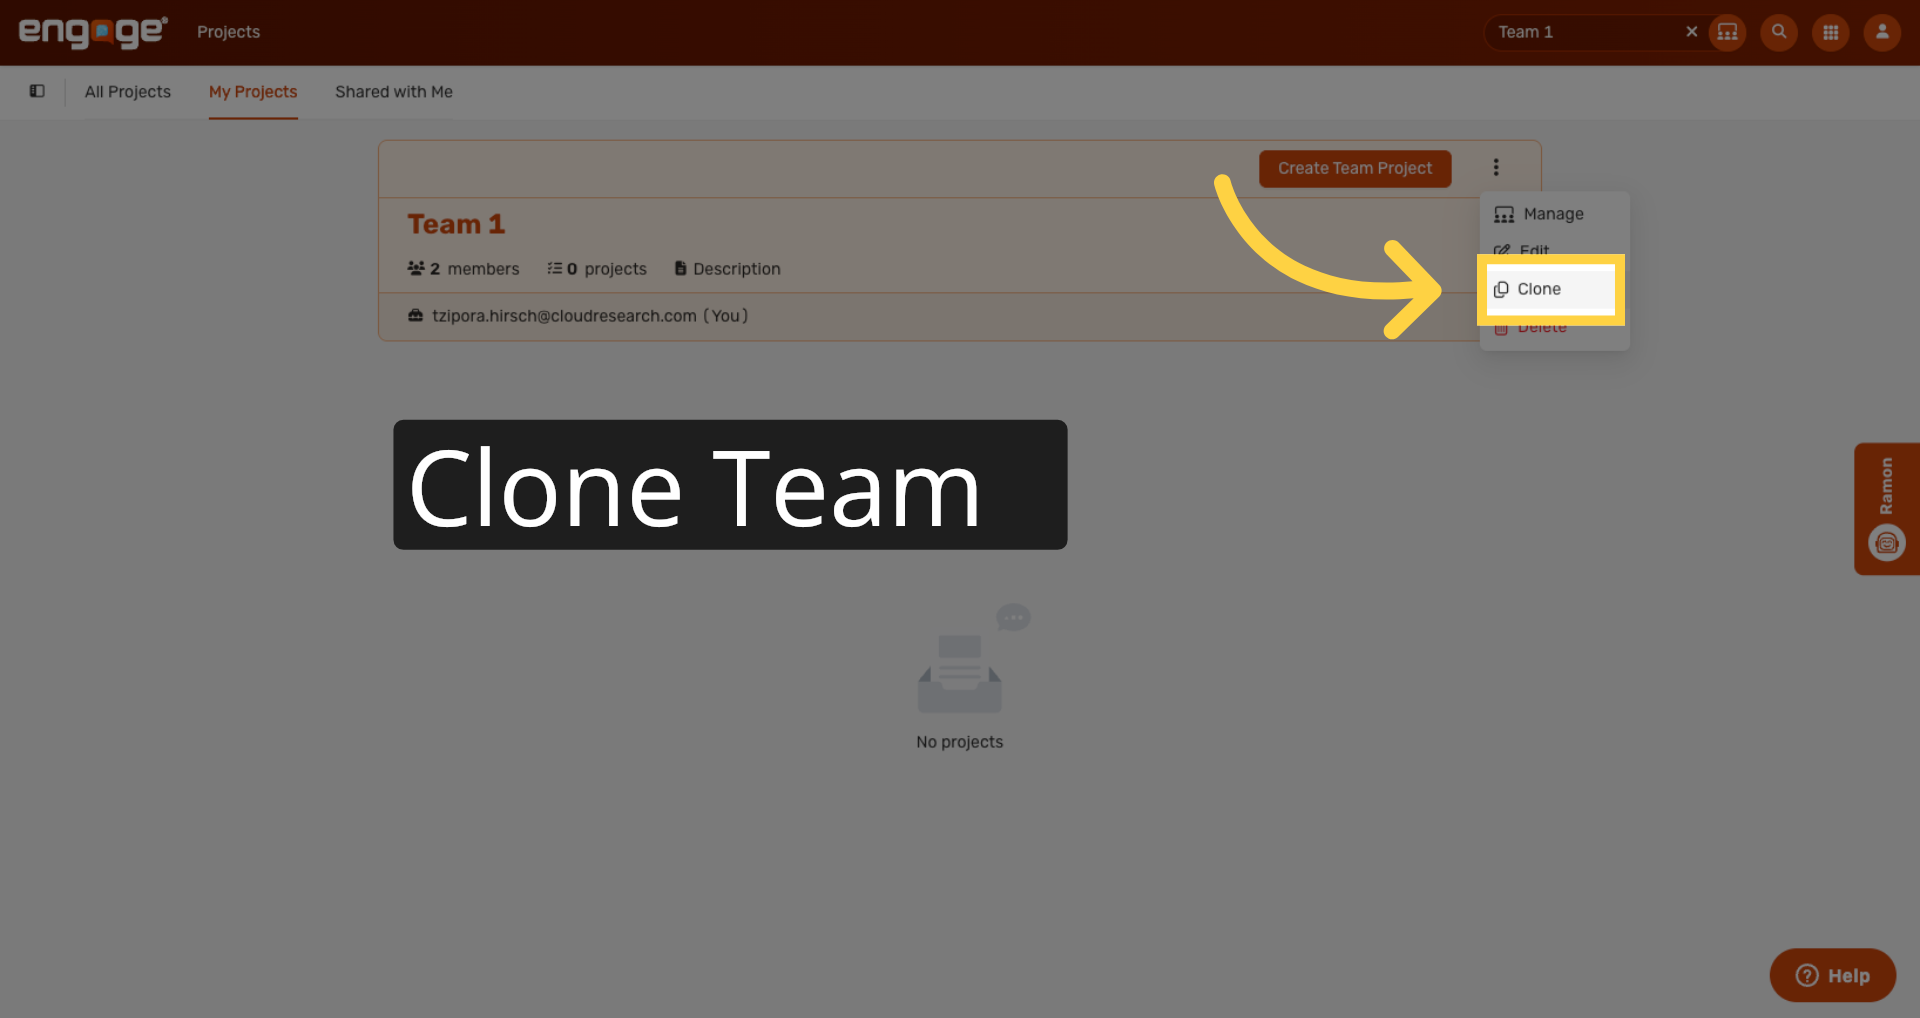
26. Clone Team
Clone creates a duplicate of the team — useful when you want to start a new team with similar settings.
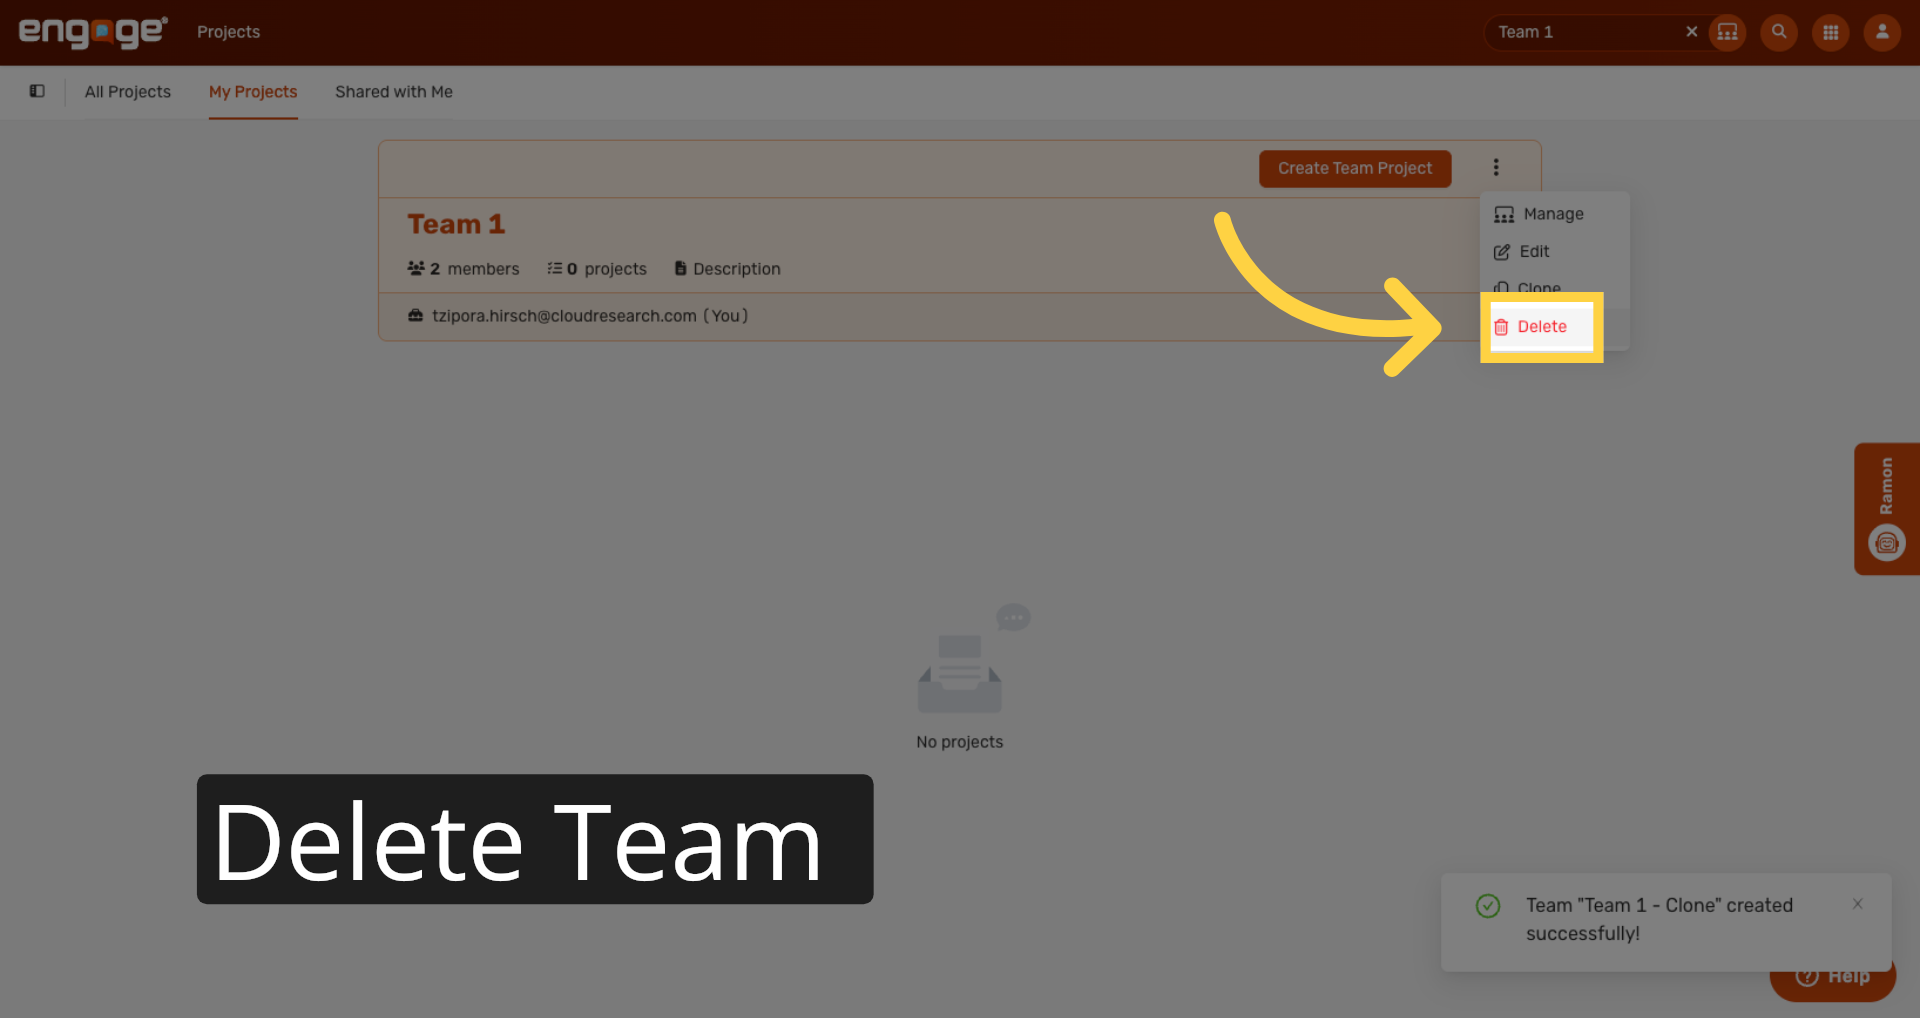
27. Initiate Deletion
Delete removes the team entirely.
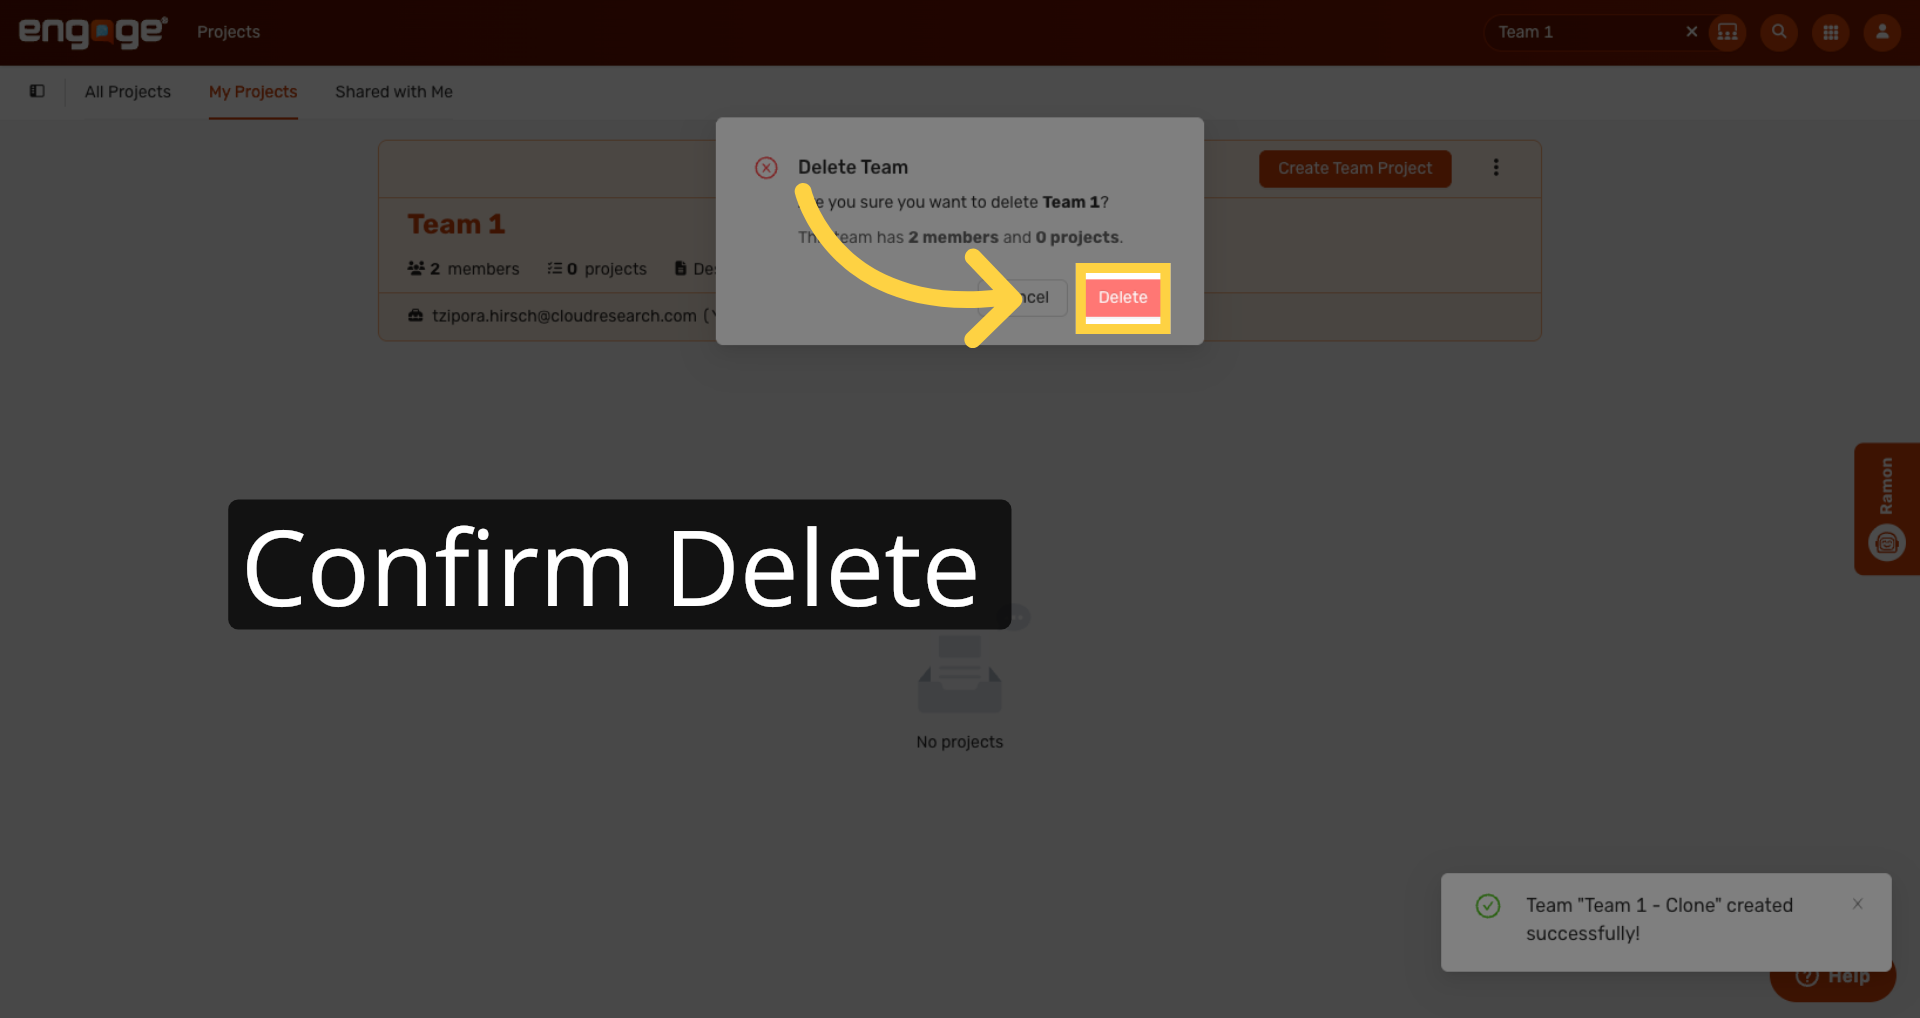
28. Confirm Deletion
Confirm to permanently delete the team.
That's how to set up and manage teams in Engage. For more information, feel free to reach out to our support team or access our other guides.
Comments
0 comments
Please sign in to leave a comment.