
Welcome to our guide on setting up quotas in Engage. This tutorial will walk you through creating a quota. Quotas in Engage let you control how many participants you collect for each segment of your study. Use them to balance demographic groups, cap responses on key conditions, or stop a study automatically once enough sessions have been collected.
Go to engage.cloudresearch.com
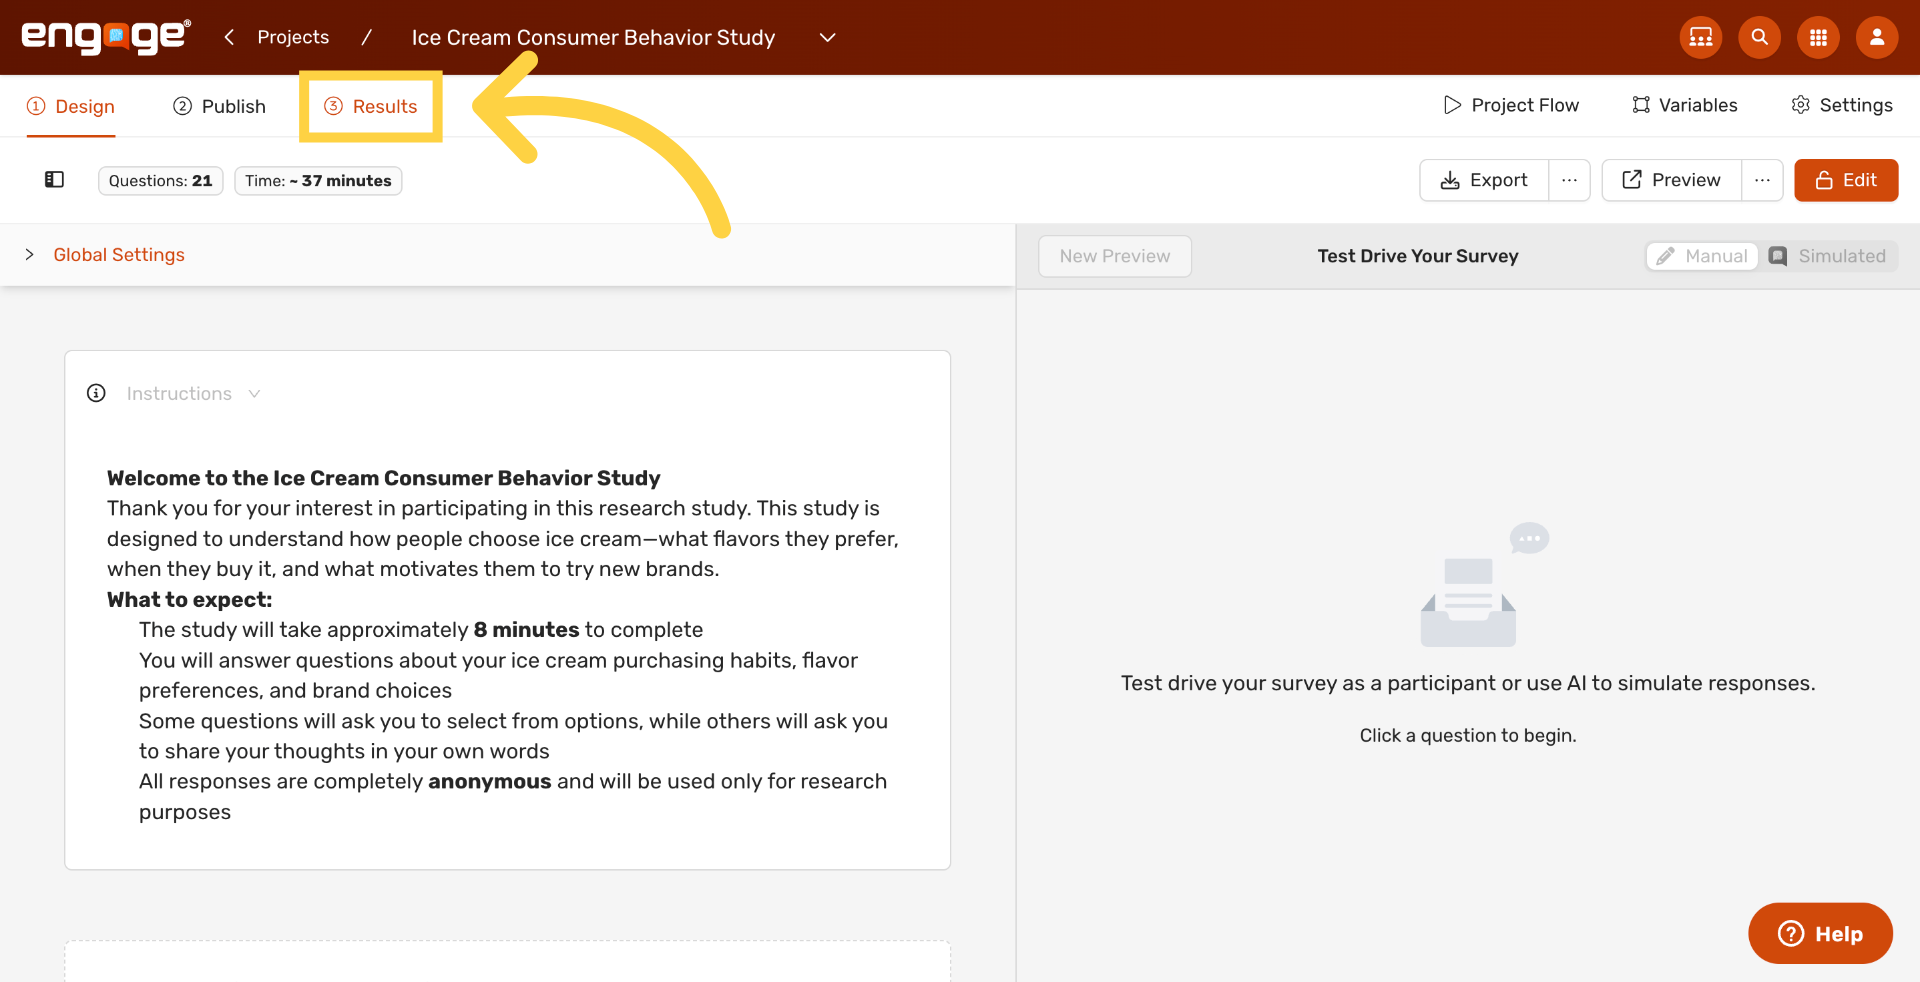
1. Access Study Results
From inside your project, click Results to open the analysis area where session data and quotas are managed.
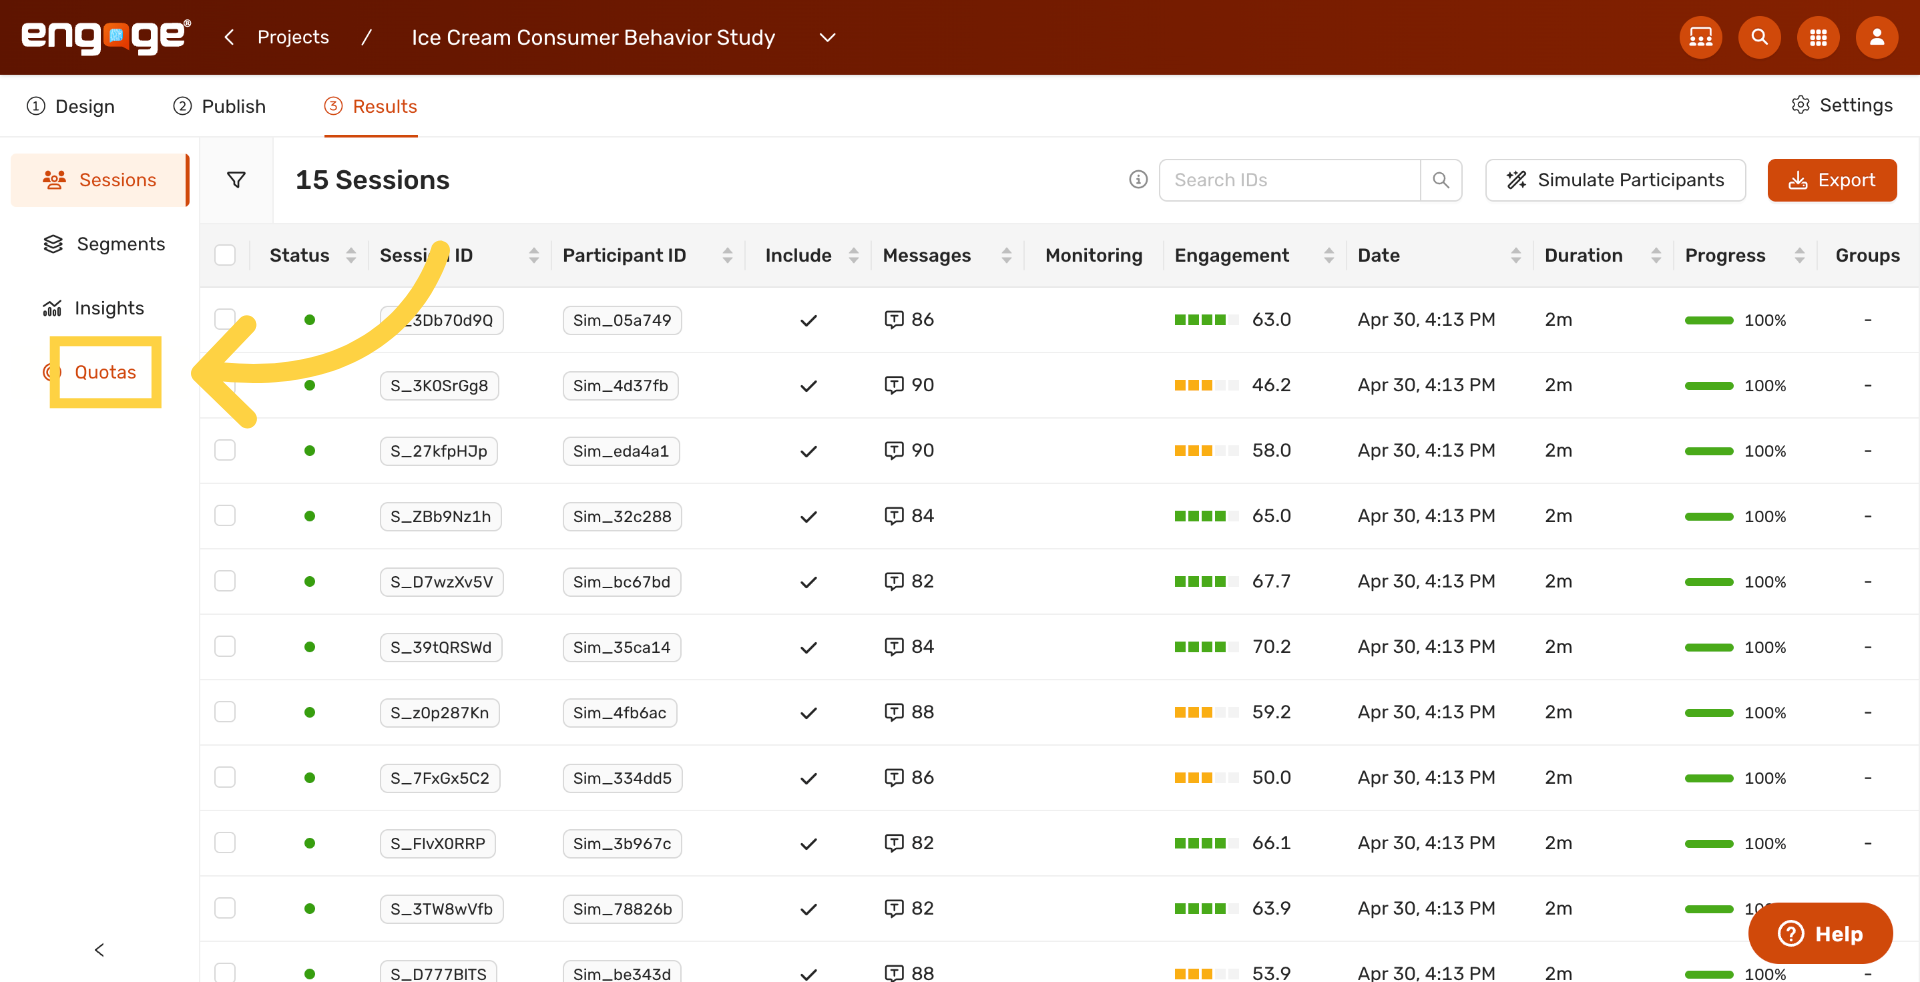
2. Open the Quota Tracker
In the left rail, click Quotas to open the Quota Tracker for this study.
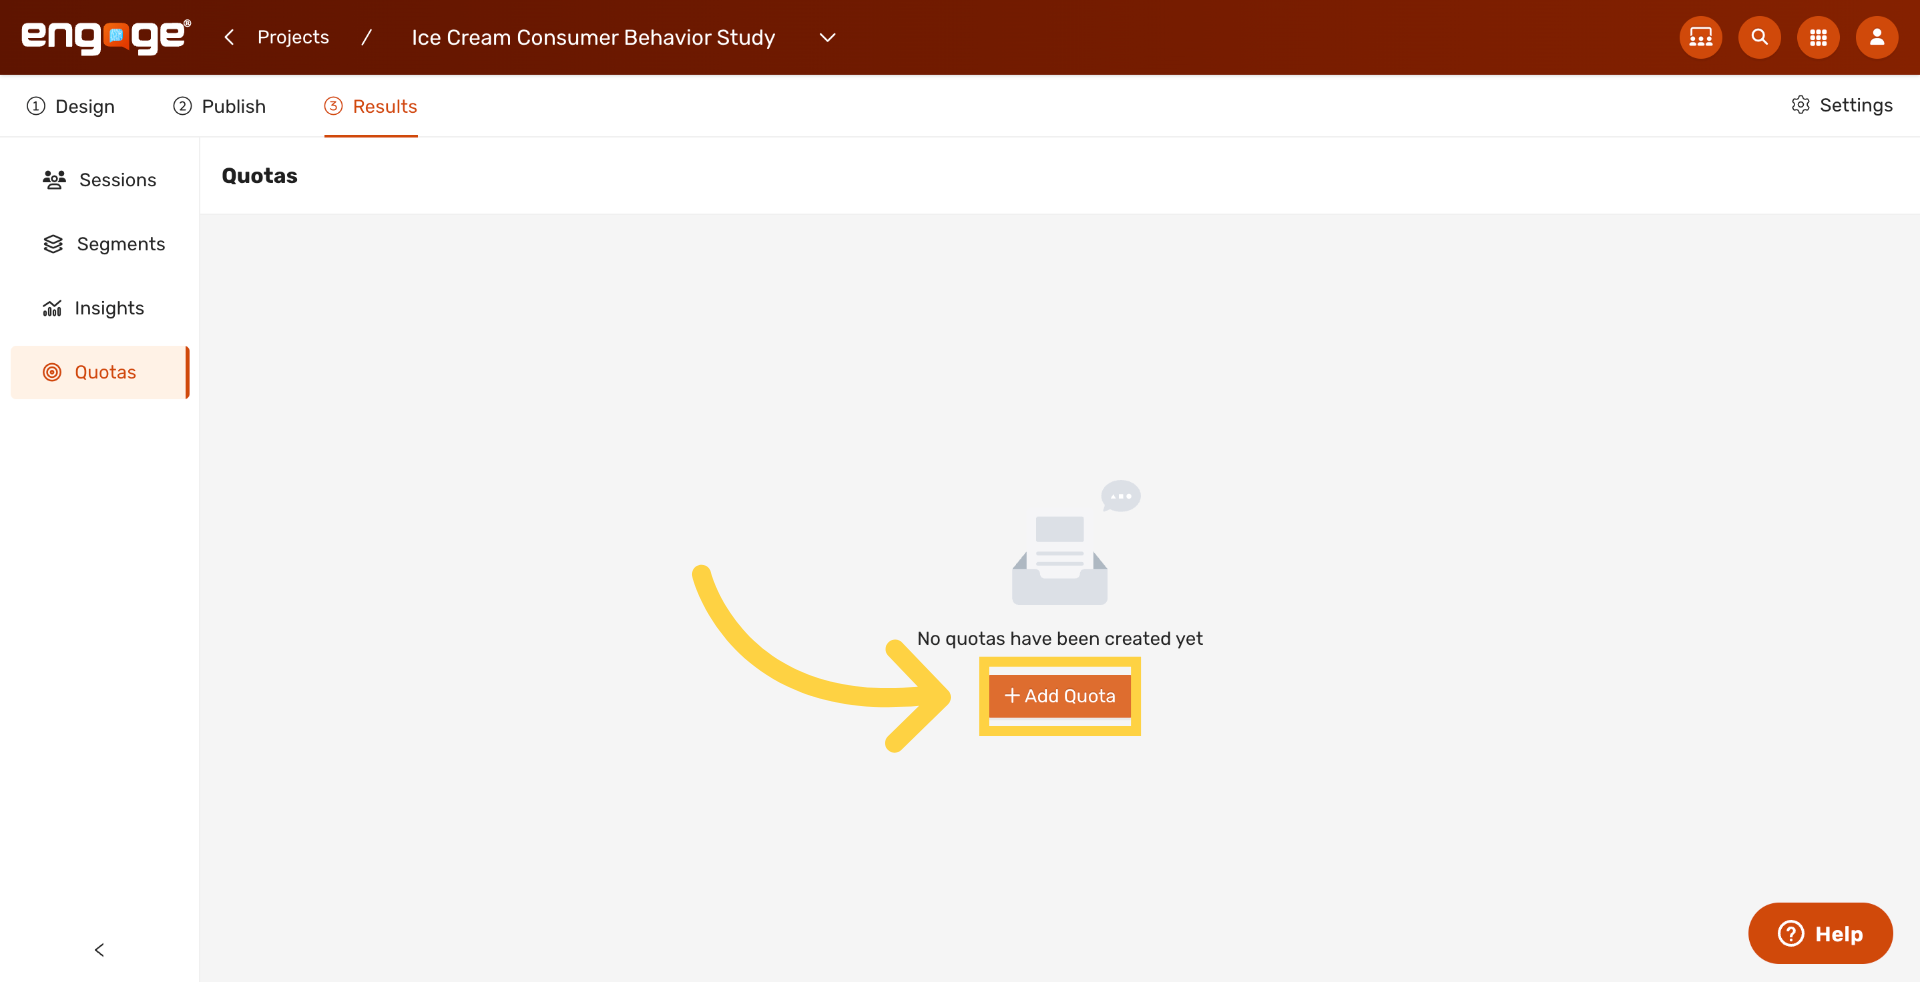
3. Add New Quota
Click Add Quota to start defining a new quota for your study.
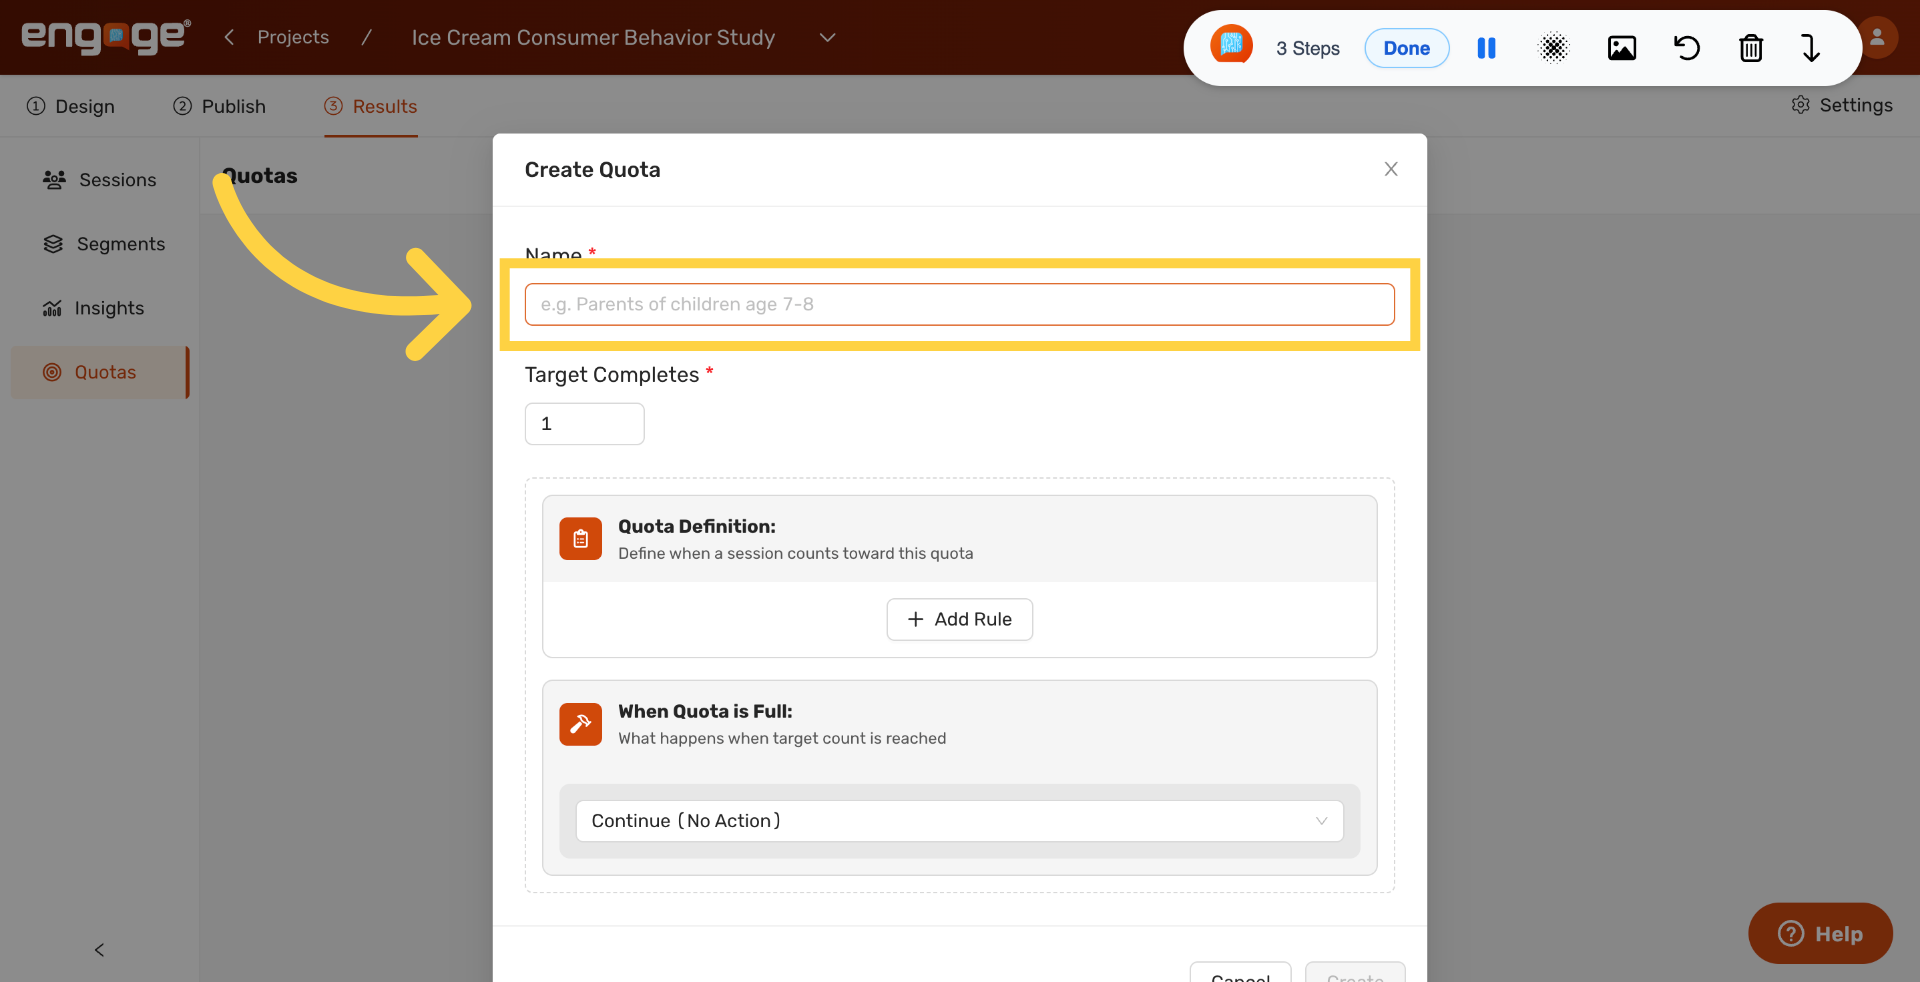
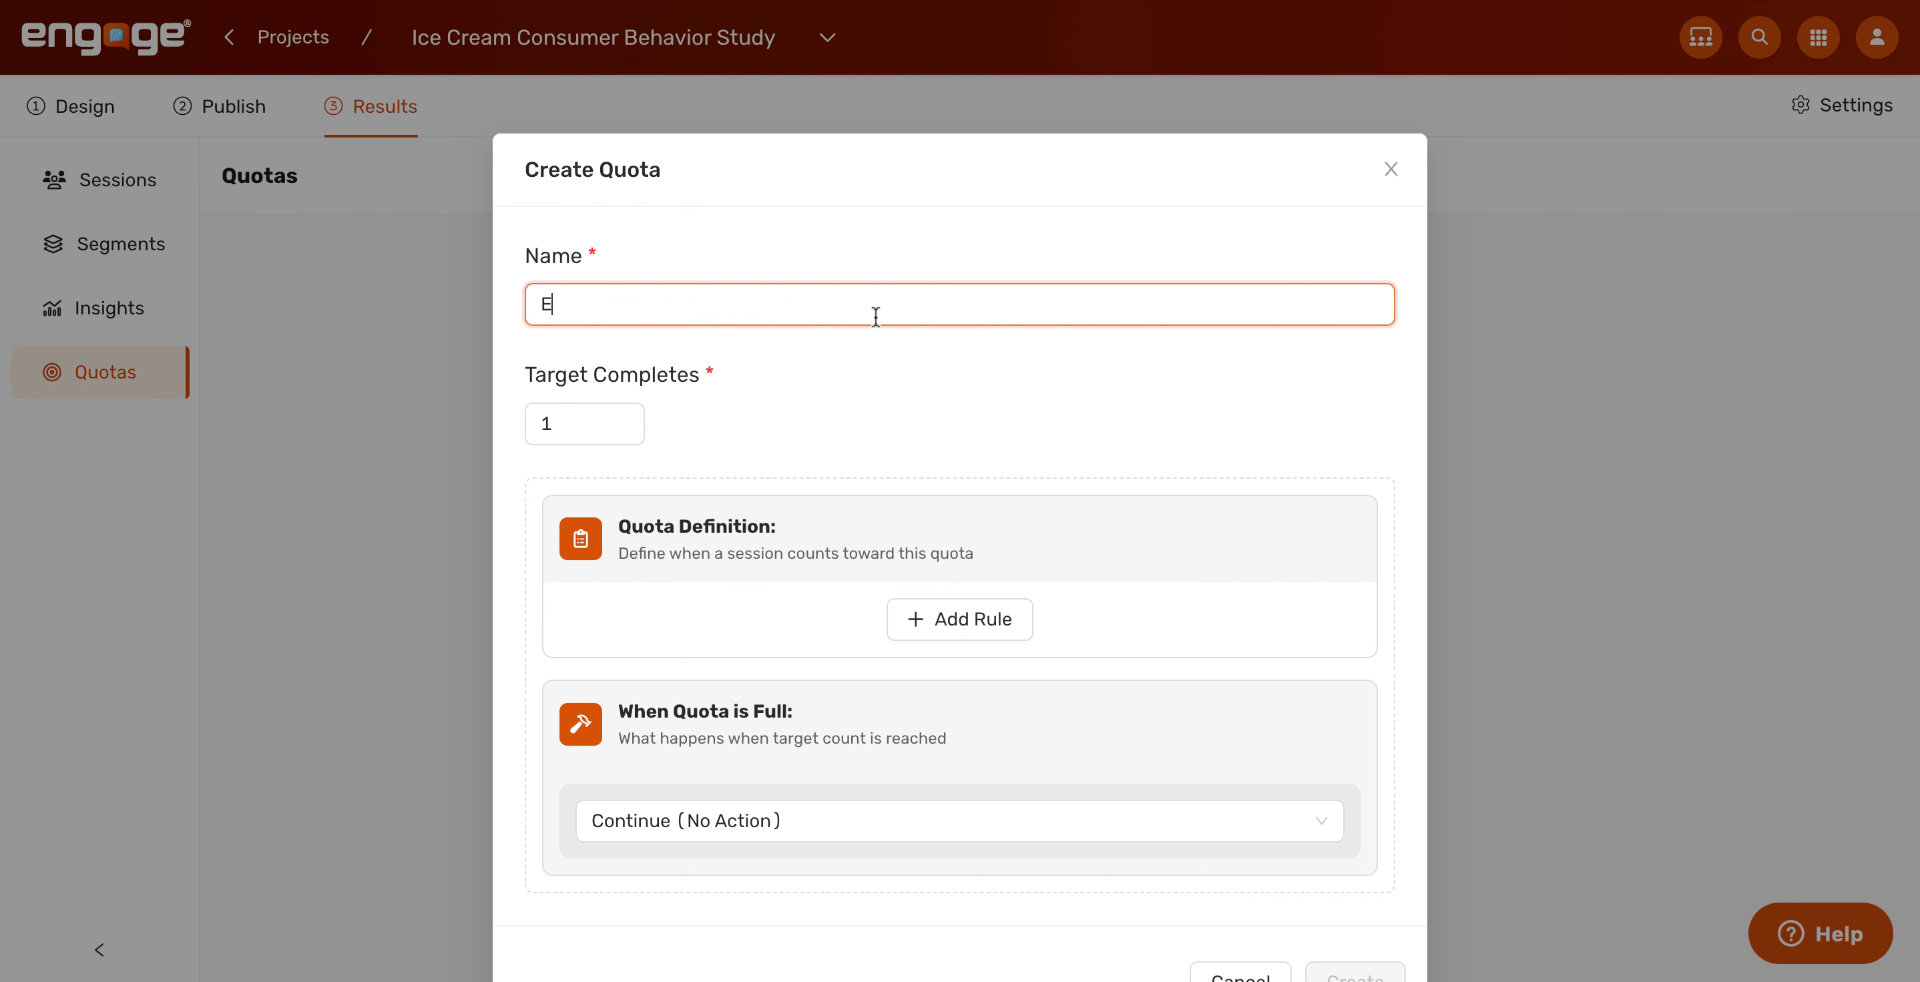
4. Open the Name Field
Click into the Name field. The placeholder text is just an example, so replace it with a clear label that describes the participant group you are tracking.
5. Name the Quota
Type a name that describes who this quota is tracking. In this example, we are tracking participants who eat ice cream once a week.
6. Open the Target Completes Field
Click the Target Completes field to set how many participants you want for this quota.

7. Set Target Completes
Type the number of completes you want for this quota. In this example, we are aiming for ten participants.

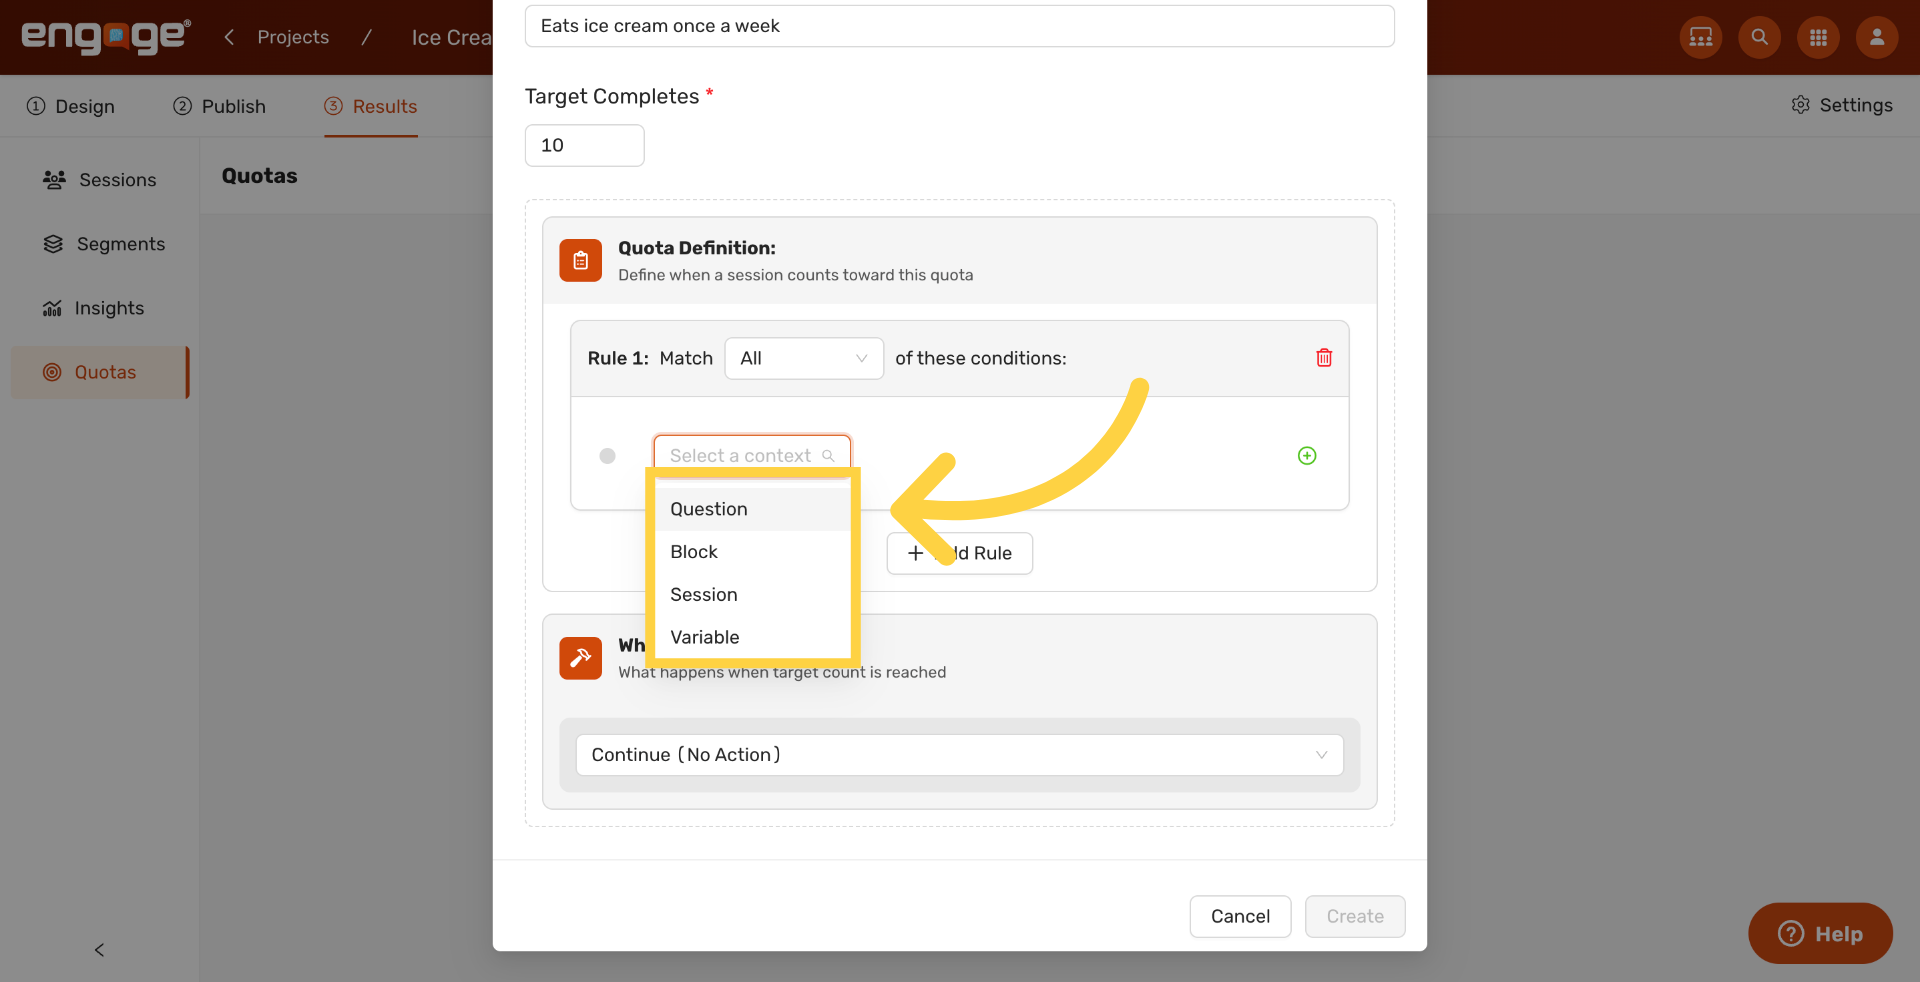
8. Choose a Rule Context
In the rule conditions, choose how this quota should be evaluated. Engage offers four context types.
- Question filters by a participant’s answer to a survey question.
- Block filters by which block of your survey the participant has reached.
- Session filters by attributes of the session itself, like device or source.
- Variable filters by a custom value you have stored on the participant.
Here we are choosing Question to filter by a survey response.
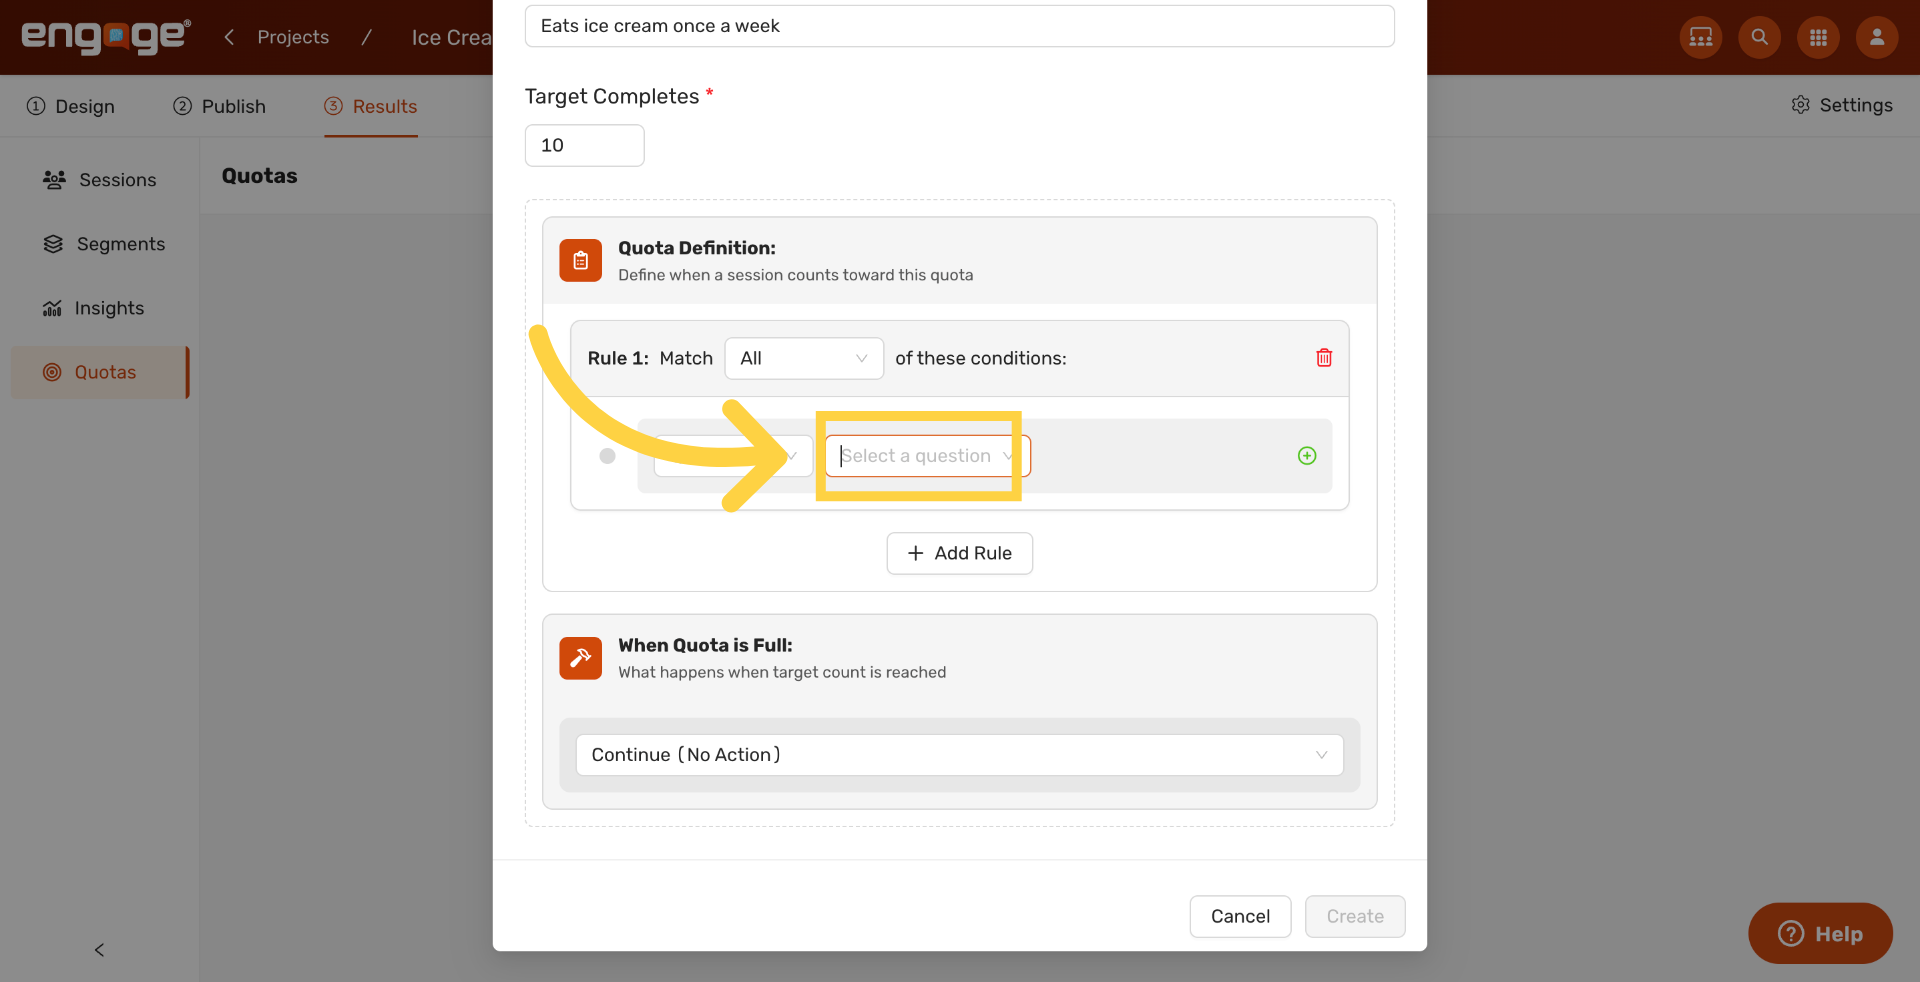
9. Open the Question Picker
Click in the question selector to open the question picker.
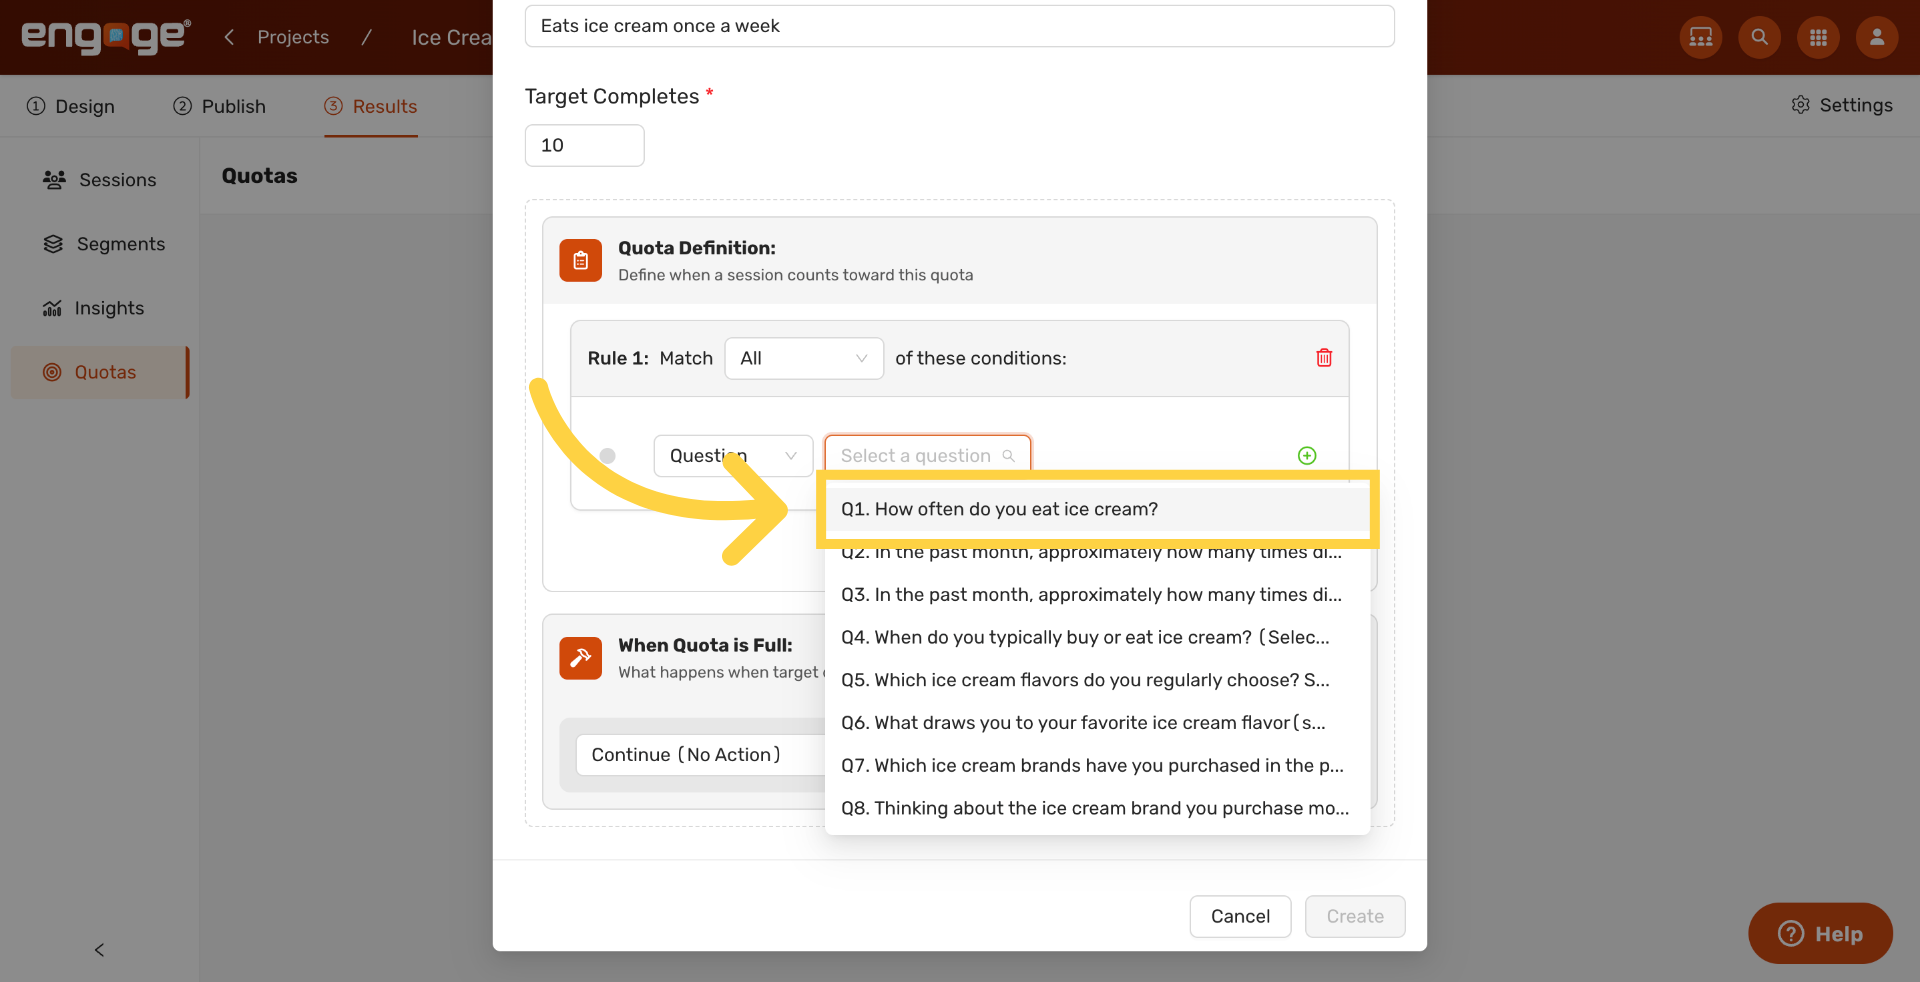
10. Choose Specific Question
Pick the question this quota will key off. Here we choose How often do you eat ice cream?
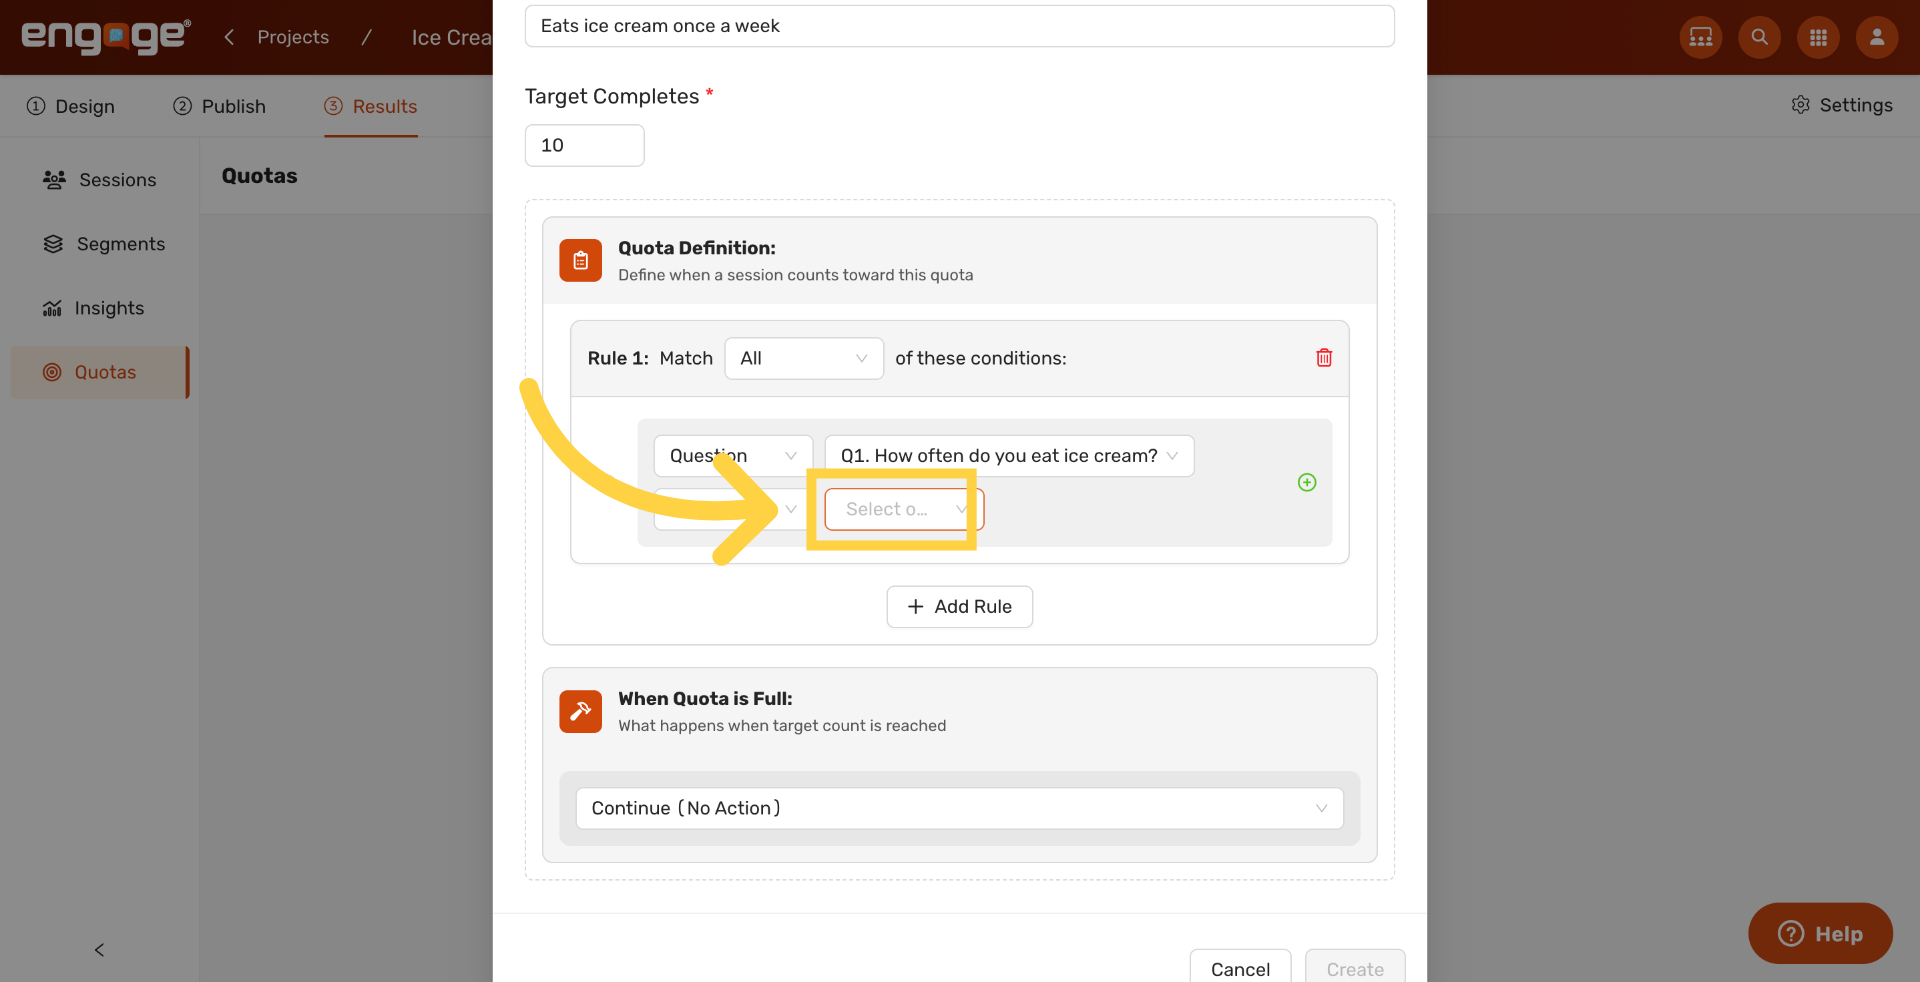
11. Open Option Selector
Click Select option to choose which answer should count toward this quota.
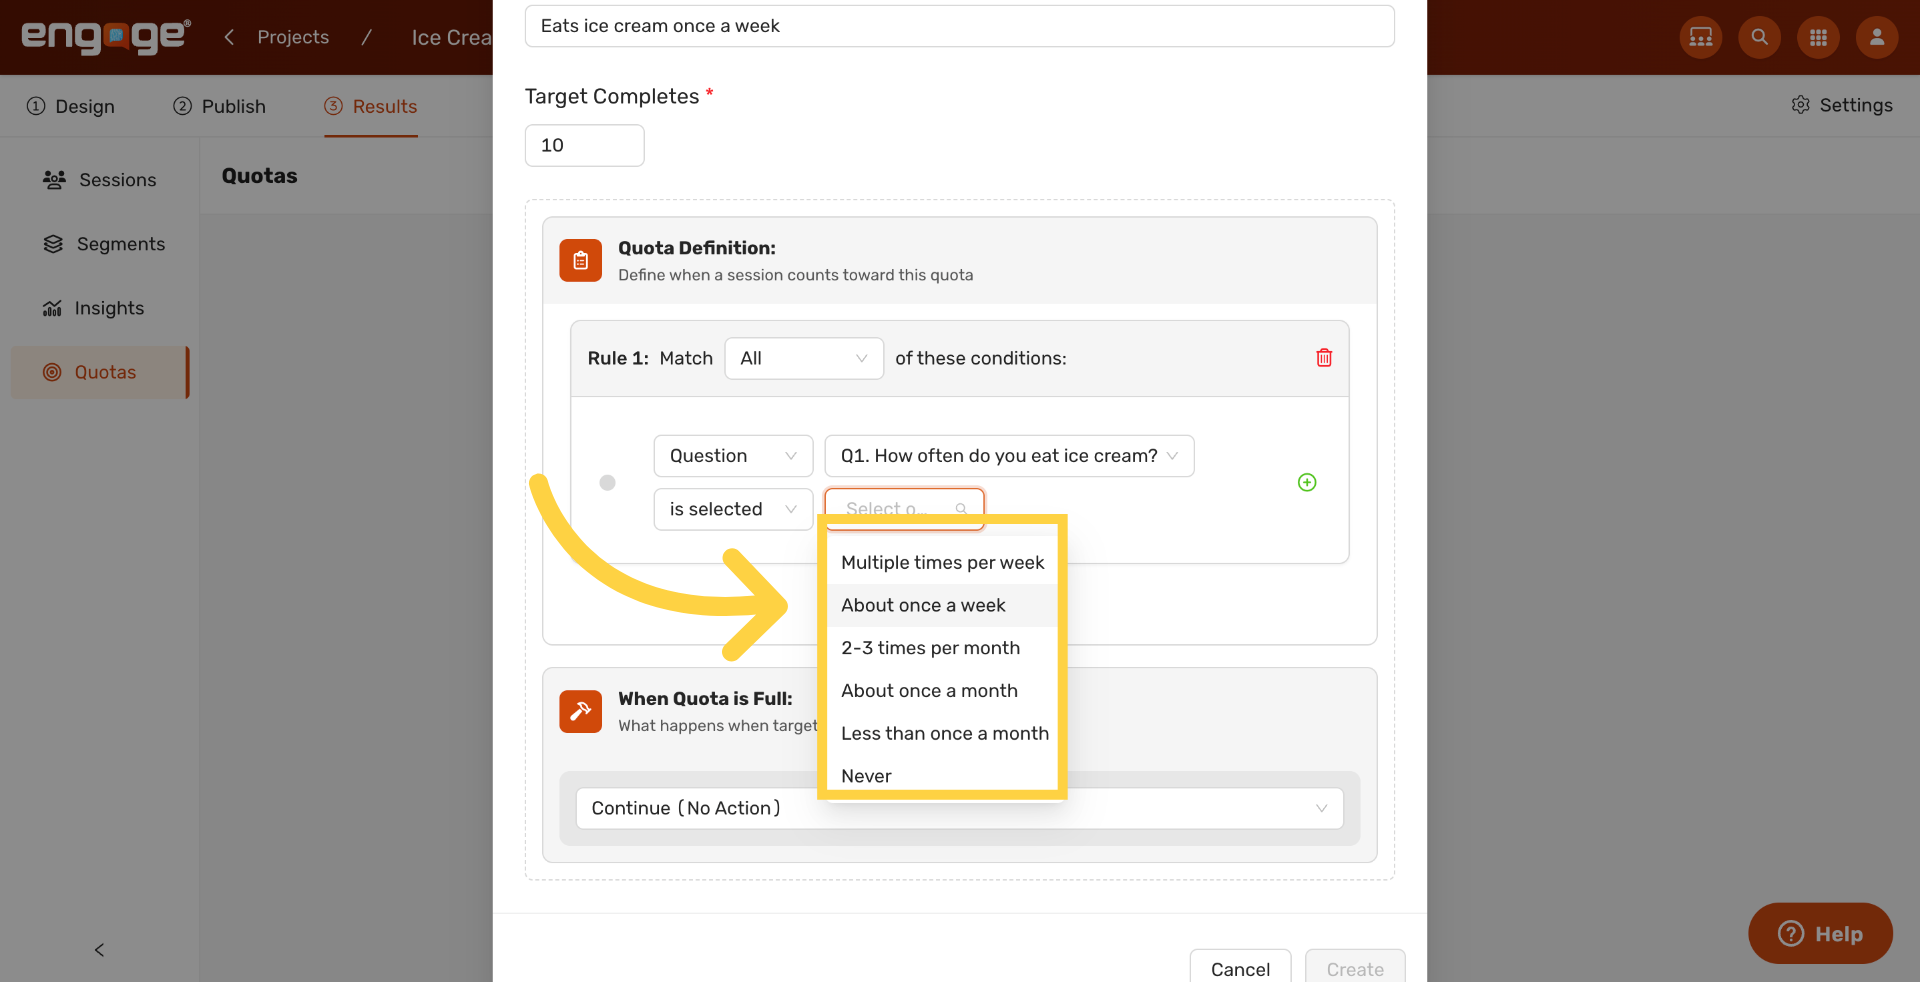
12. Select Answer Option
Pick the answer that should match this quota. In our example, About once a week.
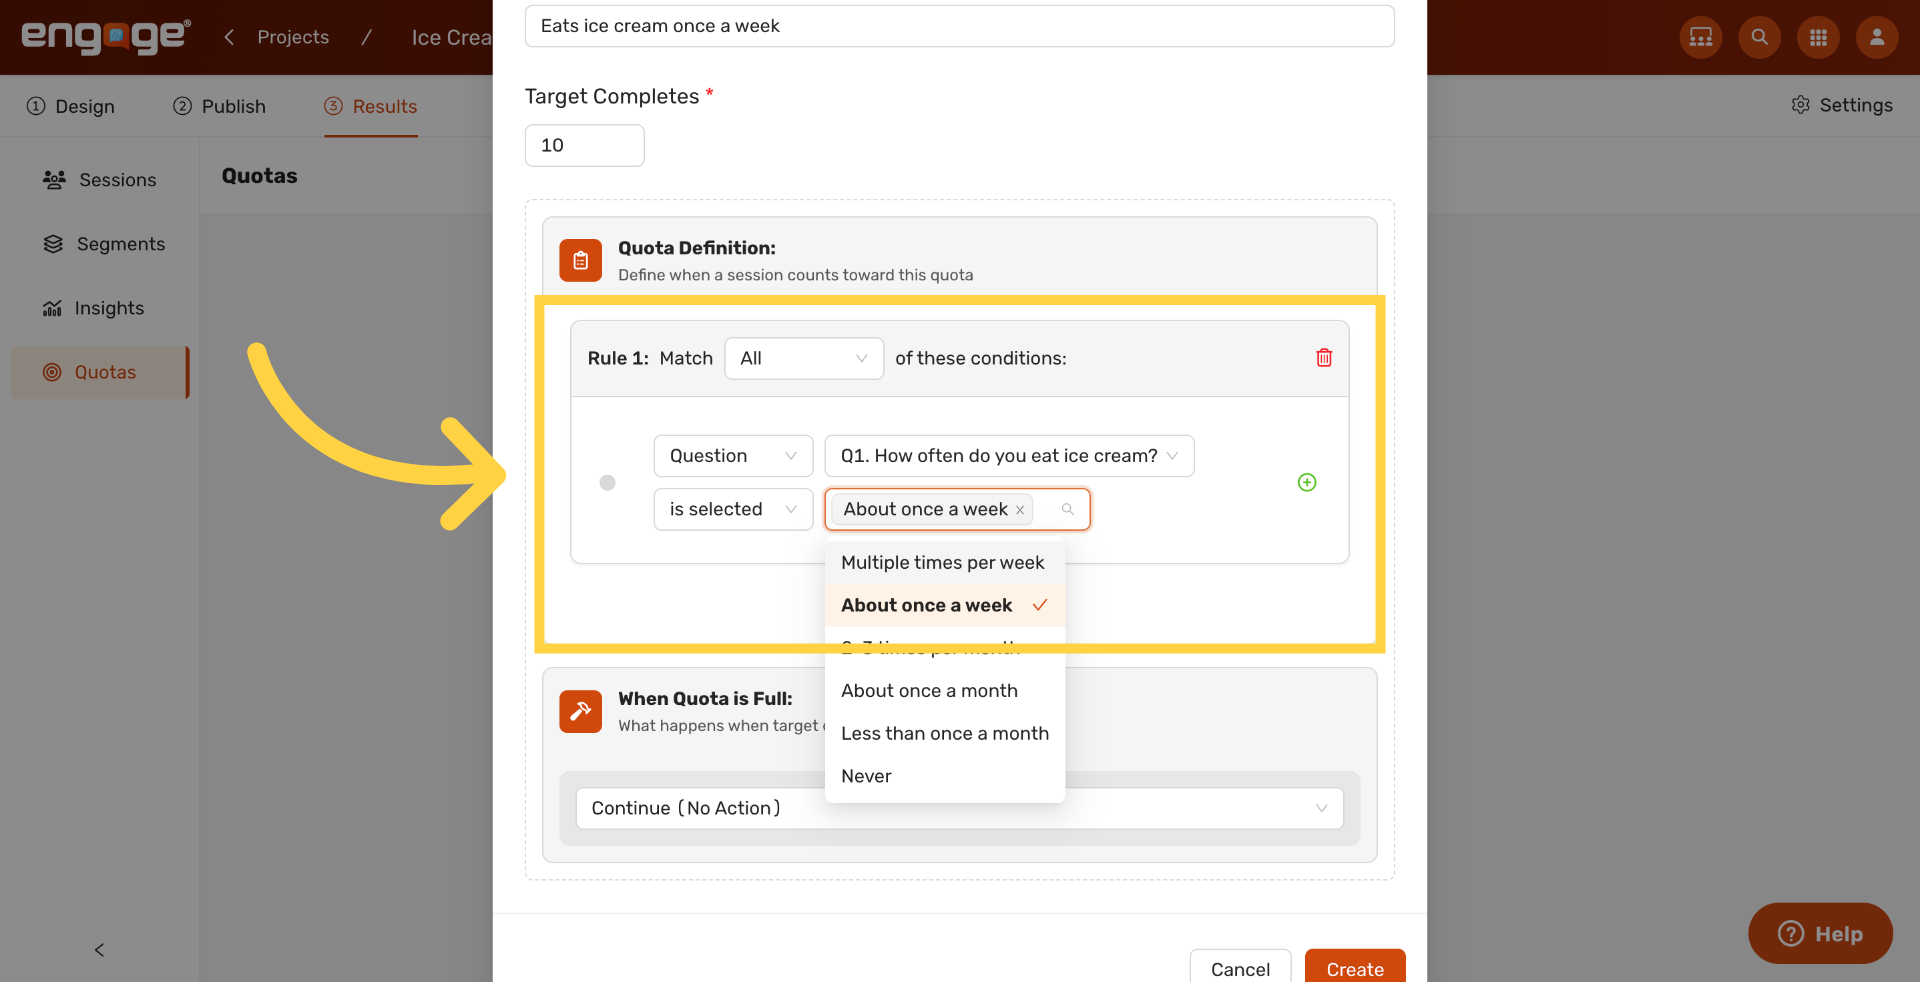
13. Review Quota Rule
The rule preview now reads Match all of: Q1 = About once a week. You can add more conditions to combine rules with All or Any logic.
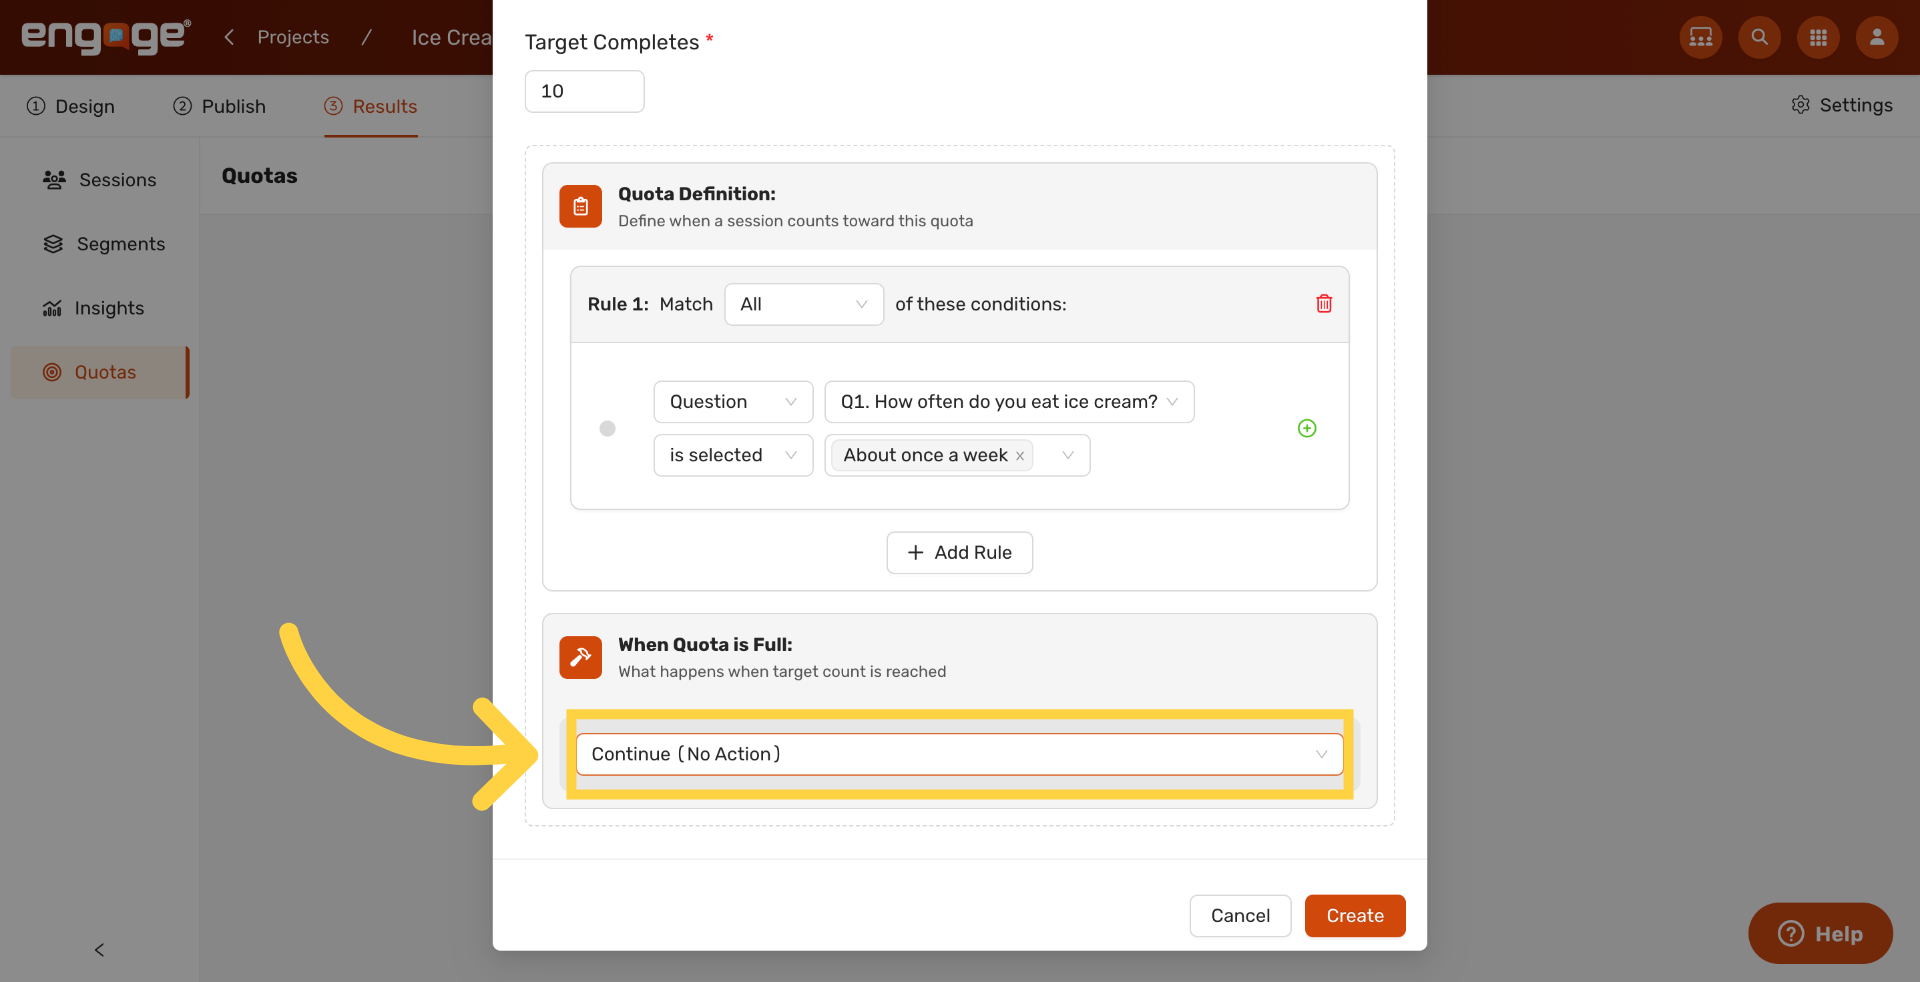
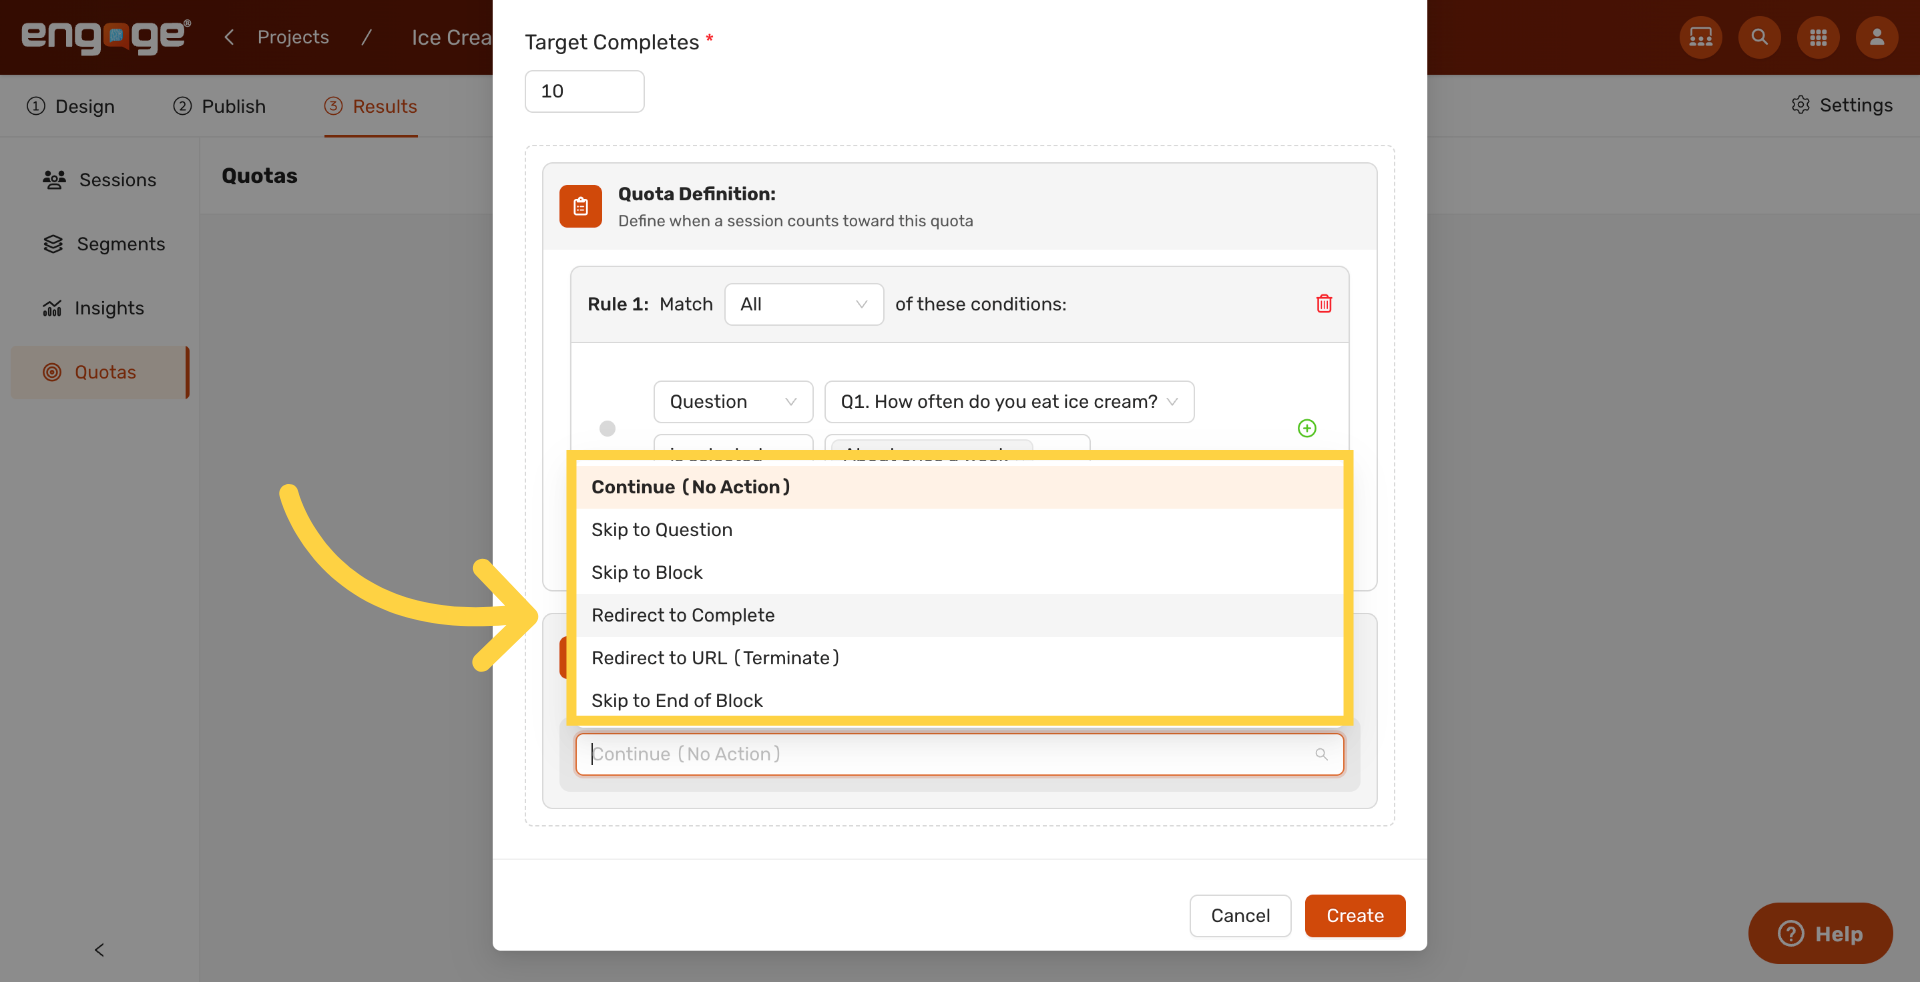
14. Open the "When Quota Is Full" Dropdown
Open the When Quota is Full dropdown to choose what happens once the target is reached. Engage offers six fulfillment actions.
- Continue (No Action) lets the participant finish the survey normally.
- Skip to Question jumps the participant to a specific question.
- Skip to Block moves the participant to a different block.
- Skip to End of Block ends the current block early.
- Redirect to Complete sends the participant to your study’s complete page.
- Redirect to URL terminates the session at a custom URL of your choice.
15. Pick the Fulfillment Action
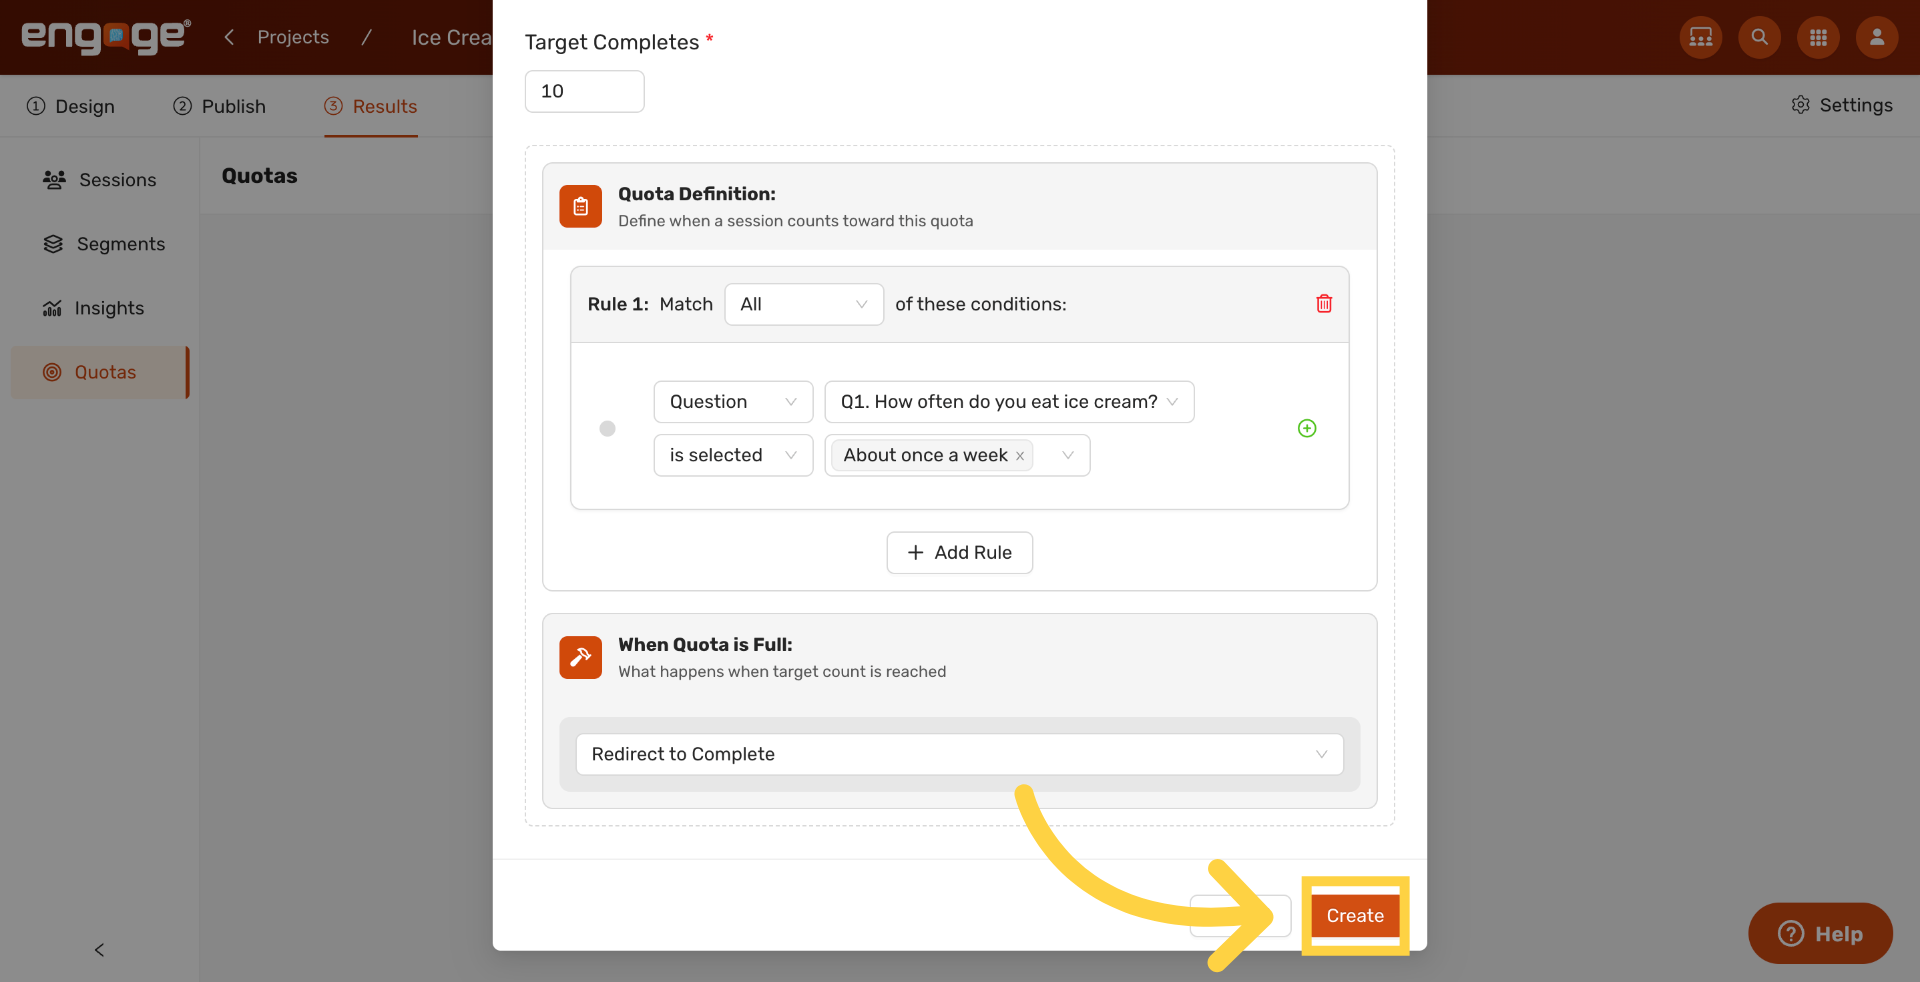
Choose the action you want once the quota fills. Here we pick Redirect to Complete so participants who arrive after the target is reached are sent to the complete page.
16. Create Quota
Click Create to save the quota. It appears on the Quota Tracker and starts counting matching sessions immediately.
Thank you for watching. If you have any questions, please reach out to our support team or explore our other Engage guides.
Comments
0 comments
Please sign in to leave a comment.