
Welcome to our guide on managing quotas and the quota dashboard in Engage. This tutorial will walk you through tracking test versus live quota trackers, participant sessions, setting quota eligibility threshold, and sorting and filtering on the quota dashboard.
Go to [engage.cloudresearch.com](http://engage.cloudresearch.com)
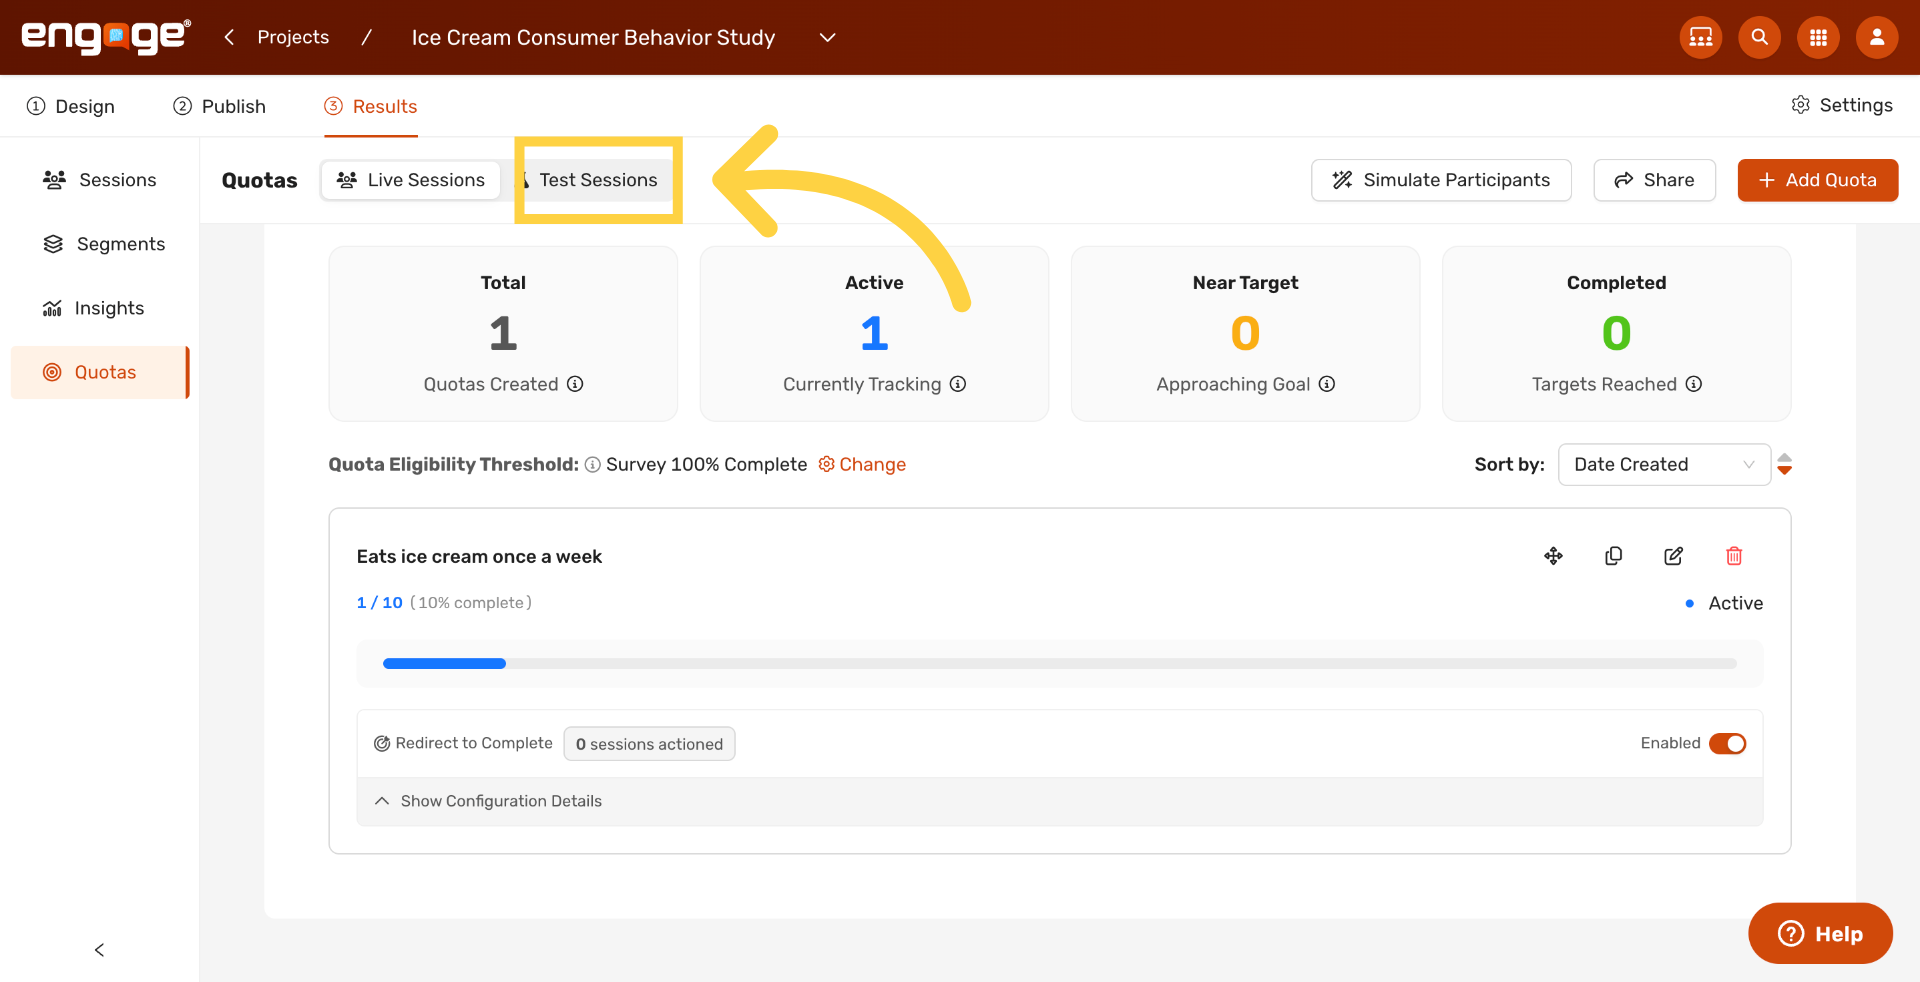
1. Open Test Sessions
At the top of the Quota Tracker, click Test Sessions to see how the quota fills during testing without affecting live counts.
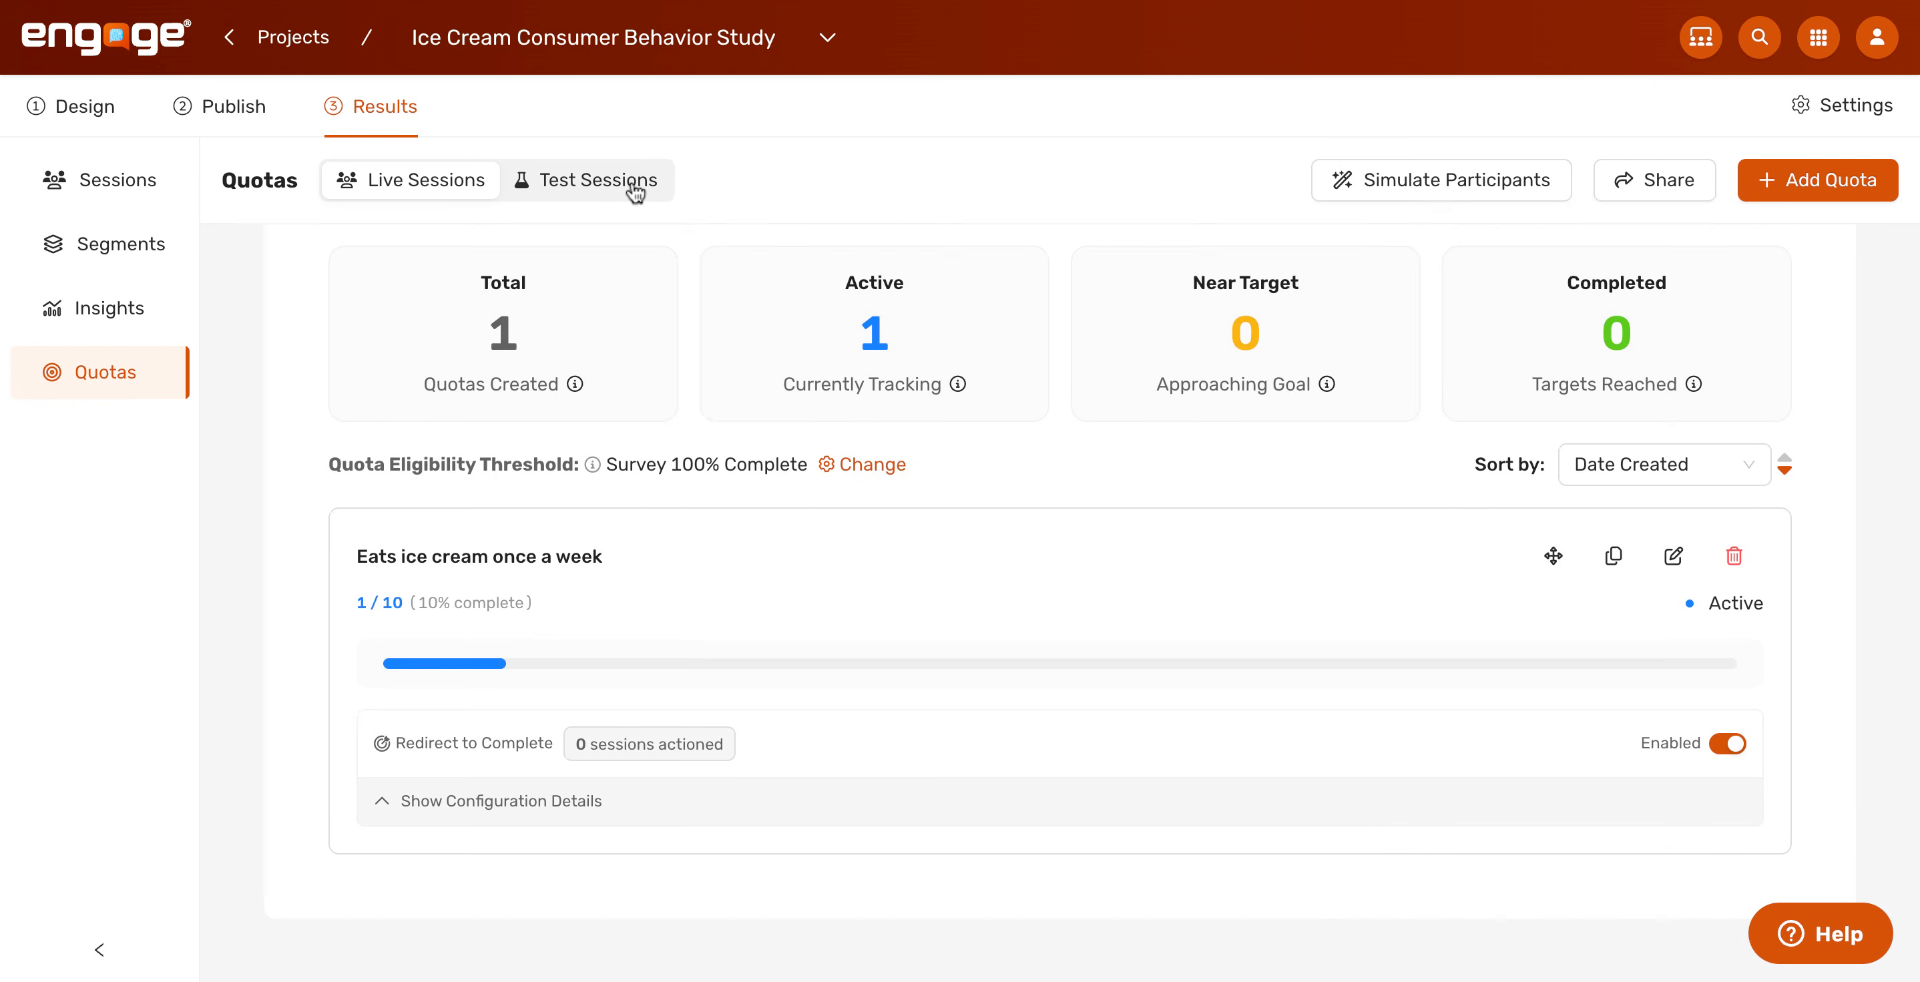
2. Enable Test Sessions
Toggle Test Sessions on to include sessions from previewing or QA in the quota counts.
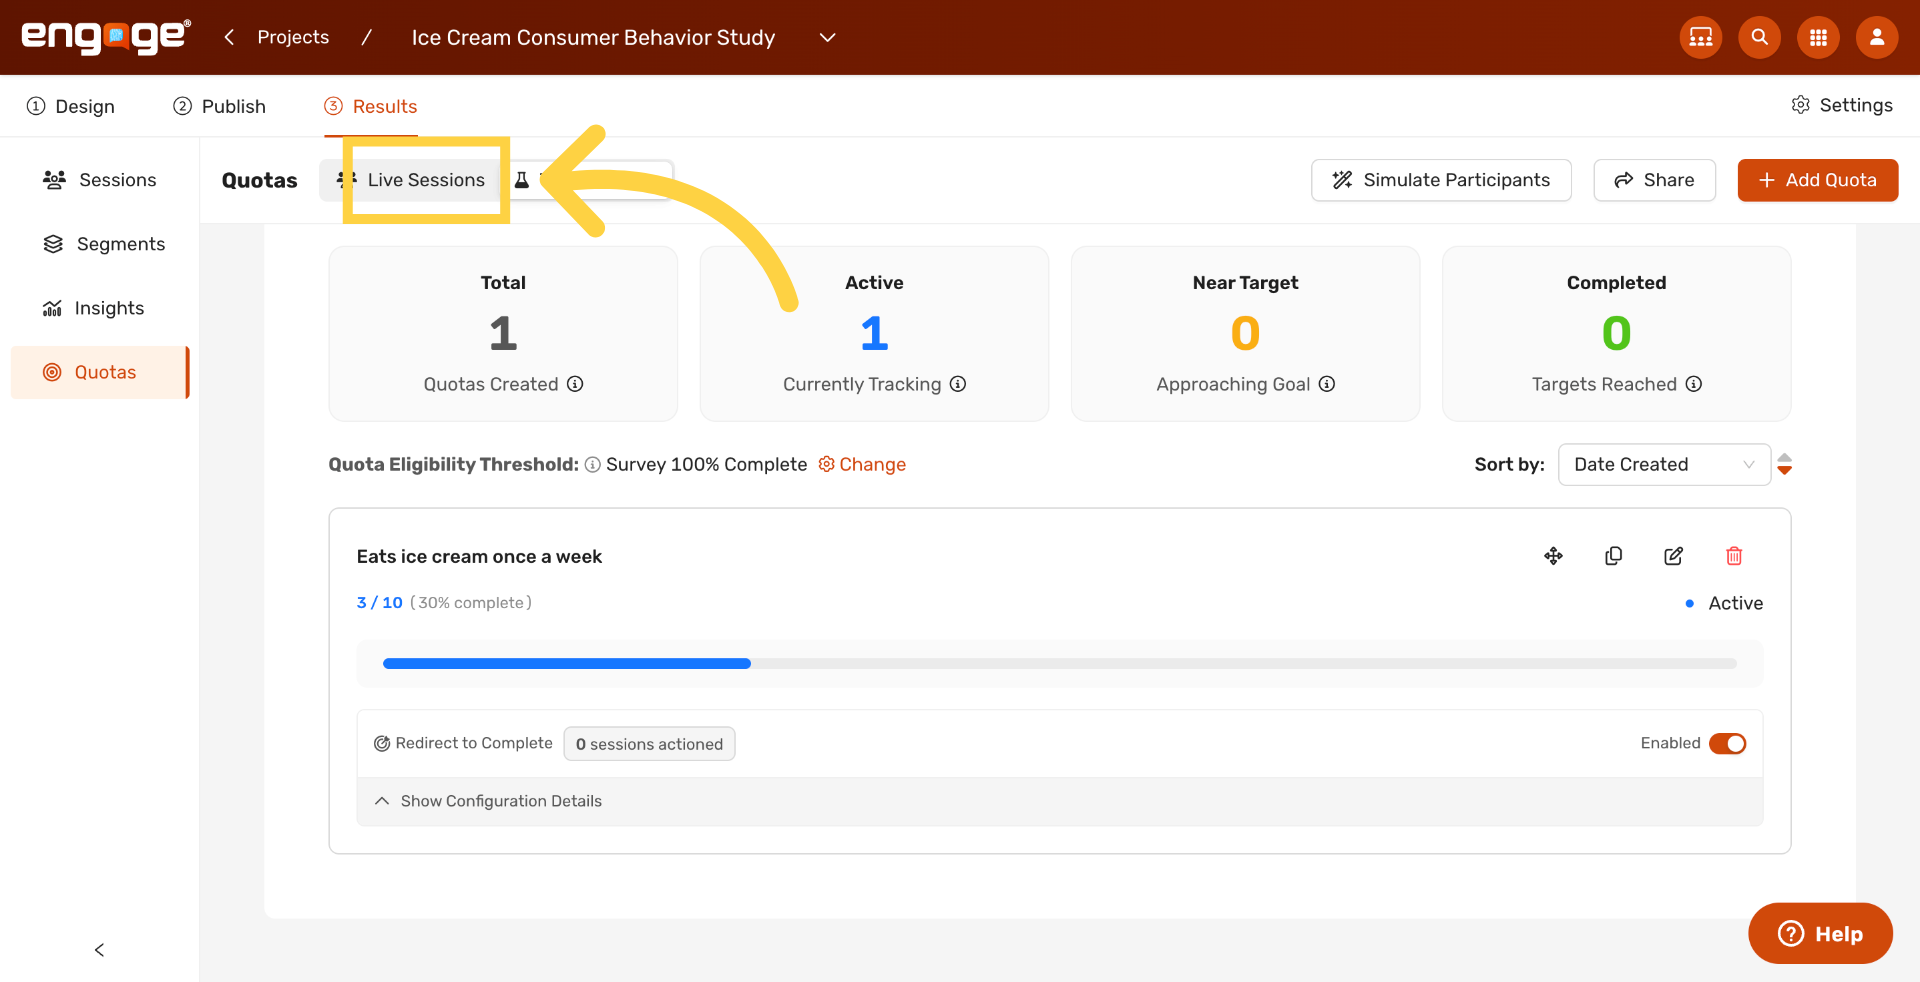
3. Open Live Sessions
Click Live Sessions to switch the view to participants who reached your study from a recruitment source.
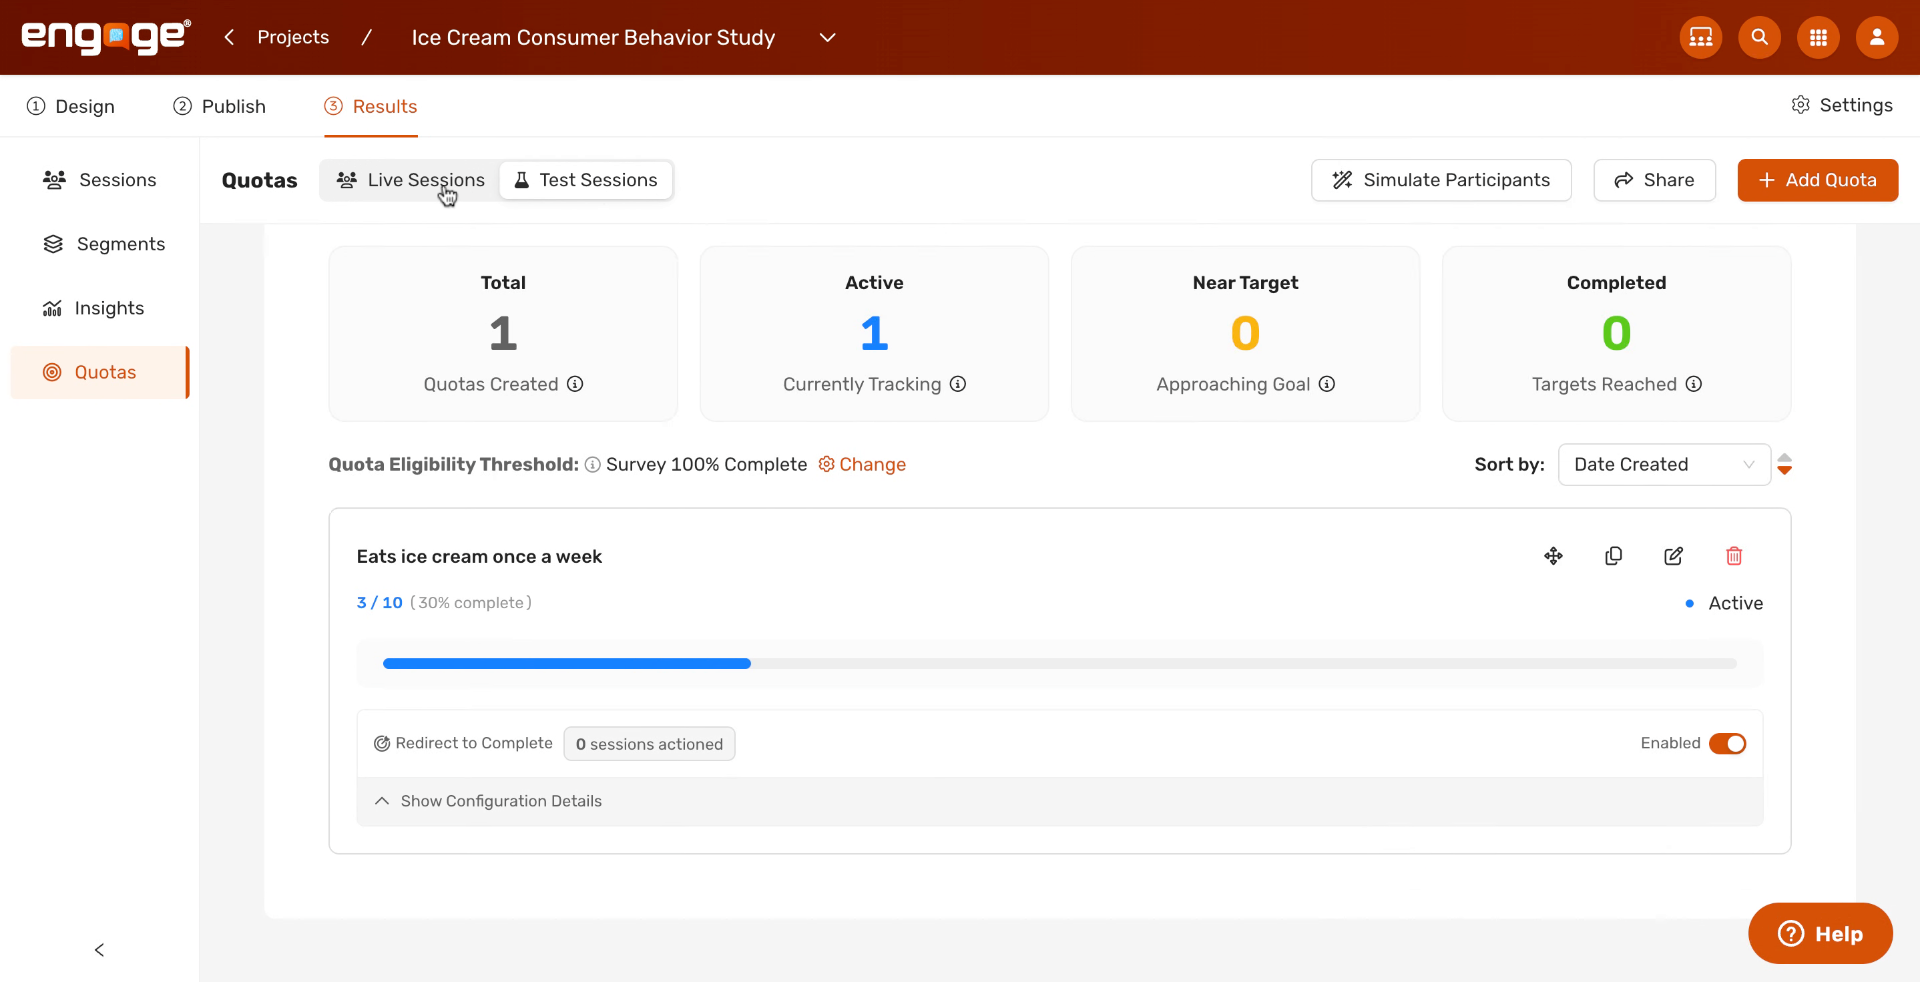
4. Enable Live Sessions
Toggle Live Sessions on to count real participants toward the quota.
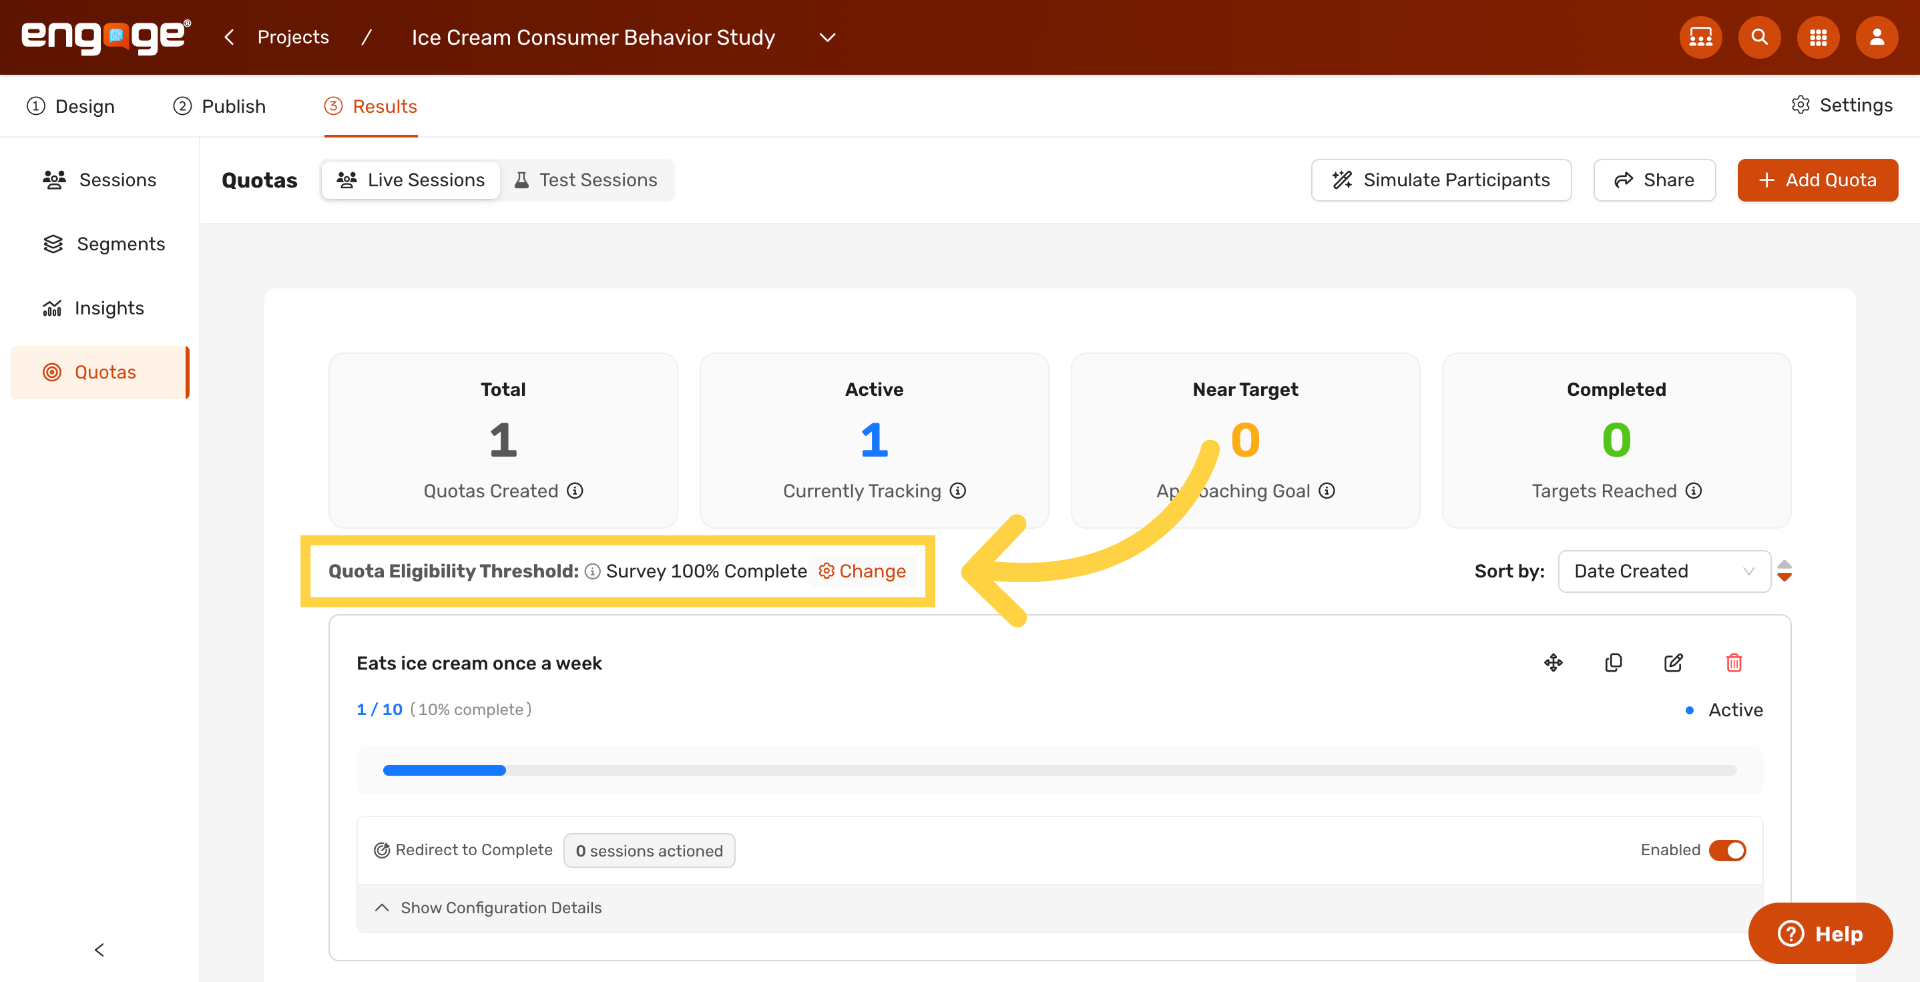
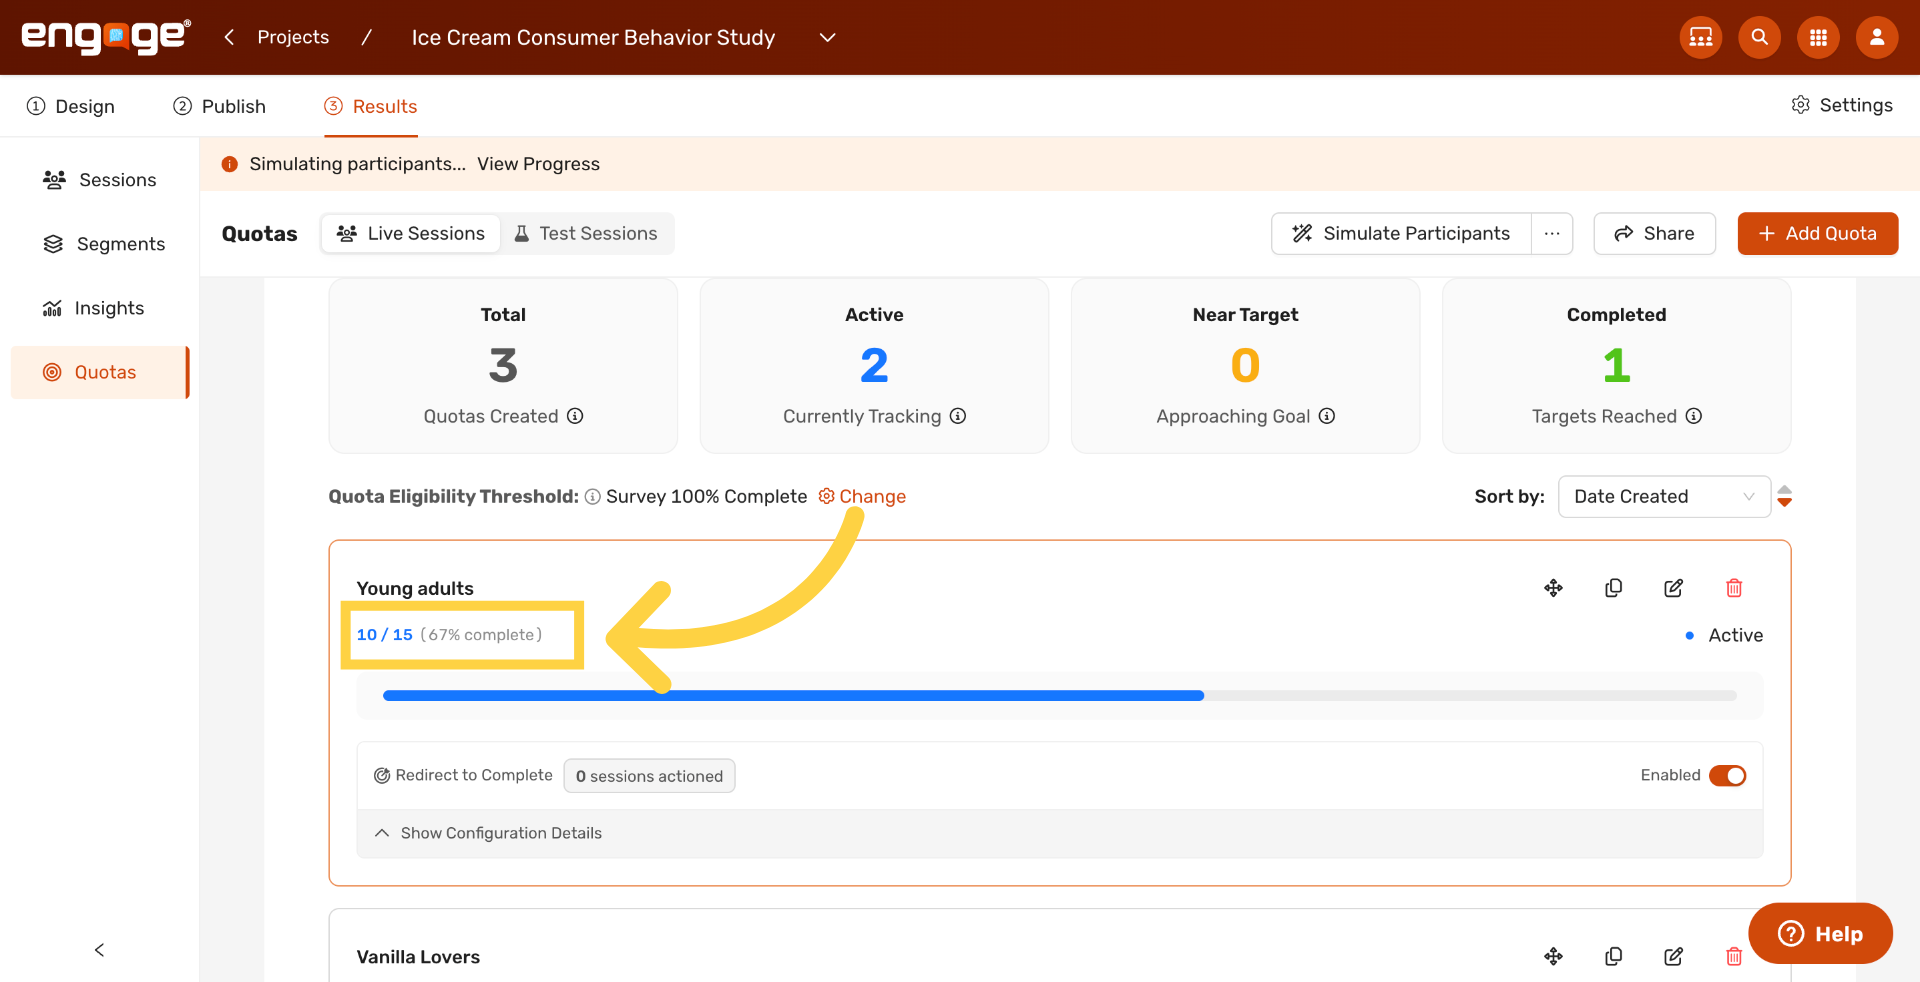
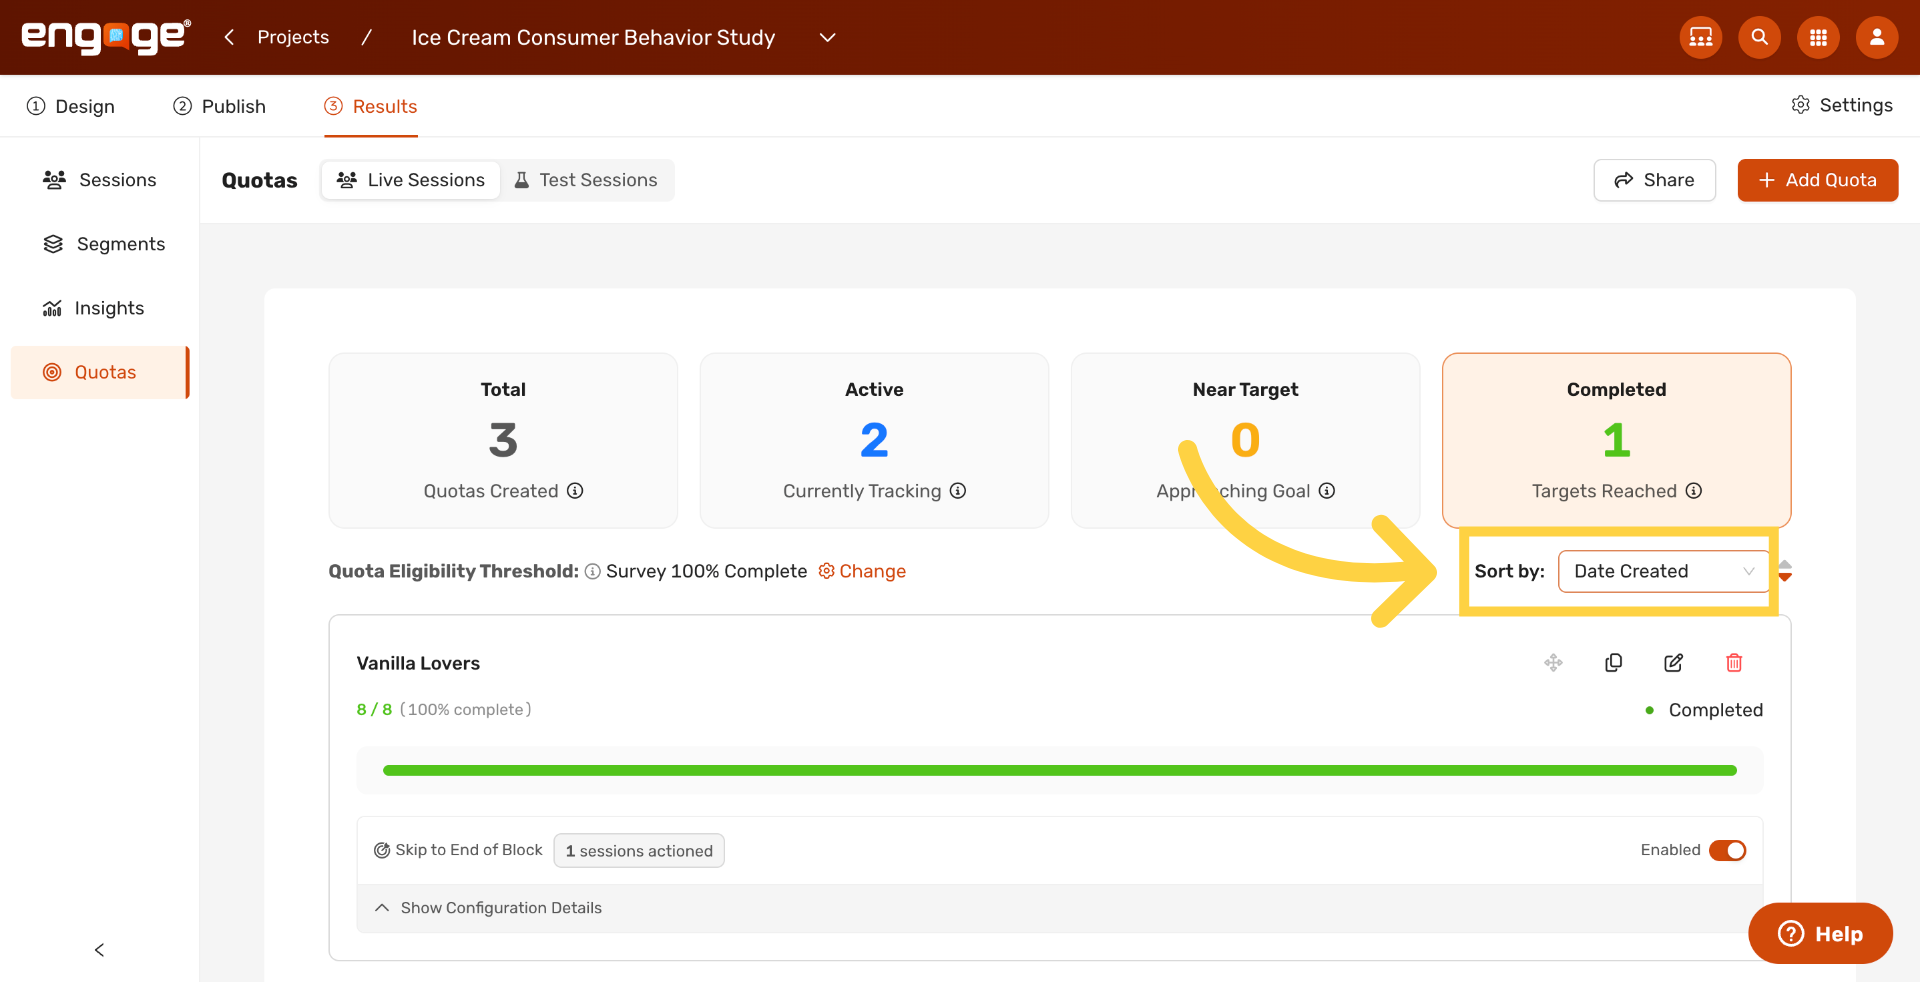
5. Change the Eligibility Threshold
Click Change next to Quota Eligibility Threshold to adjust when a session counts toward your quotas.
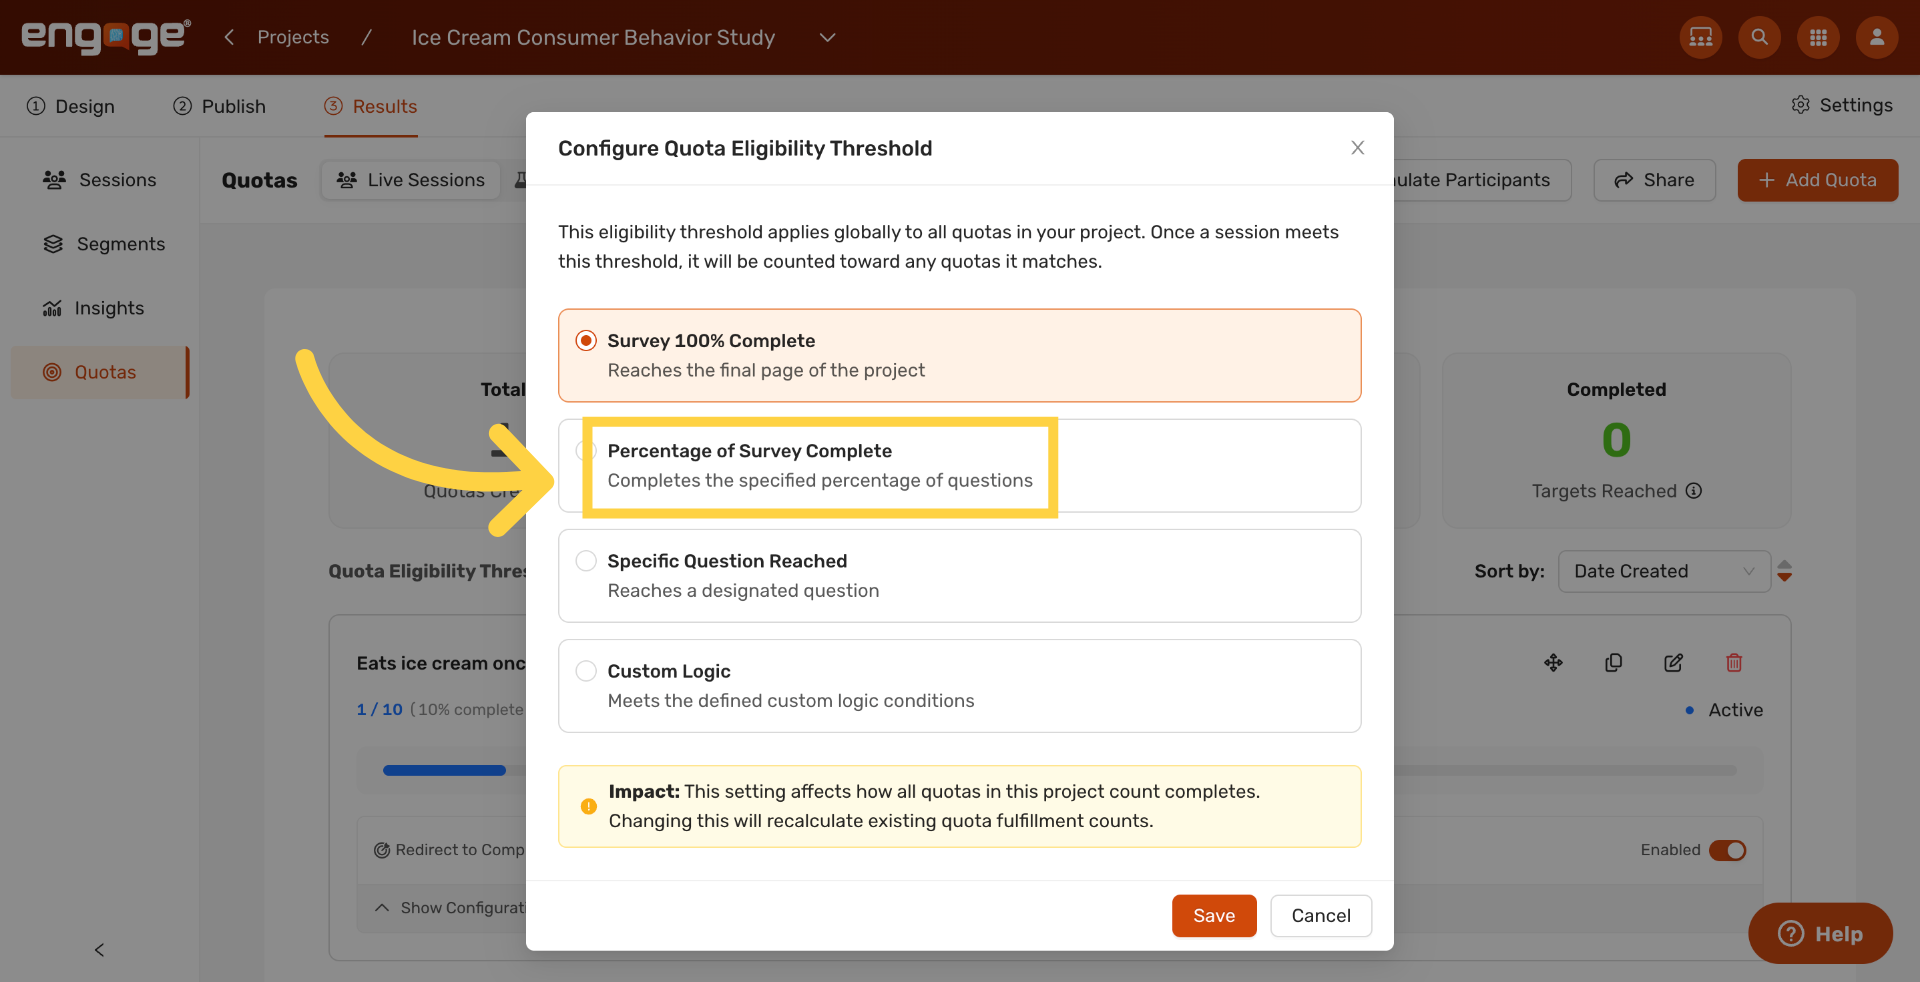
6. Use Completion Percentage
The Quota Eligibility Threshold has three options. The first counts a session once the participant completes a specified percentage of questions. Pick this if you want to filter out drop-offs from your quota counts.
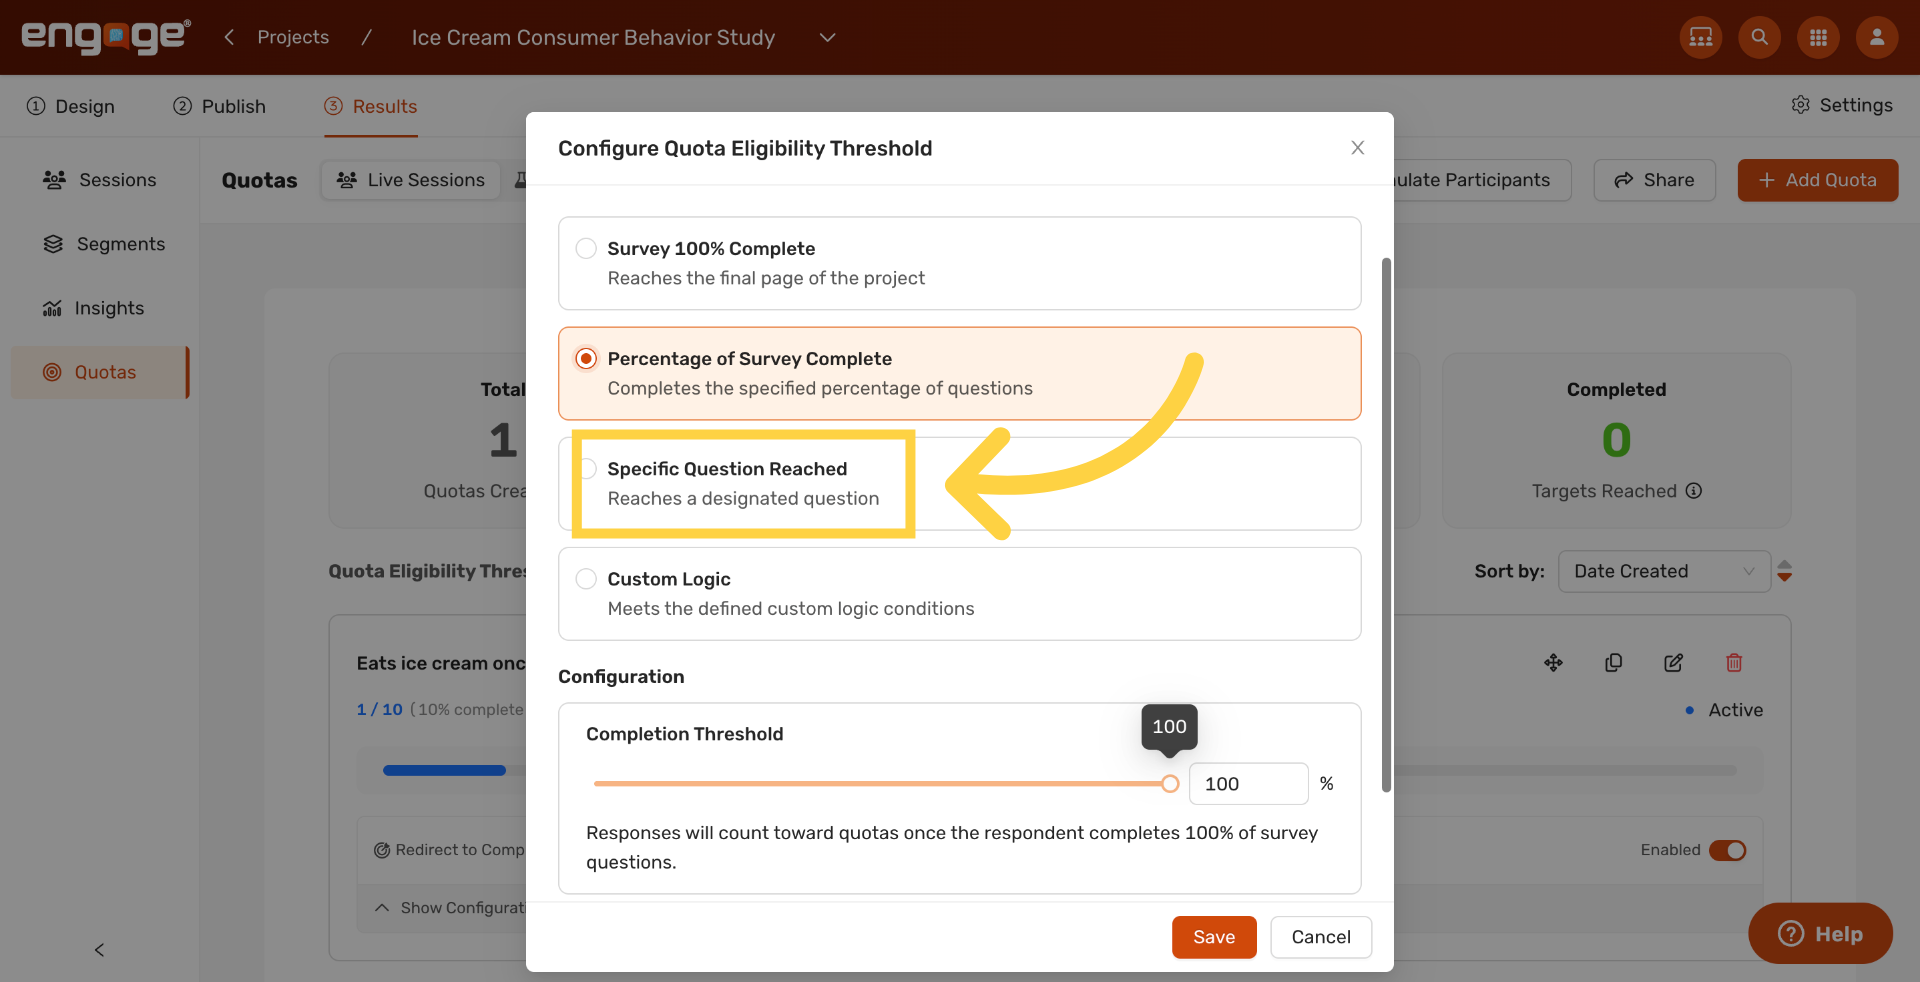
7. Use a Specific Question as the Trigger
The second option counts a session once the participant reaches a specific question you choose. Pick this if you want quota matching to fire as soon as the participant has answered the relevant questions, even if they have not finished the rest of the survey.
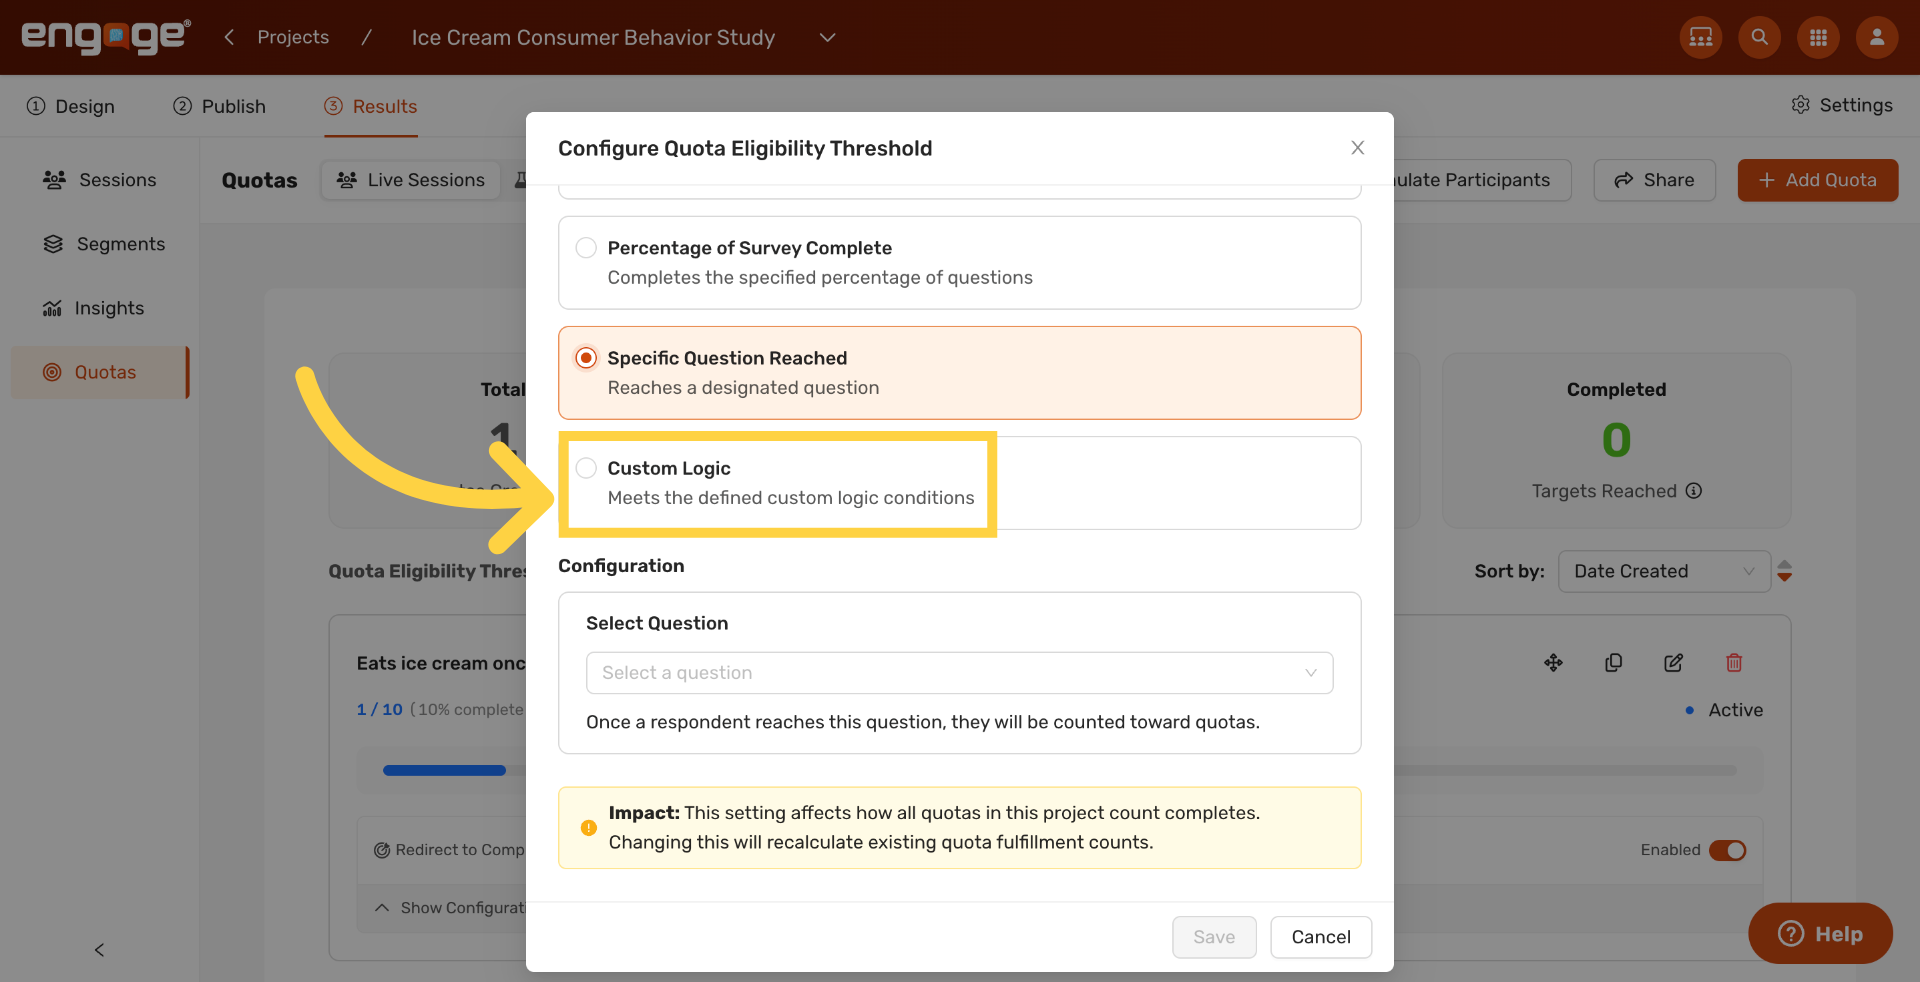
8. Use Custom Logic
The third option counts a session once it meets your own custom logic. Pick this if neither completion percentage nor a specific question captures the criteria you need.
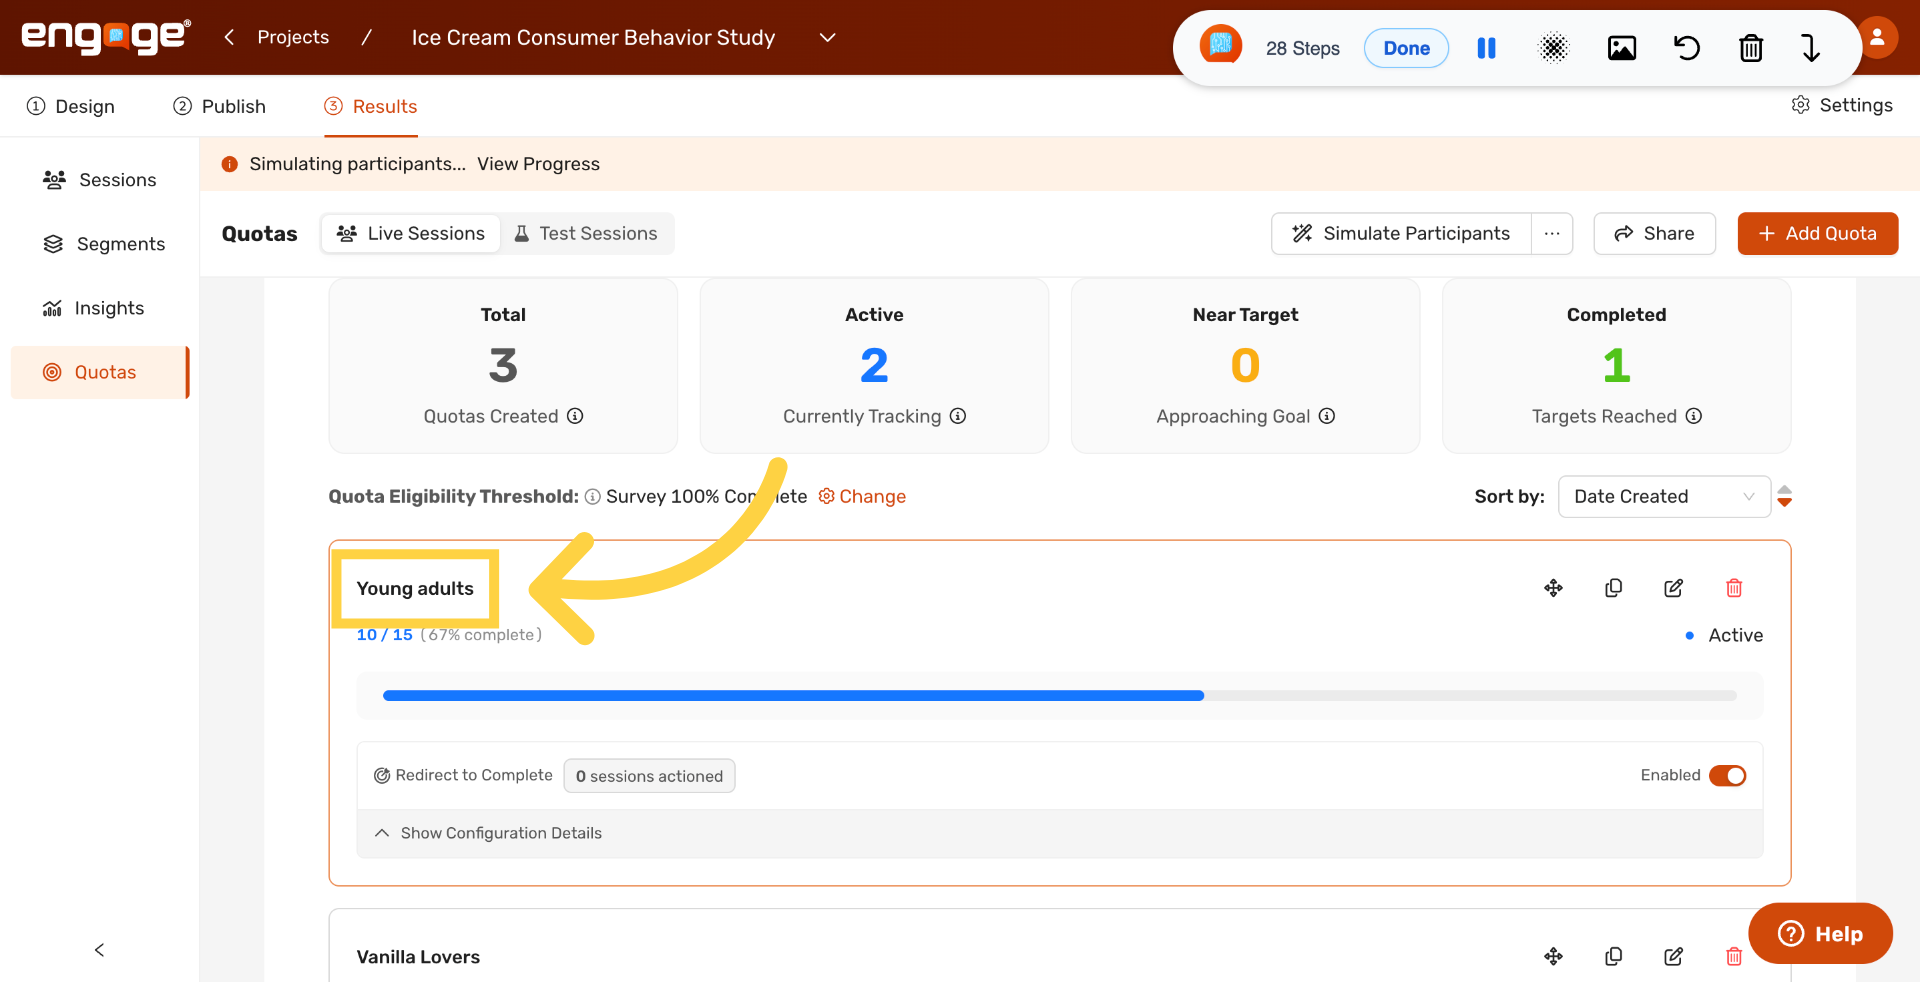
9. Open a Quota Card
Back on the Quota Tracker, click any quota card to open its details. Here we open the Young adults quota.
10. Adjust the Target
Update the target number directly on the card if you need to raise or lower how many completes the quota tracks.
11. View Matched Participants
Click the session counter on a card to see the participants the quota has matched so far.
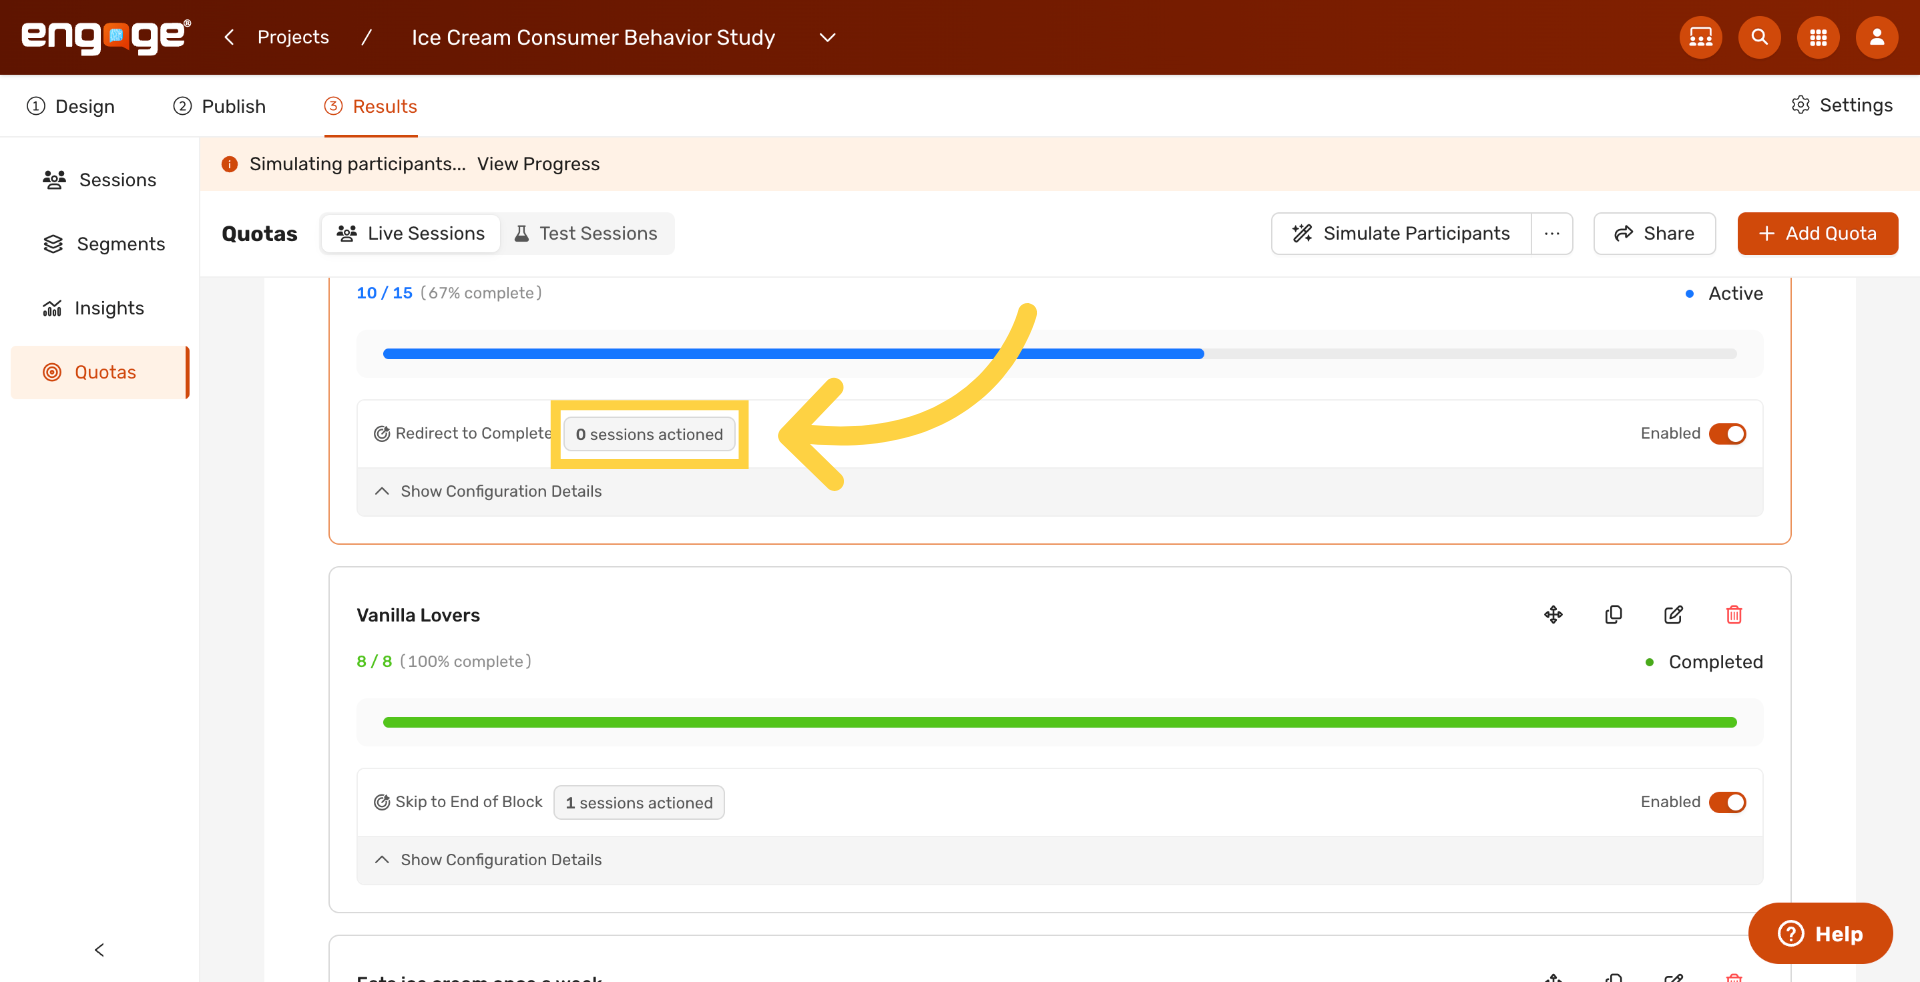
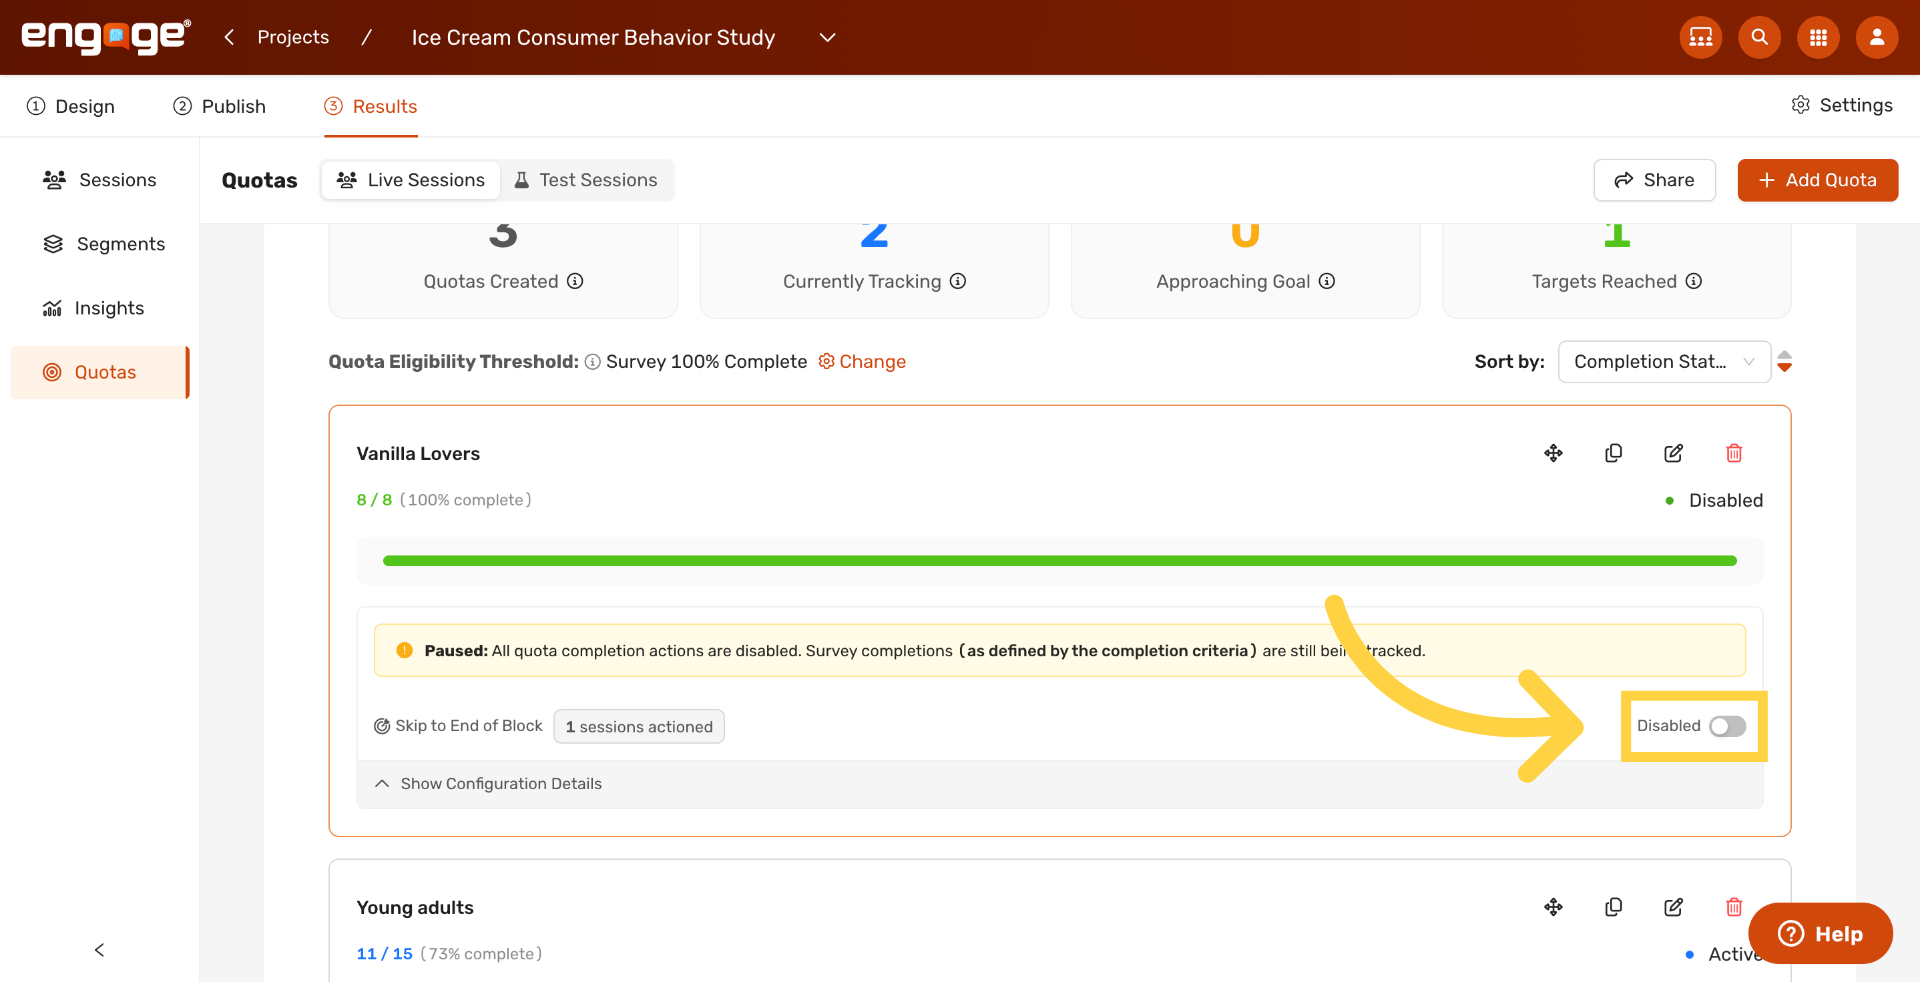
12. Enable or Disable a Quota
Toggle a quota on or off from its card. Disabling a quota pauses it without losing the data already collected, and you can re-enable it at any time.
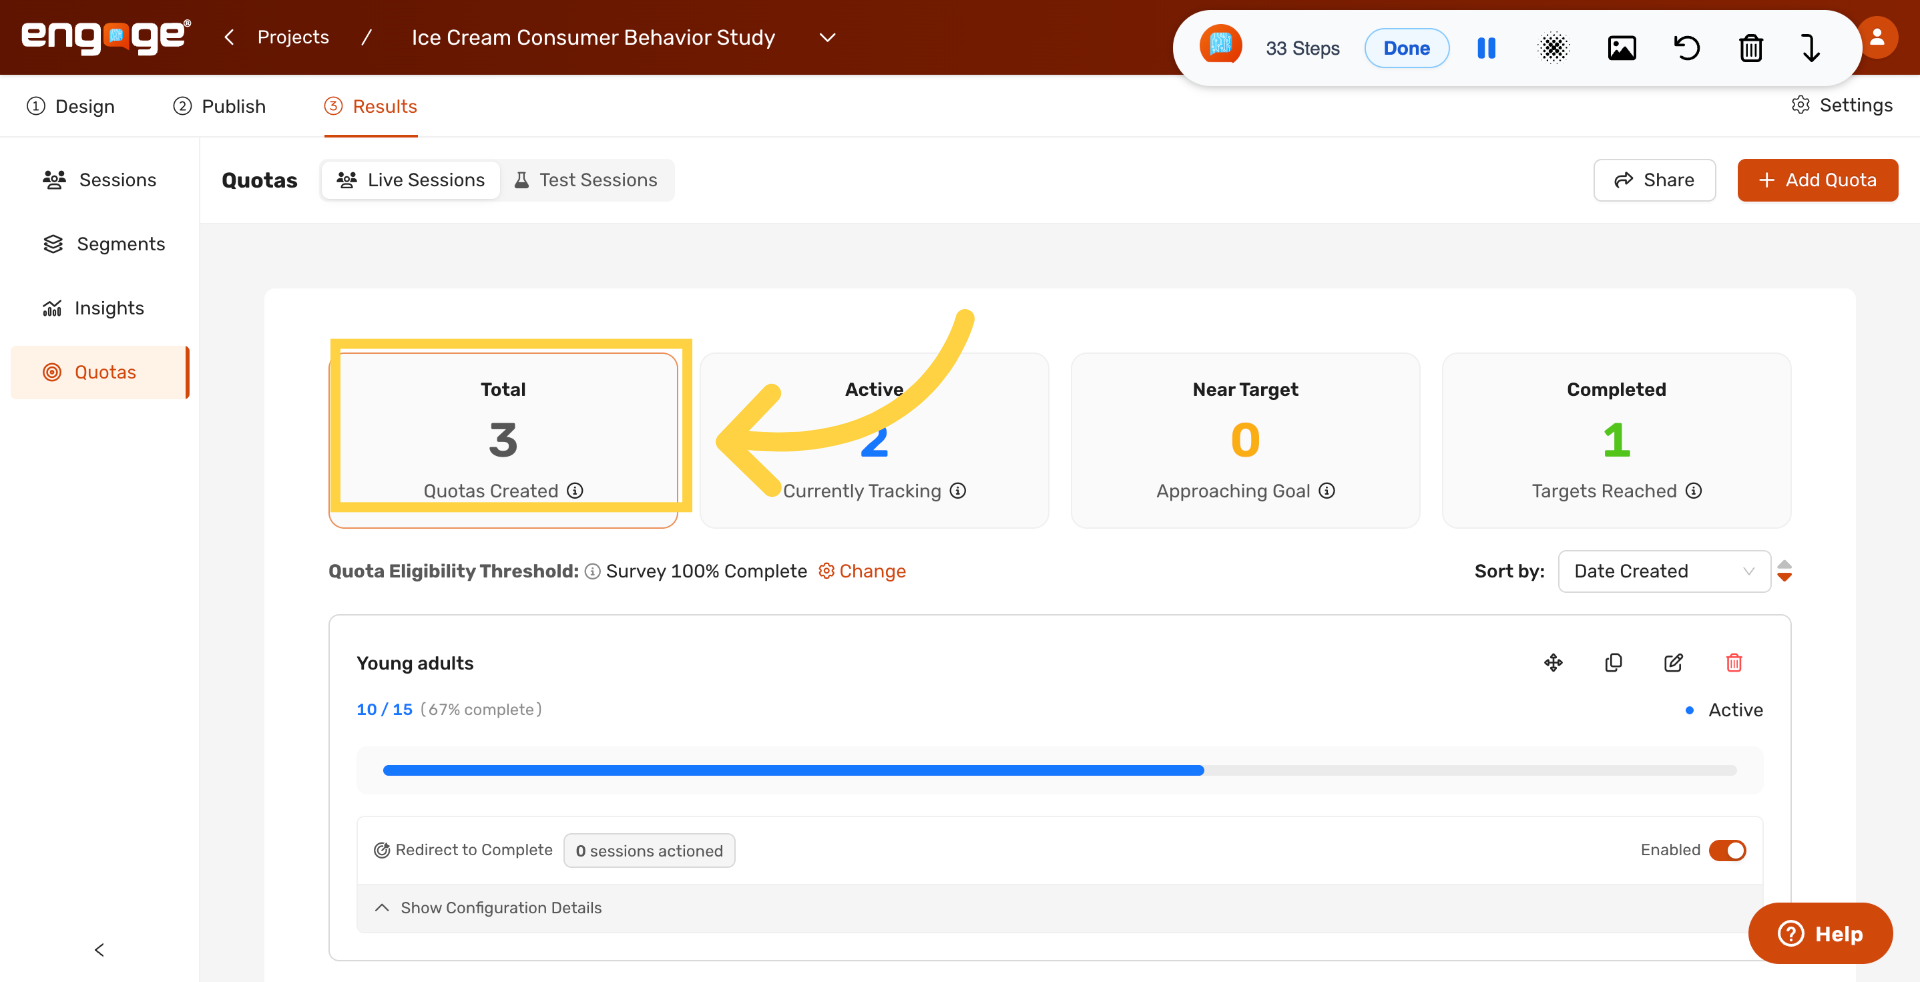
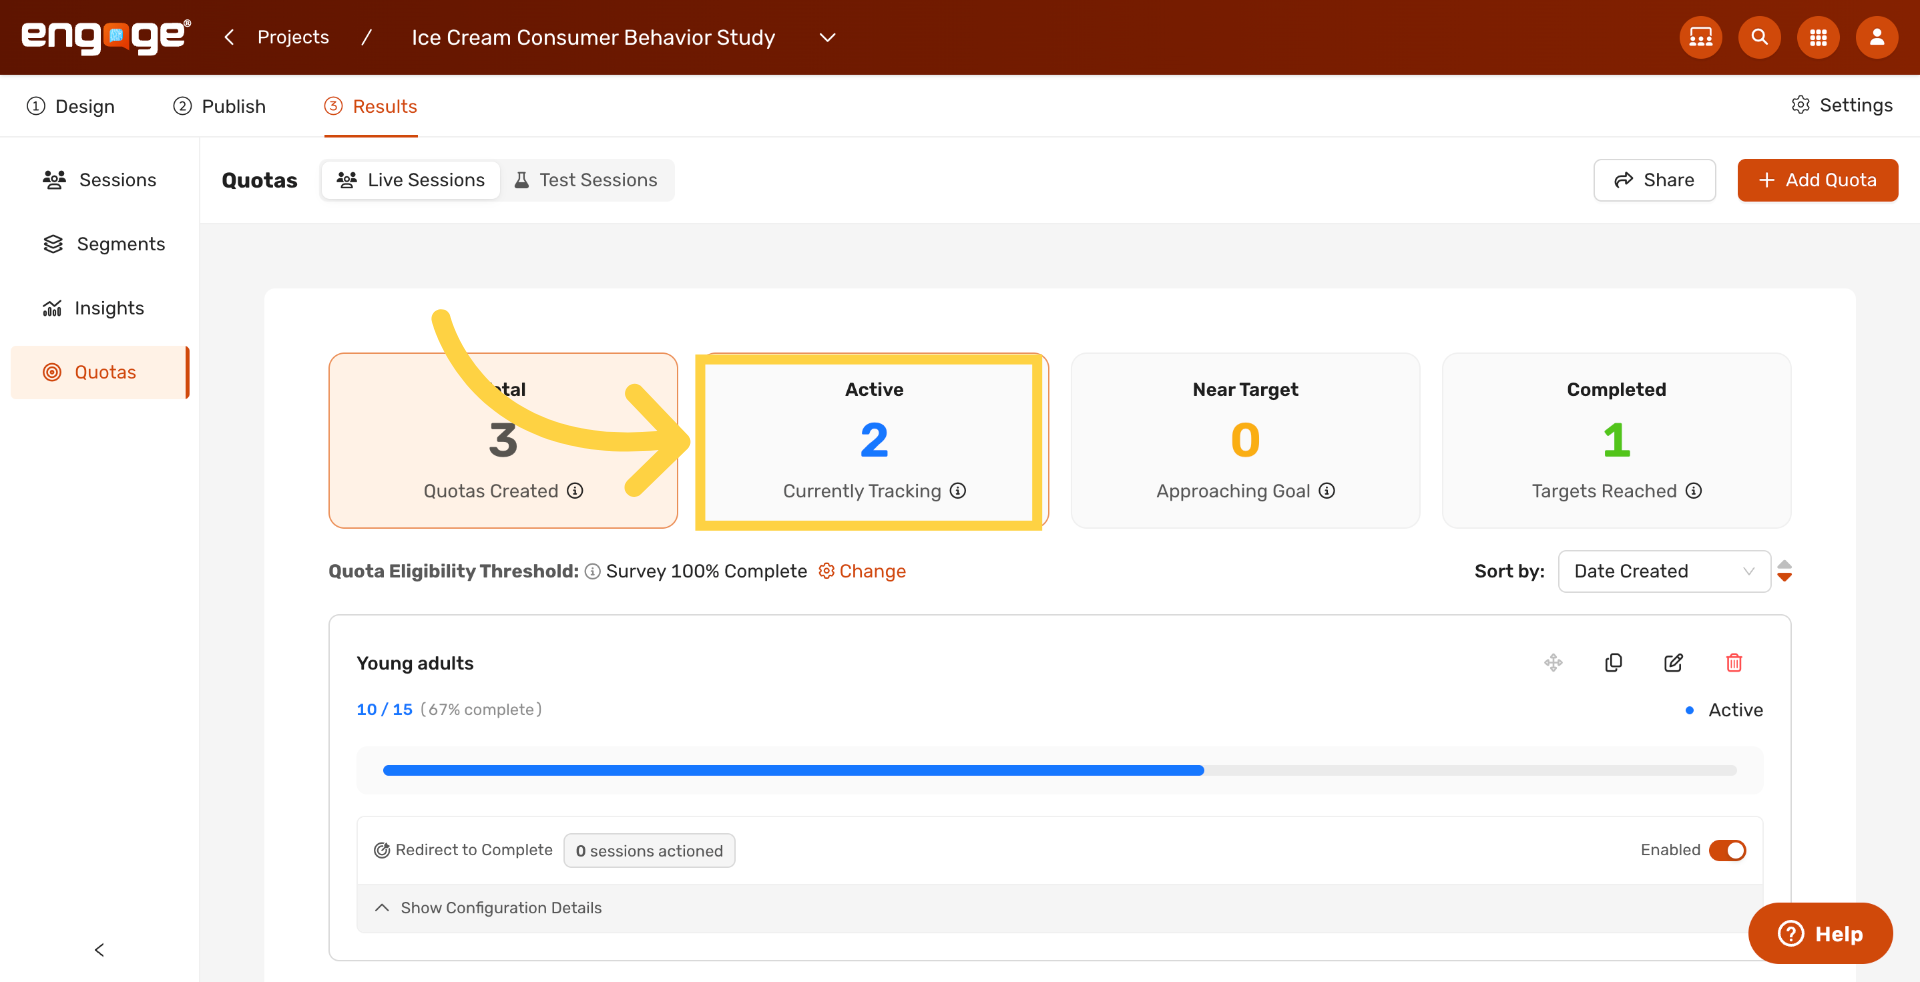
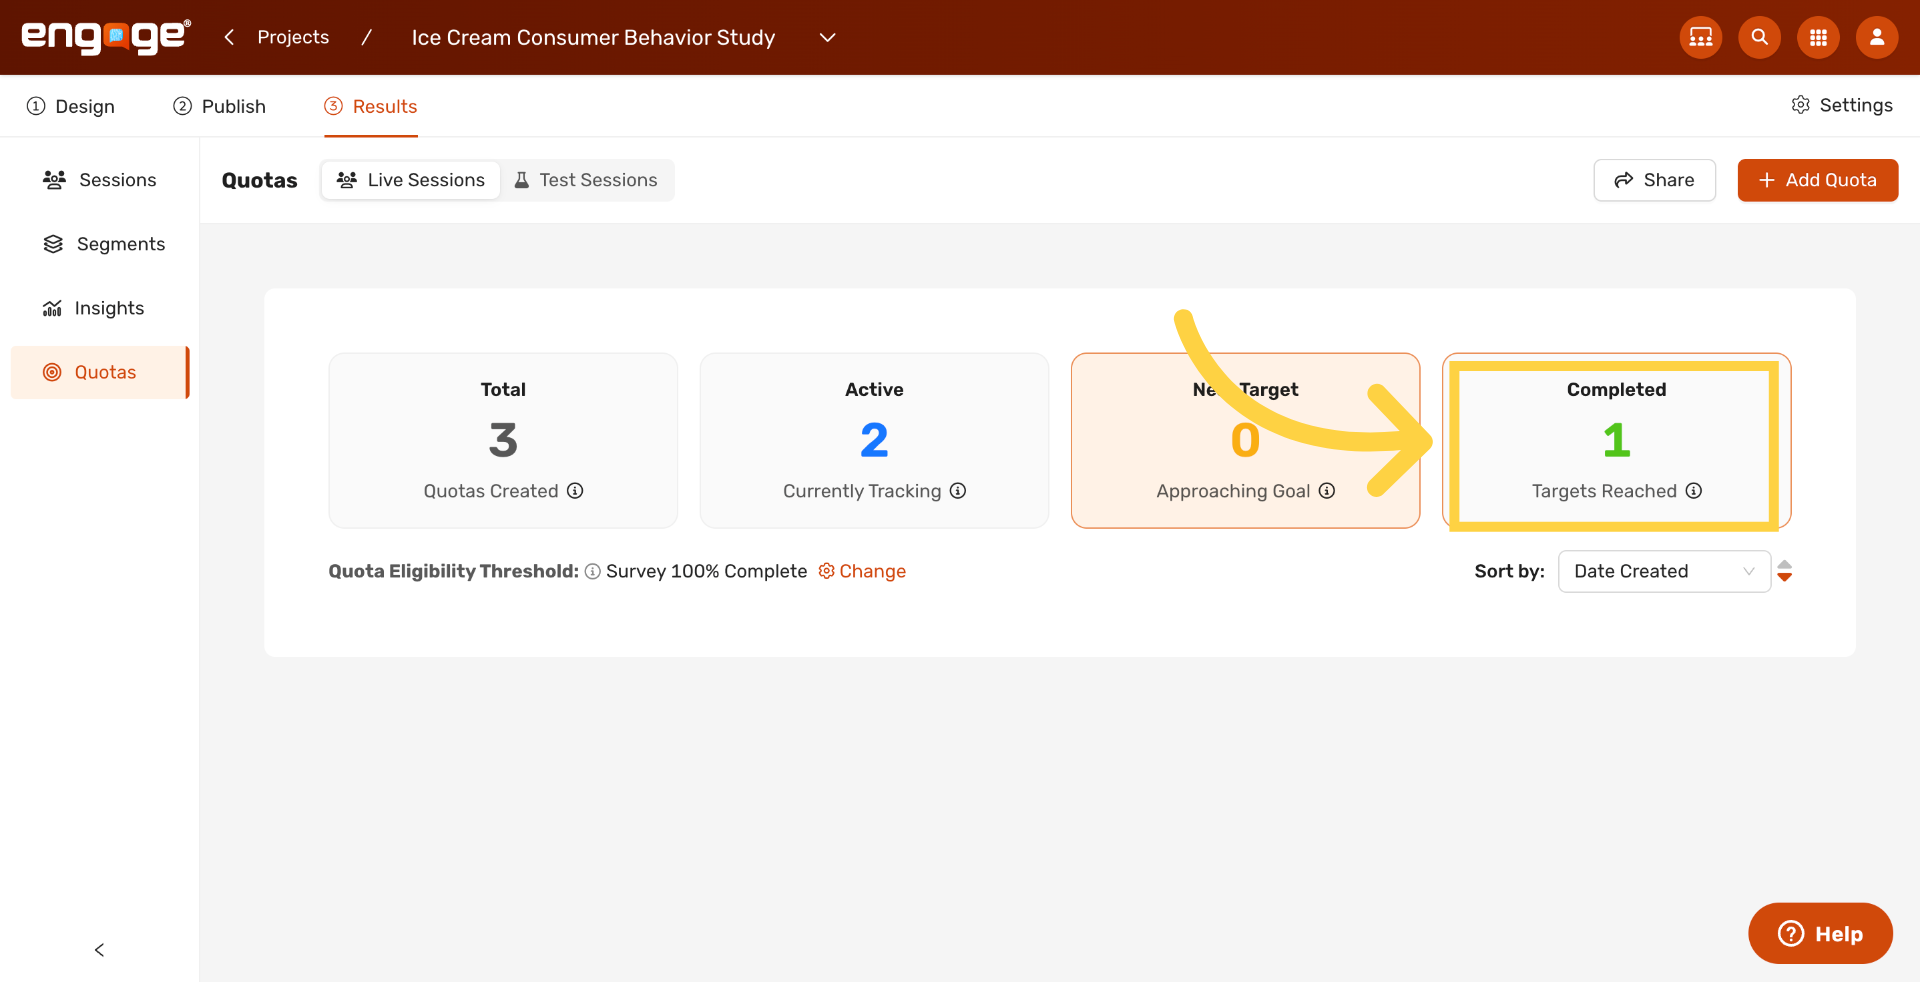
13. Understand the Stat Cards
Above the quota list, four stat cards summarize your quotas at a glance. Total shows every quota you have created. Active highlights quotas currently tracking sessions. Near Target shows quotas approaching their goal. Completed shows quotas that have reached their target. Each card is also a filter, so click any of them to narrow the list to that group, and click again to clear the filter.
14. Show Active Quotas
Click Active to view only quotas currently tracking sessions.
15. Show Completed Quotas
Click Completed to view only quotas that have reached their target.
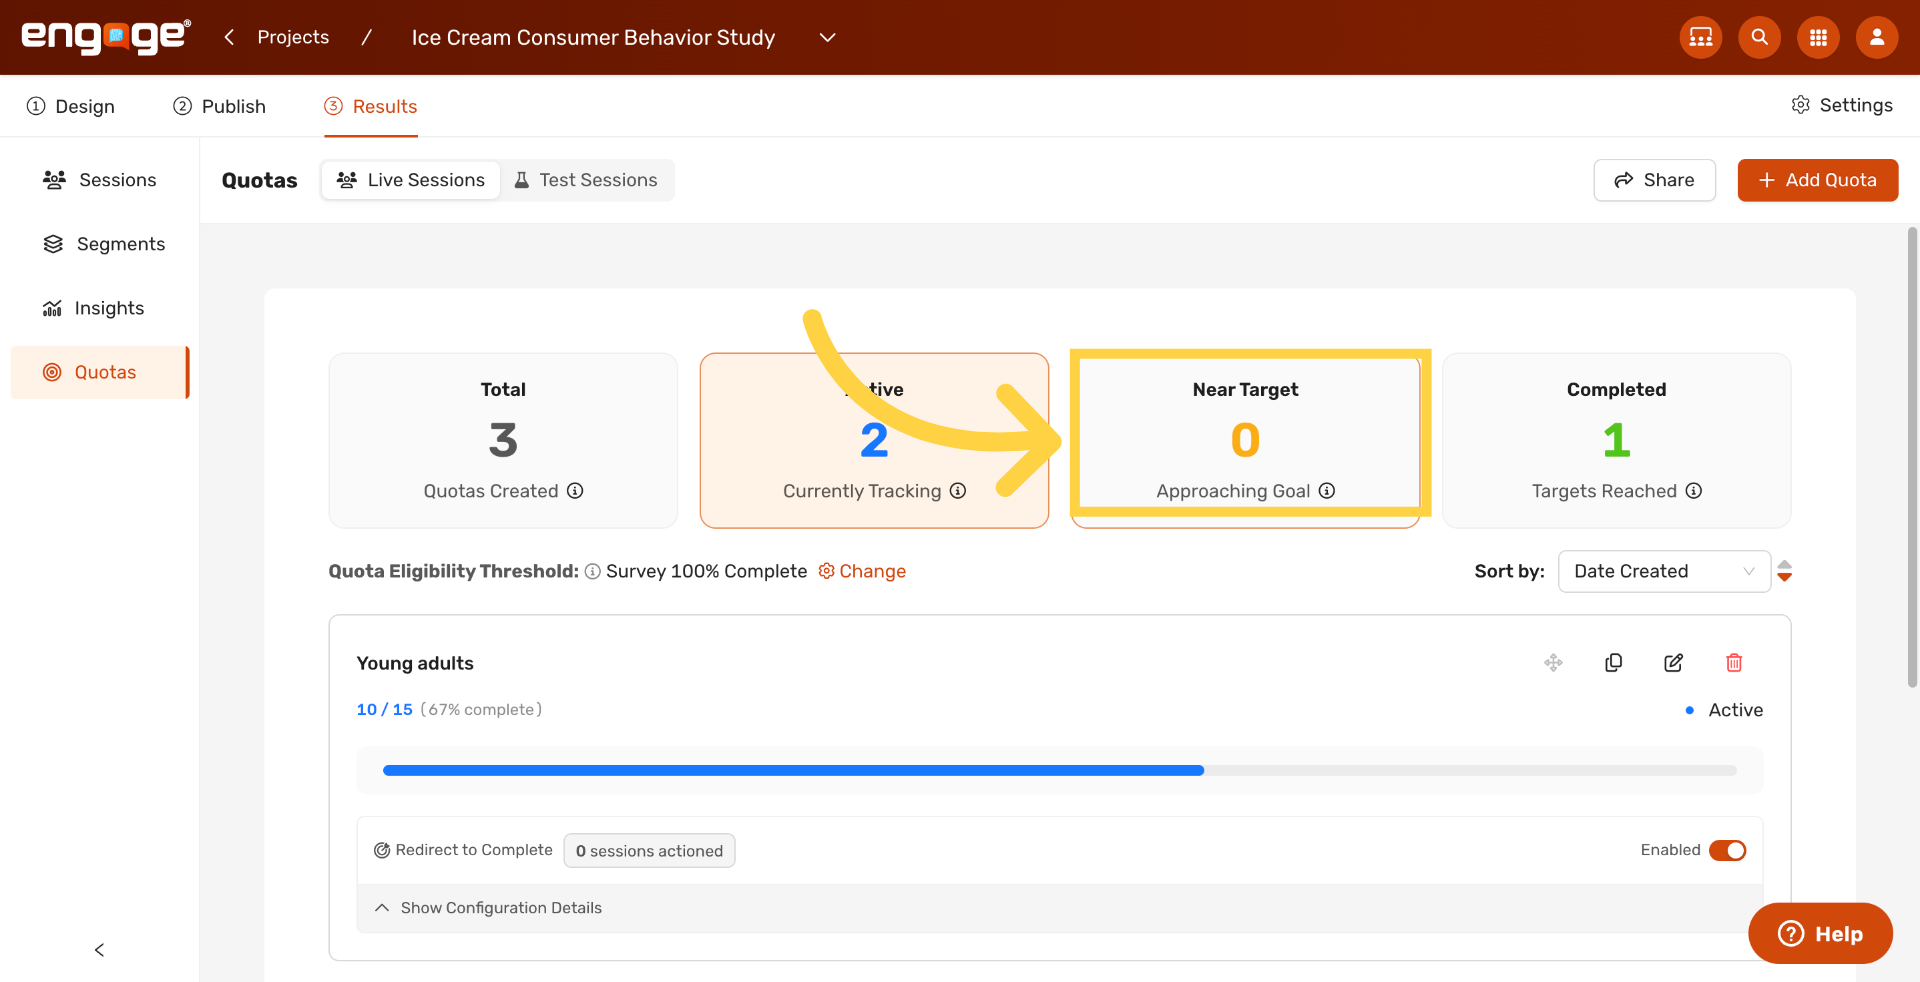
16. Show Near-Target Quotas
Click Near Target to view quotas approaching their goal.
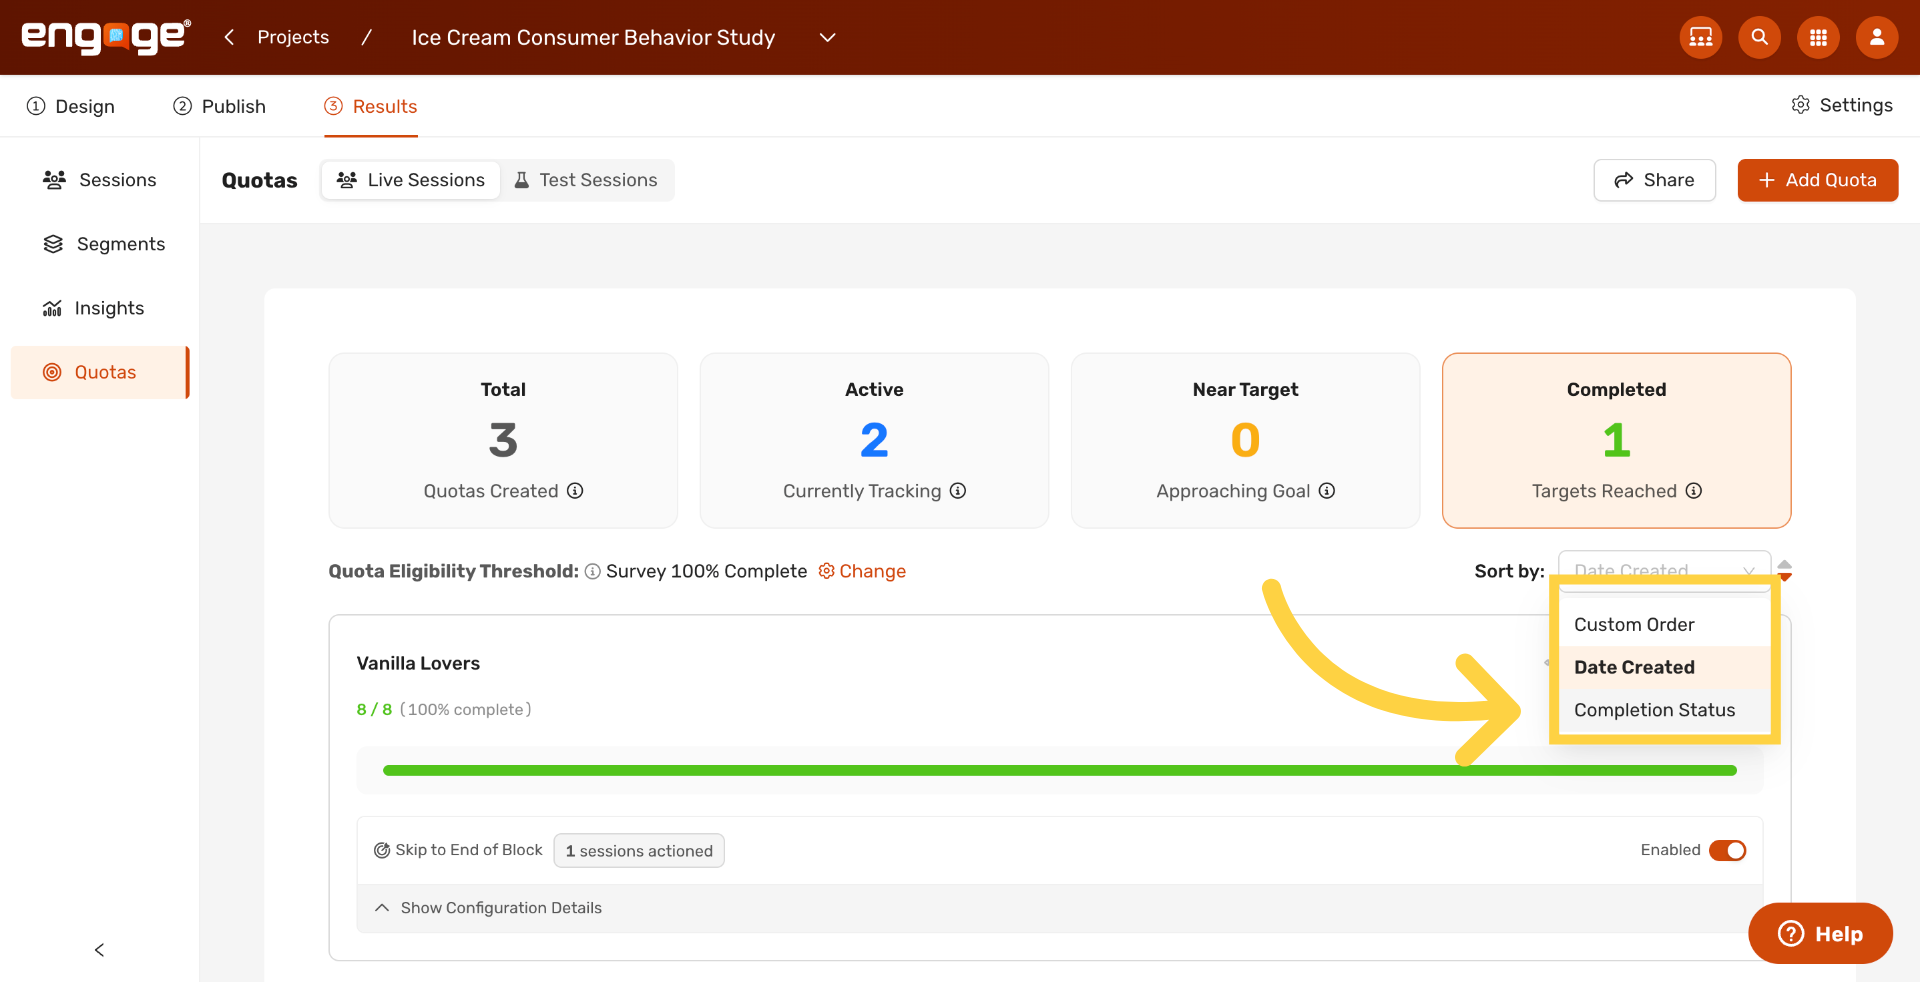
17. Open the Sort Menu
Open the Sort by dropdown to organize the quota list. The three sort options are Custom Order, which preserves the order you arranged quotas yourself; Date Created, which sorts newest or oldest first; and Completion Status, which groups quotas by how close each one is to its target.
18. Sort by Completion Status
Pick Completion Status to group quotas by how close each one is to its target.
Thank you for watching. If you have any questions, please reach out to our support team or explore our other Engage guides.
Comments
0 comments
Please sign in to leave a comment.