
Welcome to our guide on sharing quotas in Engage. This tutorial will walk you through sharing your quota dashboard with shareable links.
Go to engage.cloudresearch.com
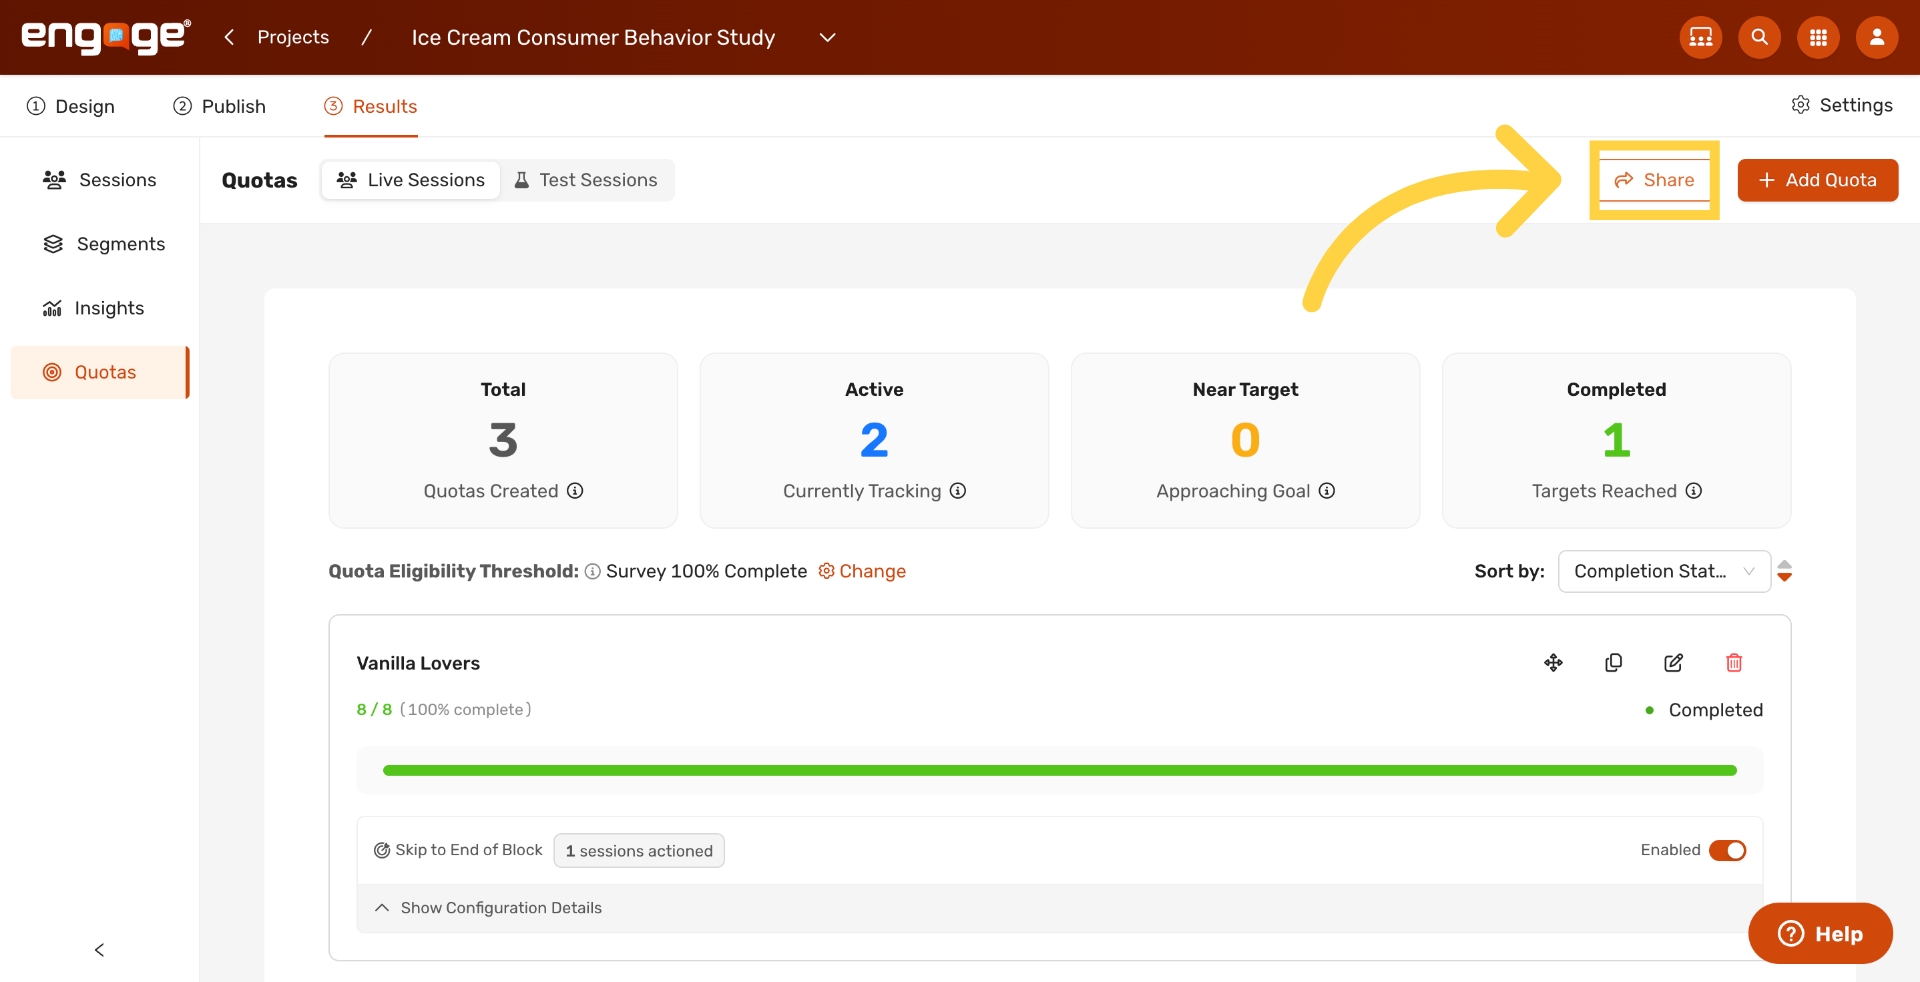
1. Open Share Options
Click Share at the top of the Quota Tracker to open sharing options. Anyone with the link sees a read-only view of the quota dashboard.
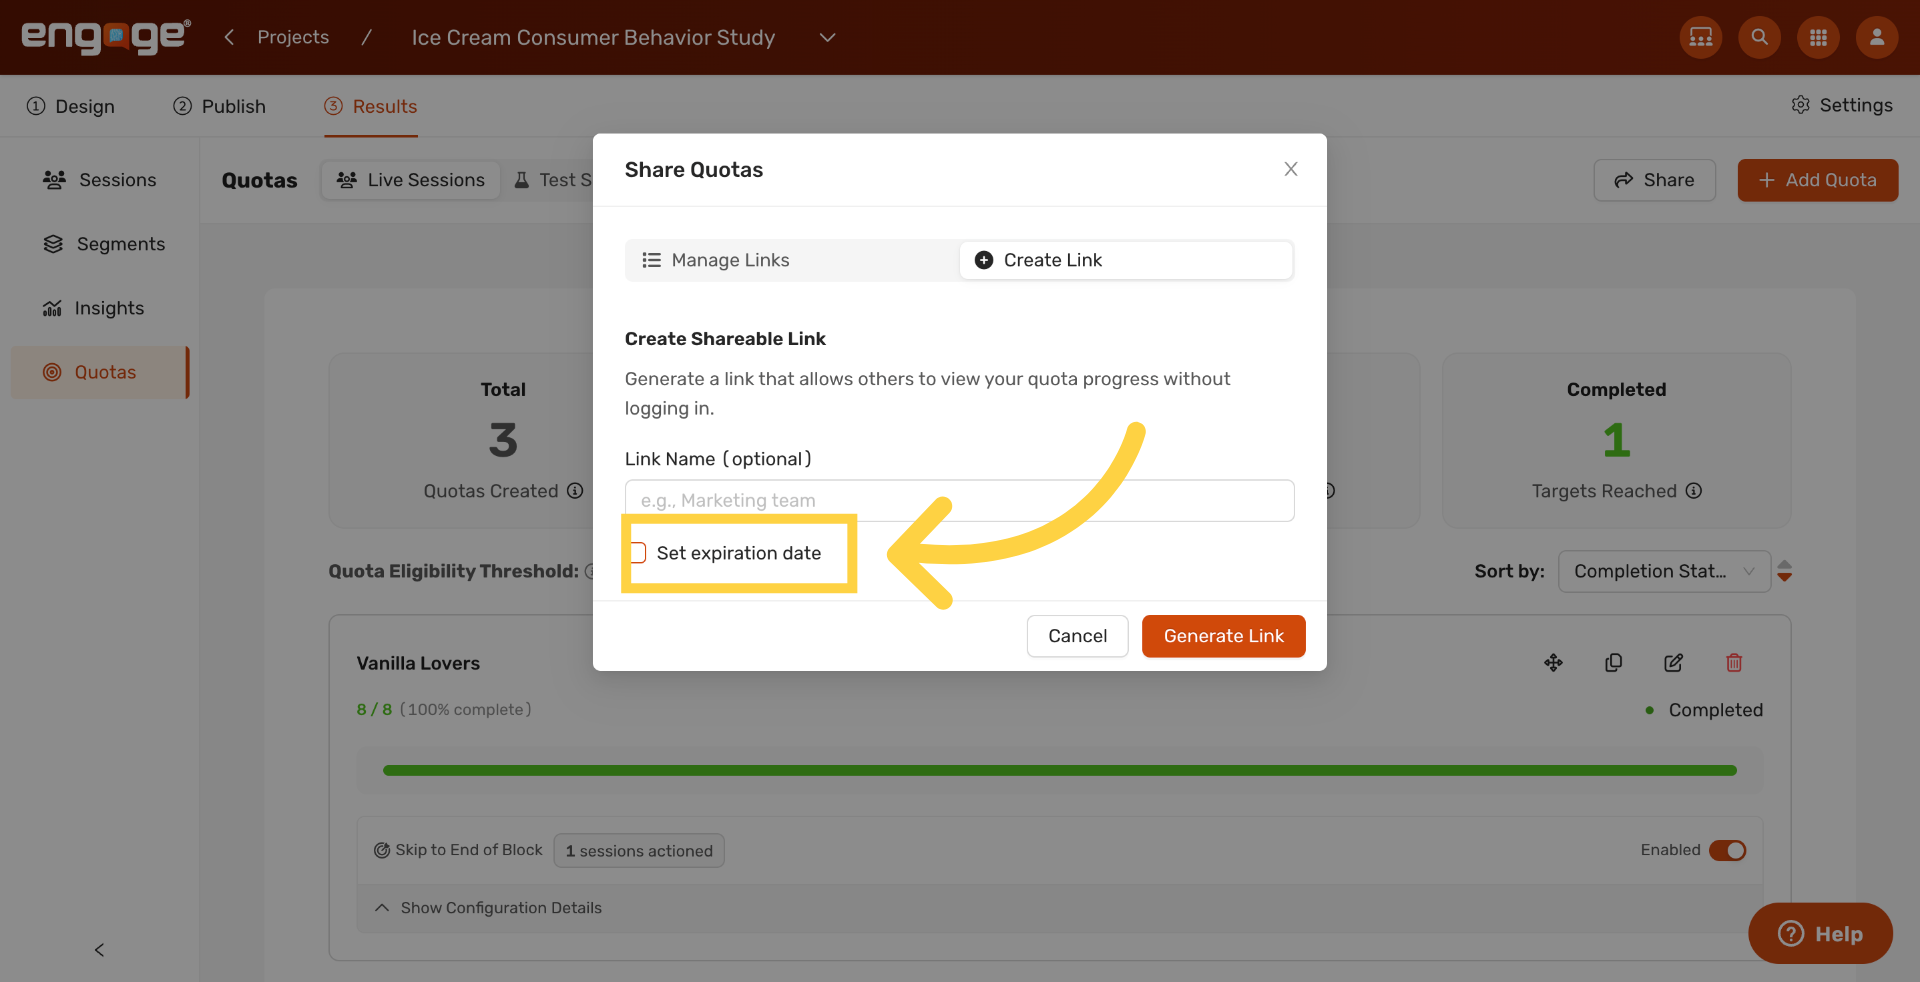
2. Open Expiration Settings
Click Set expiration date to open the expiration controls.
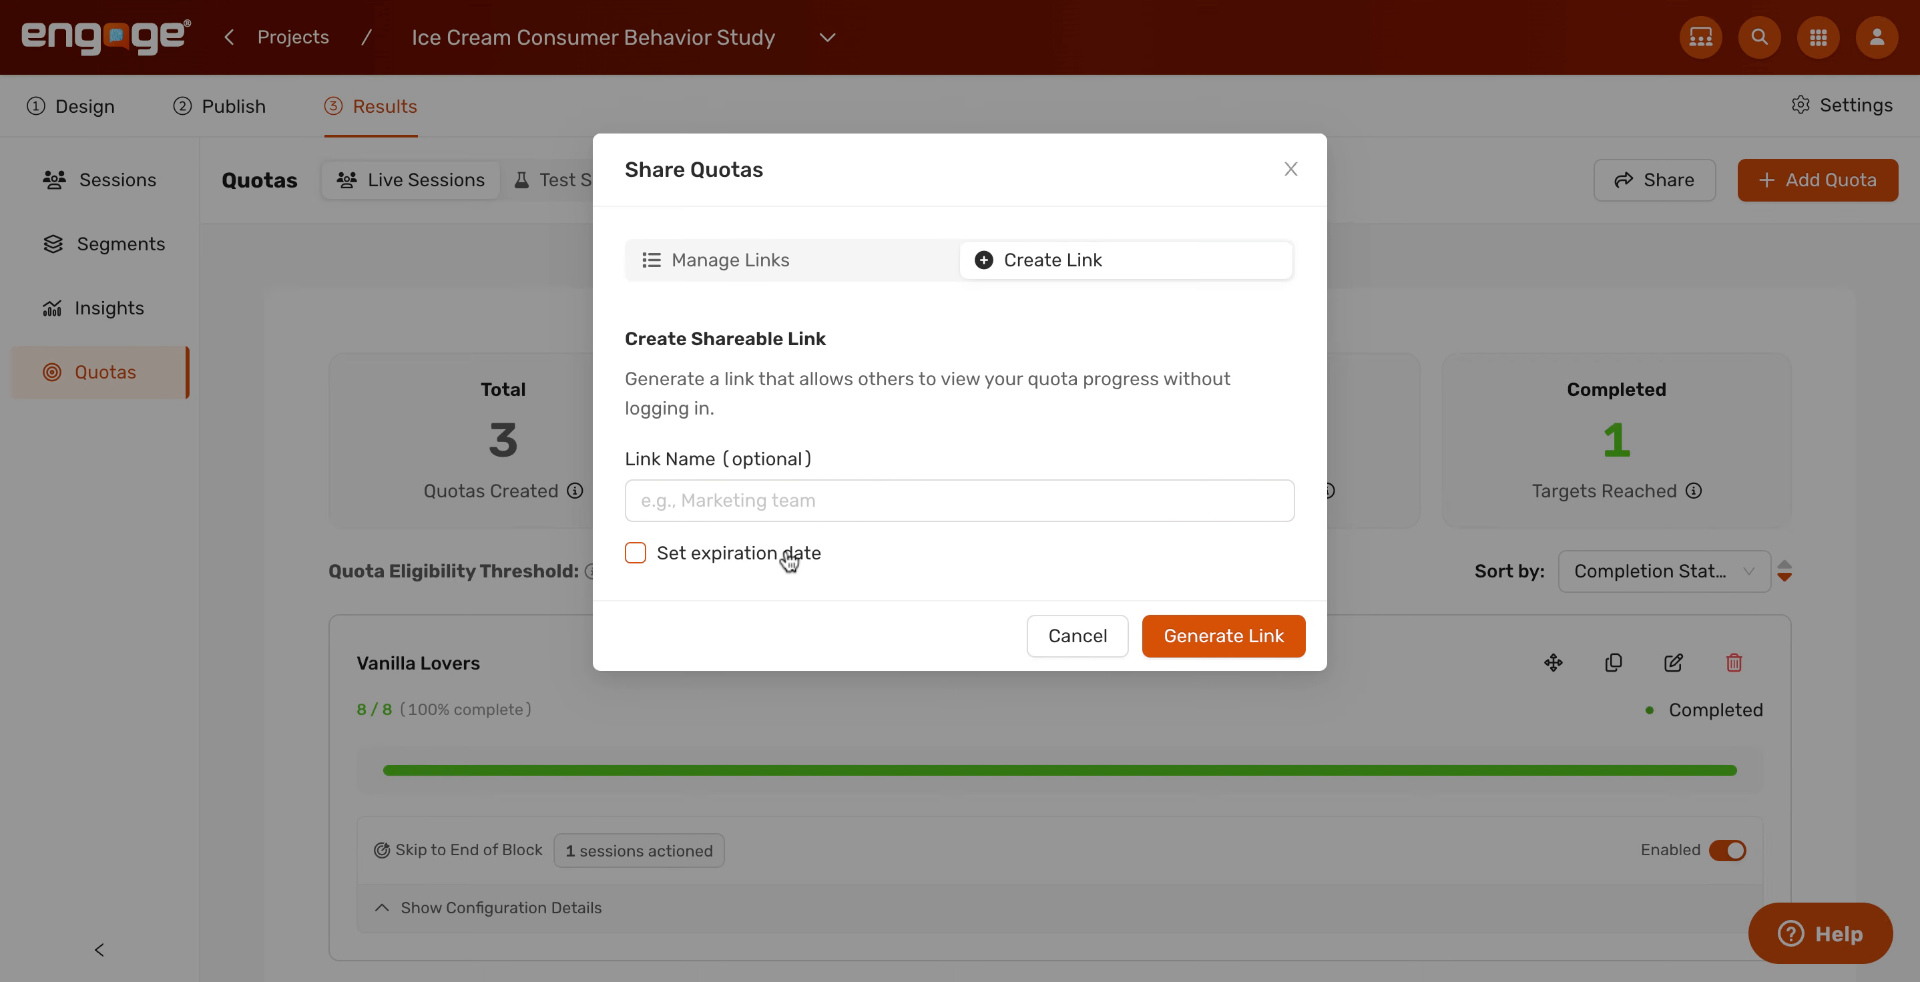
3. Enable Expiration Setting
Toggle the expiration on so the link stops working on the date you choose.
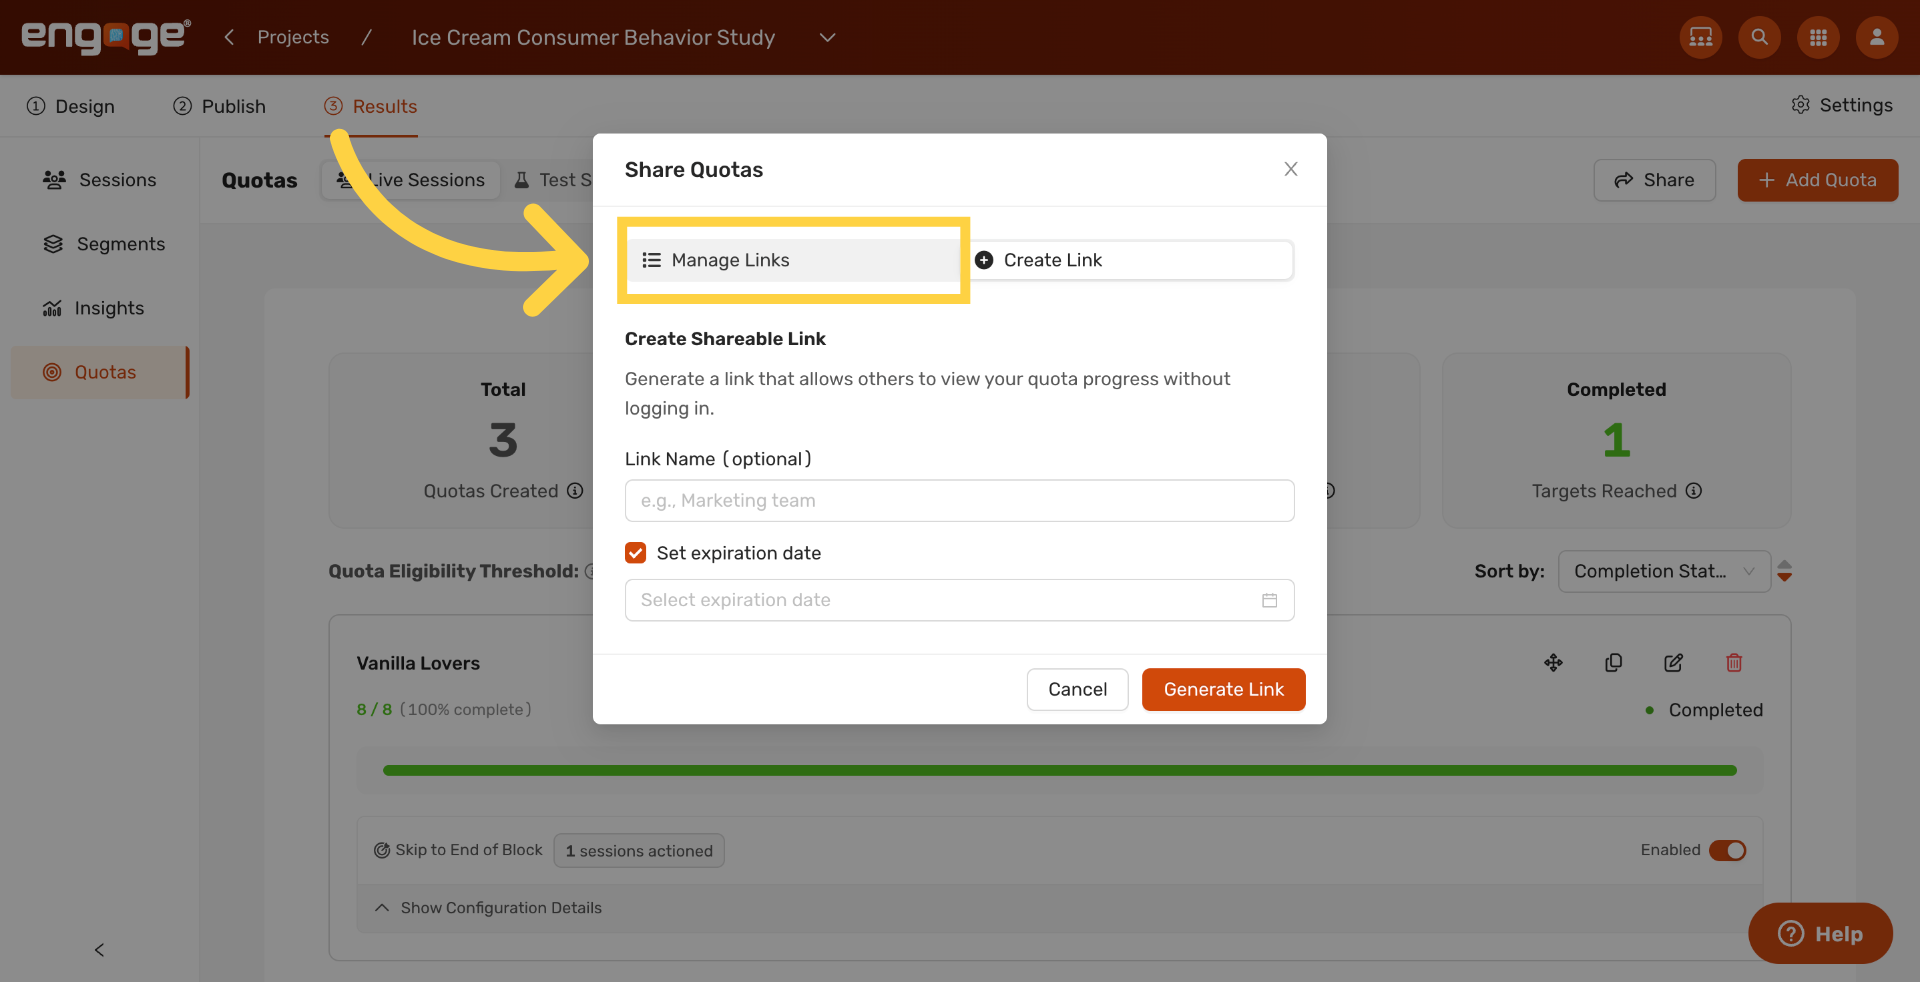
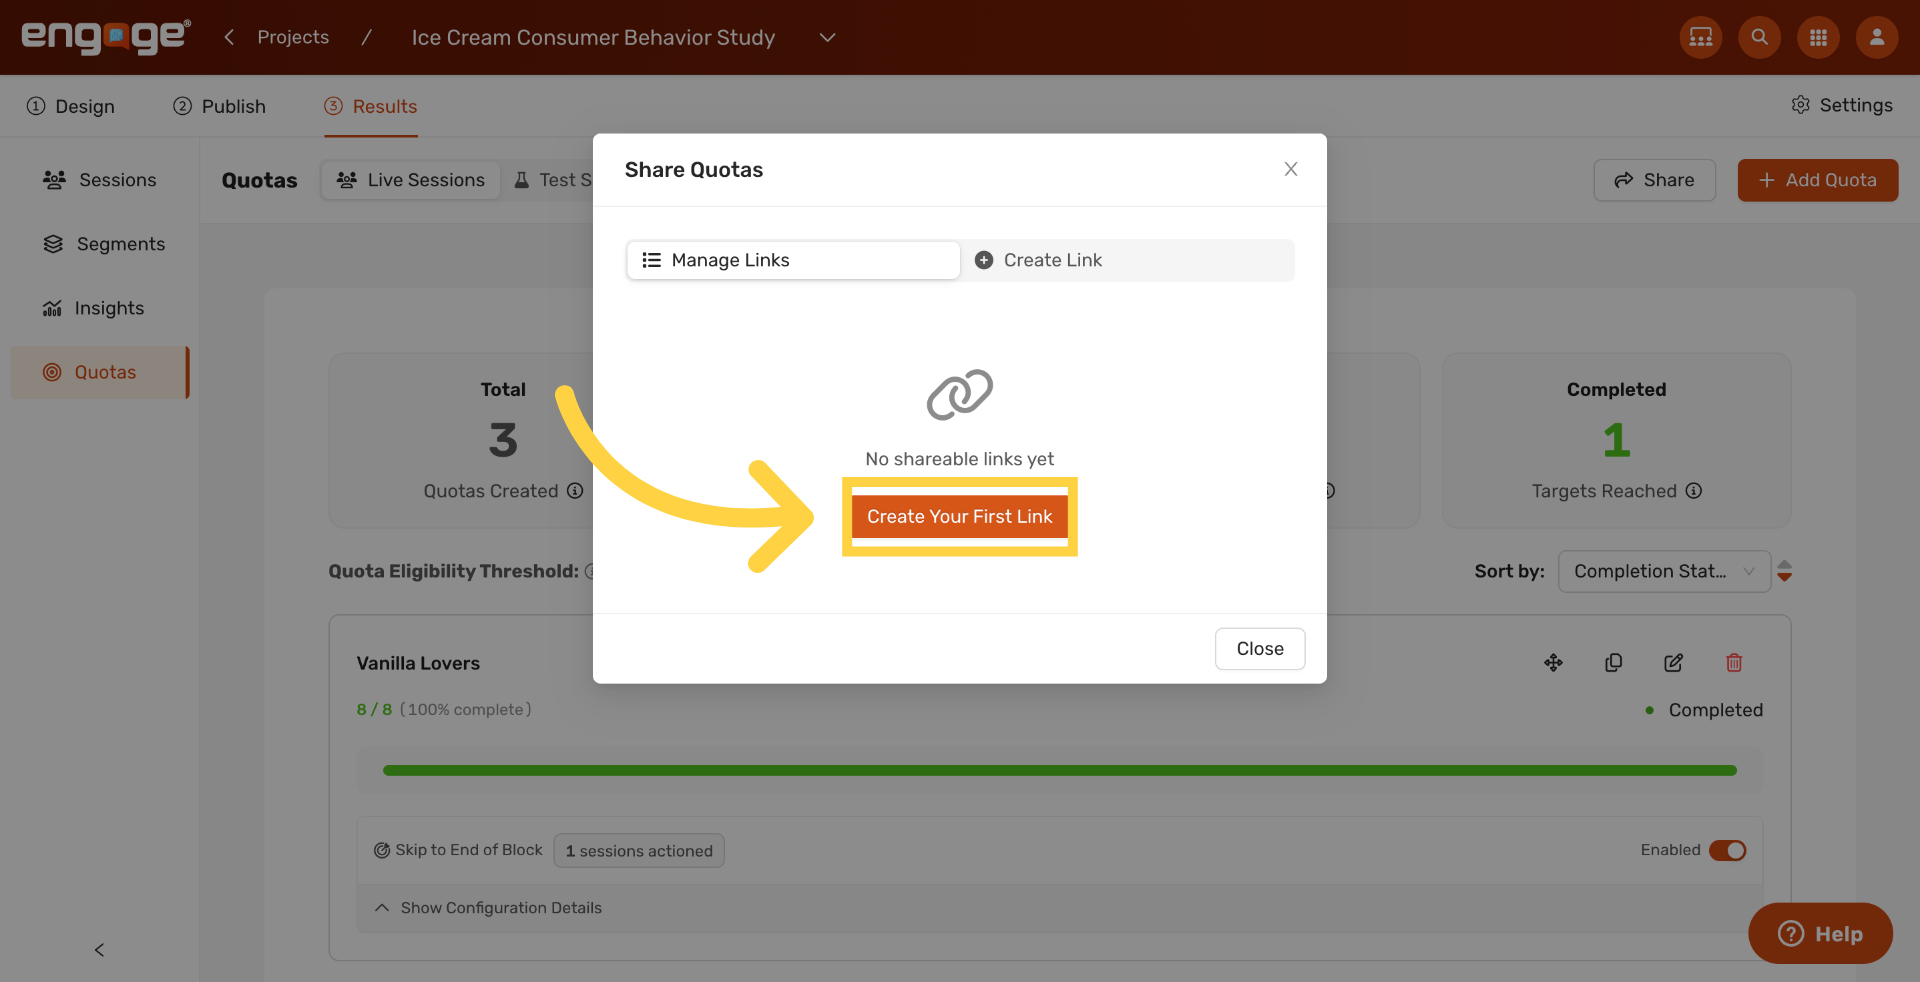
4. Open Manage Links
Click Manage Links to view all existing shareable links for this project in one place.
5. Create a New Link
Click Create Your First Link (or + New Link if you already have shareable links) to generate a new read-only link for the quota dashboard.
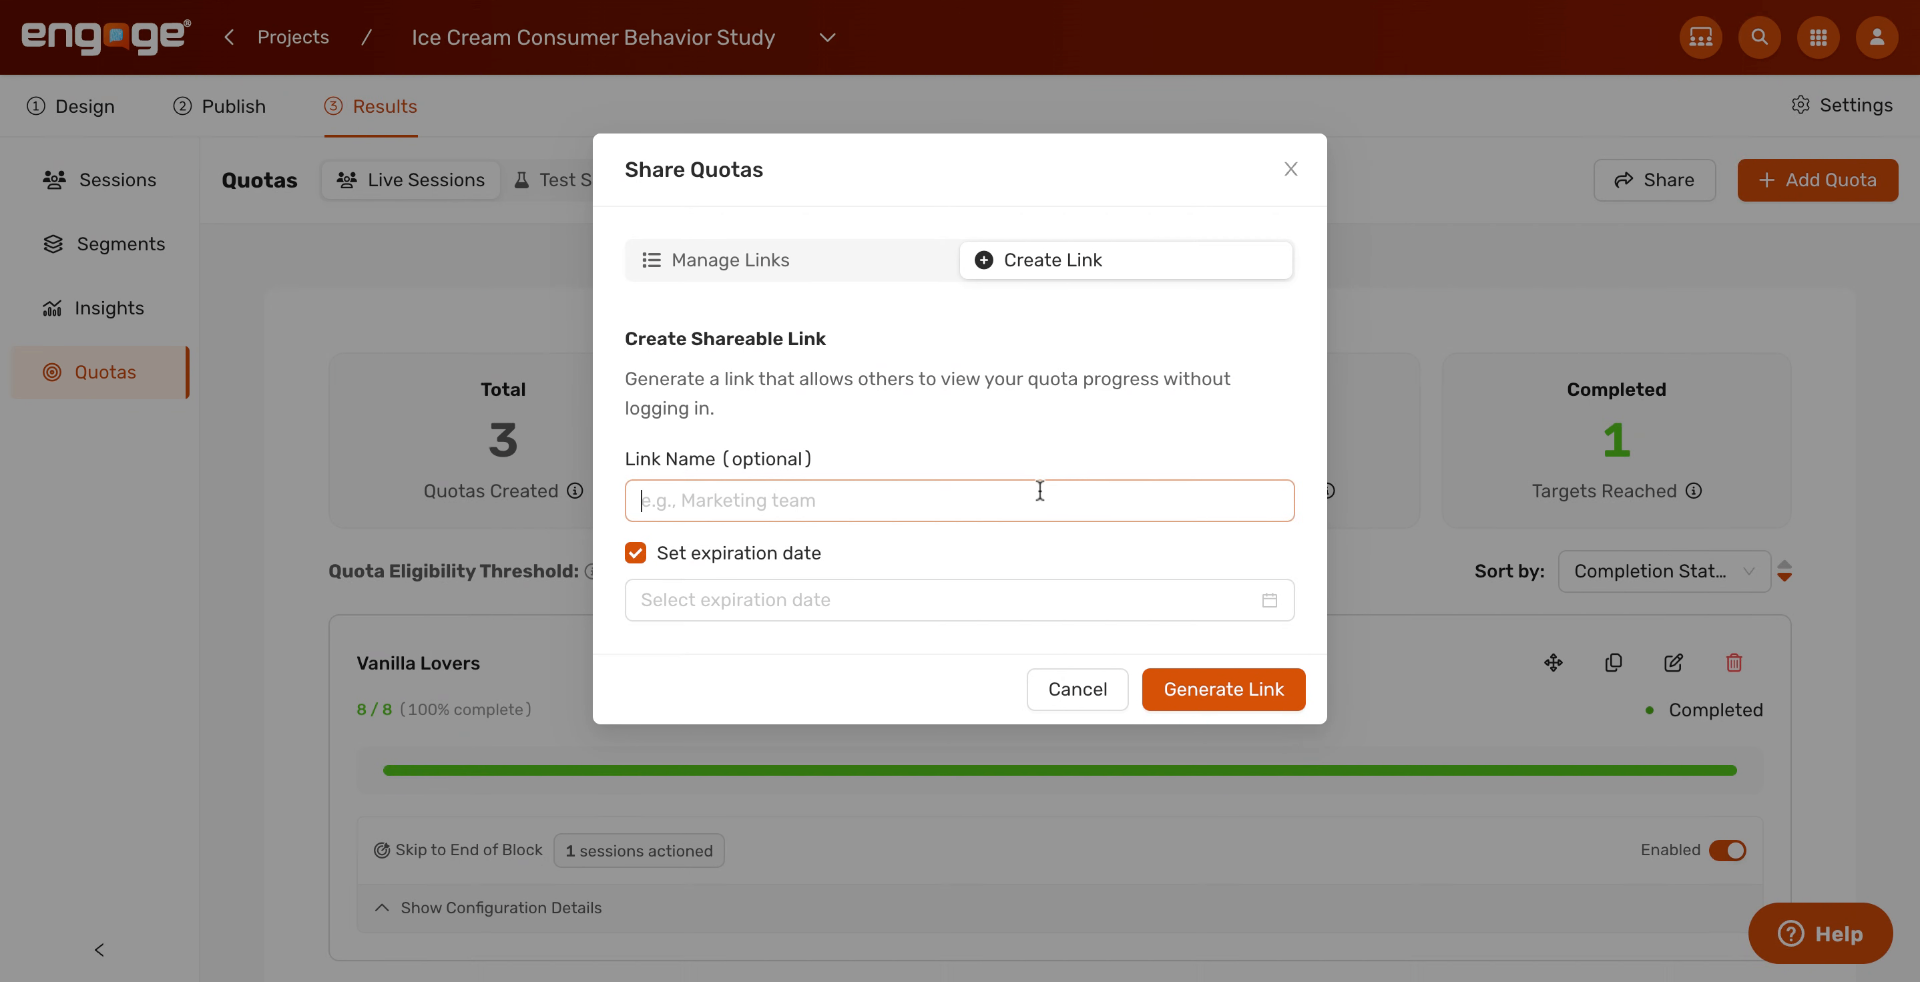
6. Open the Name Field
Click into the Name field. The placeholder is just an example, so replace it with a label that identifies who the link is for.
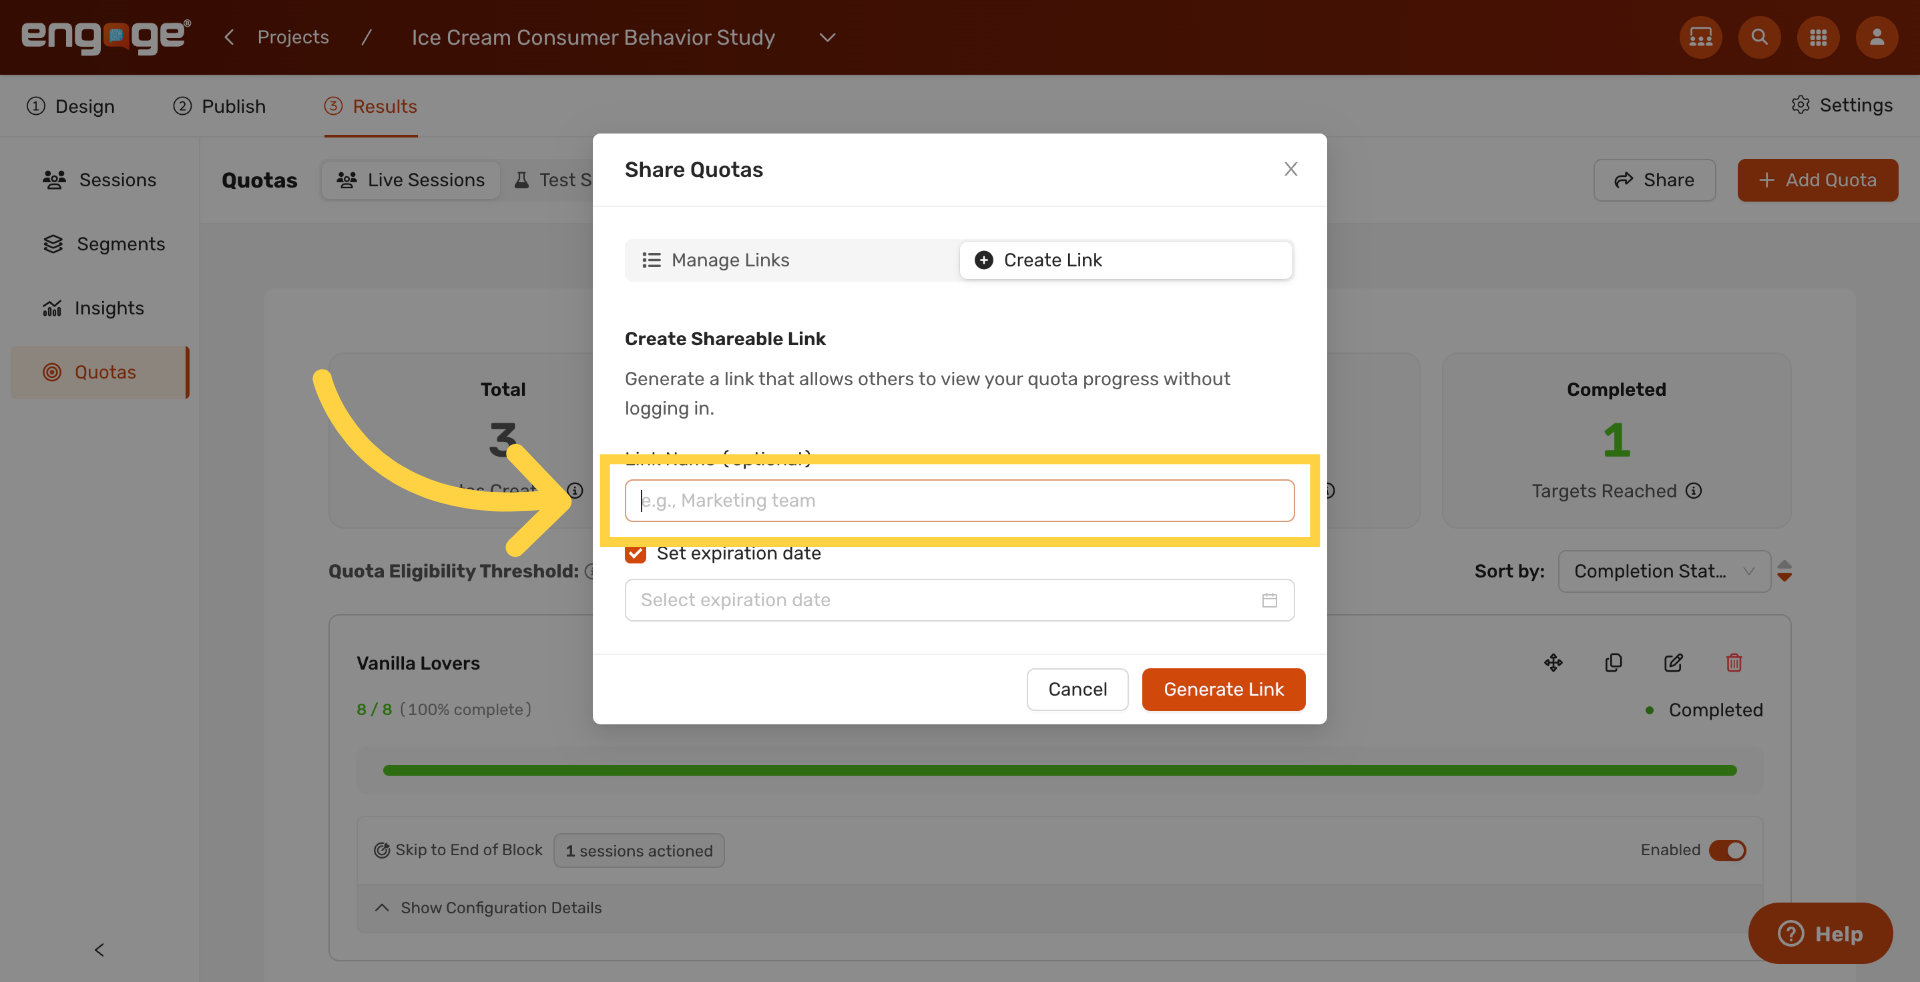
7. Name the Link
Type a name for the link. Naming each link by team or use case makes it easy to find later. In this example, we use "Ice cream quotas."
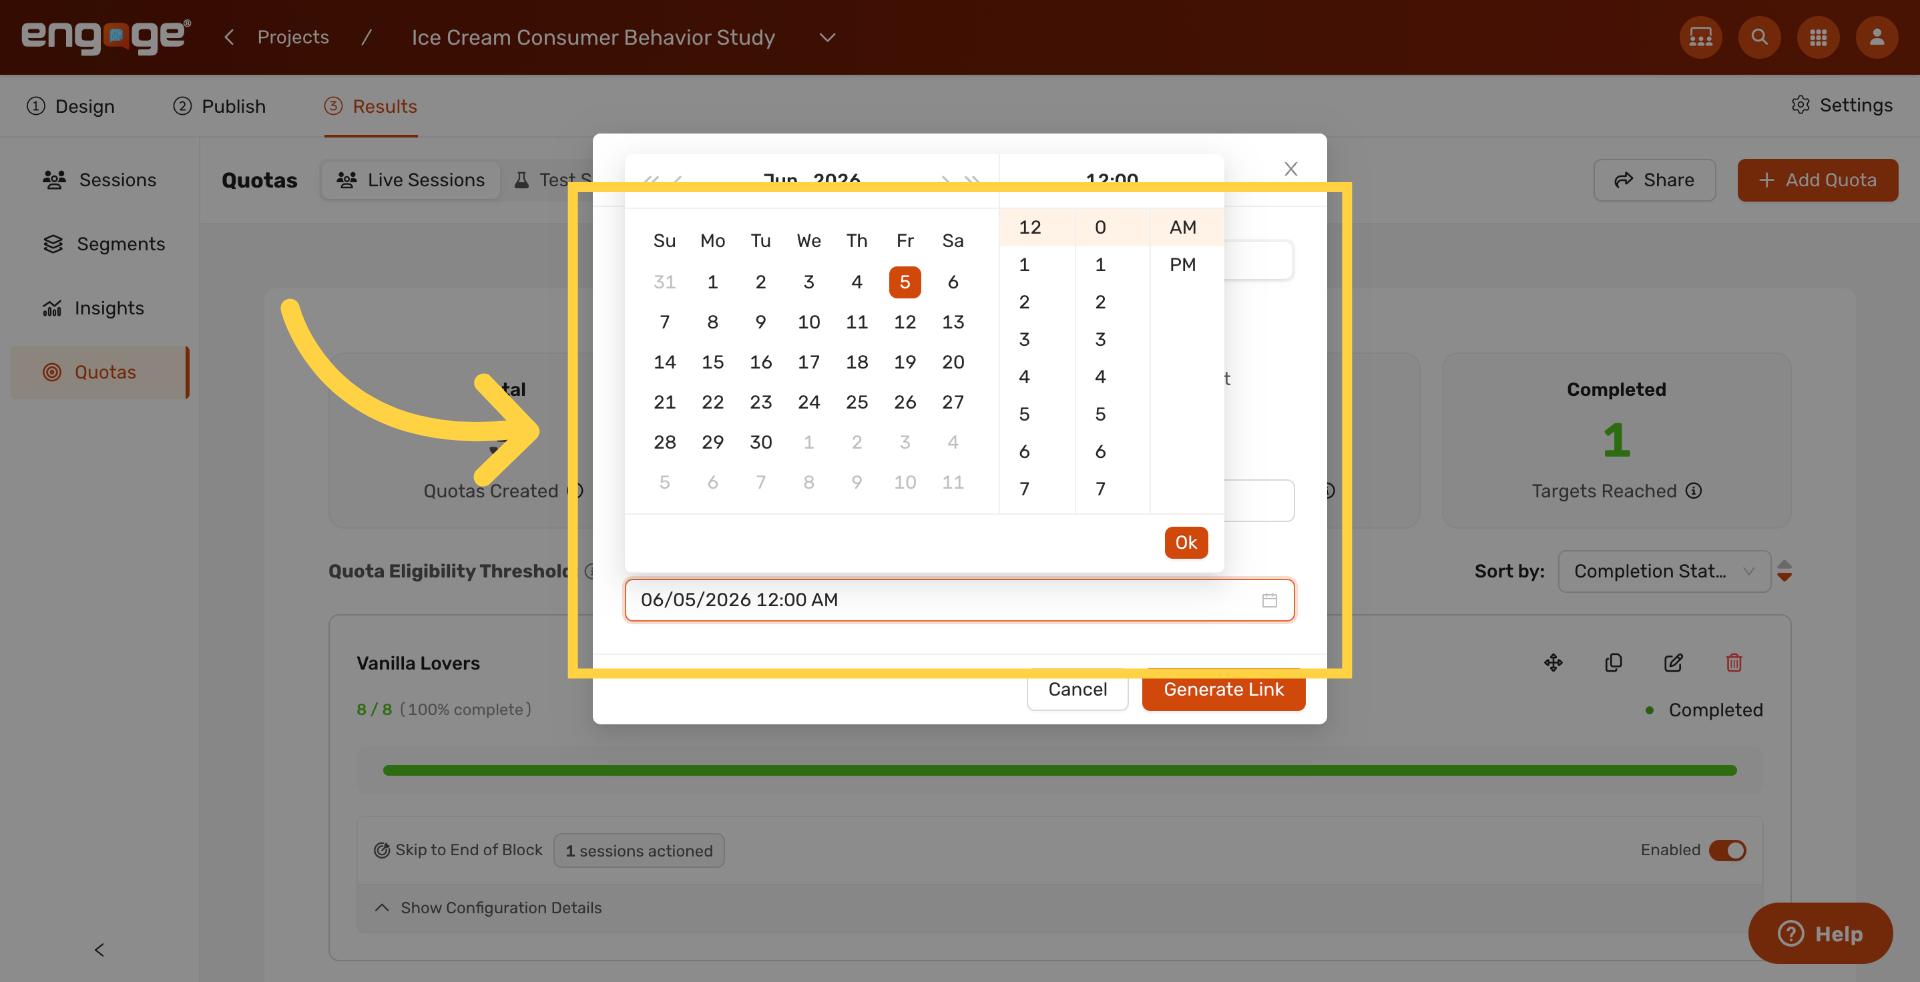
8. Open the Expiration Date Picker
Click Select expiration date to open the date picker so you can pick when the link should stop working.

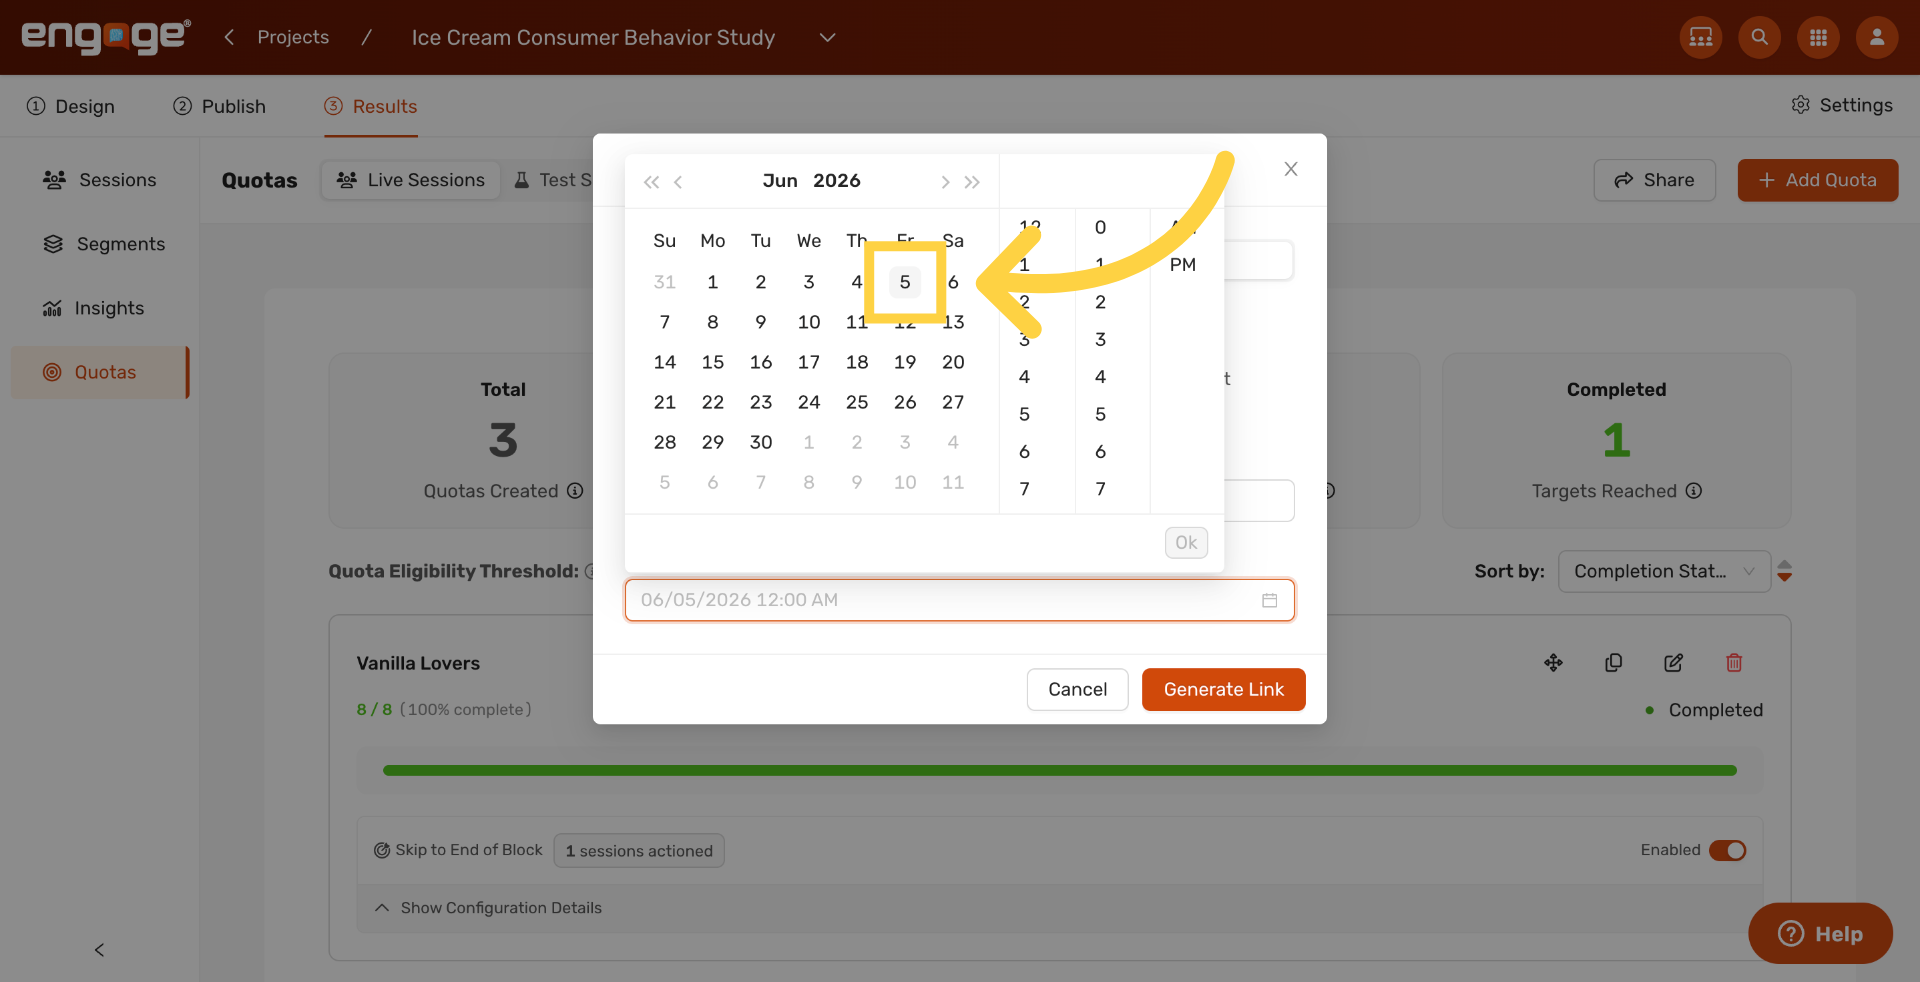
9. Select Expiration Day
Pick the day you want the link to expire.
10. Confirm Link Settings
Review the link's name and expiration before generating it.
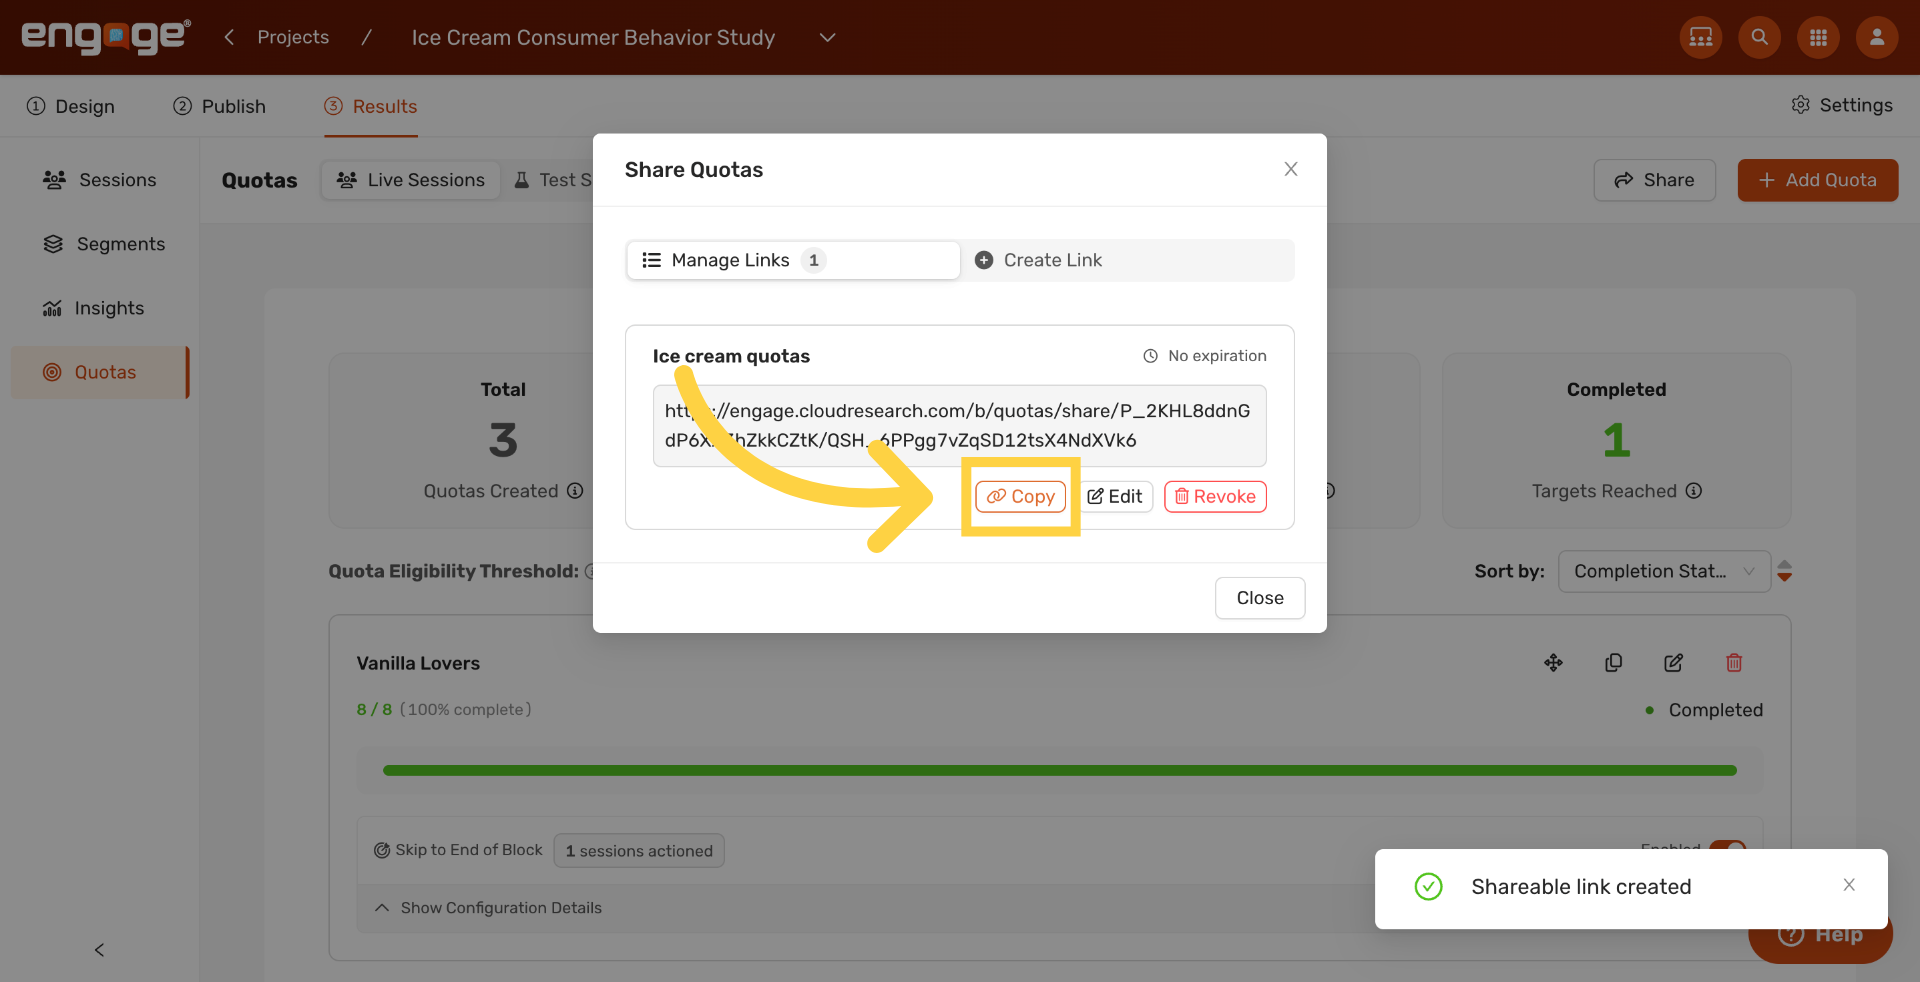
11. Generate Shareable Link
Click Generate Link to produce the final URL.

12. Copy Shareable Link
Click Copy to copy the link to your clipboard. Paste it into chat or email to share the quota dashboard with your team.
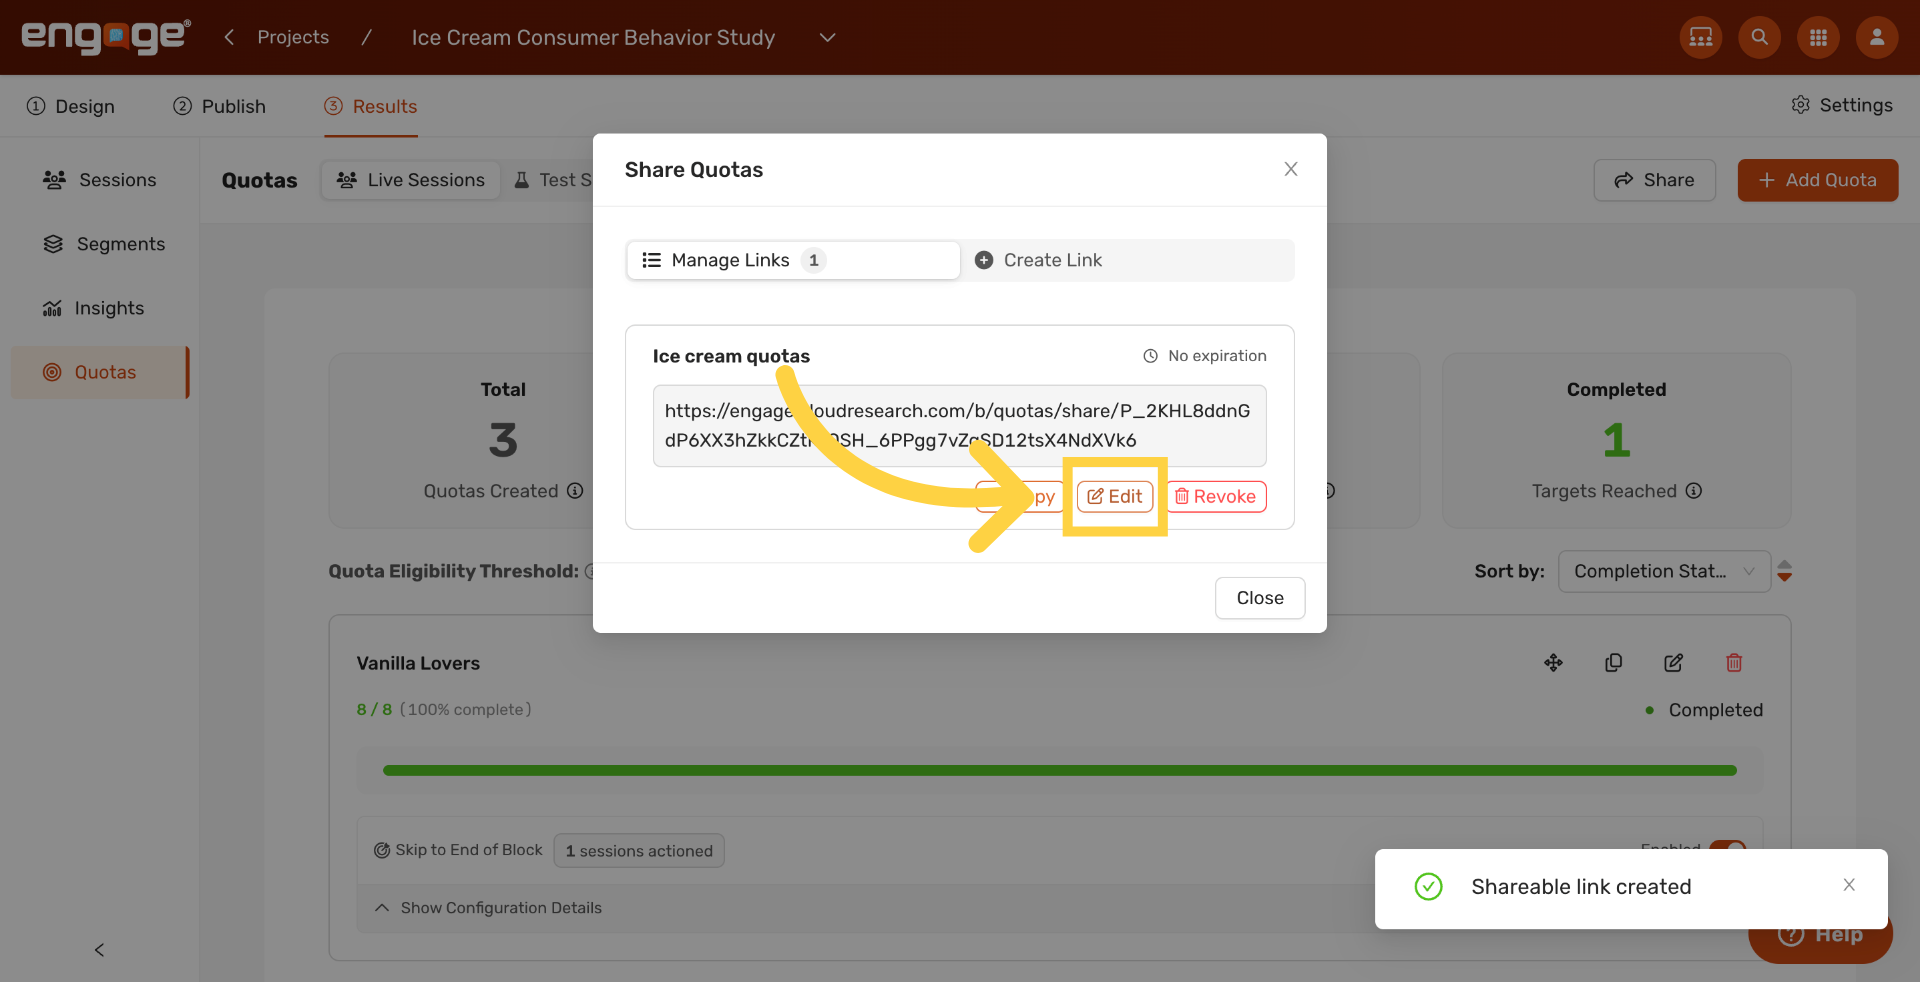
13. Edit Shareable Link
Click Edit on any existing link to change its name or expiration date.
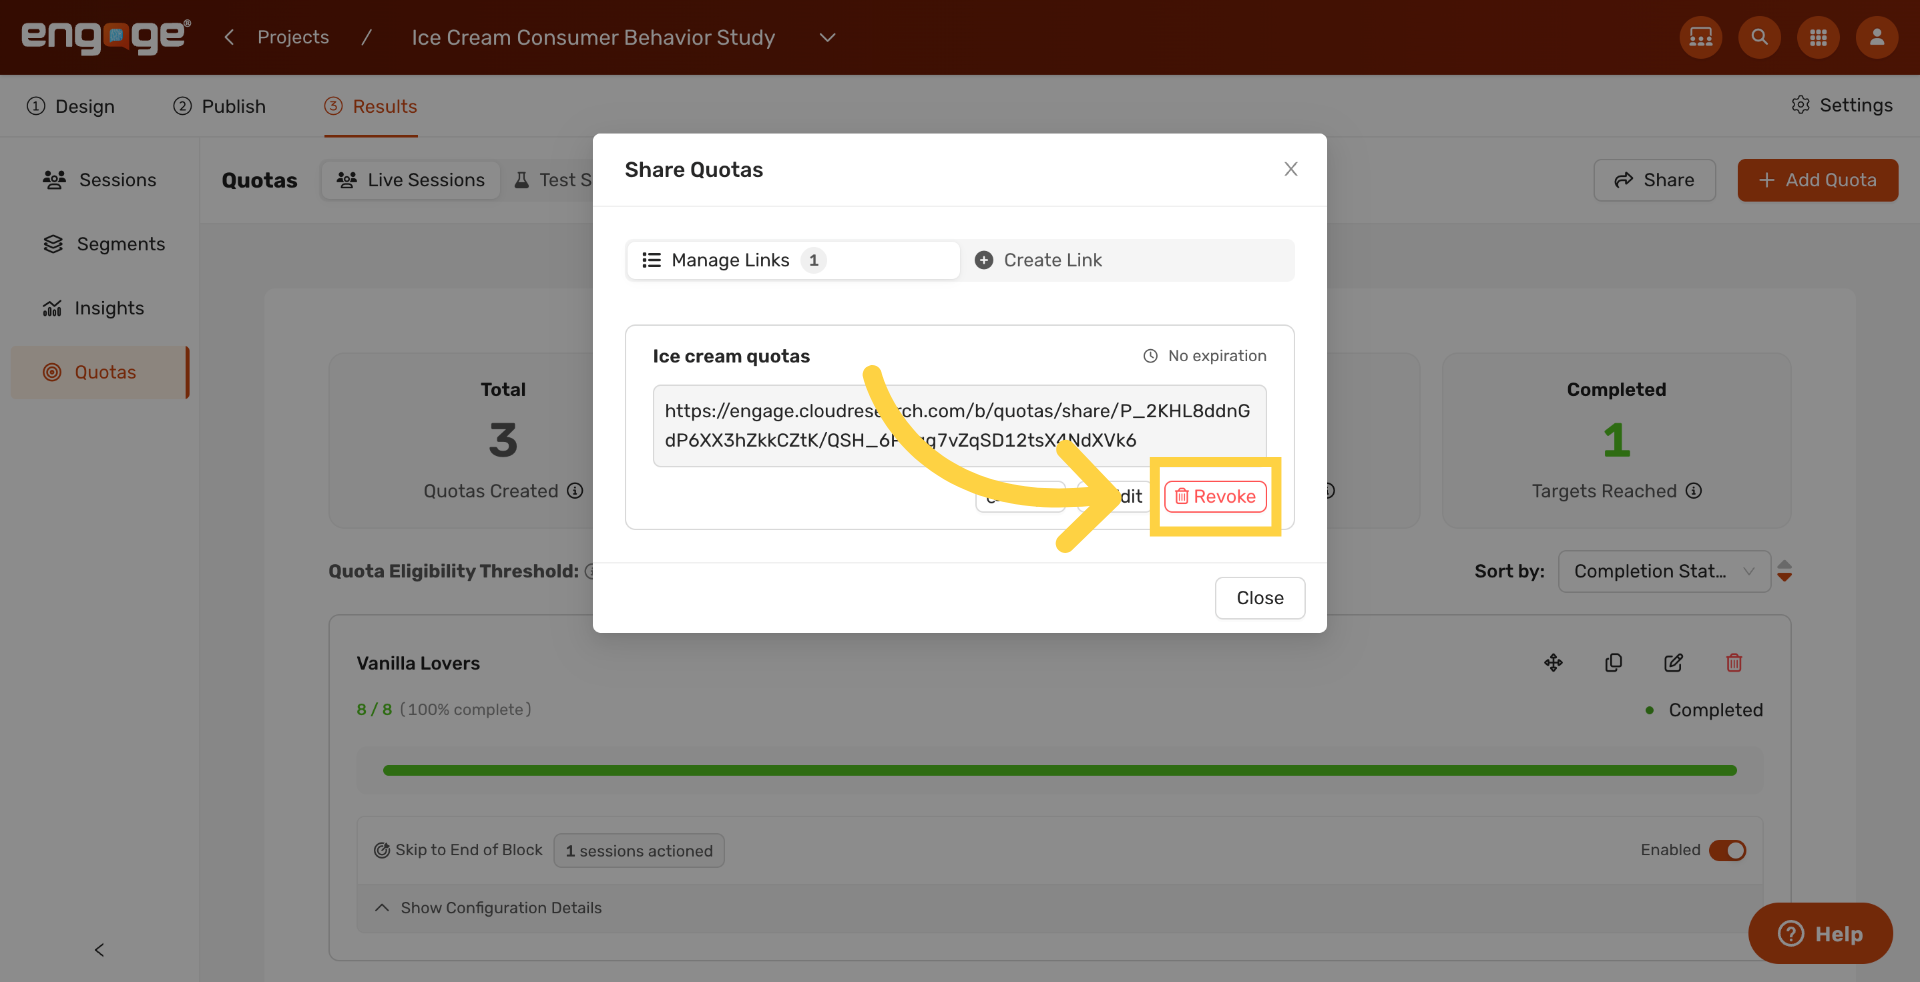
14. Revoke Shareable Link
Click Revoke to disable a link. Anyone using the URL after revocation will see a "link no longer available" message.
Thank you for watching. If you have any questions, please reach out to our support team or explore our other Engage guides.
Comments
0 comments
Please sign in to leave a comment.