
Custom themes let you brand the participant experience with your own colors, logos, and chart palette. This walkthrough builds a CloudResearch-branded theme and applies it to your account.
Go to engage.cloudresearch.com
1. Introduction
In a few minutes, you'll have a fully branded theme — colors, logos, and a chart palette — that participants see across every project.
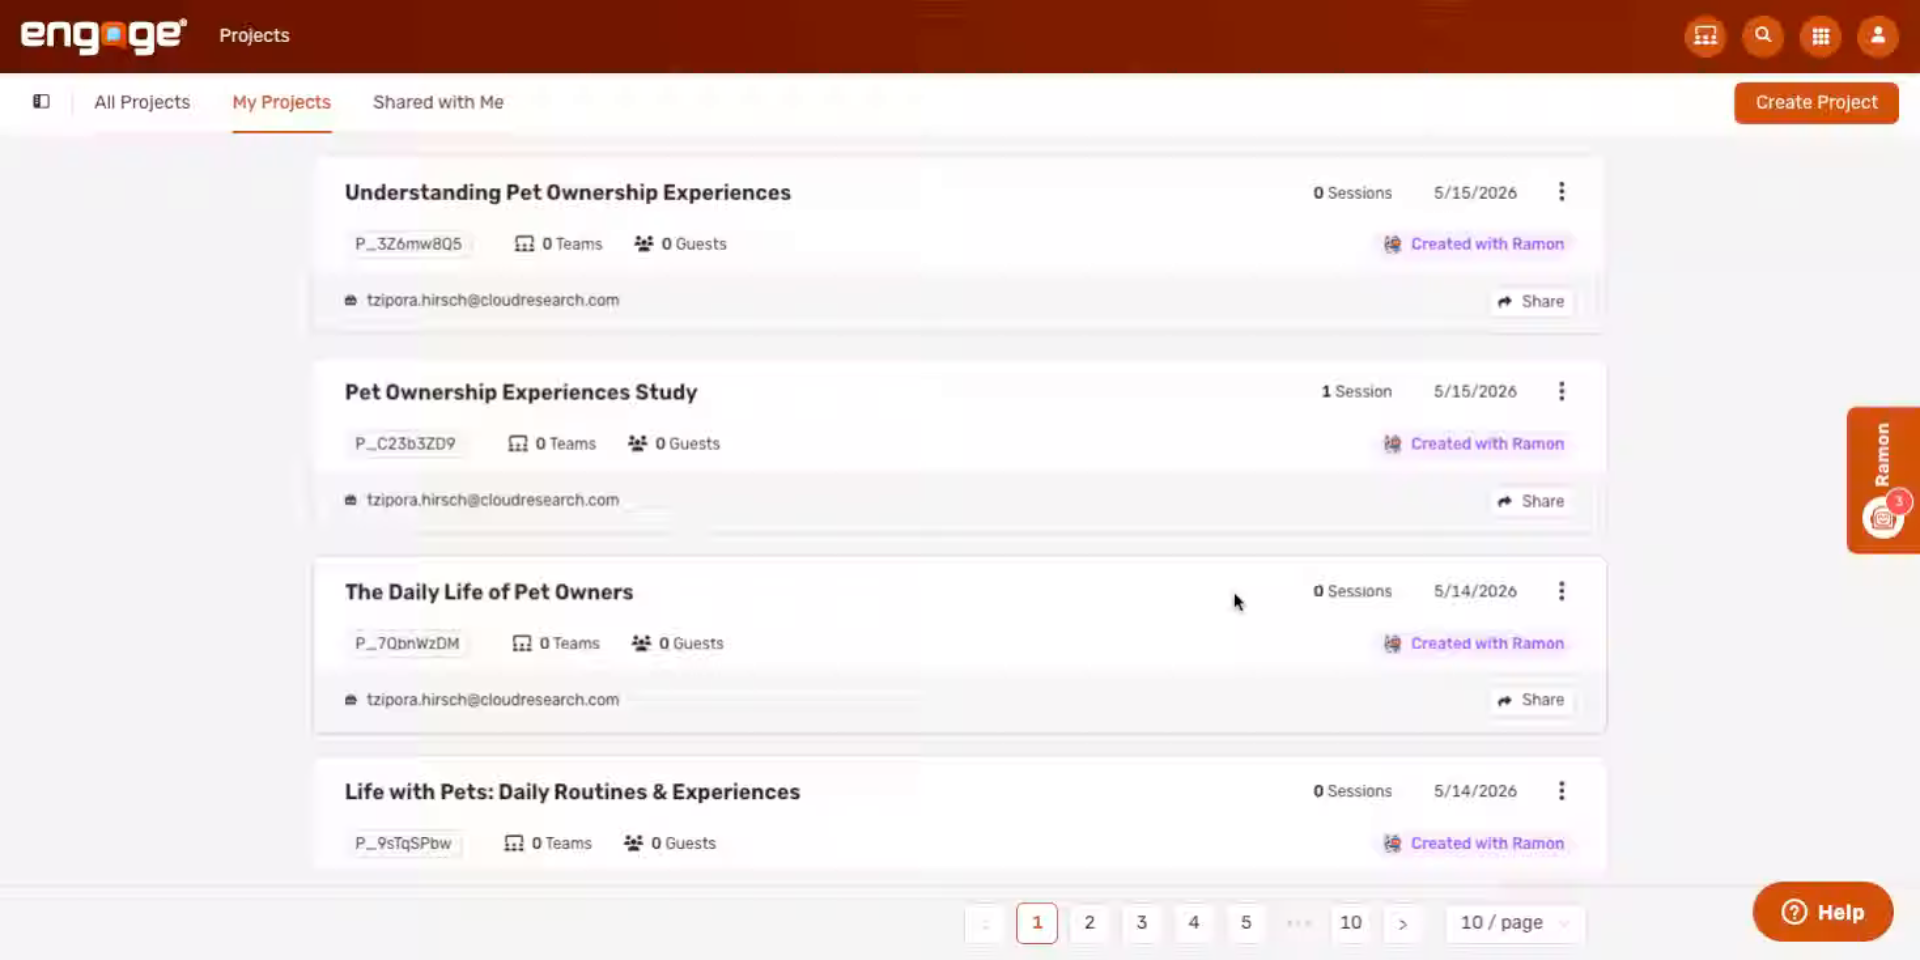
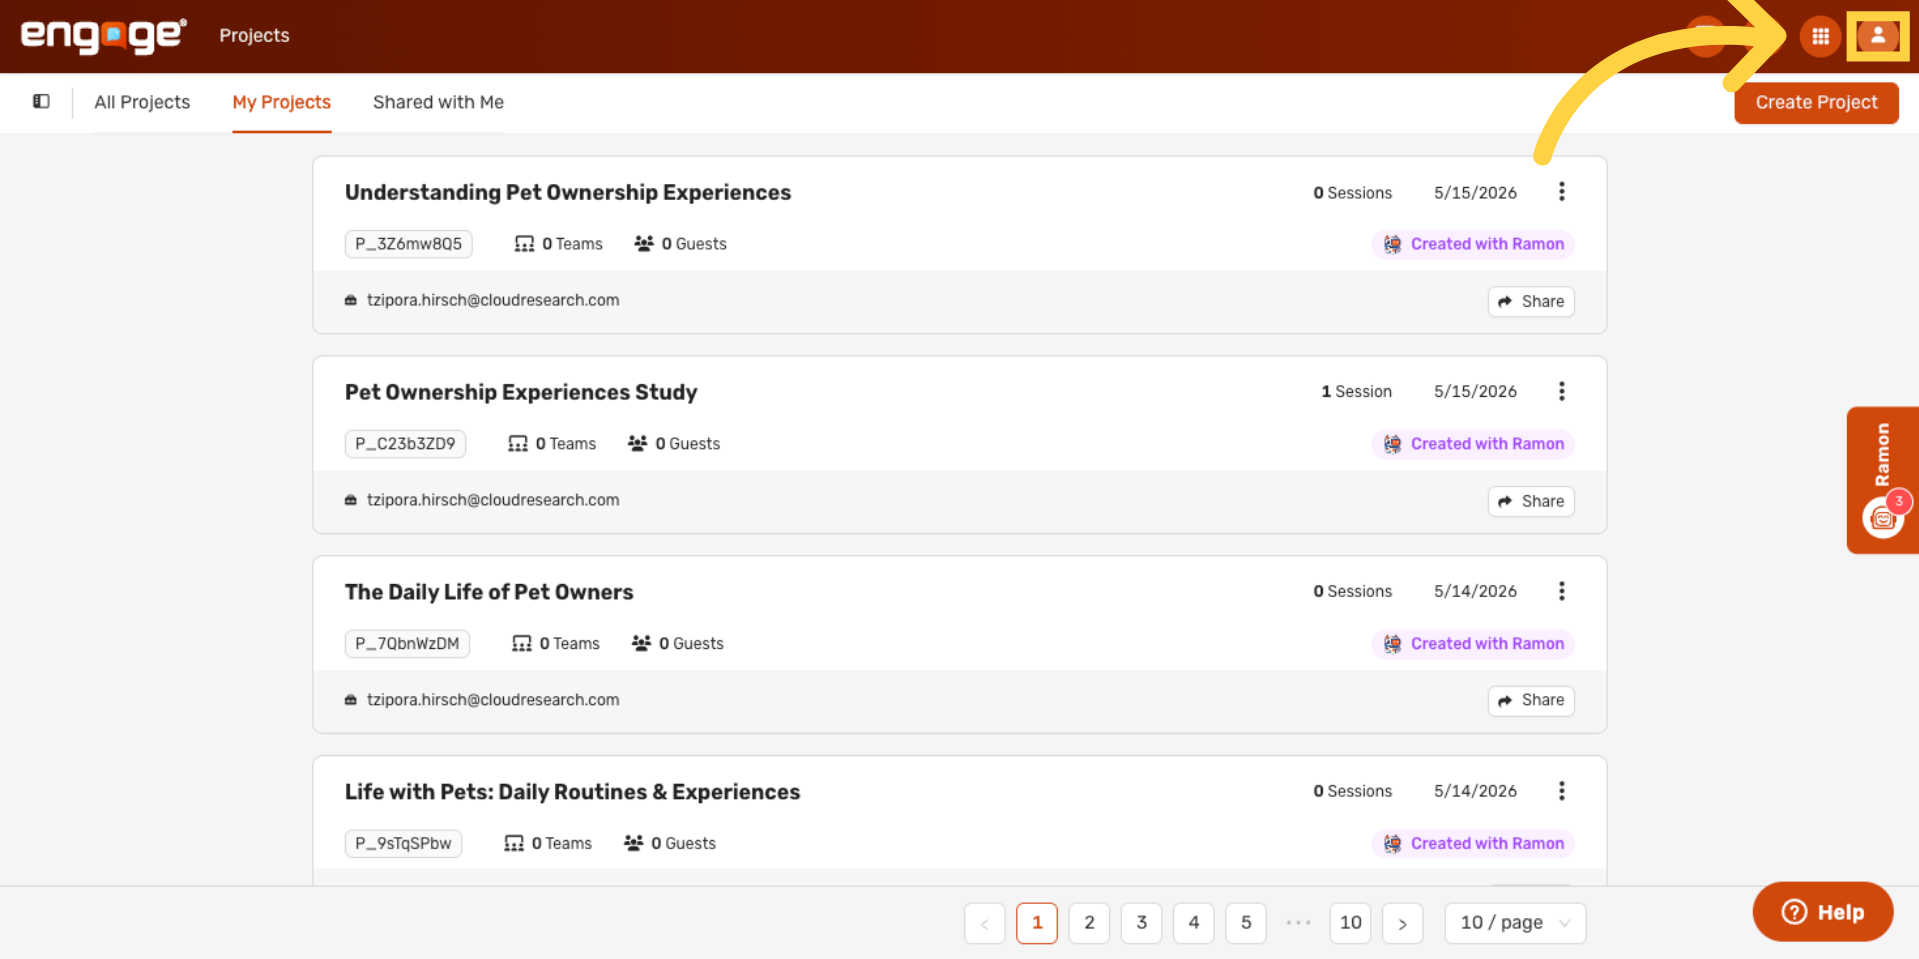
2. Access Theme Customization
Click your profile avatar in the top right to open the theme customization settings.
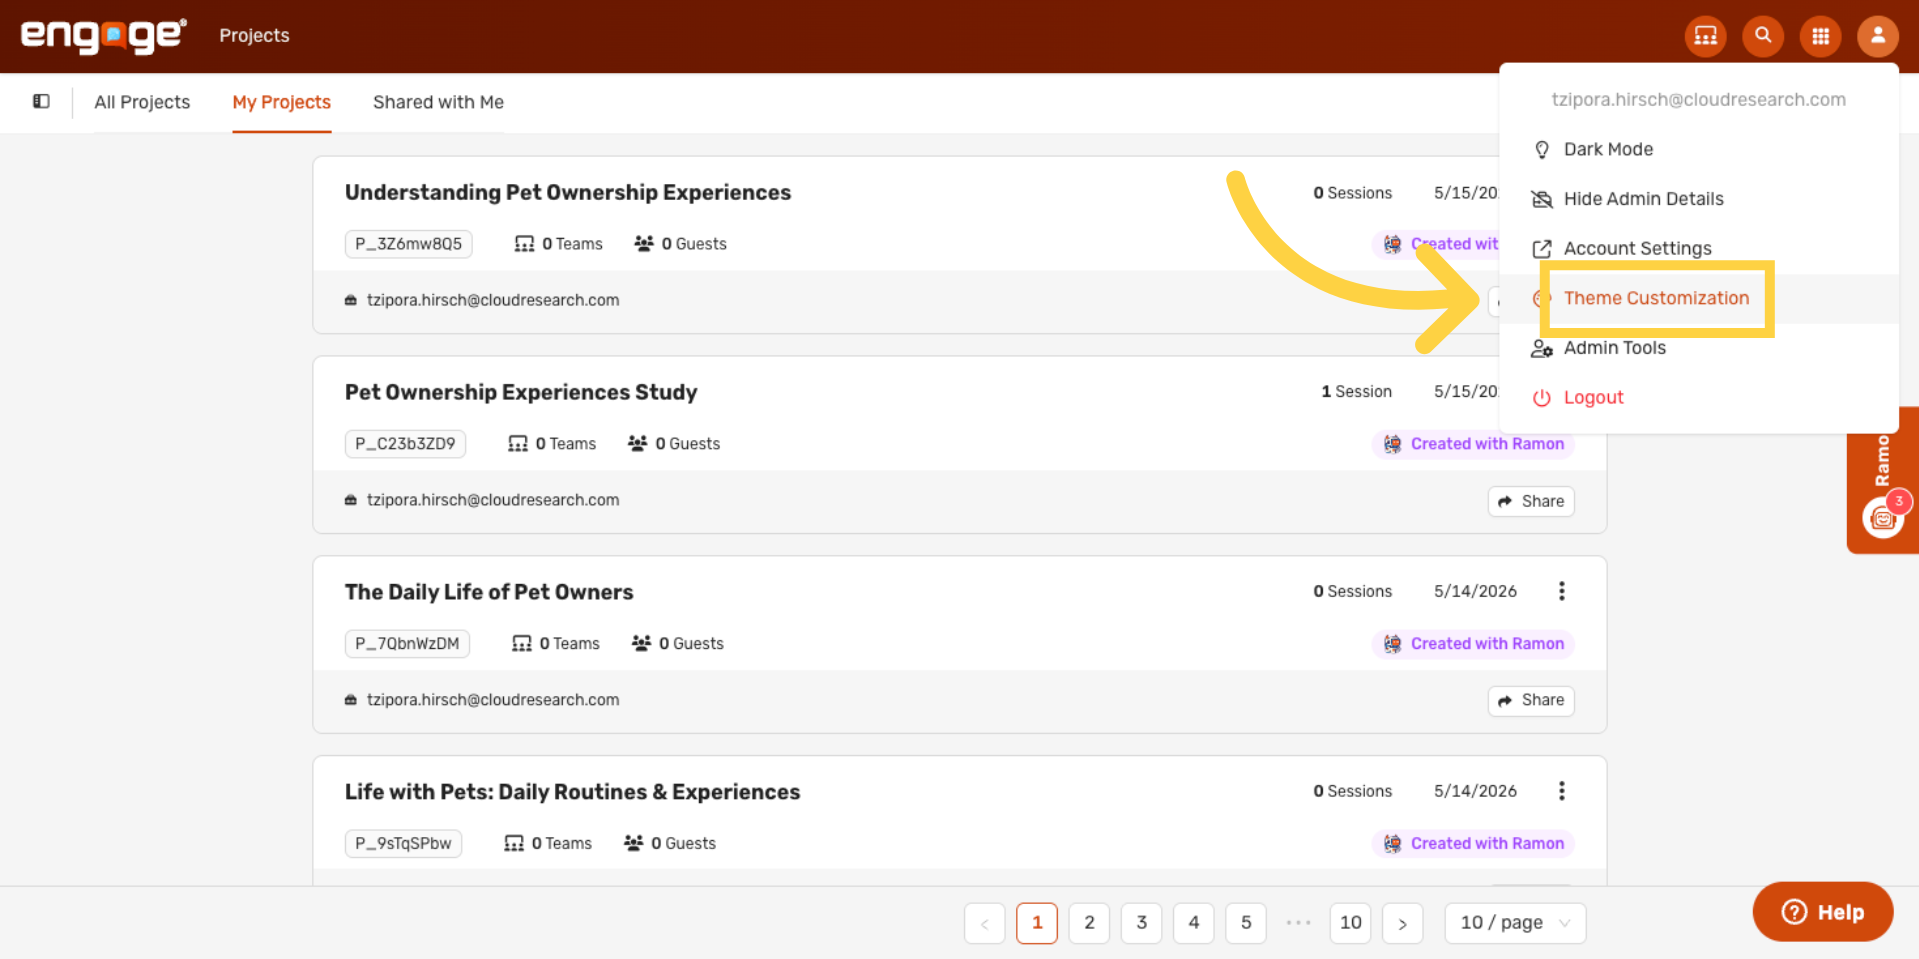
3. Open Theme Customization
Then select Theme Customization. This opens the themes hub, where you'll see any saved themes and can create new ones.
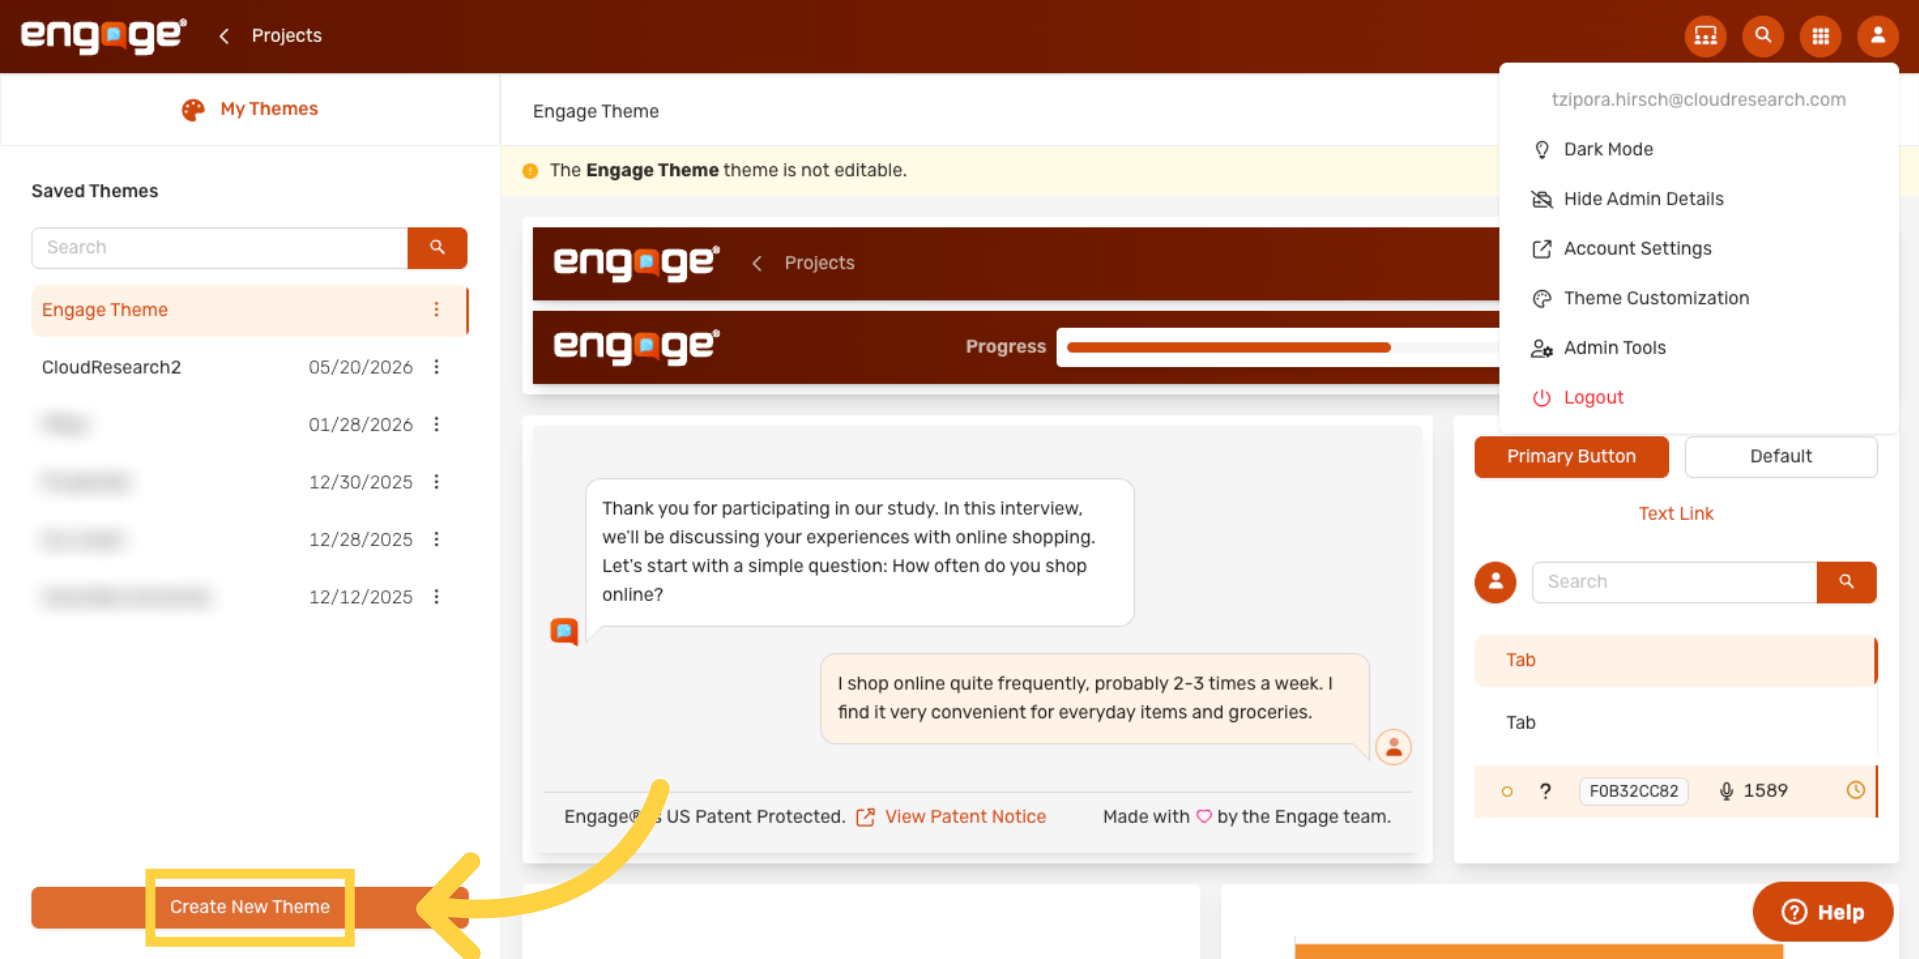
4. Create a New Theme
Click Create New Theme to start a fresh theme from scratch.
5. Name Your Theme
Give your theme a name — the client or project name is usually clearest.

6. Open the Theme Editor
Click Create. You'll land in the theme editor with the default Engage palette as a starting point.

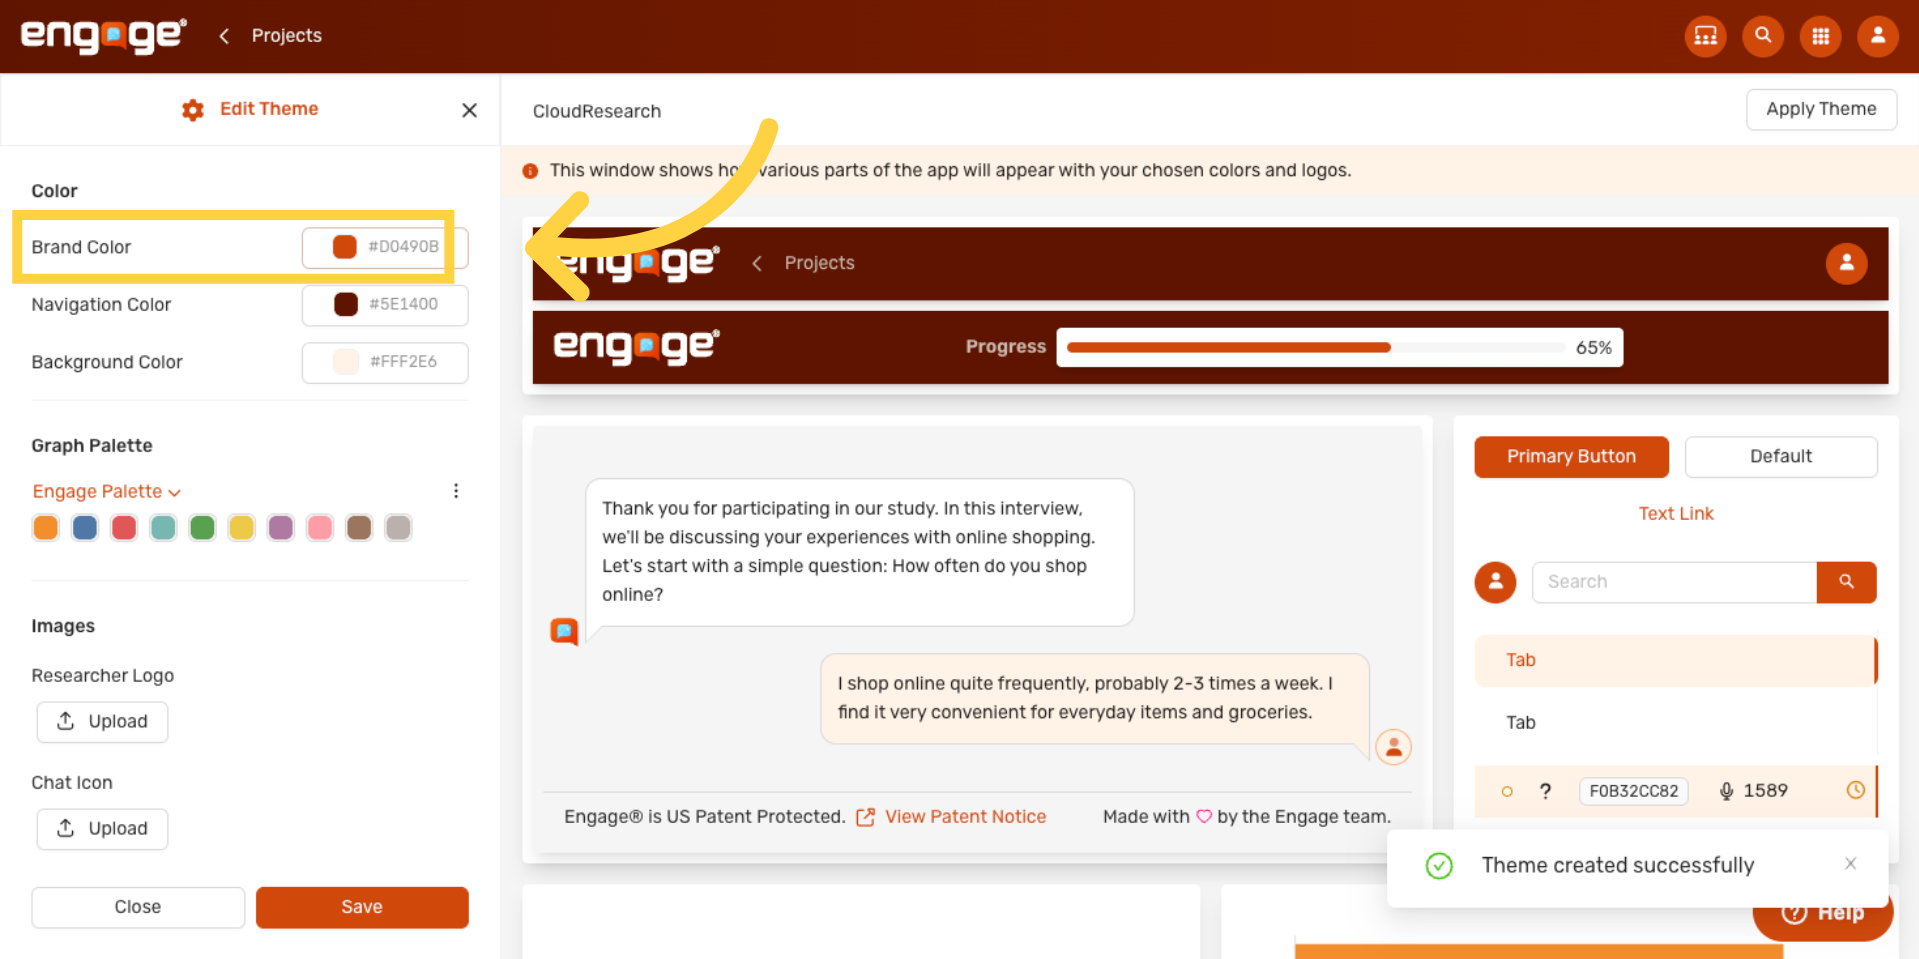
7. Set Your Brand Color
Click the Brand Color swatch. This is your main accent — used on buttons, links, the progress bar, and any branded UI element participants interact with.
8. Open the Color Picker
Paste a hex code, drag the picker, or grab a color from anywhere on your screen with the eyedropper.
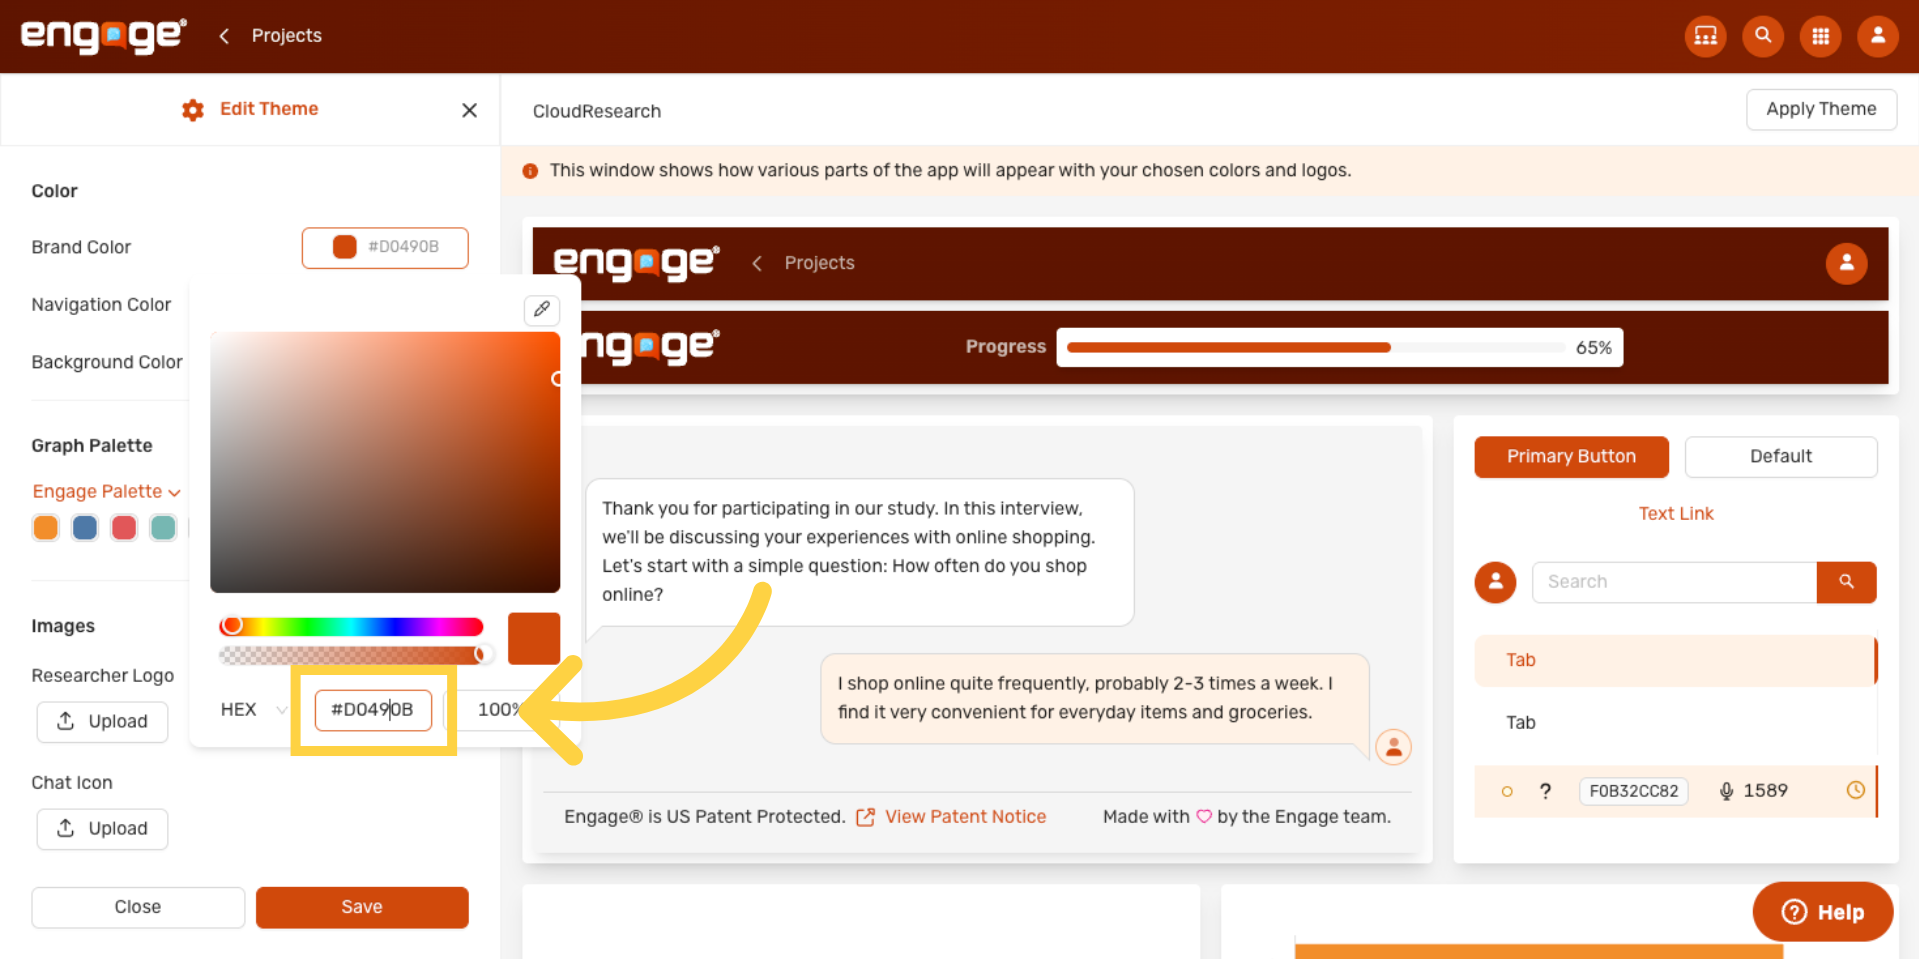
9. Enter Your Brand Hex
Type your brand hex — the swatch and preview update as you type.
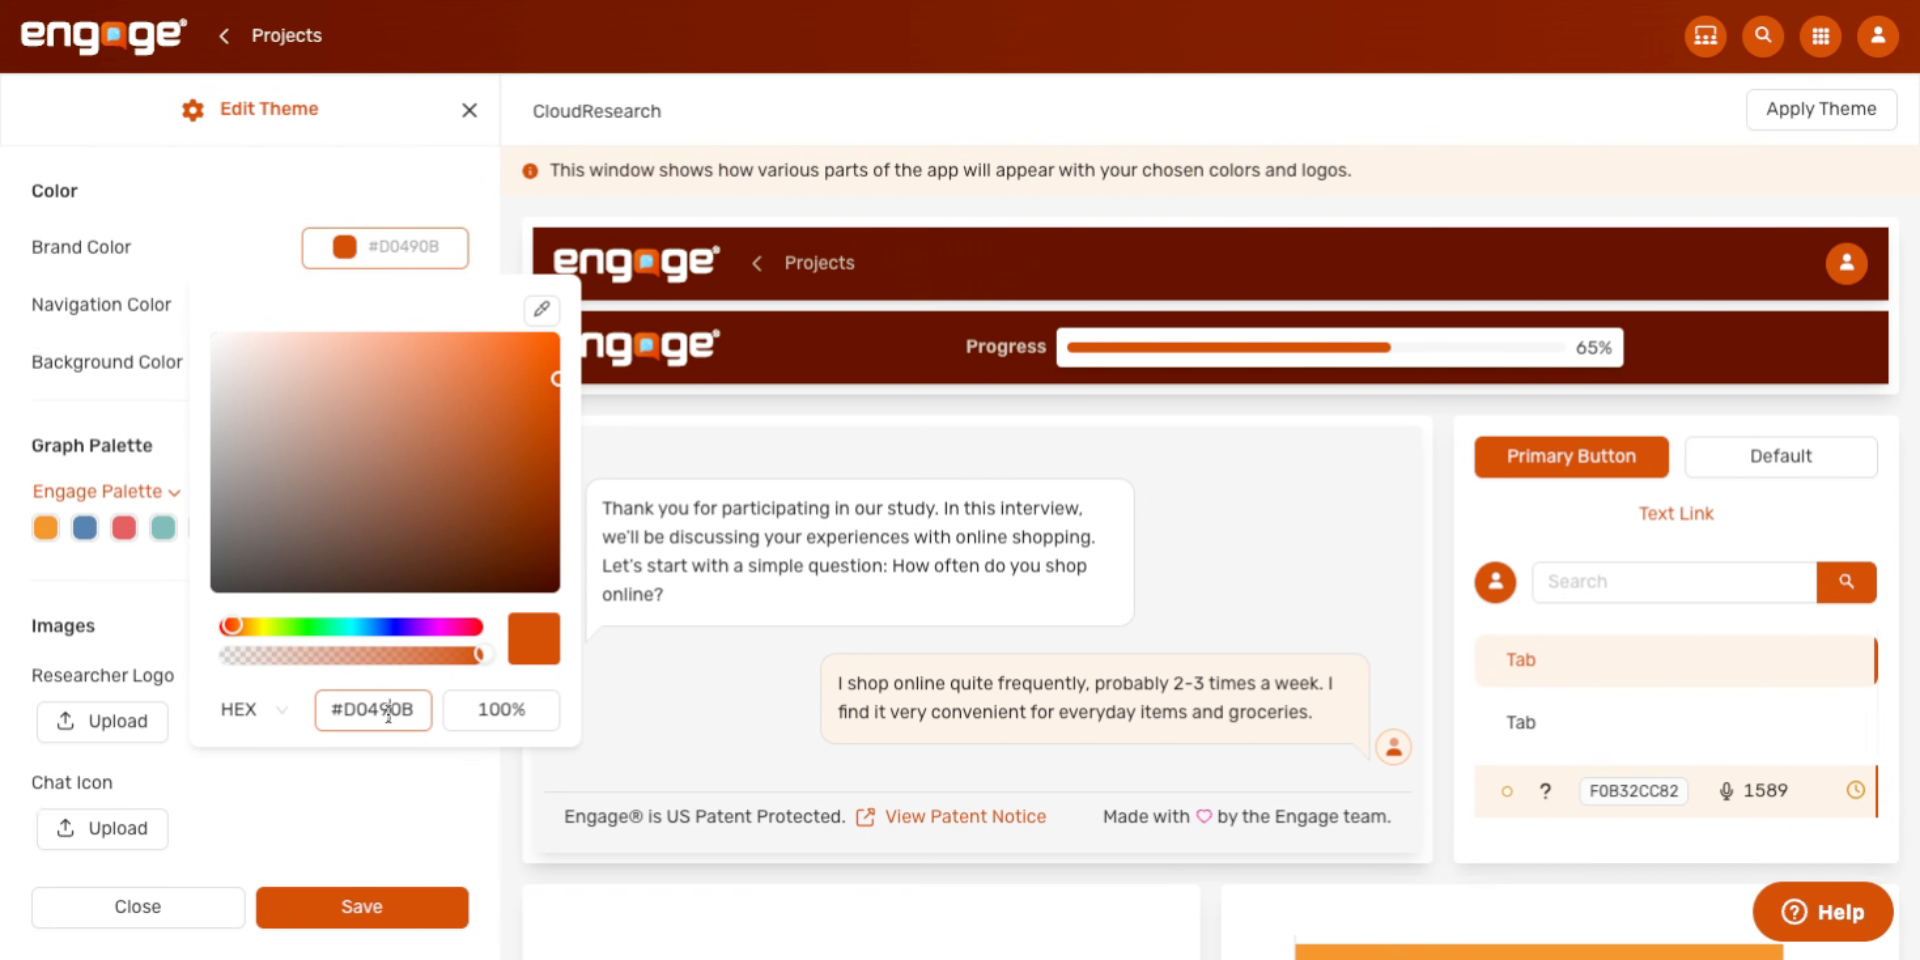
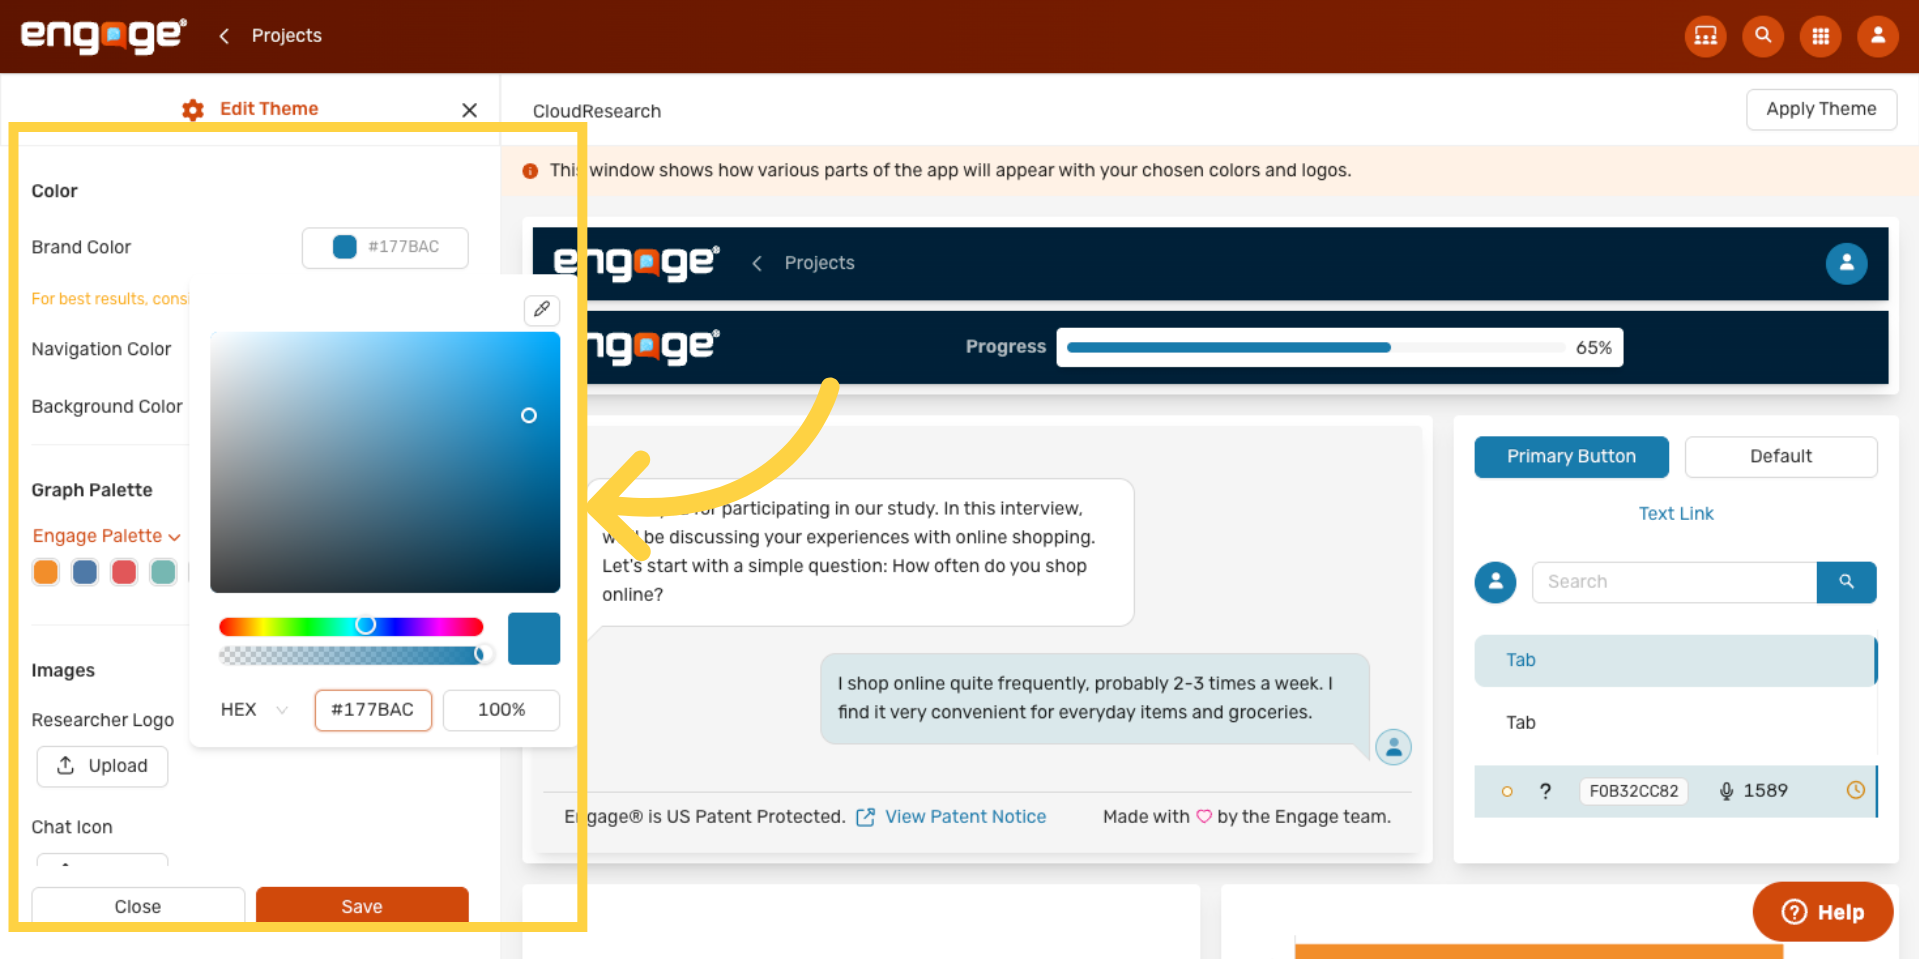
10. See the Preview Update
The researcher app reflects your new Brand Color in real time — buttons, tabs, links, and the progress bar all pick it up.
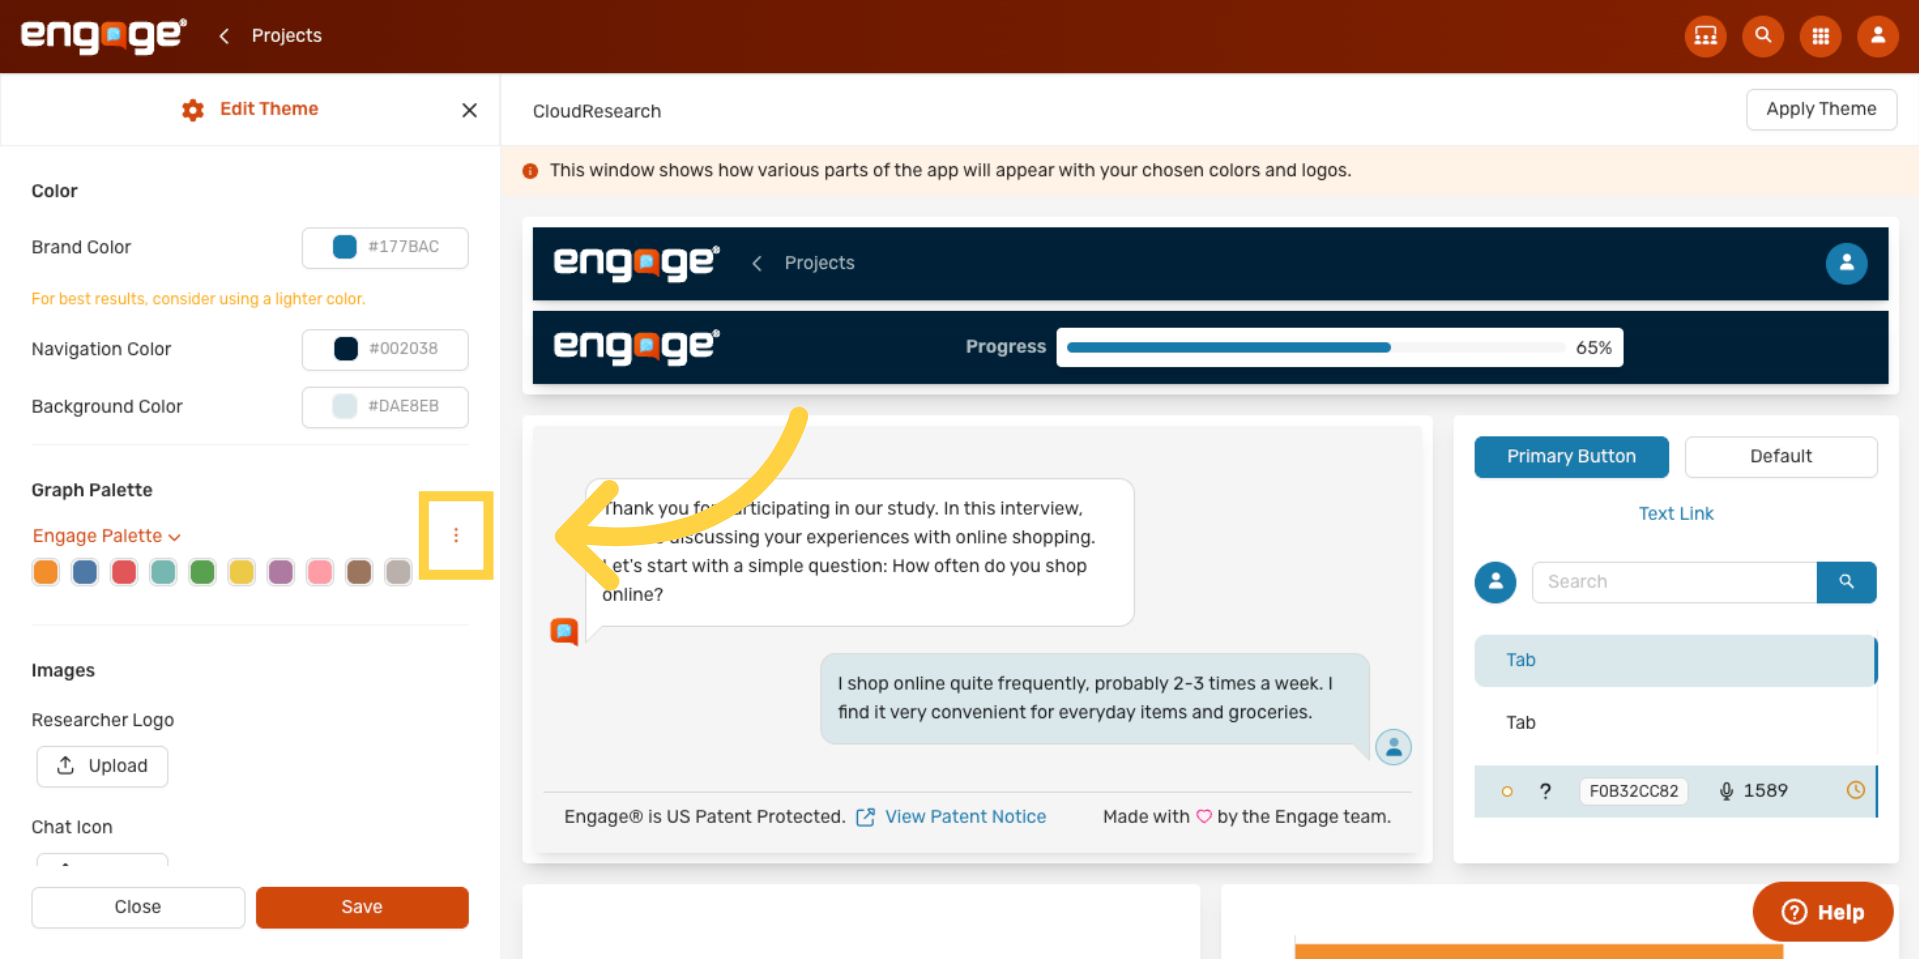
11. Open Graph Palette Options
Open the Graph Palette options menu. You can rename, clone, or remove the active palette from here.
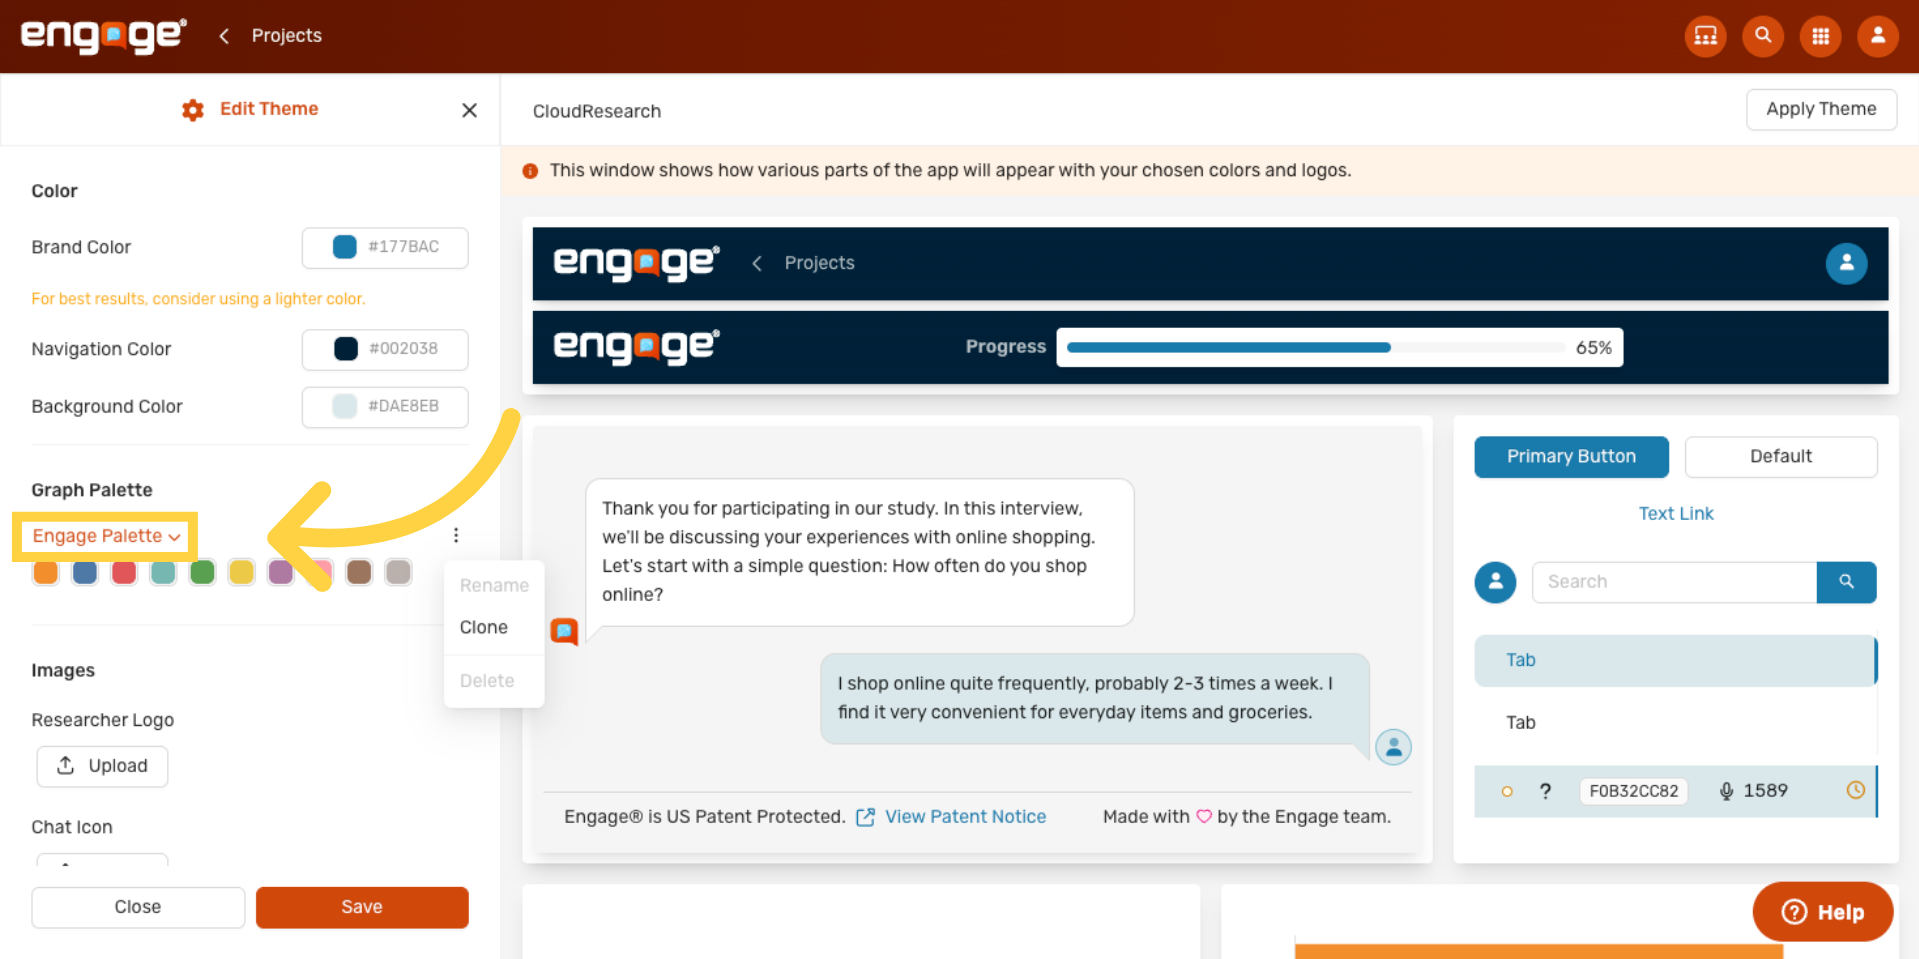
12. Open the Palette Dropdown
Open the palette dropdown to pick from existing palettes — or create a new one.
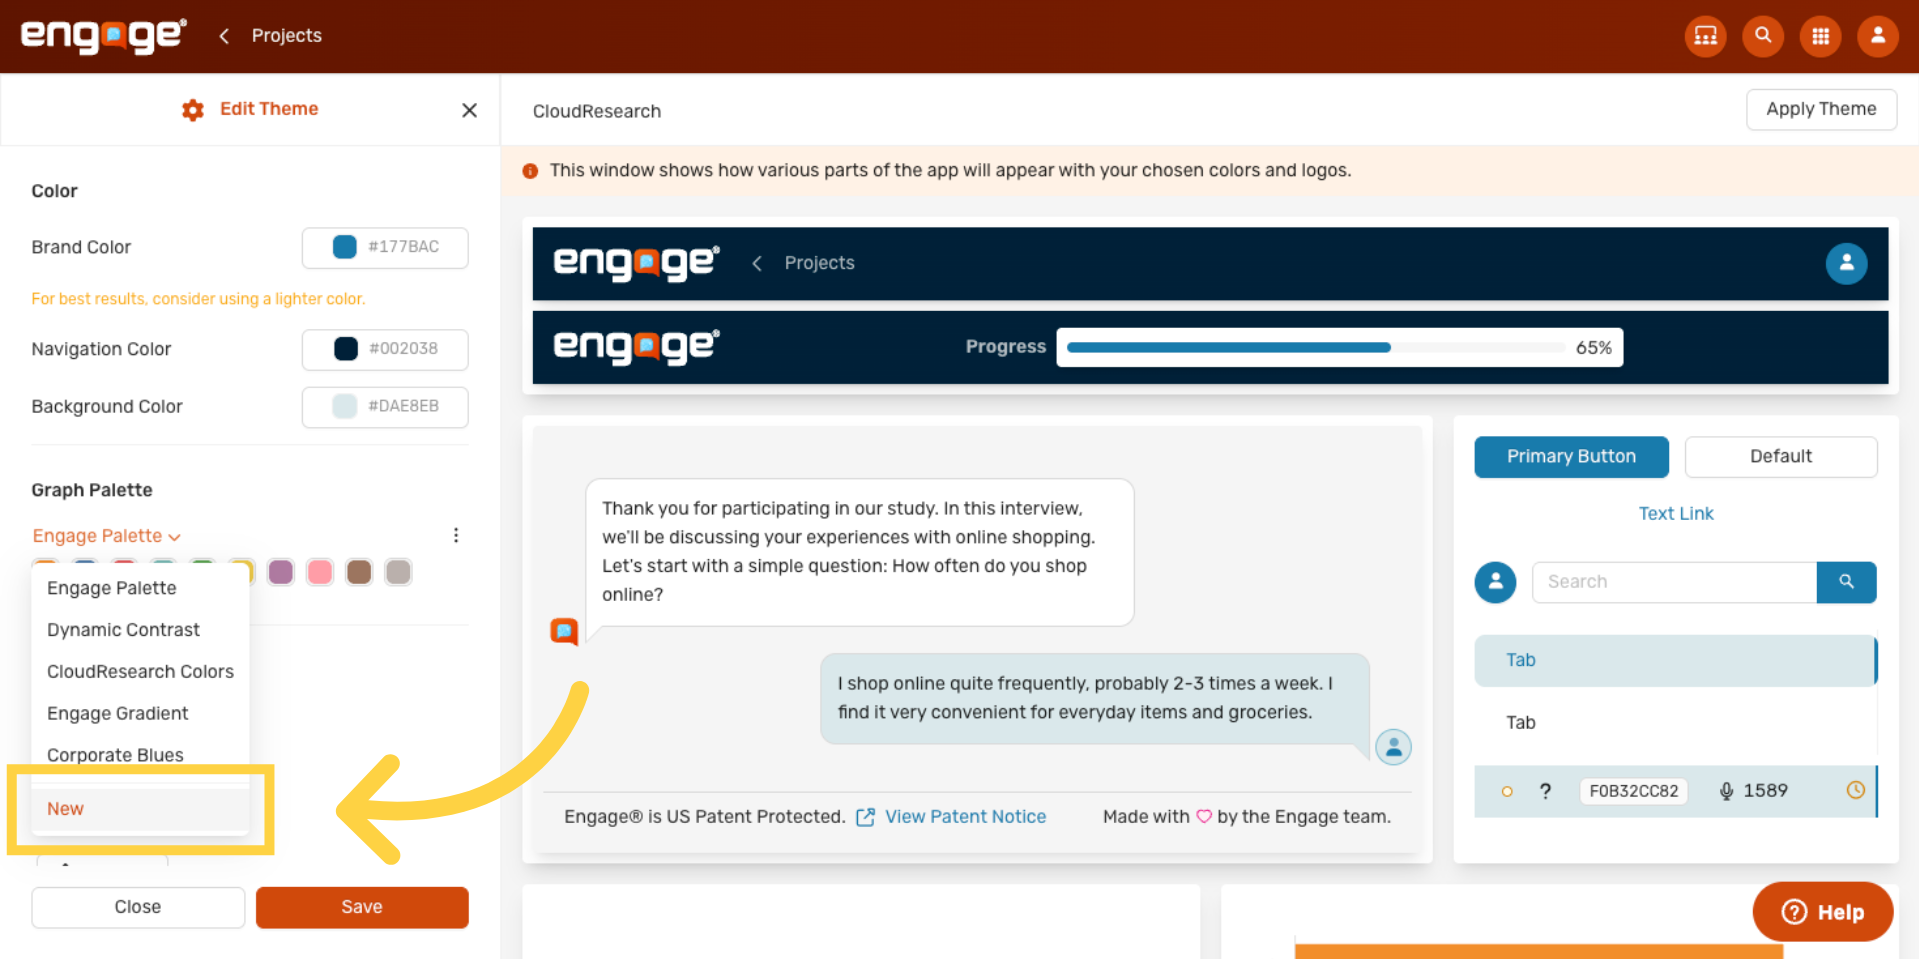
13. Create a Custom Palette
Click New to build a custom palette. Charts in the participant view and exported results will use these colors.
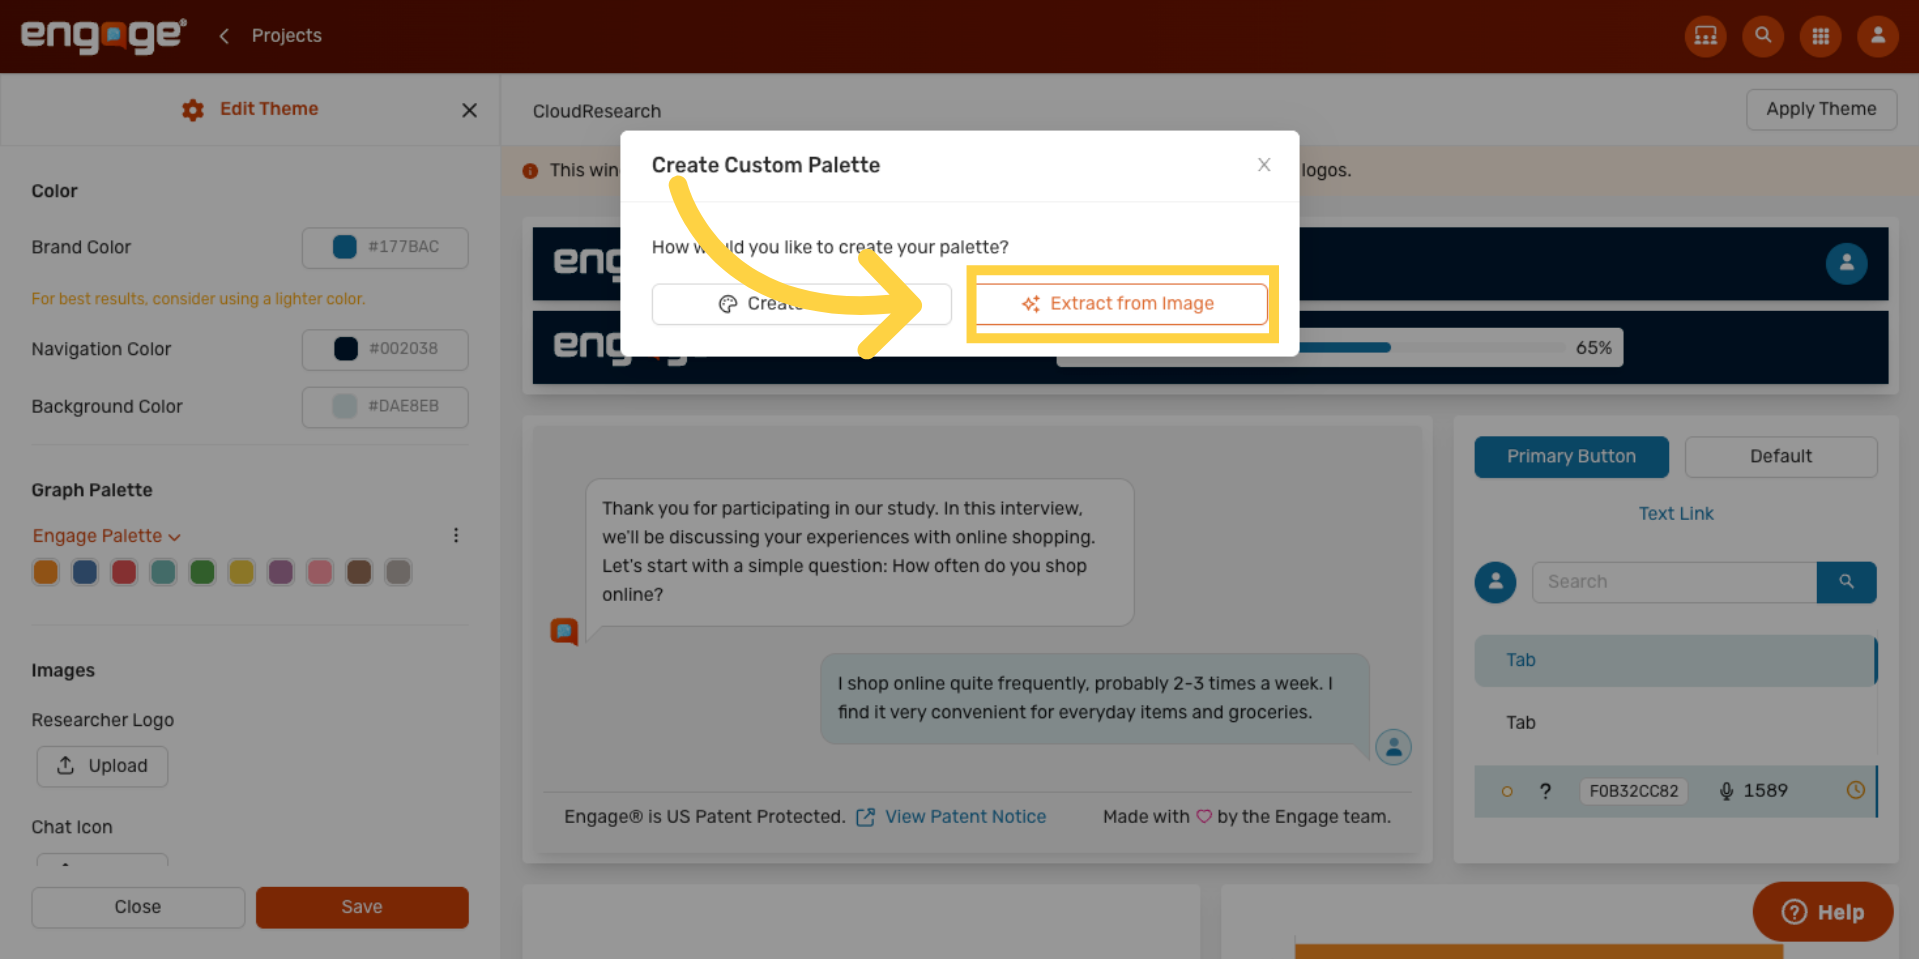
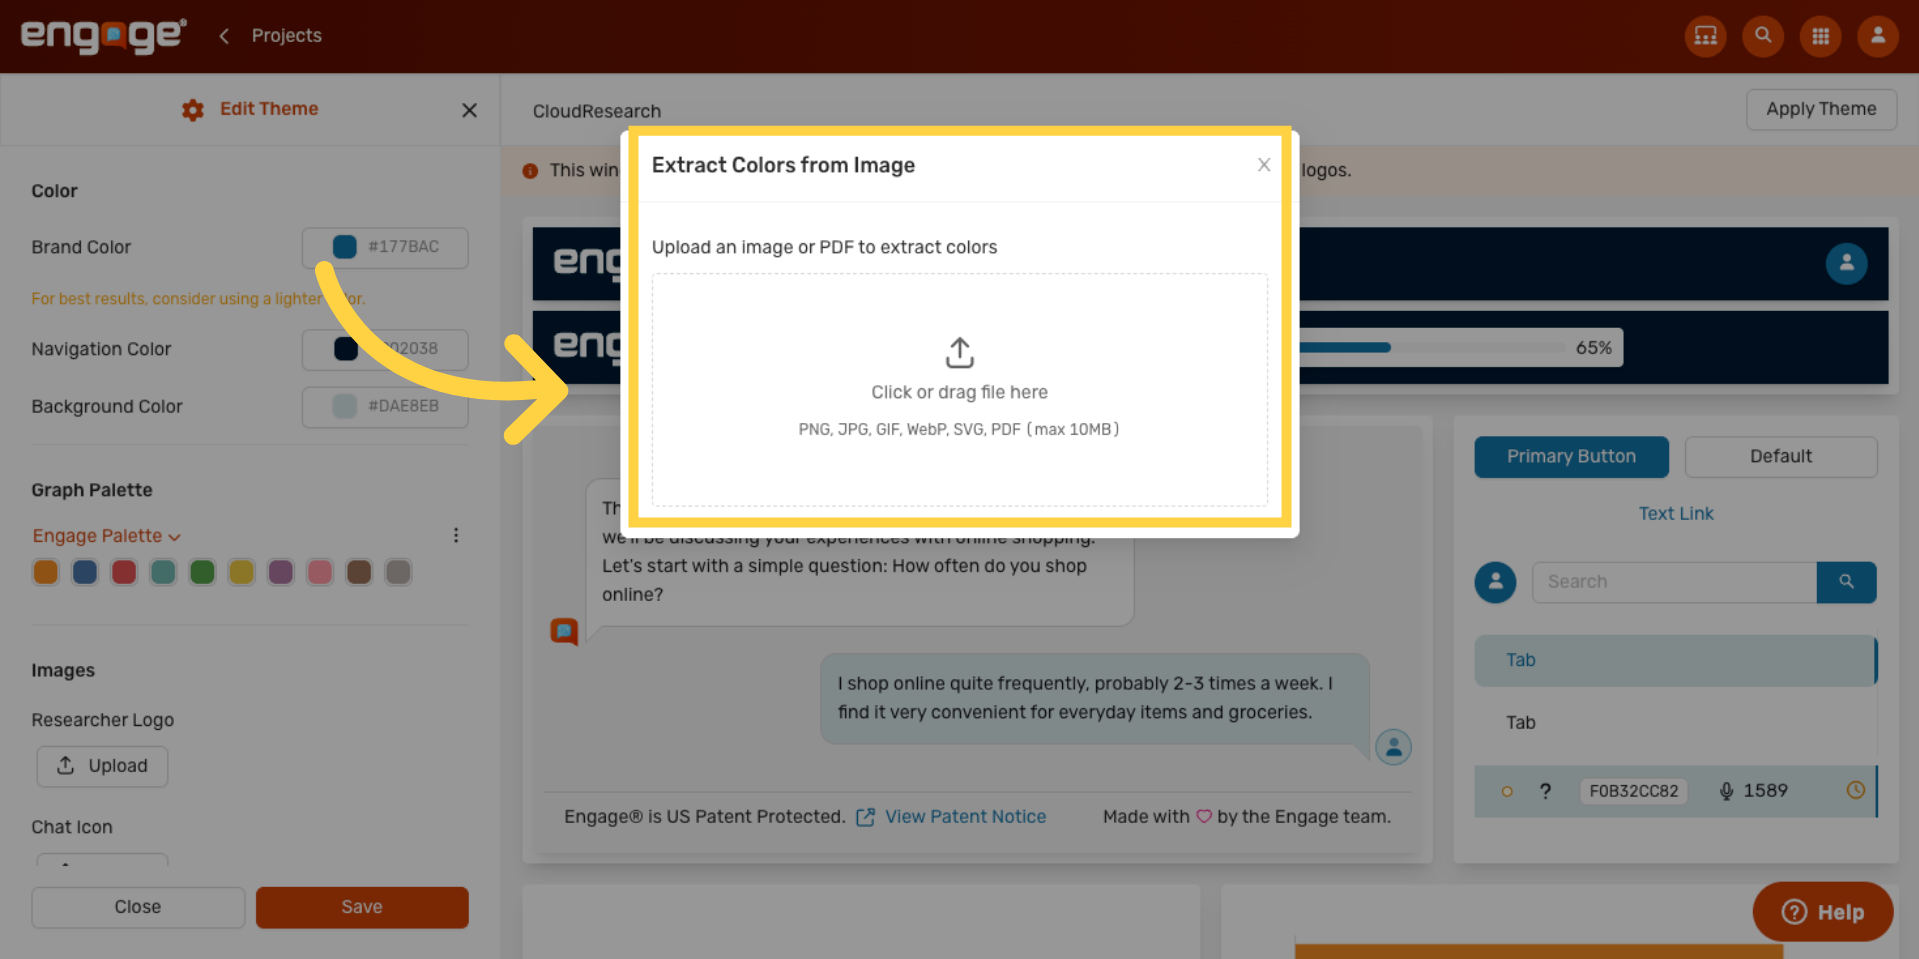
14. Extract Colors from an Image
Click Extract from Image to pull palette colors directly from a screenshot, logo, or brand asset.
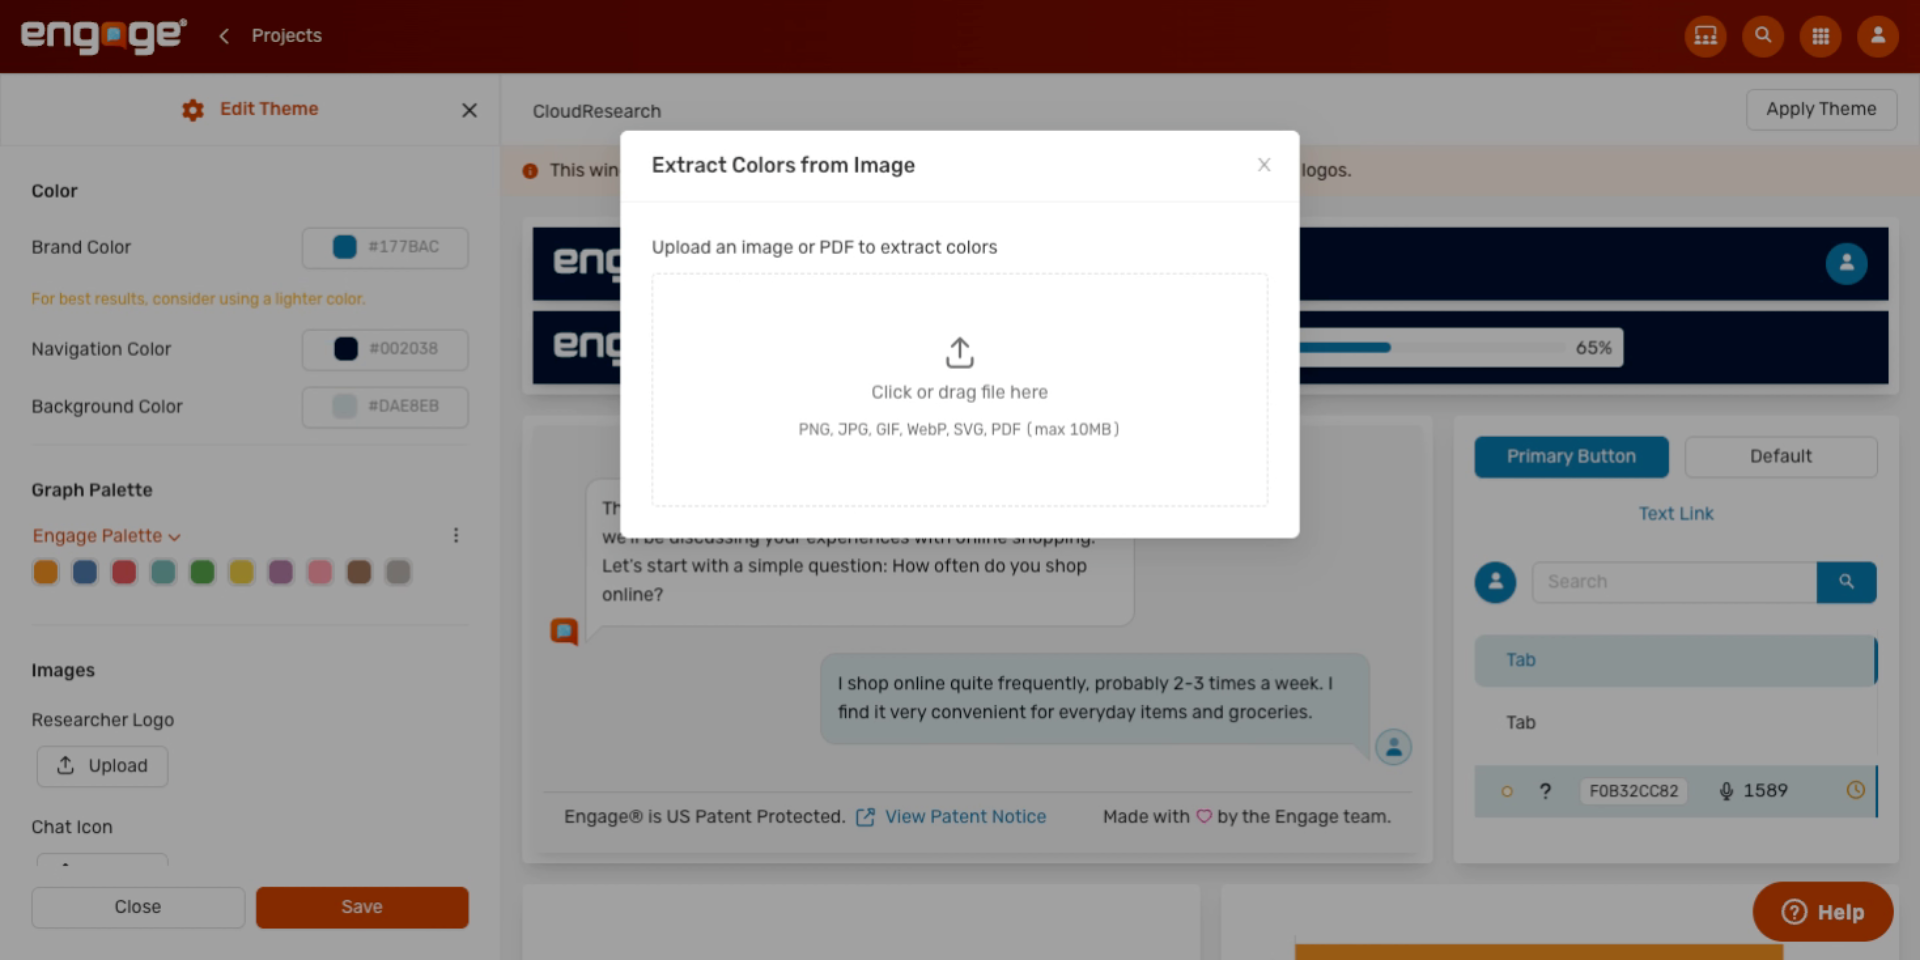
15. Upload Your Image
Click the upload area or drag an image in.
16. Pick Your Image
Pick the image you want to extract colors from. A logo or photo with your brand colors works best.
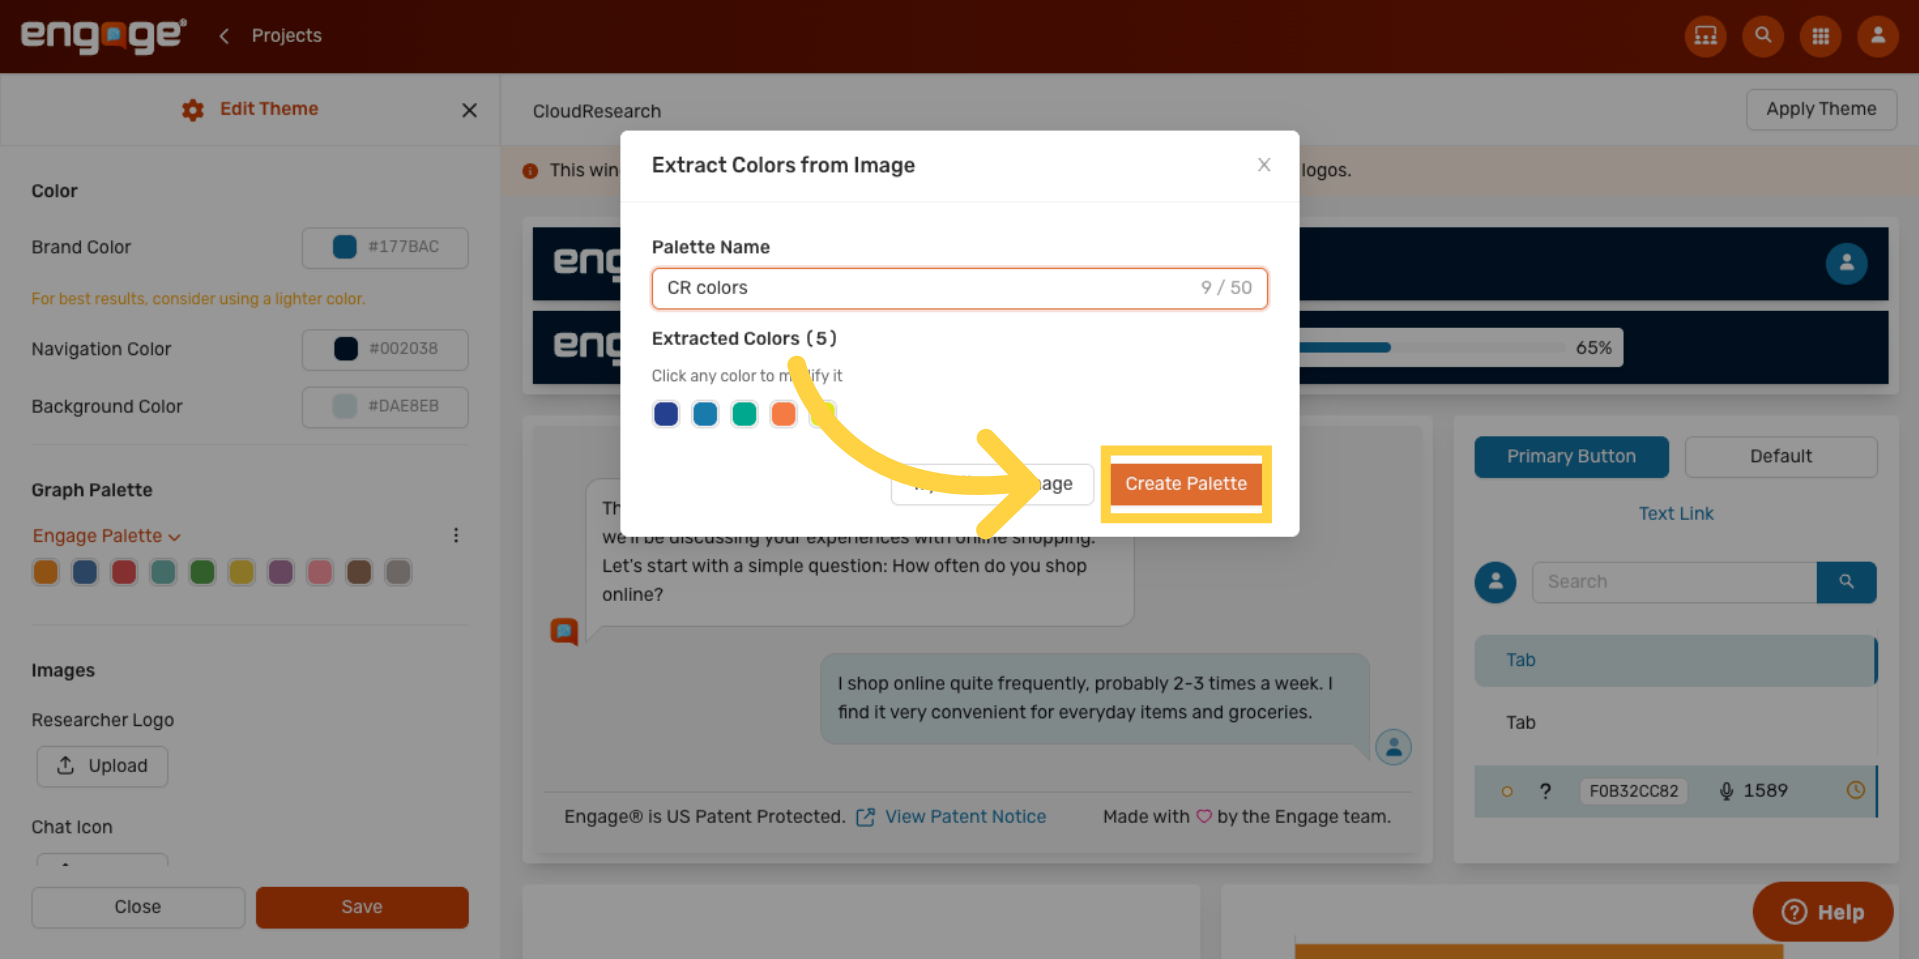
17. Name Your Palette
Engage suggests a palette name based on the image it analyzed — click into the Palette Name field to give it your own name.
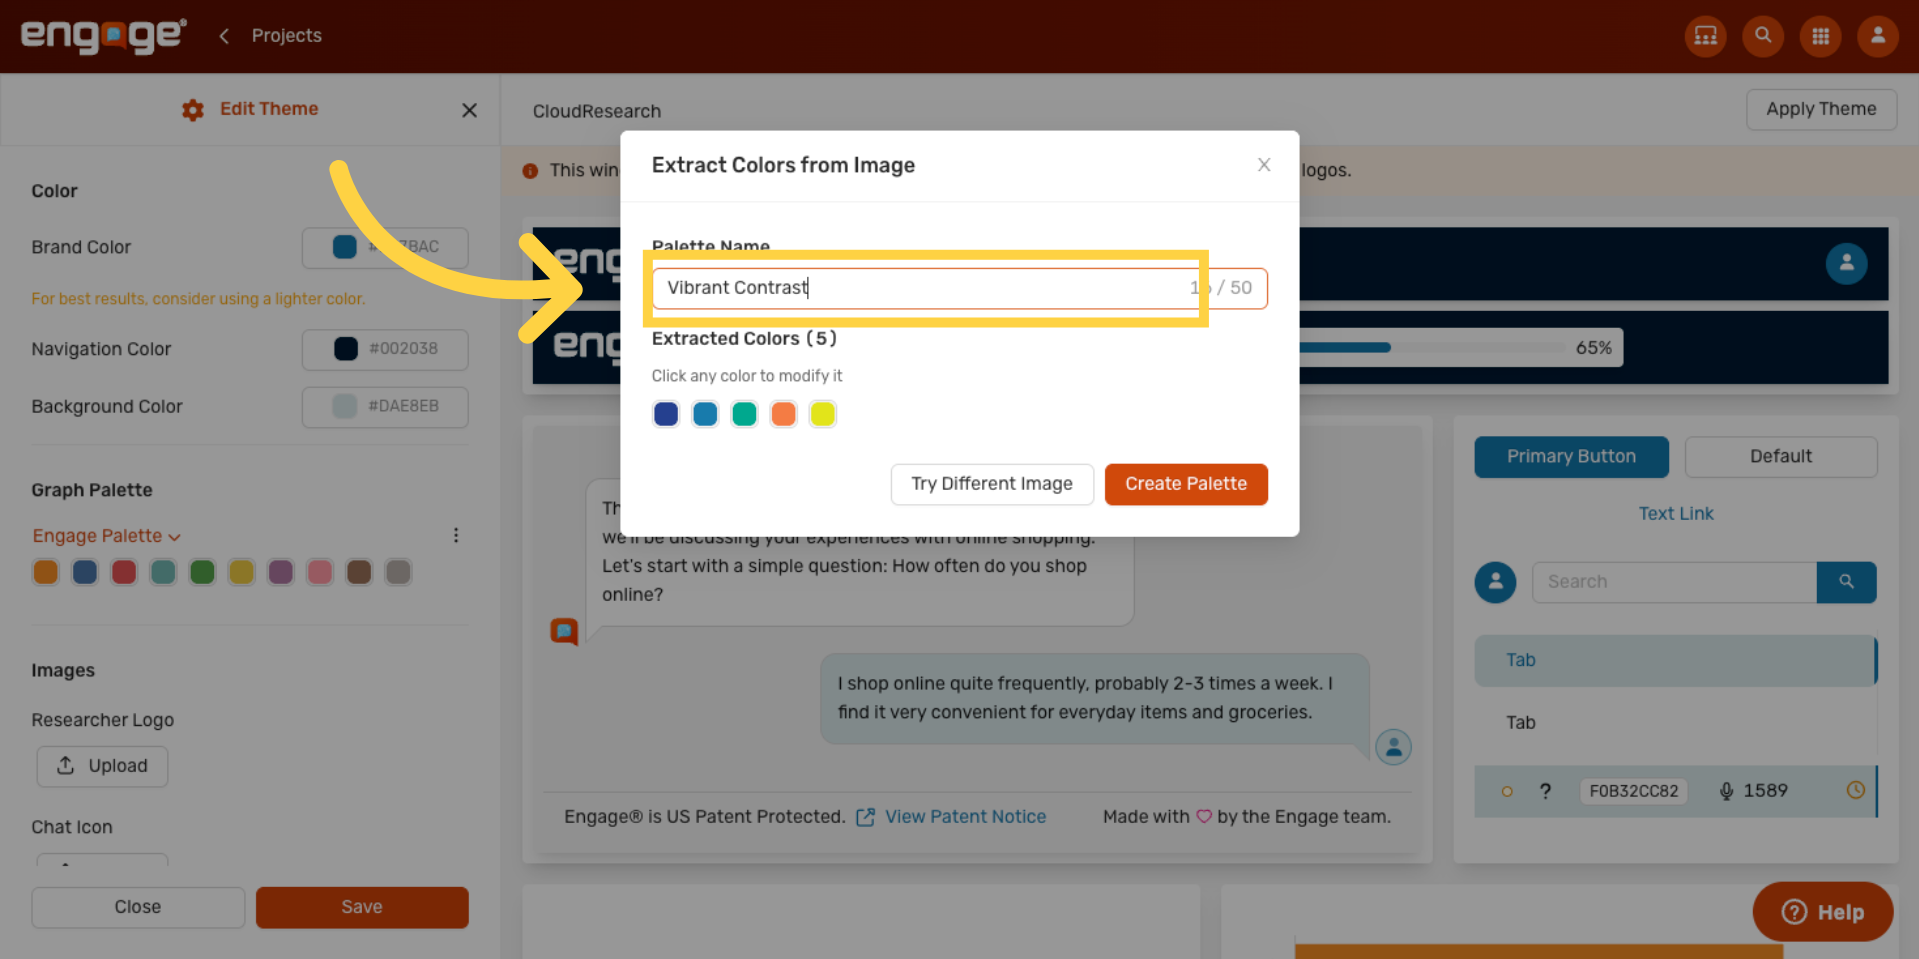
18. Replace the Suggested Name
Replace the suggested name with something descriptive. You'll see this name in the palette dropdown later.
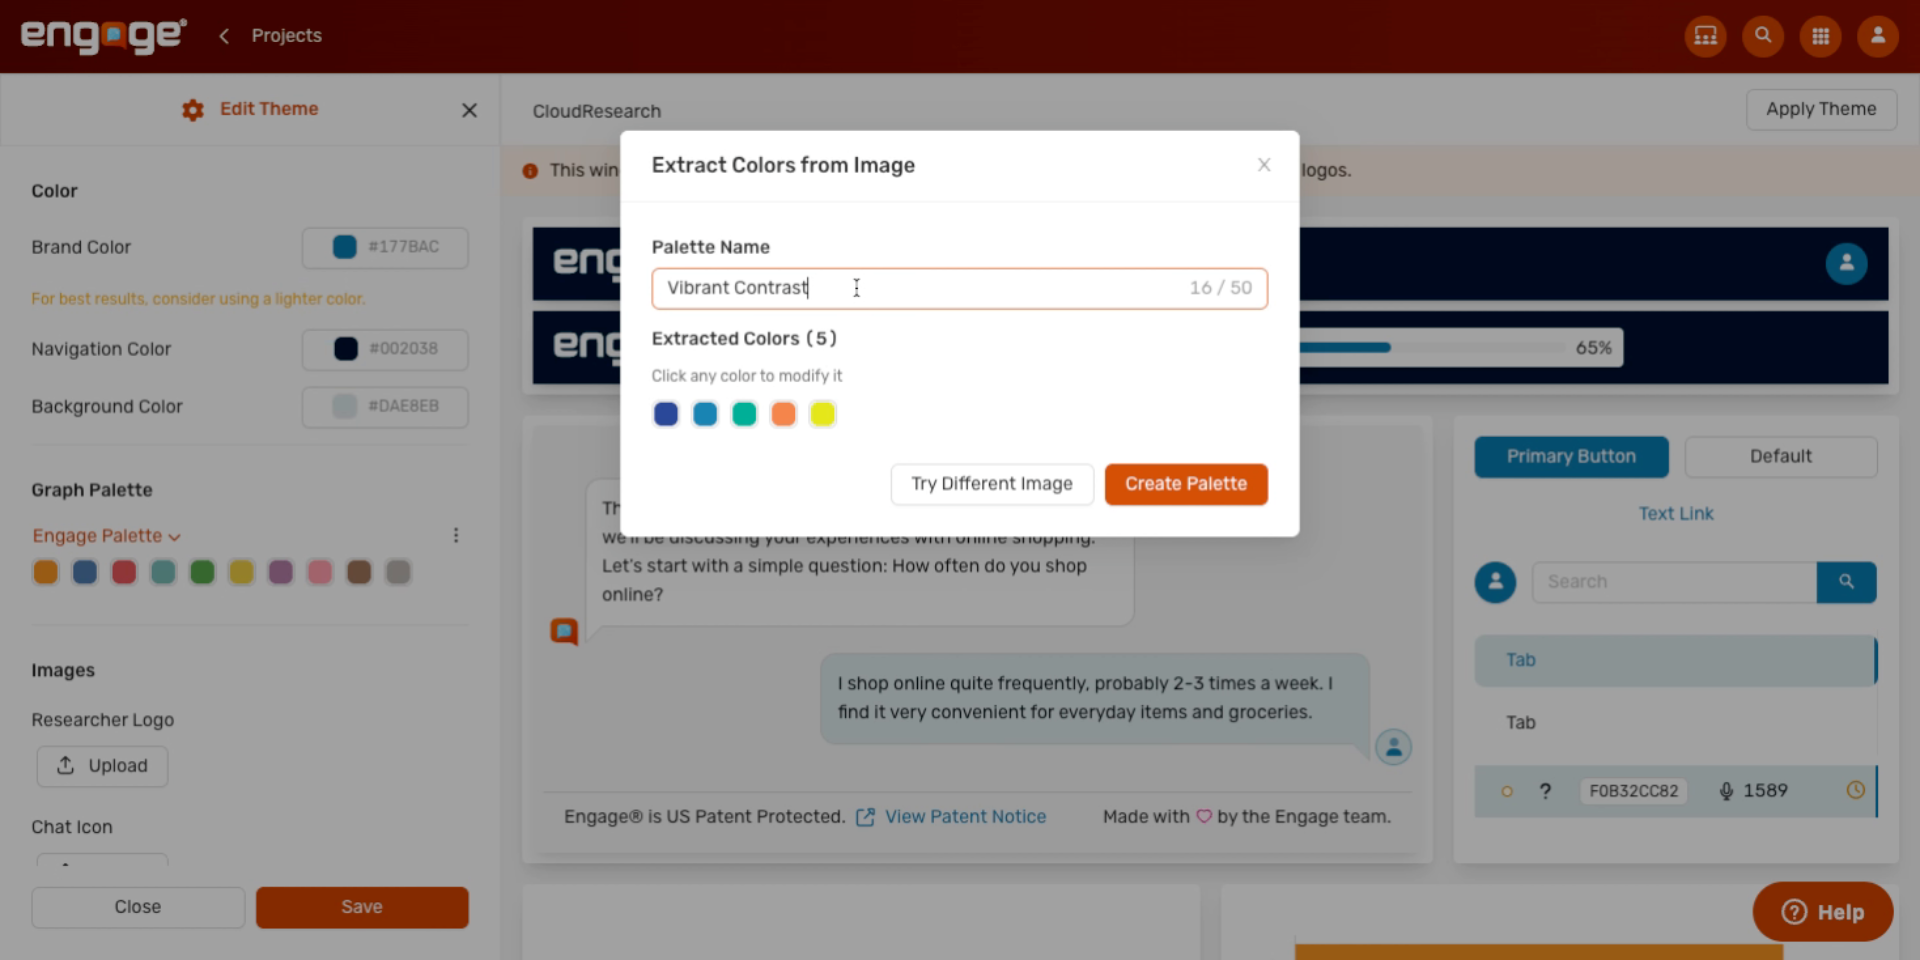
19. Create the Palette
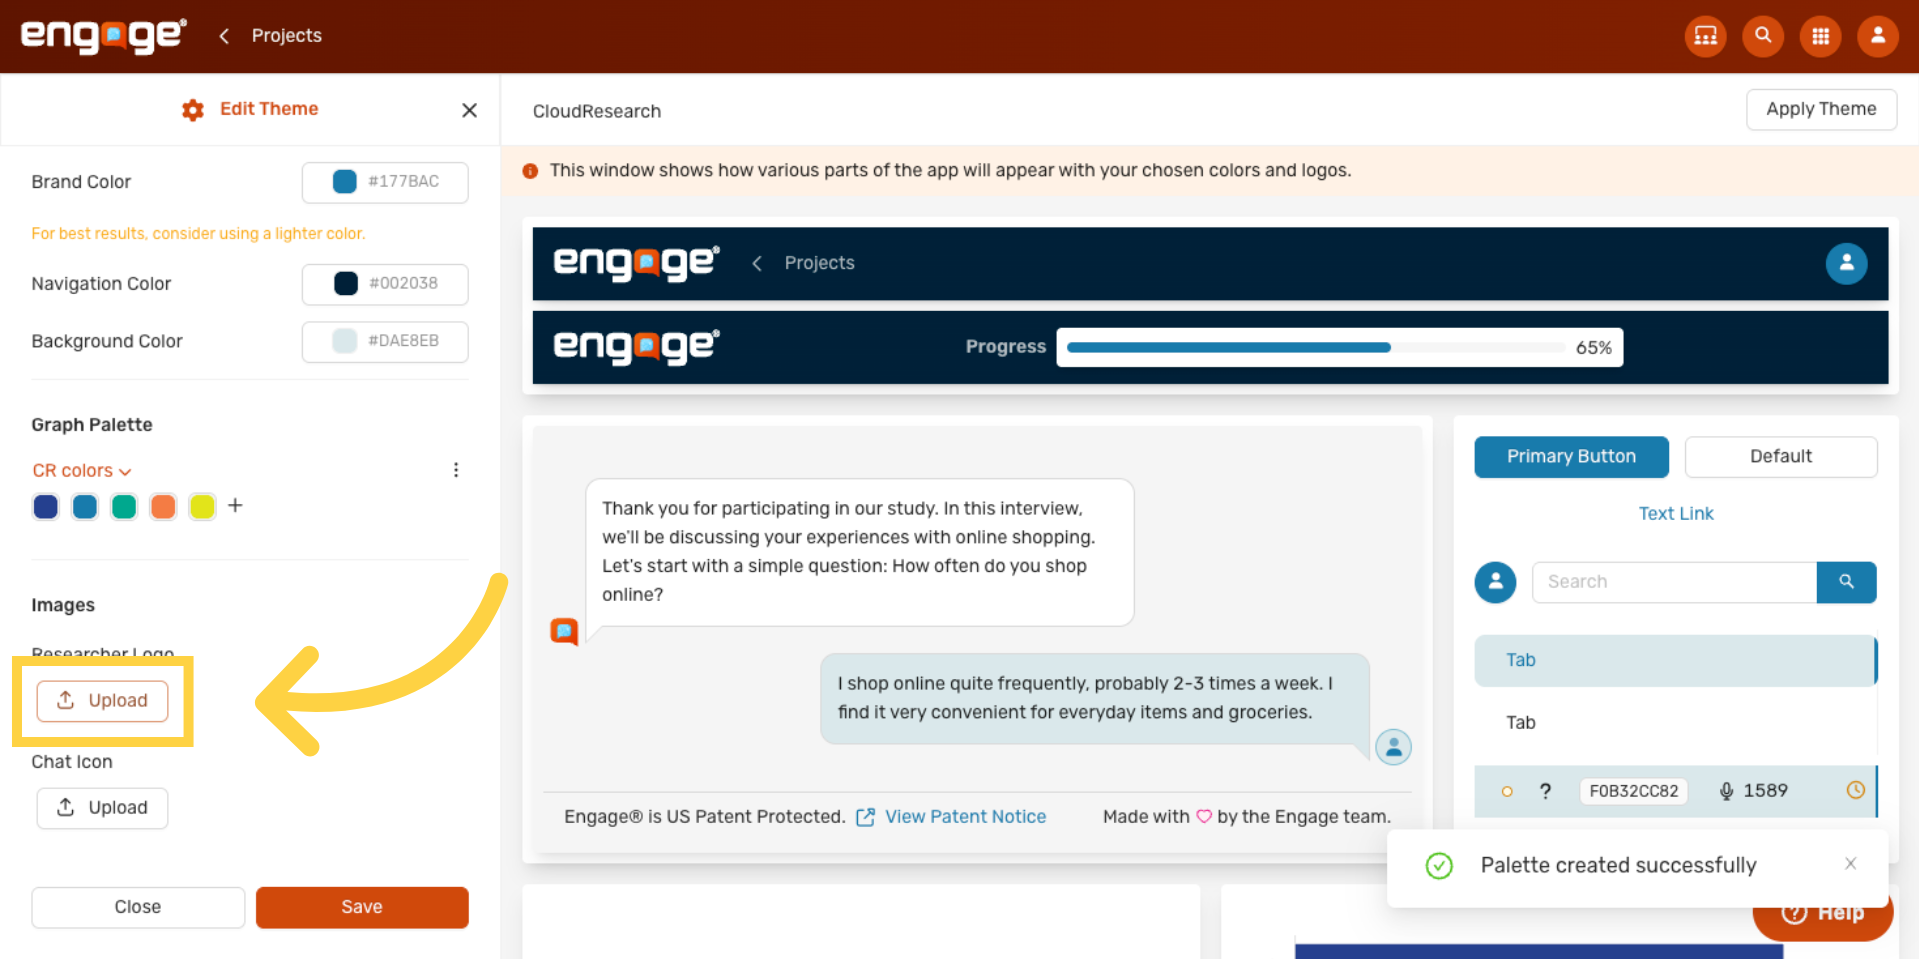
Click Create Palette. It saves and applies to your theme immediately — the chart in the live preview updates to show your new colors.
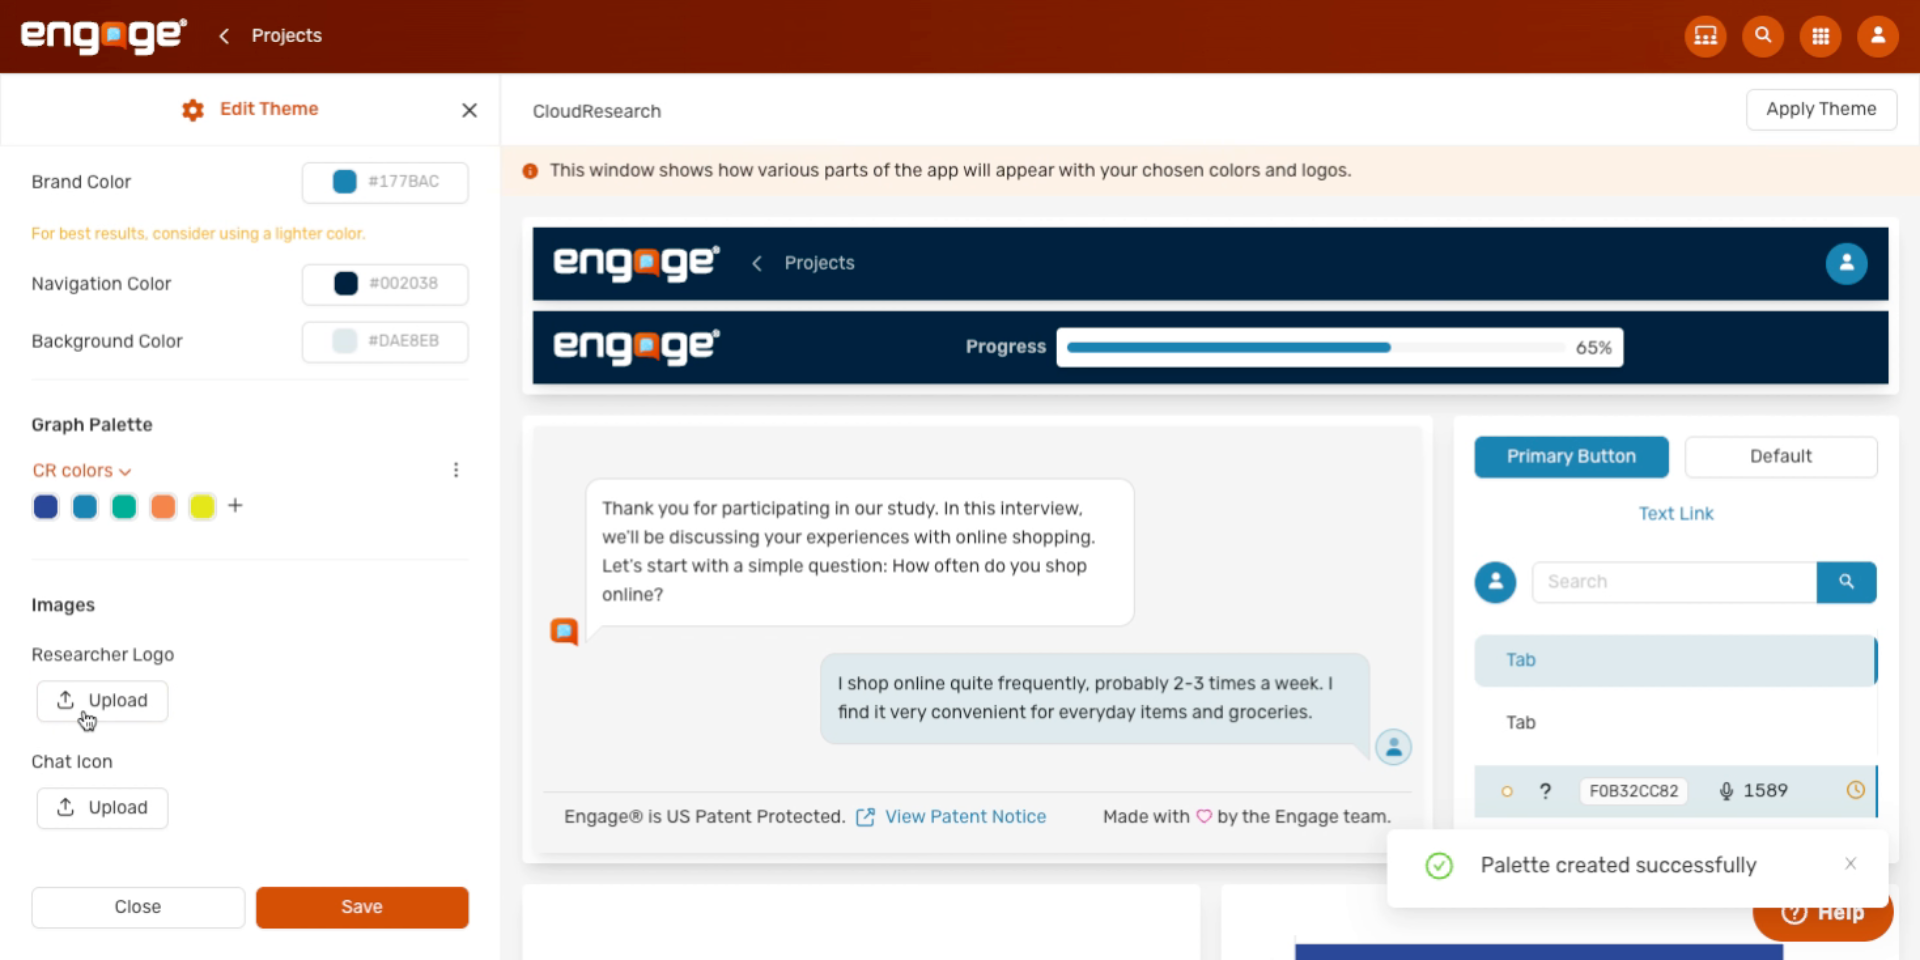
20. Upload Your Researcher Logo
Click Upload under Researcher Logo. This is the logo that replaces the Engage logo in the top navigation that participants see.
21. Pick Your Logo File
Pick your logo file. PNG, JPG, and SVG all work — for the cleanest look, use a transparent background.
22. Upload Your Chat Icon
Now click Upload under Chat Icon. This is the small icon that appears next to each chat message during a participant session.
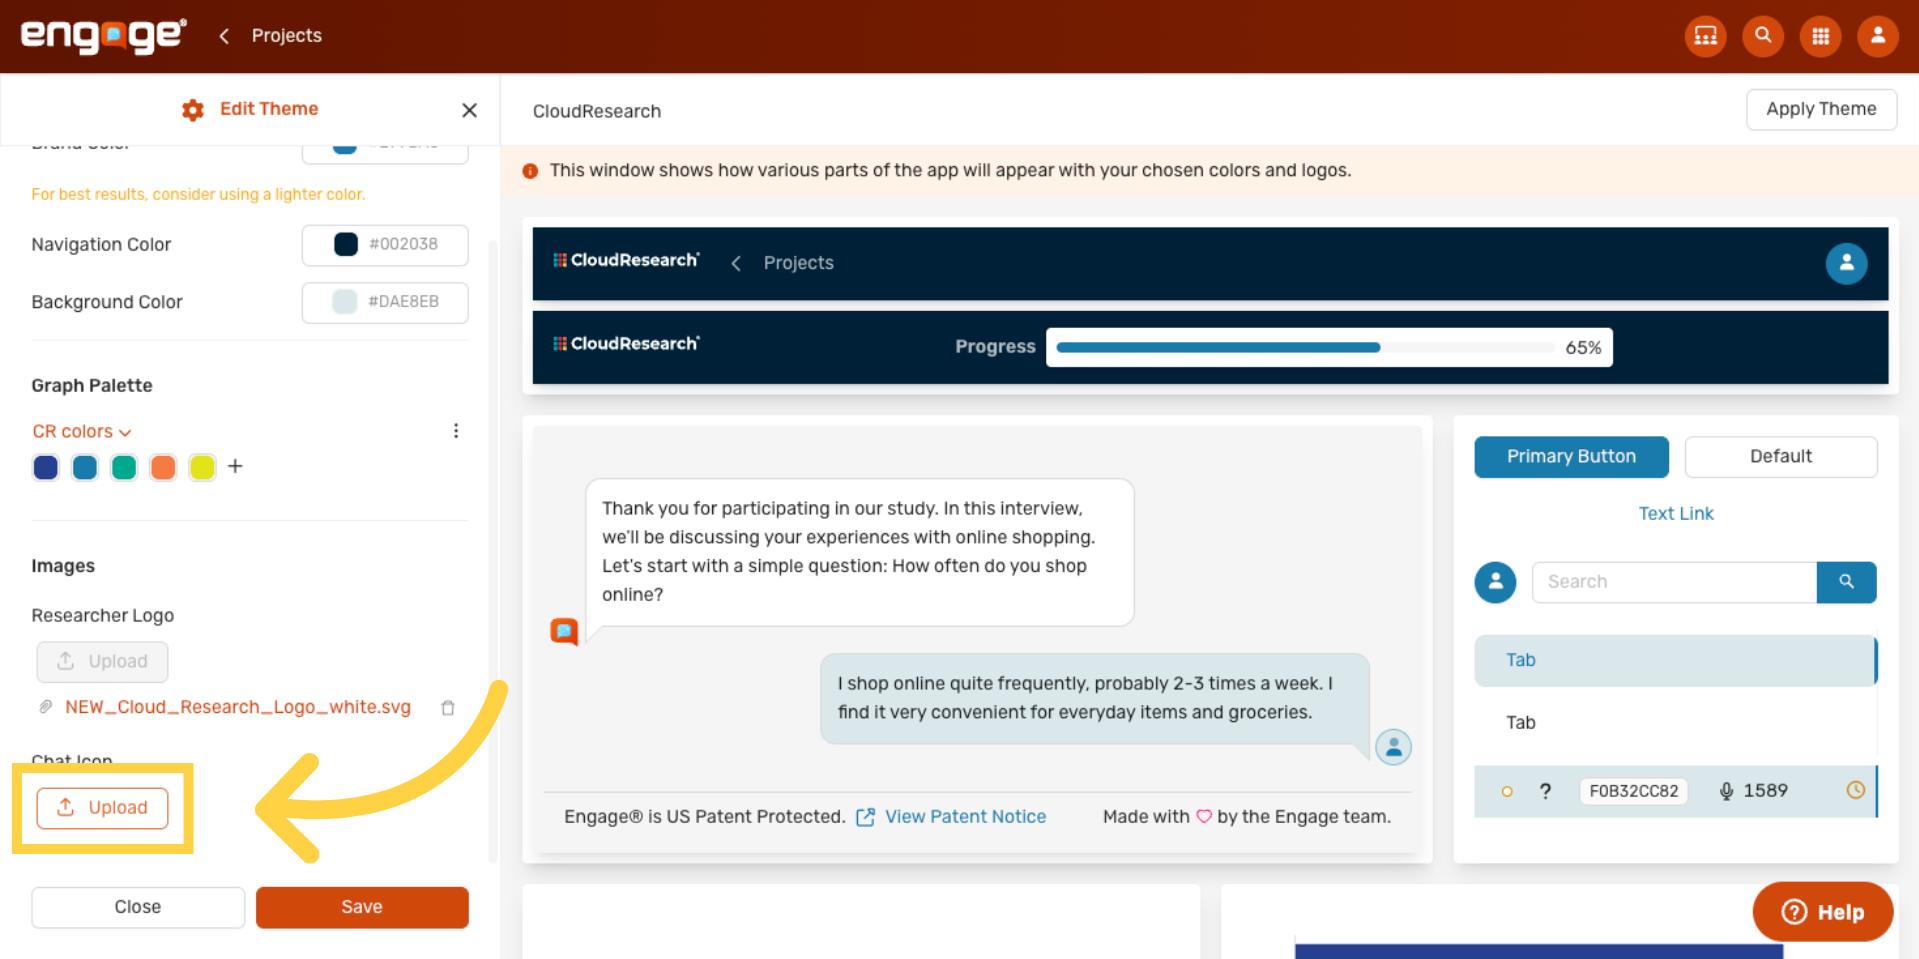
23. Pick Your Chat Icon File
Pick your chat-icon file. Square images around 80 by 80 pixels work best.

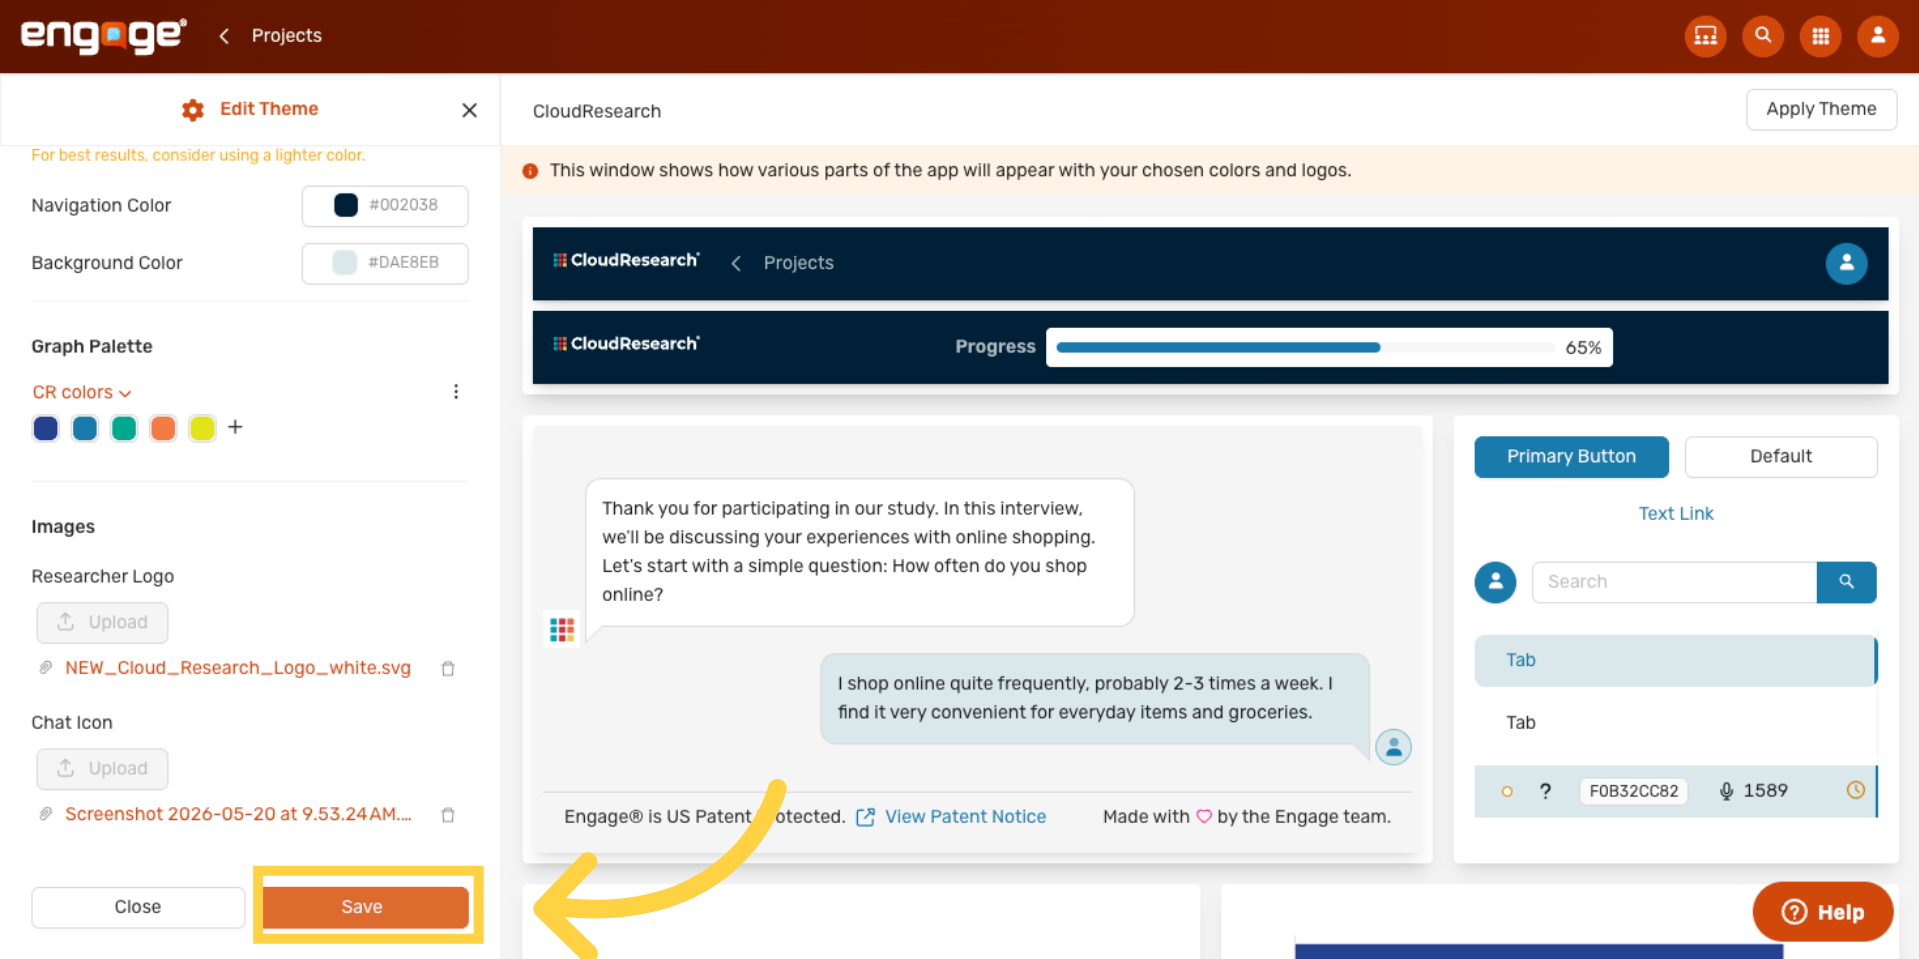
24. Save Your Theme
Click Save. Your theme is now in your saved themes list.
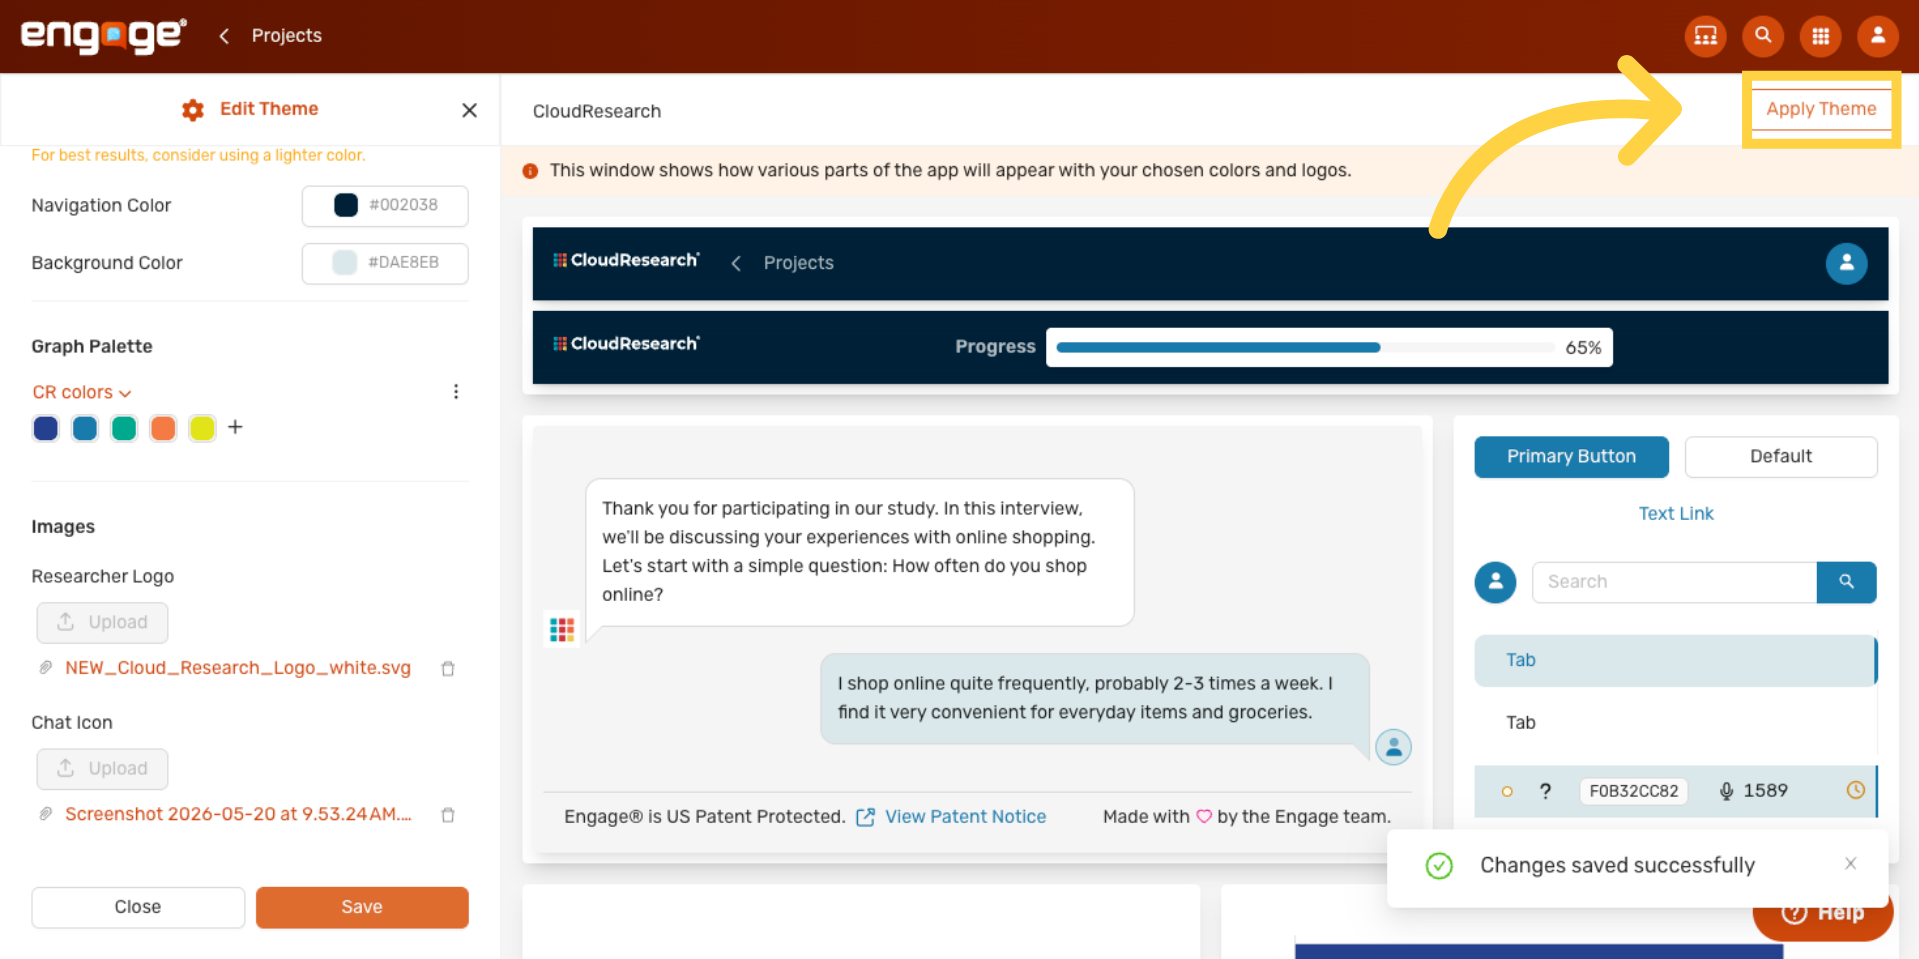
25. Apply the Theme to Your Account
Click Apply Theme to make this the active theme for your account.
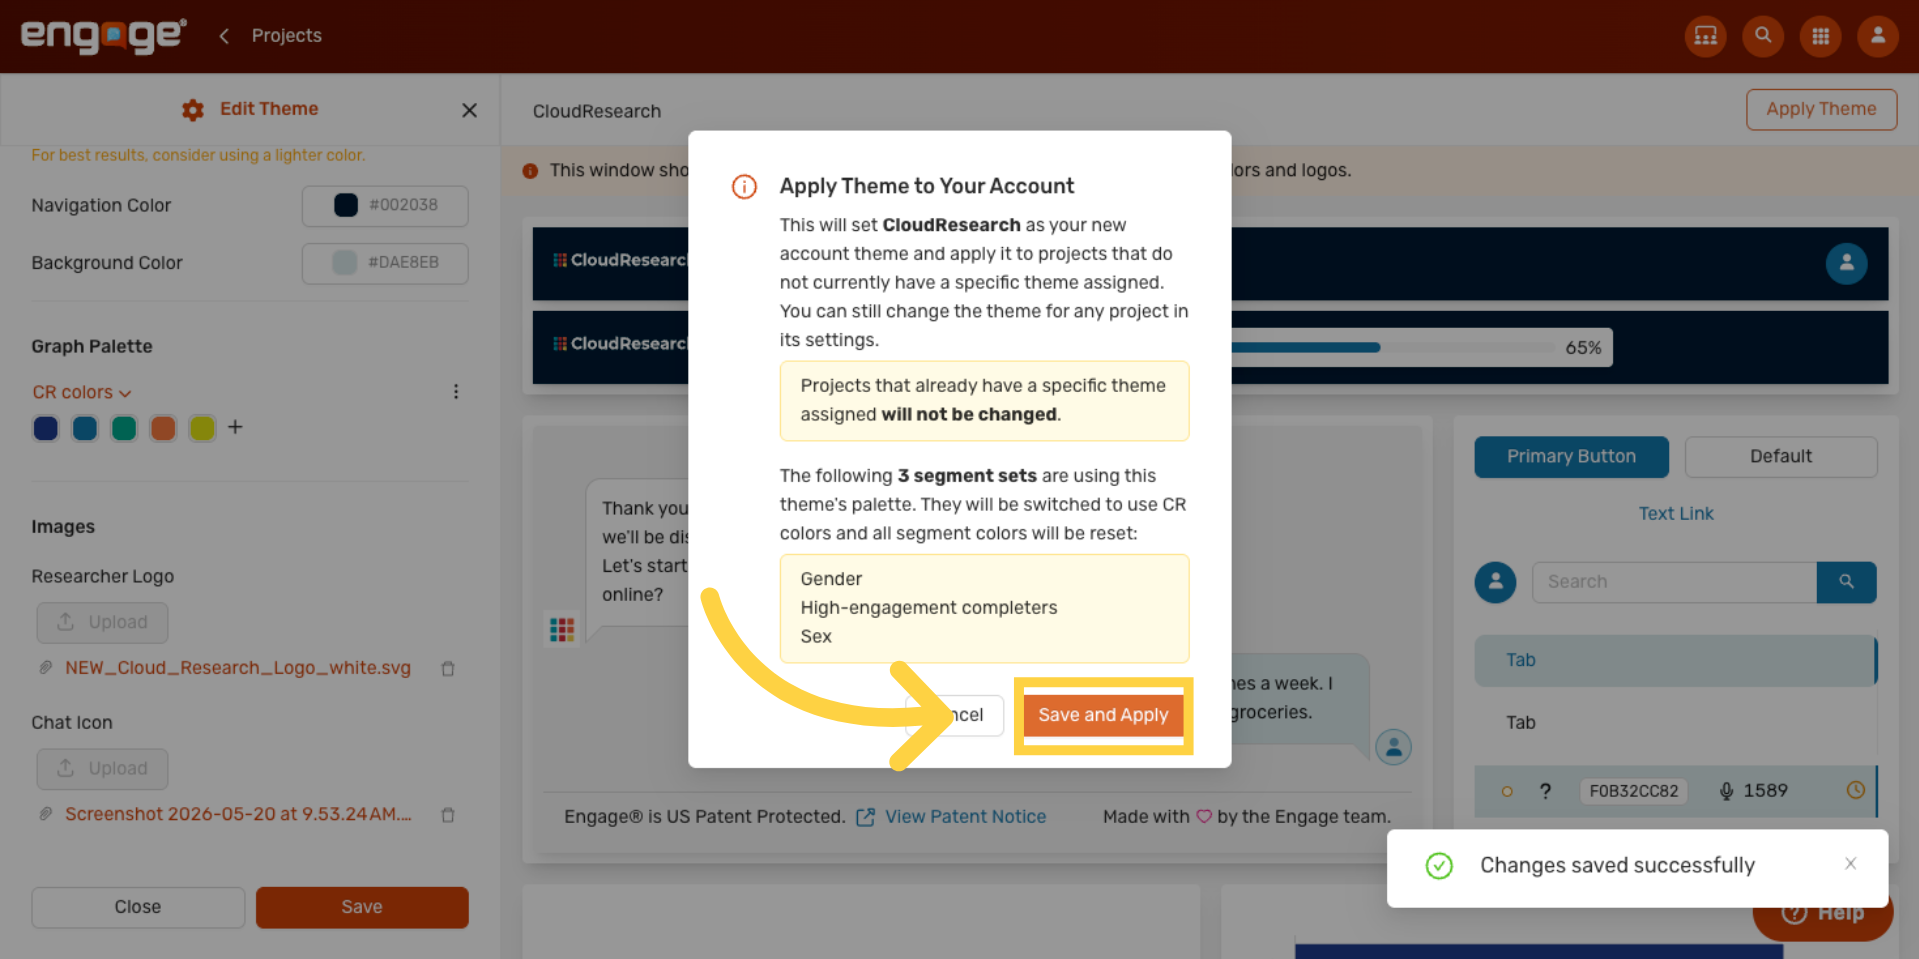
26. Confirm and Apply
Confirm with Save and Apply. Every project without its own theme picks up the new branding, and the researcher app reloads with your new look.
You have successfully created and applied a custom theme in CloudResearch Engage by customizing colors, uploading images, and activating the theme. For more information, see related articles on theme management and branding.
Comments
0 comments
Please sign in to leave a comment.